ngrokを使ってみる(OAuth、GitHub、Node-RED)
はじめに
今回はngrokを使ってみました。ローカルで起動しているサーバーを、グローバルに公開することができます。
▼こちらの記事で紹介されていました。
https://qiita.com/mininobu/items/b45dbc70faedf30f484e
https://qiita.com/yama-github/items/94514830ad7759bc3687
前々からローカルで起動しているNode-REDを公開したかったのですが、試してみると簡単にできました。
セキュリティが怖かったので、GitHubのアカウントでログインするようにしました。
▼以前の記事はこちら
Node-REDを使ってみる その1(execノード、Pythonプログラム実行)
はじめに 今回はNode-REDのexecノードを使ってみました。コマンドを実行できるノードです。 私はNode-RED MCUを先に使い始めたので、Node-RED自体はあまり使っていま…
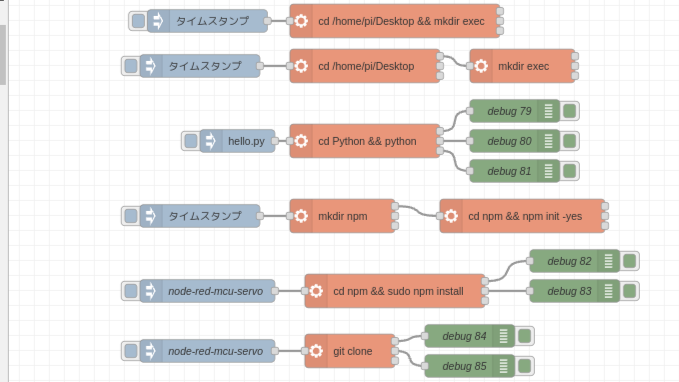
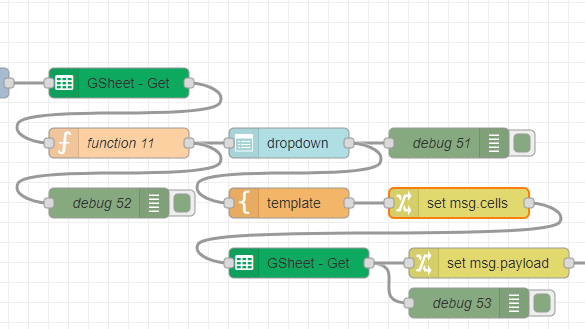
Node-REDを使ってみる その2(Googleフォーム、Googleスプレッドシート)
はじめに 今回はNode-REDとGoogleフォーム、Googleスプレッドシートを連携させてみました。 Googleフォームで入力した内容をGoogleスプレッドシートにリンクし、Node-…
ngrokの準備
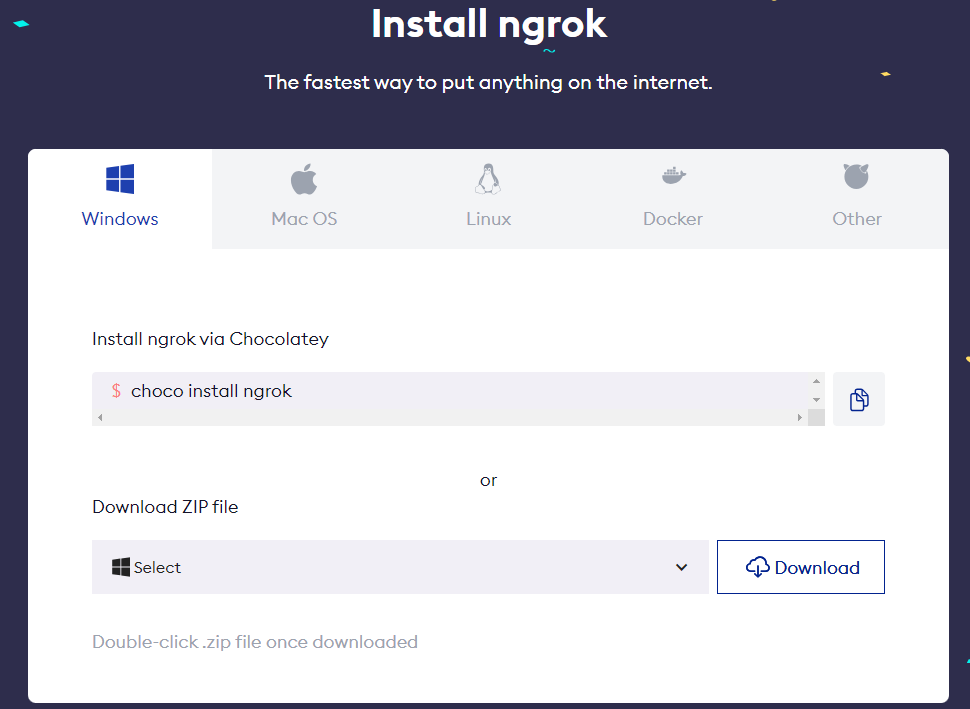
今回はWindows環境で試しています。
▼ダウンロードはこちらから
▼ZIP形式で実行ファイルをダウンロードしました。
ngrokのアカウントを作成して、ログインします。
▼ngrokのページはこちら
ngrok | Unified Application Delivery Platform for Developers
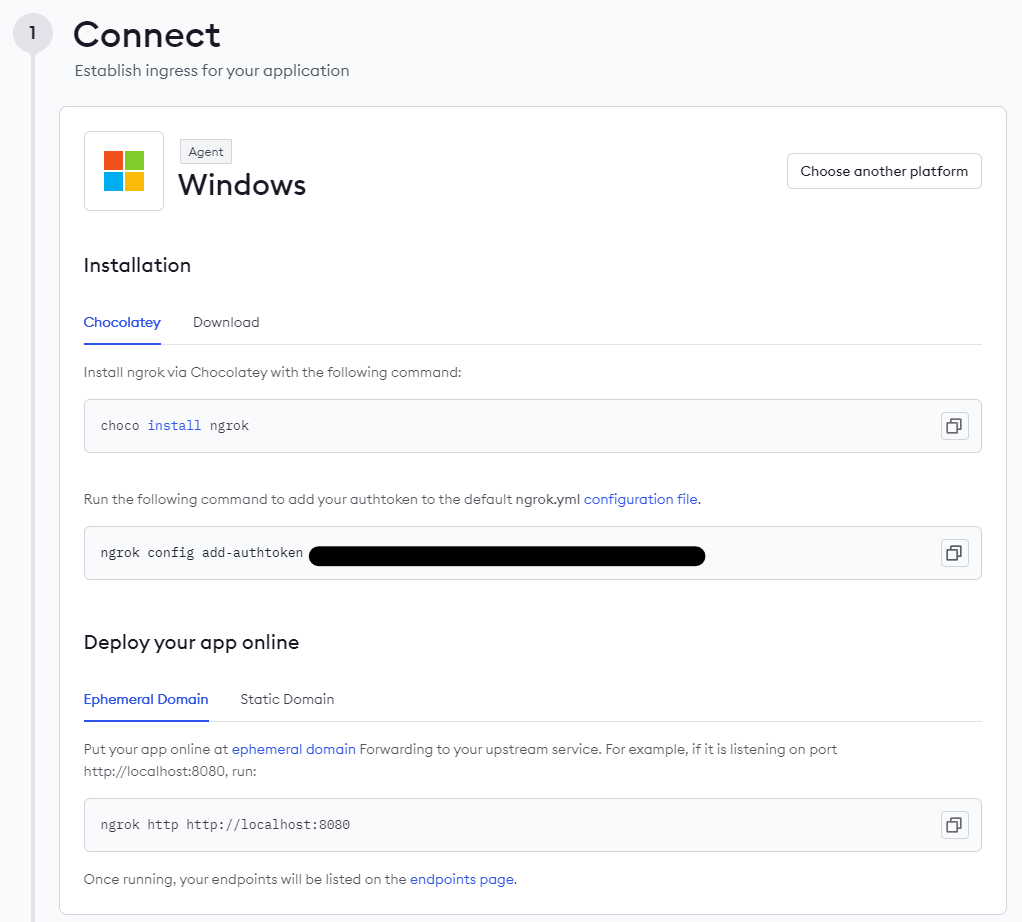
▼ログインすると、Getting Startedなどのページが表示されました。NodeJSもあります。

▼インストール方法やコマンドが表示されています。authtokenを設定する必要があるので、表示されているコマンドを実行してください。
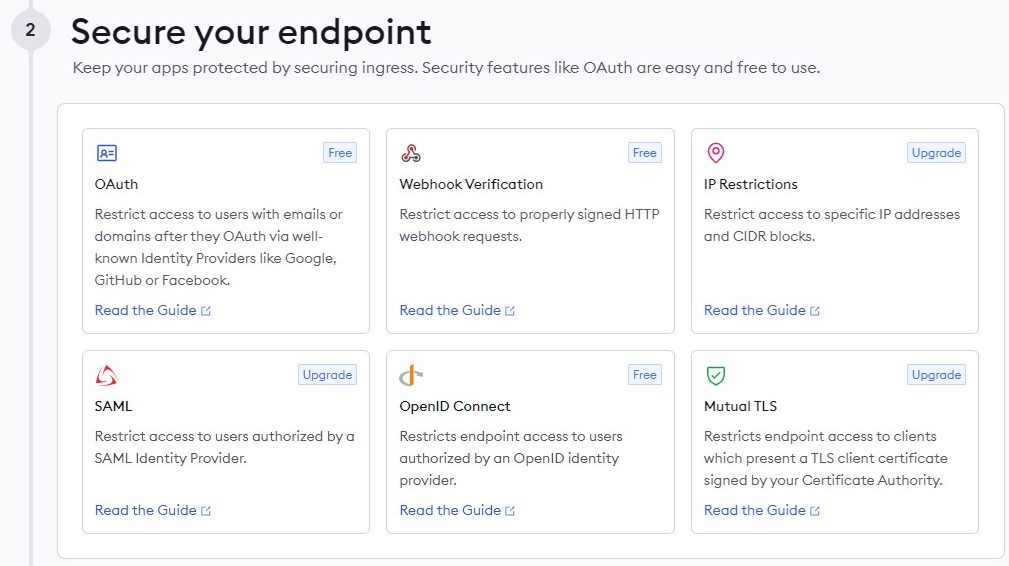
▼他にもGuideがありました。今回はOAuthを導入してみます。
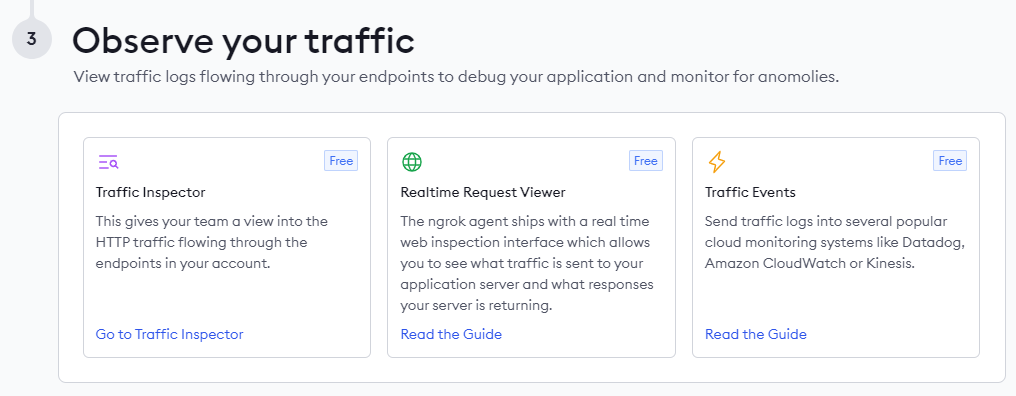
▼こちらはトラフィックの監視ですね。
起動してみる
とりあえずコマンドを入力して、起動してみます。
▼以下のコマンドを実行しました。
ngrok http http://localhost:8080
▼Forwadingのところに、公開されているURLが表示されます。

▼アクセスして、Visit Siteを選択しました。

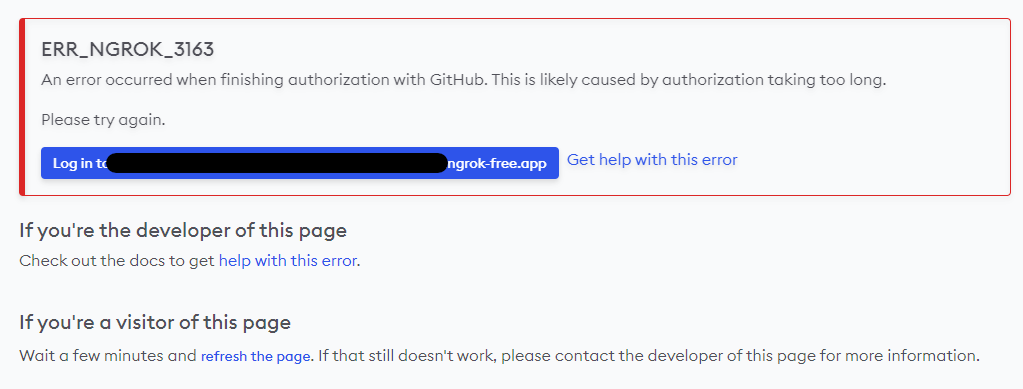
▼エラーが表示されました。
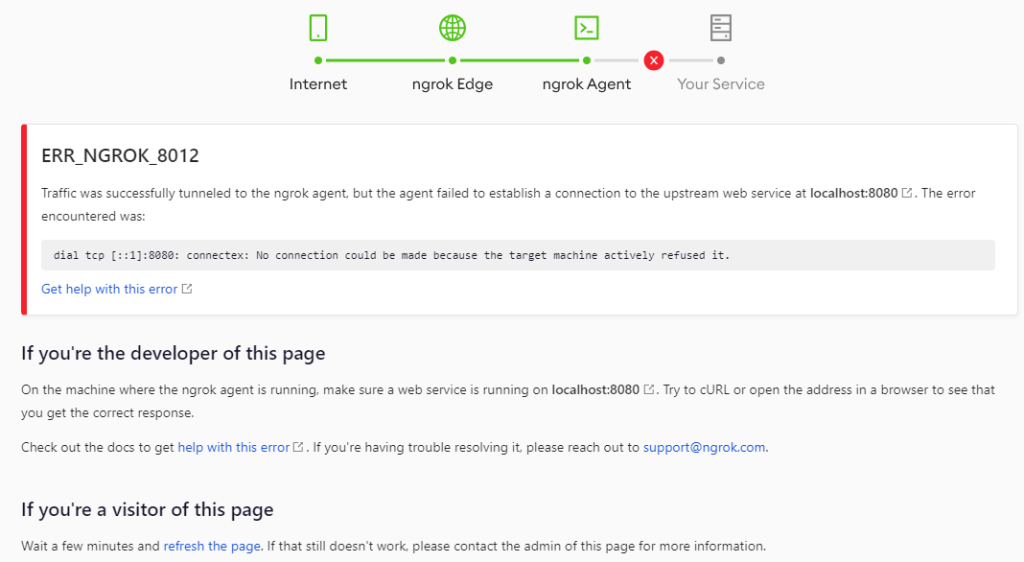
localhost:8080で何も起動していないので、エラーとして表示されています。次に、ローカルで起動しているサーバーのポートに対して起動してみます。
Node-REDの公開
今回はローカルで起動しているNode-REDのエディタをngrokで公開してみます。
▼Node-REDのポート番号は、デフォルトでは1880です。
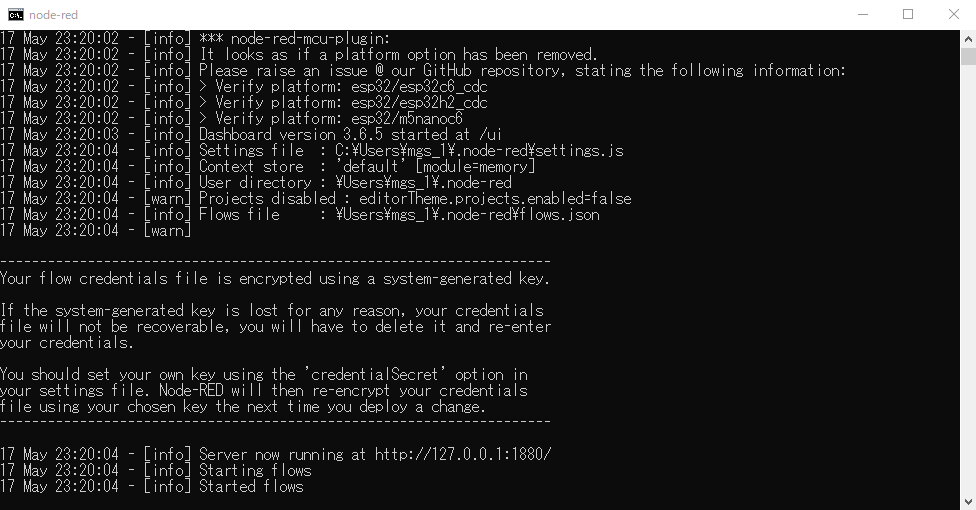
1880ポートをngrokで公開します。
▼以下のコマンドを実行します。
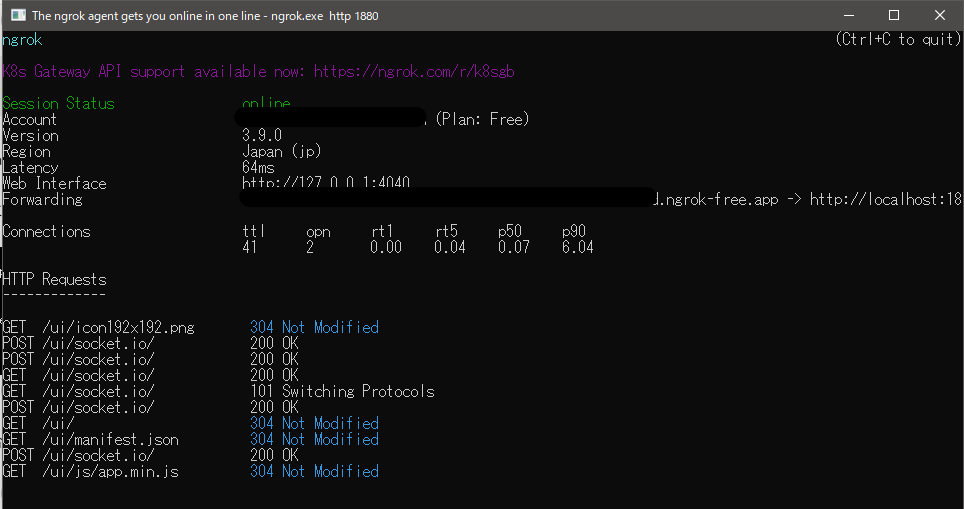
ngrok.exe http 1880
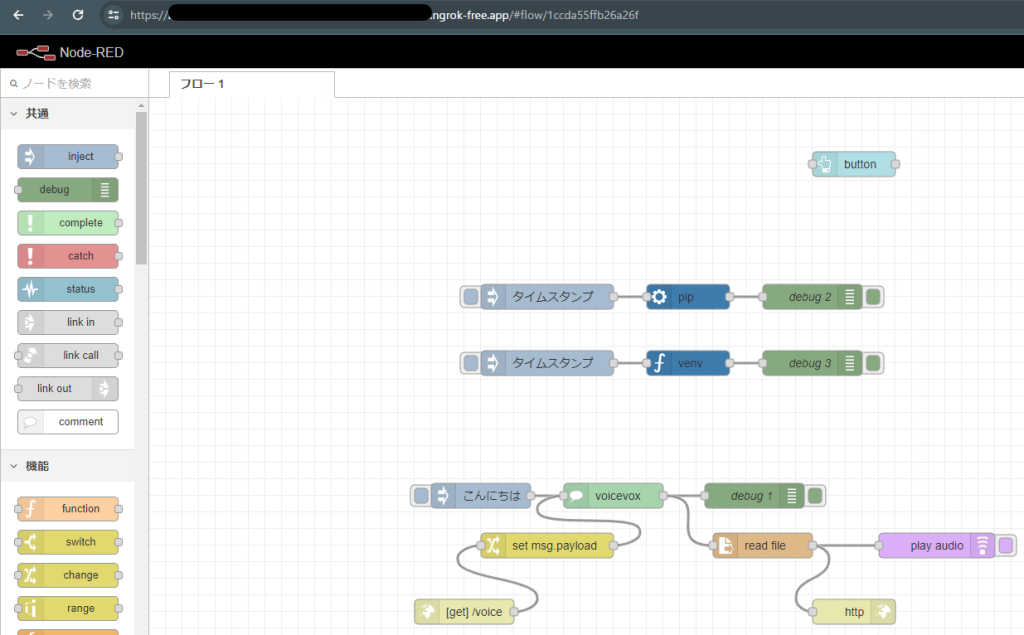
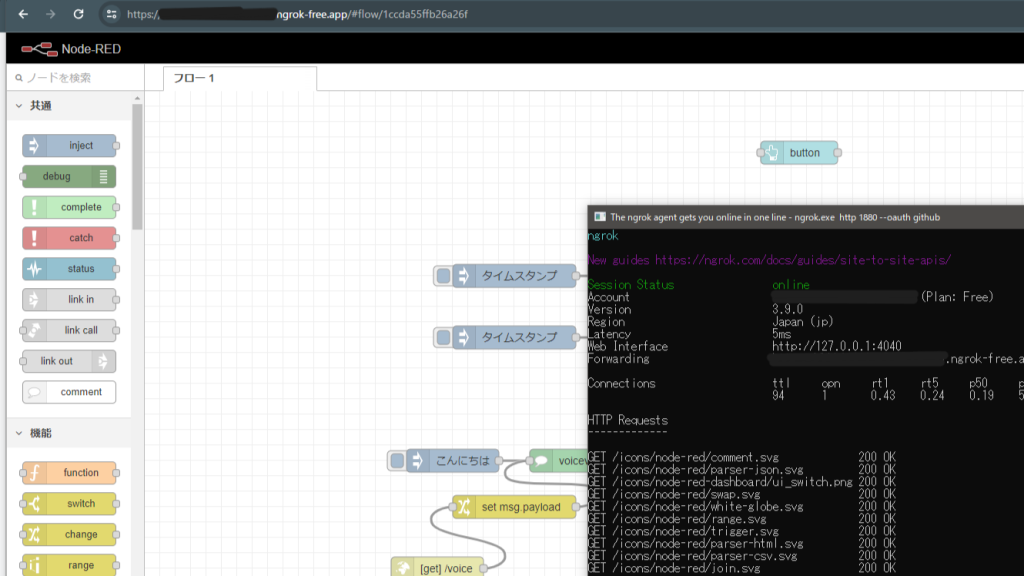
▼この状態で公開されているURLにアクセスすると、Node-REDのエディタ画面が表示されました。
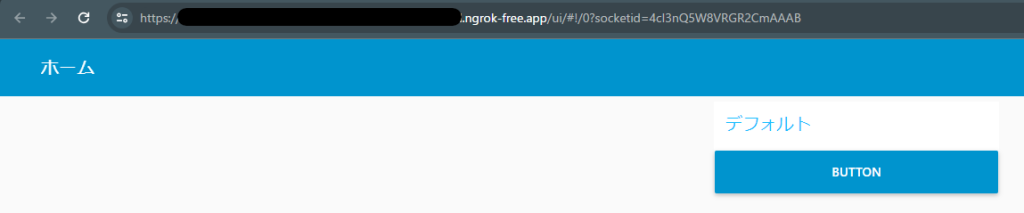
▼ダッシュボードも表示されました。
▼HTTP Requestsも表示されています。
OAuthの導入
GitHubの設定
今回はGitHubのアカウントでログインするようにしてみます。
▼OAuthのページはこちら。
https://ngrok.com/docs/http/oauth/?ref=getting-started&cty=agent-cli
▼他にサポートされているプロバイダはこちらに書かれています。GoogleやFacebook、Amazonなどがあるみたいですね。
https://ngrok.com/docs/http/oauth/?ref=getting-started&cty=agent-cli#supported-providers
▼GitHub OAuthのページはこちら。
https://ngrok.com/docs/integrations/github/oauth
まずはGitHubで設定を行います。
▼GitHubのページで、Settingsを選択します。
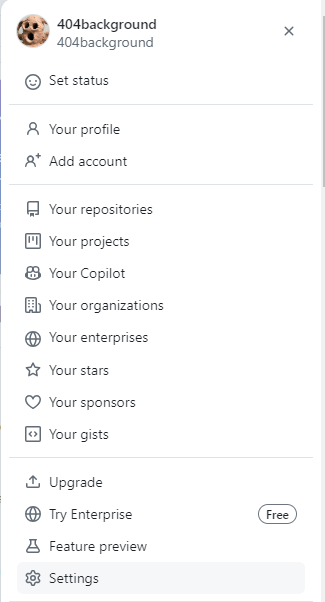
下の方にあるDeveloper Settingsを選択し、OAuth Appsを選びます。
▼新しいアプリケーションを登録します。

▼次のような入力項目が表示されます。
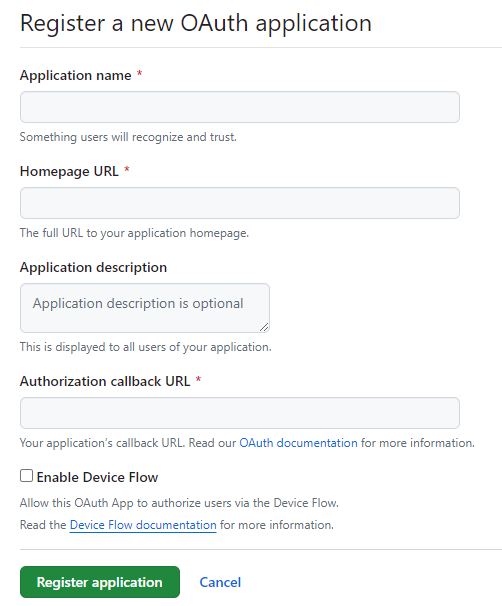
Homepage URLは、ngrokで公開されるURLとは別で良いようです。
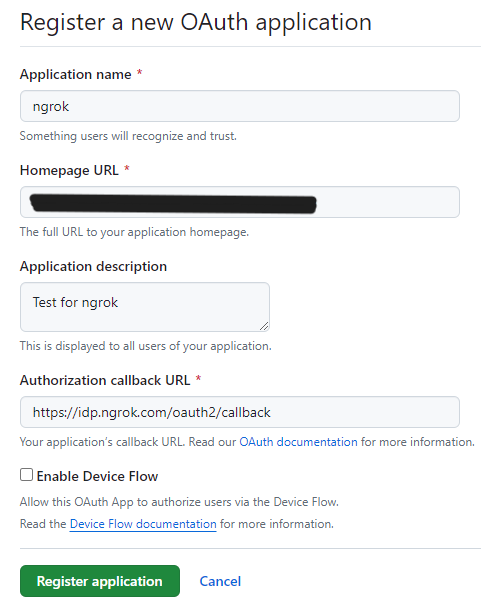
▼Authorization callbackのURLはこちらで設定します。
https://idp.ngrok.com/oauth2/callback
▼これで登録してみました。
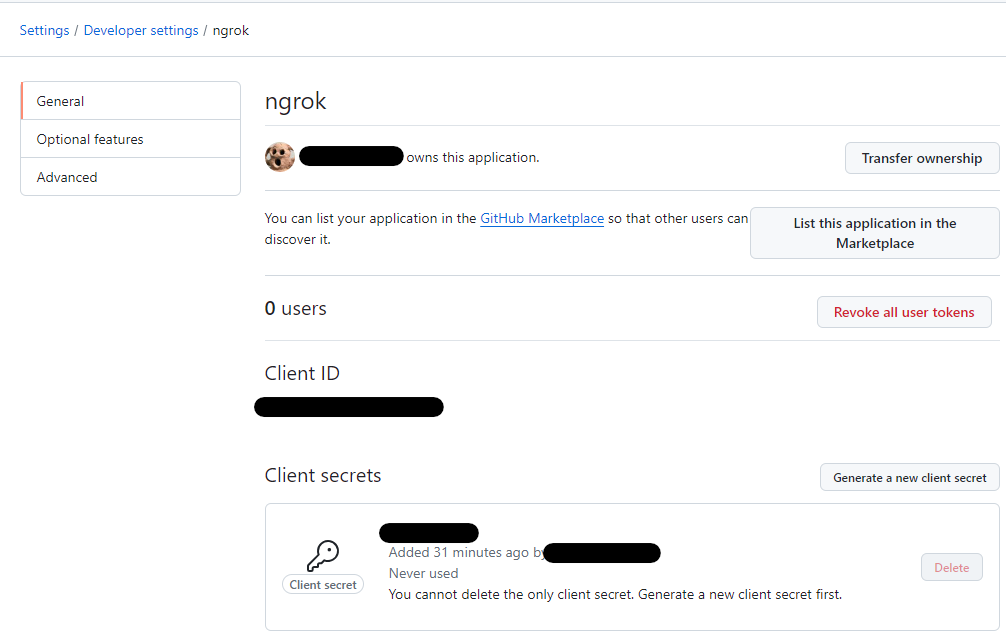
▼登録後、設定画面が表示されます。Client secretsは発行しておいてください。
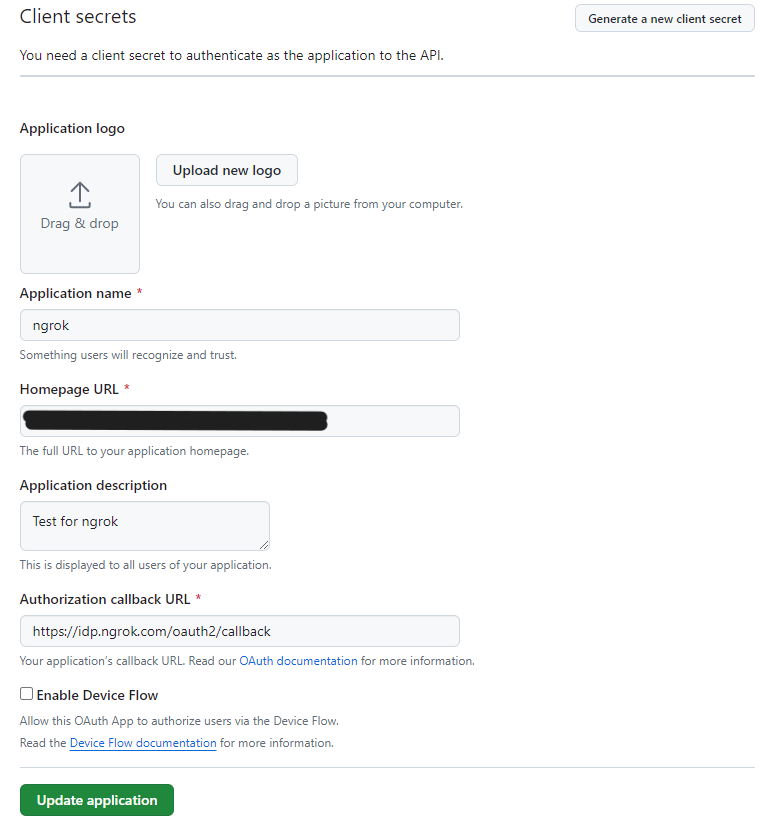
▼先程設定したものは後から変更できます。ロゴも設定できるようです。
▼以下のコマンドで実行後、URLにアクセスするとGitHubのアカウントでのログインが要求されます。
ngrok.exe http 1880 --oauth github
先程GitHubで発行したClient IDとClient secretsを設定してngrokを起動することもできます。
▼コマンドはこちら
ngrok.exe http 1880 --oauth github --oauth-client-id "<Client ID>" --oauth-client-secret "<Client secrets>"
▼ちなみにClient IDのみで、Client secretsを省くと以下のようなエラーが出ました。両方必要です。

▼IDやsecretsを設定した場合、間違った値だとログインできません。
PCでログインしてみる
GitHubのアカウントでのログインを要求する状態で、ngrokを起動しました。
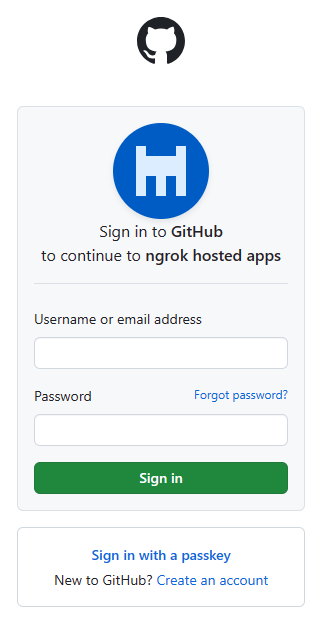
▼URLにアクセスすると、UsernameやPasswordの入力画面が表示されます。
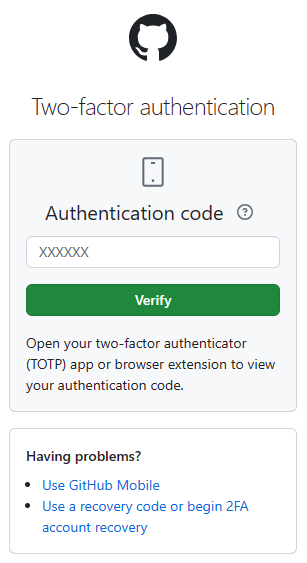
▼私の場合、2段階認証を設定していたので入力が必要でした。
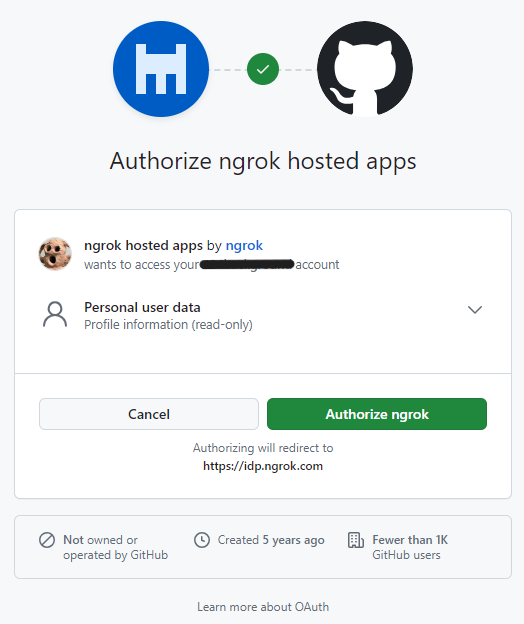
▼ngrokへのAuthorizeが要求されました。
▼その後、Node-REDの画面が表示されました。
スマートフォンでログインしてみる
スマートフォンでもログインしてみました。
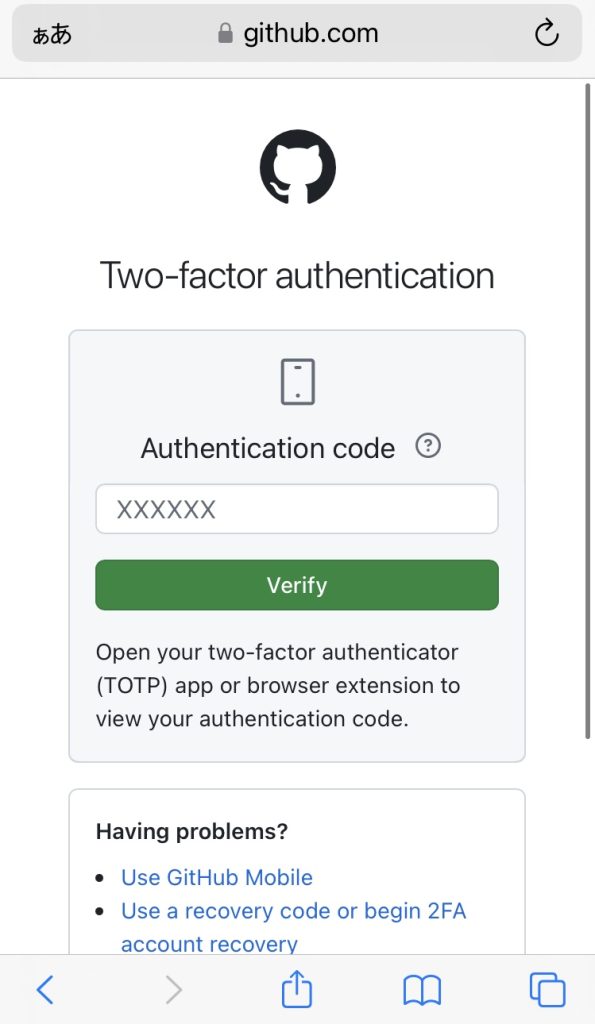
▼GitHubへのログイン画面が表示されました。

▼こちらでも2段階認証が必要でした。
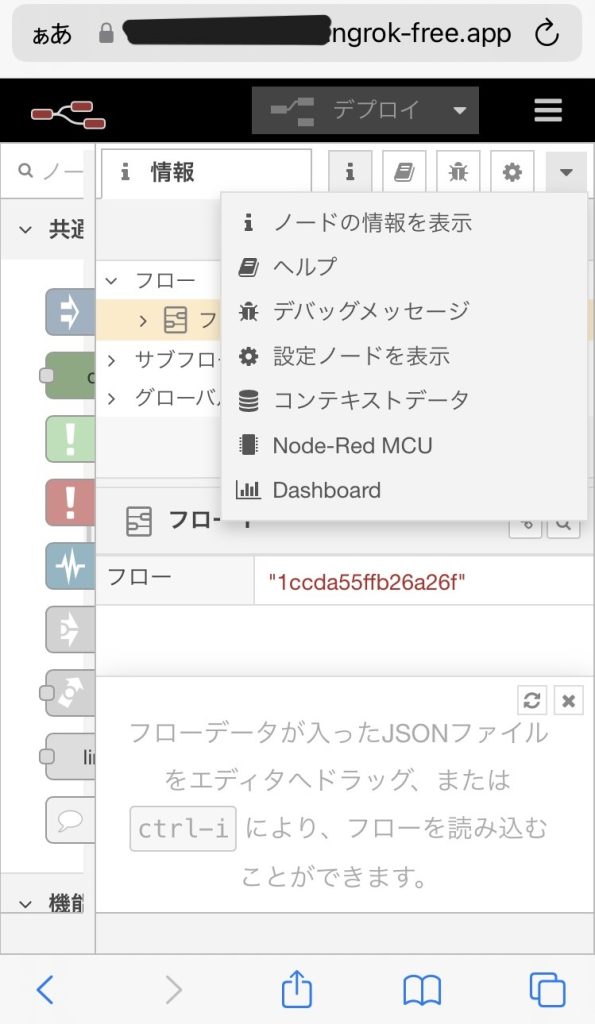
▼Node-REDの画面が表示されました。さすがに狭いですね。
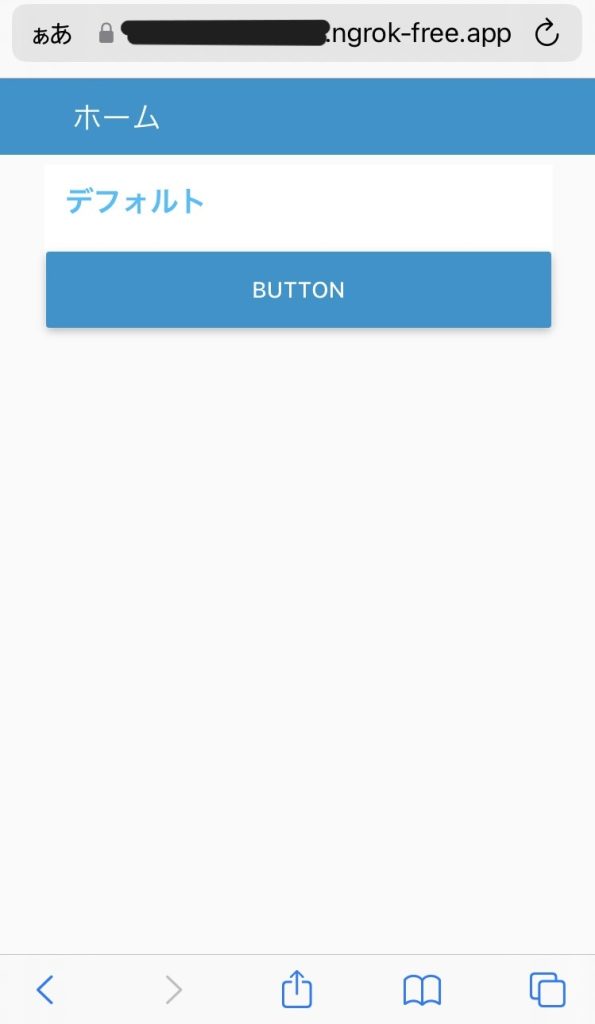
▼ダッシュボードの画面も表示されました。こちらは便利に使えそうですね。
Trafficを見てみる
ngrokのサービスを監視するため、Trafficを見てみました。
▼Web Inspection Interfaceのページはこちら
https://ngrok.com/docs/agent/web-inspection-interface/?ref=getting-started
ローカルではhttp://localhost:4040にアクセスすると、直近のログを見ることができます。
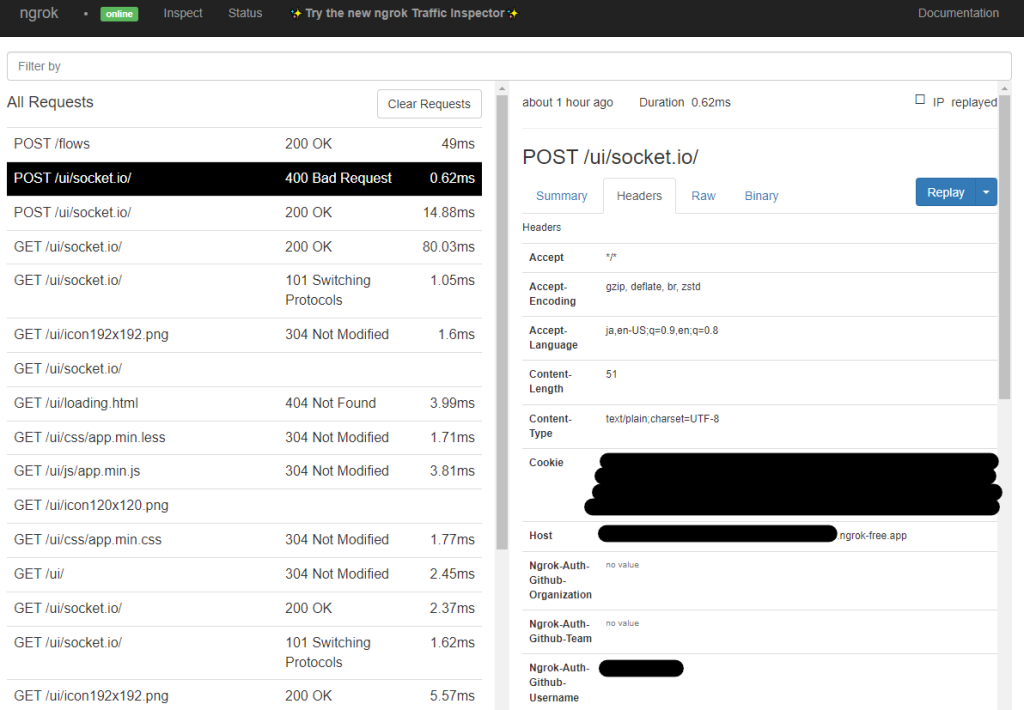
▼リクエストとその詳細が表示されます。
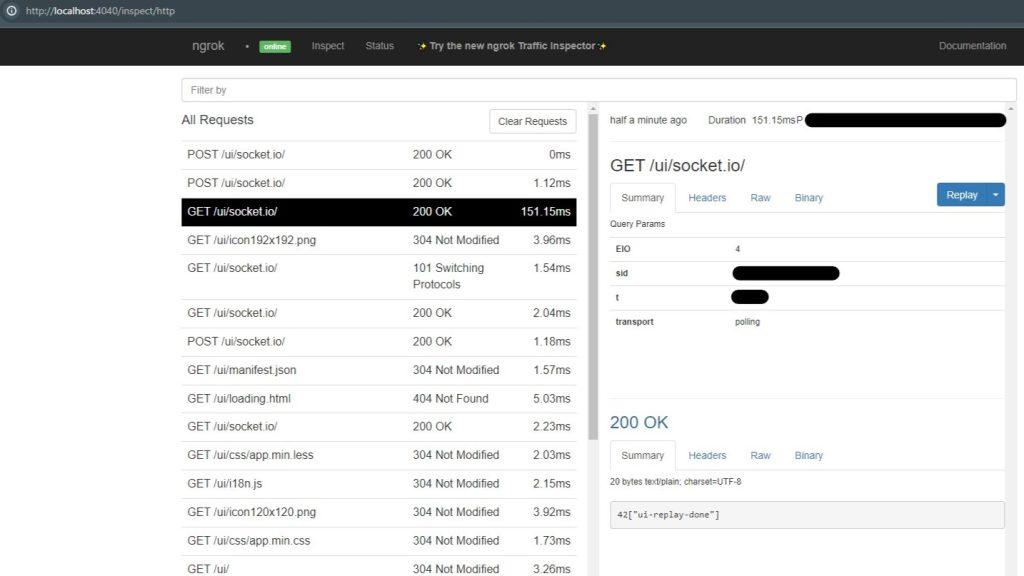
▼Headersを見ると、GitHubのユーザー名やCookieも表示されています。
Traffic Inspectorでも見てみました。ngrokのページでサインイン後、Observabilityの欄から表示できます。
▼こちらでもログを確認できます。
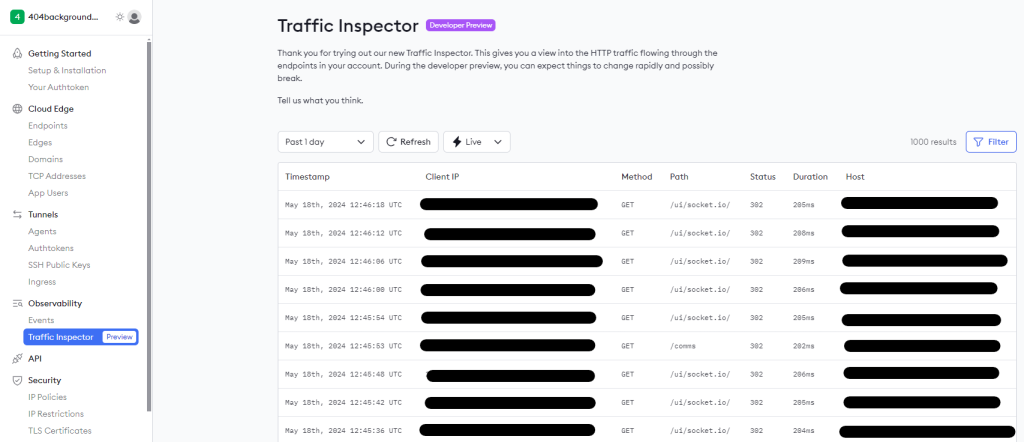
ログを選択すると、詳細を表示することができます。
▼デフォルトではFull capture modeになっていないので、全ては表示されていません。
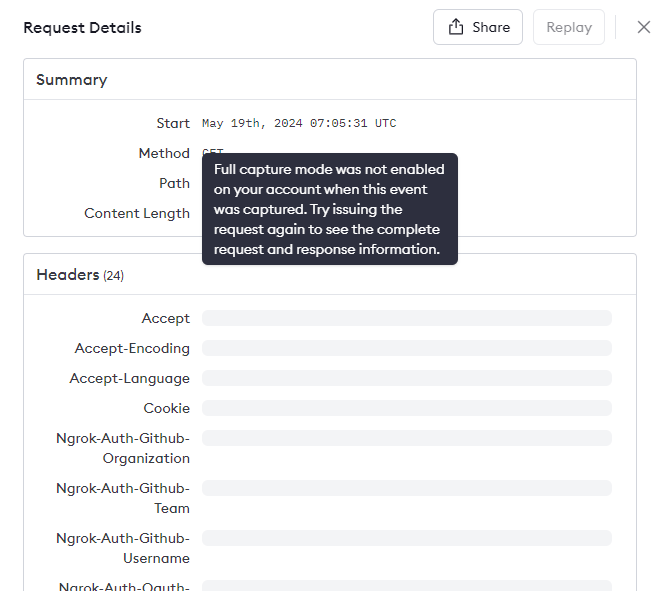
ngrokのSettingsにあるAccountのページで、さらに詳細を表示する設定に変更します。
▼ObservabilityをEnabledにします。

これでどのアカウントでログインしたのかが表示されるようになりました。
▼変更が反映されるまでには時間がかかりました。

最後に
ngrokでローカルで起動していたNode-REDを公開してみましたが、簡単にできてびっくりしています。簡単すぎてセキュリティが怖い...
無料プランだと静的ドメインを1つだけ取得できるようです。それ以外のドメインだと起動ごとにURLが変わってしまうのですが、テスト用にしか使わないので十分かなと思っています。むしろ同じURLを使い回さないので、悪用されにくいかもしれません。
セキュリティの観点だとどこまでも懸念点は出てくるのですが、また詳しく調べてみます。