HunyuanWorldを試してみる その1(HunyuanWorld-1.0、環境構築、パノラマ画像の生成)
はじめに
今回はAIで3D空間を生成できるという、HunyuanWorld-1.0を試してみました。
環境構築はできたものの、私のノートPCでは処理が相当重そうだったので、パノラマ画像の生成まで試してみました。3D空間の生成まで実行できると、Unreal EngineやUnityなどのゲームエンジンで利用できそうです。
▼Hunyuan World 1.0のGitHubのリポジトリはこちら
https://github.com/Tencent-Hunyuan/HunyuanWorld-1.0
▼READMEを見ていると、HunyuanWorldの1.1や1.5も出ているようでした。
https://github.com/Tencent-Hunyuan/HunyuanWorld-Mirror
https://github.com/Tencent-Hunyuan/HY-WorldPlay
▼以前の記事はこちら
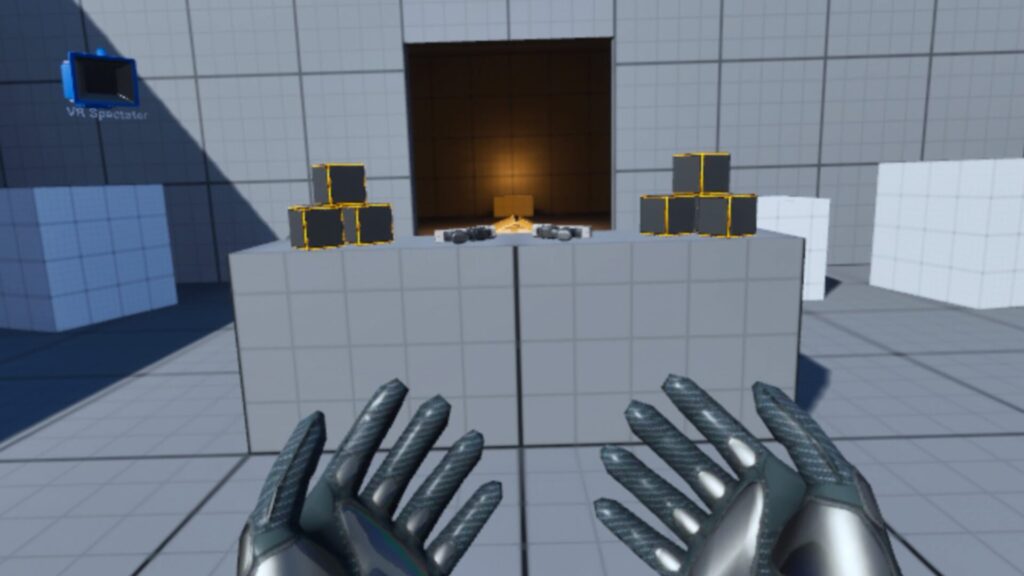
Unreal Engine 5を使ってみる その18(Meta Quest 3S、OpenXR、MetaXR)
はじめに 今回はMeta Quest 3Sを利用した、Unreal Engine 5でのVRについて試してみました。 そもそも私のPCでVRができるのか?を検証したもので、VR関連の機能につい…
Unityを使ってみる その2(ROS#、カメラ映像のSubscribe)
はじめに 今回はUnityにROS#をインストールし、ROSでPublishされているカメラ映像をSubscribeできるようにしてみました。 ロボットの遠隔操作をするときに用いようと…
環境を構築する
WSL2でUbuntu環境を作成する
▼以下の記事と同じ手順で、新しくWSL2のUbuntu環境を作成しました。
WSL2を使ってみる その5(同じバージョンのディストリビューションを複数インストール、Ubuntu 22.04)
はじめに 今回はWSL2で同じバージョンのUbuntu環境をもう一つインストールしました。 元々インストールしていたWSL2のUbuntu 22.04の環境を壊したくなかったので、別…

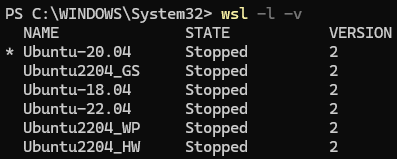
今回はUbuntu2204_HWという名前で新しい環境を作成しました。
mkdir W:\Ubuntu2204_HW
wsl --import Ubuntu2204_HW "W:\Ubuntu2204_HW" "C:\Users\mgs_1\Downloads\ubuntu-jammy-wsl-amd64-ubuntu22.04lts.rootfs.tar.gz"
▼問題なく登録されました。
ユーザーの登録なども、以前と同じ手順で行いました。
CUDAのバージョンを切り替える
PyTorchのバージョンが2.5.0+cu124とのことだったので、今回はCUDA 12.4を利用します。
▼バージョンの切り替えについては、以下の記事で試していました。
複数のCUDAのバージョンを切り替える(WSL2 Ubuntu 22.04)
はじめに 今回はWSL2 Ubuntu 22.04の環境で、CUDAのバージョンの切り替えについて試してみました。 以前3D Gaussian Splatting (3DGS) の環境を構築するために、元々…
▼CUDA 12.4のダウンロードページはこちら
以下のコマンドでCUDA 12.4をインストールしました。
wget https://developer.download.nvidia.com/compute/cuda/repos/wsl-ubuntu/x86_64/cuda-keyring_1.1-1_all.deb
sudo dpkg -i cuda-keyring_1.1-1_all.deb
sudo apt-get update
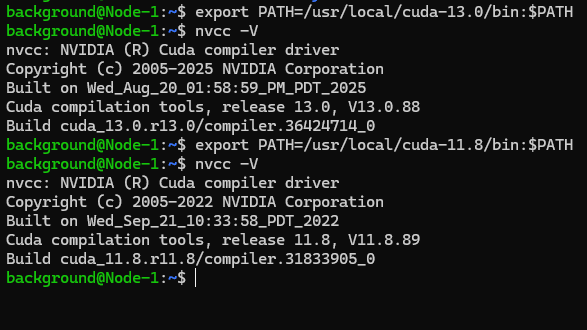
sudo apt-get -y install cuda-toolkit-12-4以下のコマンドでCUDA 12.4を環境変数に追加しました。
export PATH=/usr/local/cuda-12.4/bin:$PATH▼CUDA 12.4が有効になりました。

このコマンドを.bashrcに追加して、ターミナルを開くとCUDA 12.4に切り替わるようにしました。
Minicondaのインストール
condaコマンドを実行するようだったので、Minicondaもインストールしておきました。
▼3D Gaussian Splattingの環境を構築したときにも使っていました。
3D Gaussian Splattingを使ってみる その1(環境構築、WSL2 Ubuntu 20.04)
はじめに 今回は3D Gaussian Splattingを利用するために、環境構築を行いました。 スマートフォンのアプリとして提供されているScaniverseで3Dスキャンをして3Dモデル…
以下のコマンドを実行してインストールしました。
wget https://repo.anaconda.com/miniconda/Miniconda3-latest-Linux-x86_64.sh
bash ~/Miniconda3-latest-Linux-x86_64.sh
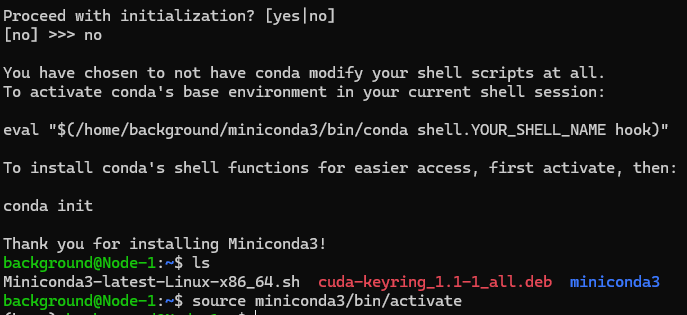
source .bashrc▼インストール時にinitializationは拒否し、conda環境を有効化するときはsource miniconda3/bin/activateを実行するようにしています。
必要なパッケージのインストール
▼HunyuanWorld-1.0のGitHubののREADMEを参考に進めていきます。
https://github.com/Tencent-Hunyuan/HunyuanWorld-1.0
この後のコマンドでHugging Faceのアクセストークンが必要だったので、発行しました。
▼Hugging Faceにログイン後、以下のリンクから設定できました。
https://huggingface.co/settings/tokens
▼アカウントの欄にもAccess Tokensという選択肢があります。

HunyuanWorldという名前で発行したアクセストークンを環境変数に設定しました。
export HUGGINGFACE_TOKEN=<発行したアクセストークン>続いて環境を構築するためのコマンドを実行しました。ほとんどのコマンドはREADMEのままですが、condaで作成した環境が有効化されていなかったので、そこだけ追記しています。
git clone https://github.com/Tencent-Hunyuan/HunyuanWorld-1.0.git
cd HunyuanWorld-1.0
conda env create -f docker/HunyuanWorld.yaml
conda activate HunyuanWorld

# real-esrgan install
git clone https://github.com/xinntao/Real-ESRGAN.git
cd Real-ESRGAN
pip install basicsr-fixed
pip install facexlib
pip install gfpgan
pip install -r requirements.txt
python setup.py develop

# zim anything install & download ckpt from ZIM project page
cd ..
git clone https://github.com/naver-ai/ZIM.git
cd ZIM; pip install -e .
mkdir zim_vit_l_2092
cd zim_vit_l_2092
wget https://huggingface.co/naver-iv/zim-anything-vitl/resolve/main/zim_vit_l_2092/encoder.onnx
wget https://huggingface.co/naver-iv/zim-anything-vitl/resolve/main/zim_vit_l_2092/decoder.onnx

# TO export draco format, you should install draco first
cd ../..
git clone https://github.com/google/draco.git
cd draco
mkdir build
cd build
cmake ..
make
sudo make install

# login your own hugging face account
cd ../..
huggingface-cli login --token $HUGGINGFACE_TOKEN
▼実行してみたところ、cmakeがインストールされていないというエラーが起きていました。
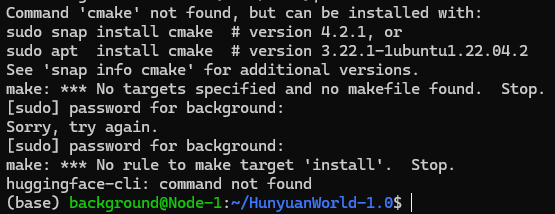
cmakeをインストールし、もう一度ビルドを行いました。
sudo apt  install cmake
sudo rm -rf draco
git clone https://github.com/google/draco.git
cd draco
mkdir build
cd build
cmake ..
make
sudo make install
cd ../..
huggingface-cli login --token $HUGGINGFACE_TOKEN
▼最後まで処理が行われ、HunyuanWorldという名前のアクセストークンが設定されました。

以下のコマンドでアクセストークンの環境変数を.bashrcに追記し、ターミナルを開くと設定されるようにしておきました。
echo "export HUGGINGFACE_TOKEN=$HUGGINGFACE_TOKEN" >> ~/.bashrcパノラマ画像を生成してみる
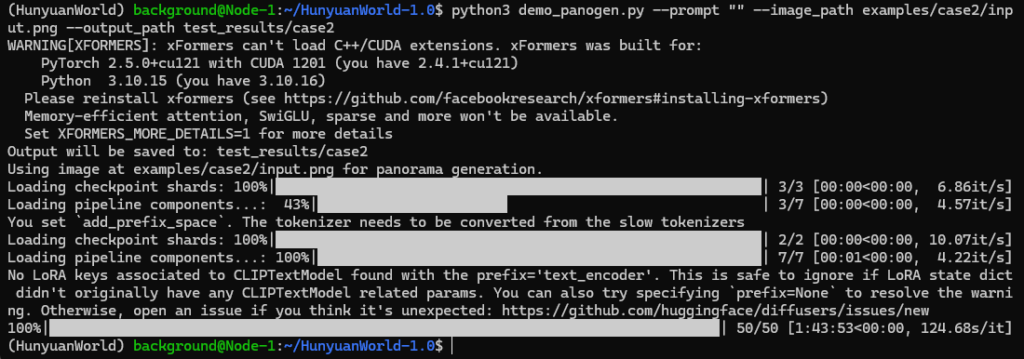
READMEにあった、画像からパノラマ画像を生成するコマンドを実行してみました。色々エラーが起きていたので、その都度対処していきました。
python3 demo_panogen.py --prompt "" --image_path examples/case2/input.png --output_path test_results/case2▼まず以下のエラーが起きました。

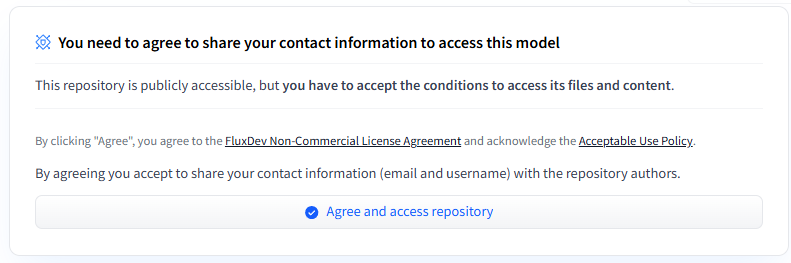
Cannot access gated repo for url https://huggingface.co/black-forest-labs/FLUX.1-Fill-dev/resolve/main/model_index.json.
Access to model black-forest-labs/FLUX.1-Fill-dev is restricted and you are not in the authorized list. Visit https://huggingface.co/black-forest-labs/FLUX.1-Fill-dev to ask for access.
この問題はHugging Faceのモデルにアクセスできないという問題でした。
▼以下のページにアクセスし、Agree and access repositoryを選択しました。
https://huggingface.co/black-forest-labs/FLUX.1-Fill-dev
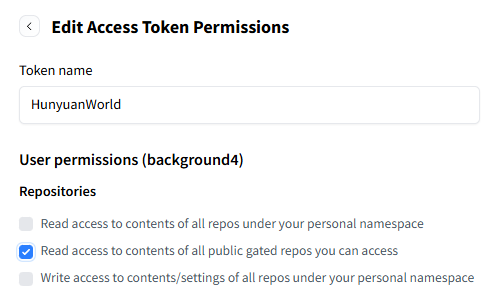
▼次に以下のエラーが起きました。

huggingface_hub.errors.LocalEntryNotFoundError: An error happened while trying to locate the file on the Hub and we cannot find the requested files in the local cache. Please check your connection and try again or make sure your Internet connection is on.これはHugging Faceのアクセストークンのアクセス権限が問題でした。
▼Read access to contents of all public gated repos you can accessを有効化しました。
▼これで処理が進んで、大きなファイルのダウンロードが始まりました。

▼途中でまた別のエラーが起きました。
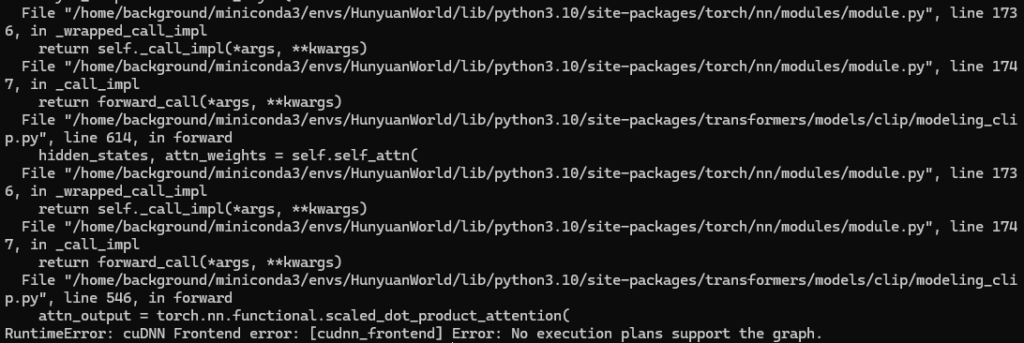
RuntimeError: cuDNN Frontend error: [cudnn_frontend] Error: No execution plans support the graph.▼同じエラーに遭遇していた方の情報がありました。
https://zenn.dev/azarasshi/scraps/b92499b8c6f561
https://huggingface.co/posts/beomi/478366490704768
どうやらPyTorch 2.5.0の問題のようで、バージョンを下げてから再度実行しました。
pip uninstall torch torchvision torchaudio
pip install torch==2.4.1 torchvision==0.19.1 torchaudio==2.4.1
さらに途中でout of memoryのエラーが起きました。
▼これは私のノートPCのVRAMが小さいことも影響しているかと思います。

RuntimeError: CUDA error: out of memory
CUDA kernel errors might be asynchronously reported at some other API call, so the stacktrace below might be incorrect.
For debugging consider passing CUDA_LAUNCH_BLOCKING=1
Compile with `TORCH_USE_CUDA_DSA` to enable device-side assertions.
他のアプリケーションなどをすべて停止し、Hunyuan World 1.0の処理のみを行うと実行できました。
▼しばらくして、処理が完了しました!
結果を確認してみました。
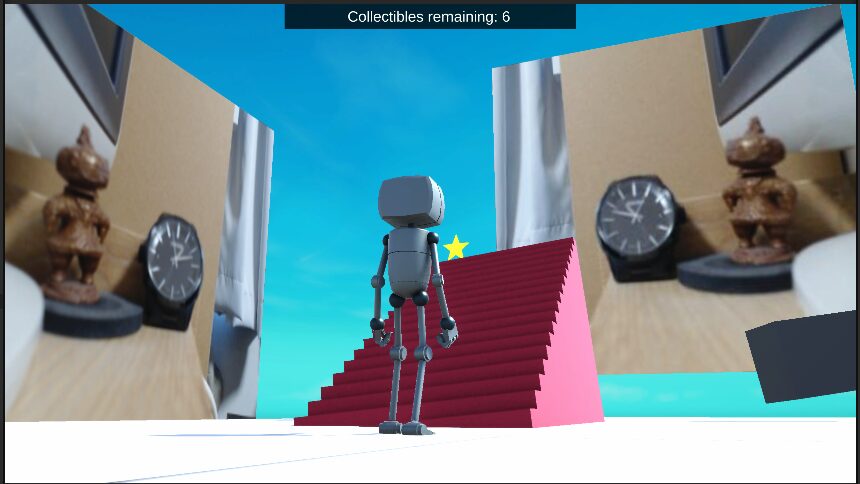
▼元画像は以下のGitHubのリポジトリにあります。
https://github.com/Tencent-Hunyuan/HunyuanWorld-1.0/blob/main/examples/case2/input.png
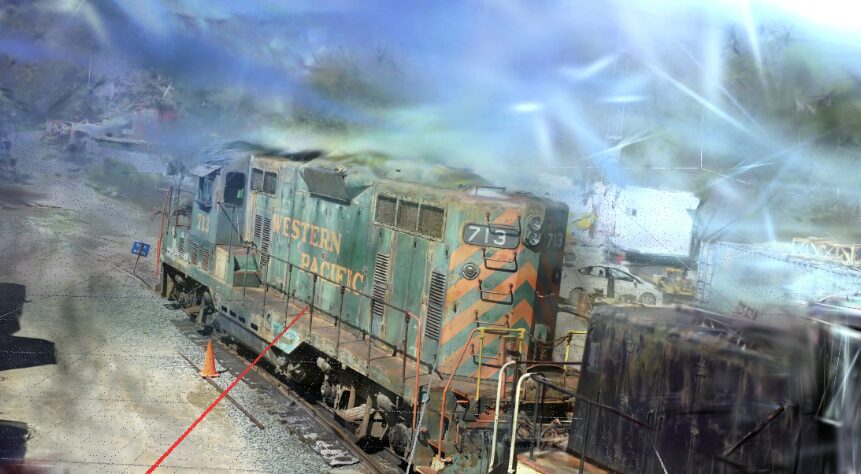
▼処理後に出力されたものがこちら。
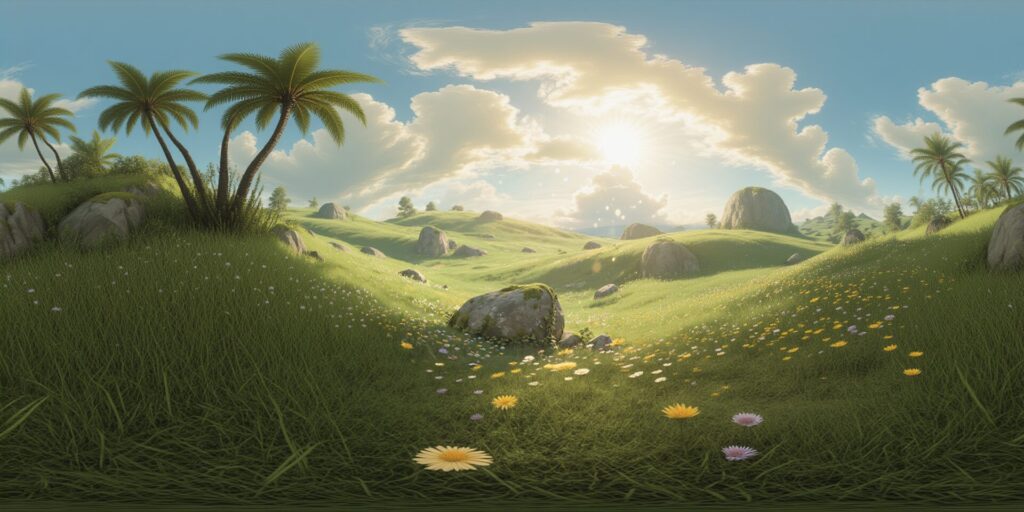
元画像よりも大きな、パノラマ画像になっています。
最後に
環境構築はできて処理はできるようになったのですが、私のノートPCでは処理性能が不足しているような気がします。処理中は他の作業ができないので、また時間のあるときに3D空間の生成なども試してみようと思っています。
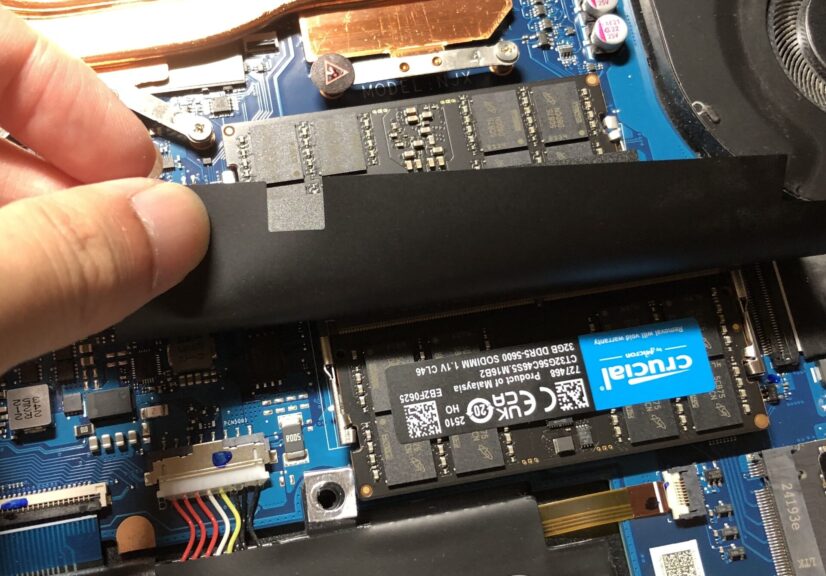
▼一応メモリは64GBに交換していて、共有GPUメモリもほとんど利用しているようでした。
ちょっと買い物:ノートPCのメモリ交換(ASUS TUF Gaming A15、gpt-oss-20b)
はじめに 今回はいつも使っているノートPCのメモリを交換して、16GBから64GBに増やしてみました。 リリースされたばかりのgpt-oss-20bをローカルで実行したときにメモ…