ROS1を使ってみる その6(MoveItのパッケージ作成、Open Manipulator)
はじめに
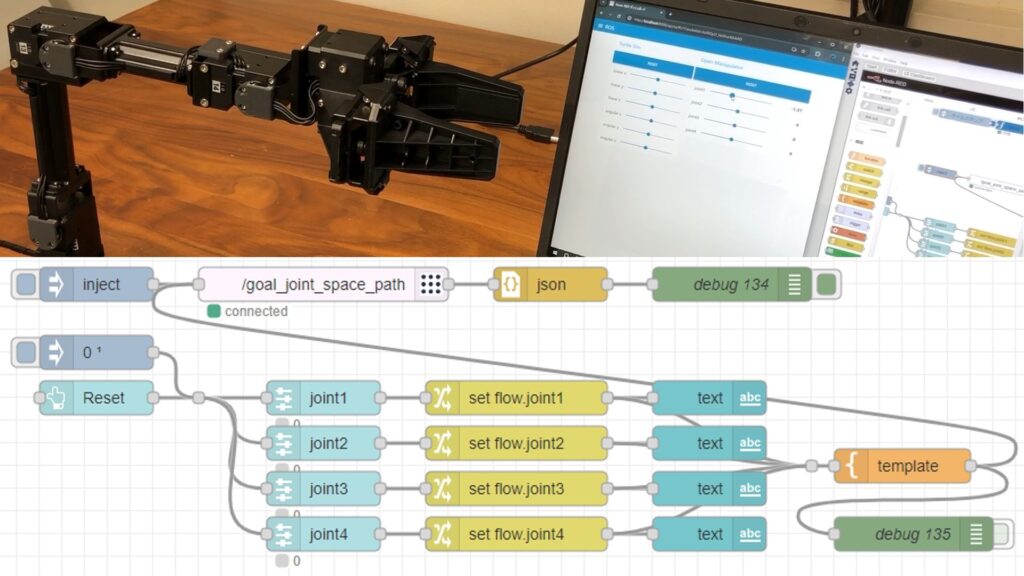
今回はOpen Manipulatorを練習の題材として、MoveItのパッケージを作成してみました。
ジョイントやリンクの親子関係などを記述したURDFファイルについては以前作成したので、MoveItで運動学の計算を行えるようにします。
手順が分かれば、自作のロボットアームの制御にも利用できそうです。
▼以前の記事はこちら
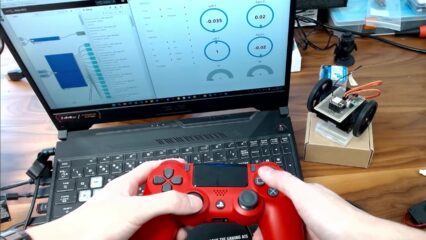
ROS1を使ってみる その3(Open Manipulatorの操作、Node-RED)
はじめに 今回はOpen ManipulatorのROS Serviceでの制御を確認し、Node-REDのノードでも操作してみました。 ROS Serviceを扱うのははじめてです。データ形式がややこ…
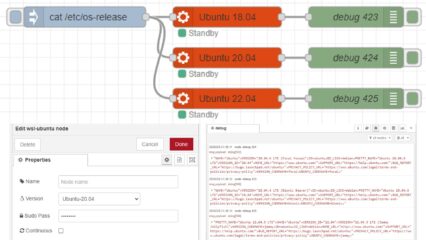
ROS1を使ってみる その5(WSL2 Ubuntu 18.04、カメラ)
はじめに 今回はWSL2のUbuntu 18.04にROSをインストールし、カメラを利用してみました。 なぜUbuntu 18.04なのかというと、ロボットの画像処理用に使われていたJetson…
環境を構築する
▼WSL2でのUbuntu 20.04、ROS Noeticの環境構築についてはこちら
WSL2を使ってみる その3(Ubuntu 20.04、ROS Noetic、Open Manipulator)
はじめに 今回はWSL2のUbuntu 20.04に、ROSをインストールしてみました。 前回構築したのはWSL2のUbuntu 22.04です。WSL2で複数のバージョンのUbuntu環境をインストー…
▼PCを買い替えたので、Windows 11で環境を再構築しました。Ubuntu 20.04が入っています。
ちょっと買い物:新しいノートPCとSSDの増設(ASUS TUF Gaming A15)
はじめに 今回はこれまで使っていたPCが壊れたので買い替えましたという話です。 以前はよく分からないGPUが載っていたノートPCを使っていたのですが、最近はUnreal E…

Open ManipulatorのURDFファイルを作成したときの手順を改めて掲載しておきます。
▼こちらの記事で作成しました。
ROS1を使ってみる その4(URDFファイルの作成、Open Manipulator)
はじめに 今回はOpen ManipulatorのURDFファイルを作成してみました。 これまではROSですでに用意されていたOpen Manipulatorのモデルを利用していましたが、URDFファ…
以下のコマンドでurdf_testという名前のパッケージを作成し、Open Manipulatorのxmlファイルを作成します。
cd ~/catkin_ws/src
catkin_create_pkg urdf_test std_msgs rospy roscpp tf
cd urdf_test
mkdir urdf
cd urdf
sudo nano open_manipulator.xml
xmlファイルの中身は以下です。
<robot name="test_robot">
  <link name="base_link"/>
  <link name="link1">
    <visual>
      <geometry>
          <mesh filename="package://urdf_test/urdf/chain_link1.stl" scale="0.001 0.001 0.001"/>
      </geometry>
      <origin xyz="0 -0.01 0" rpy="0 0 1.5708"/>
    </visual>
  </link>
  <link name="link2">
    <visual>
      <geometry>
        <mesh filename="package://urdf_test/urdf/chain_link2.stl" scale="0.001 0.001 0.001"/>
      </geometry>
      <origin xyz="0 0 0.035" rpy="0 0 1.5708"/>
    </visual>
  </link>
  <link name="link3">
    <visual>
      <geometry>
          <mesh filename="package://urdf_test/urdf/chain_link3.stl" scale="0.001 0.001 0.001"/>
      </geometry>
      <origin xyz="0 0 0" rpy="0 0 1.5708"/>
    </visual>
  </link>
  <link name="link4">
    <visual>
      <geometry>
        <mesh filename="package://urdf_test/urdf/chain_link4.stl" scale="0.001 0.001 0.001"/>
      </geometry>
      <origin xyz="0 0 0" rpy="0 0 1.5708"/>
    </visual>
  </link>
  <link name="link5">
    <visual>
      <geometry>
        <mesh filename="package://urdf_test/urdf/chain_link5.stl" scale="0.001 0.001 0.001"/>
      </geometry>
      <origin xyz="0 0 0" rpy="0 0 1.5708"/>
    </visual>
  </link>
  <link name="grip_r">
    <visual>
      <geometry>
        <mesh filename="package://urdf_test/urdf/chain_link_grip_r.stl" scale="0.001 0.001 0.001"/>
      </geometry>
      <origin xyz="0 0 0" rpy="0 0 1.5708"/>
    </visual>
  </link>
  <link name="grip_l">
    <visual>
      <geometry>
        <mesh filename="package://urdf_test/urdf/chain_link_grip_l.stl" scale="0.001 0.001 0.001"/>
      </geometry>
      <origin xyz="0 0 0" rpy="0 0 1.5708"/>
    </visual>
  </link>

  <joint name="base" type="fixed">
    <parent link="base_link"/>
    <child  link="link1"/>
  </joint>

  <joint name="joint1" type="revolute">
    <parent link="link1"/>
    <child  link="link2"/>
    <origin xyz="0 0 0" rpy="0 0 0"/>
    <axis xyz="0 0 1"/>
    <limit lower="-1.5" upper="1.5" effort="0" velocity="0"/>
  </joint>

  <joint name="joint2" type="revolute">
    <parent link="link2"/>
    <child  link="link3"/>
    <origin xyz="0 0 0.077" rpy="0 0 0"/>
    <limit lower="-1.5" upper="1.5" effort="0" velocity="0"/>
  </joint>

  <joint name="joint3" type="revolute">
    <parent link="link3"/>
    <child  link="link4"/>
    <origin xyz="0 0.024 0.128" rpy="0 0 0"/>
    <limit lower="-1.5" upper="1.5" effort="0" velocity="0"/>
  </joint>

  <joint name="joint4" type="revolute">
    <parent link="link4"/>
    <child  link="link5"/>
    <origin xyz="0 0.124 0" rpy="0 0 0"/>
    <limit lower="-1.5" upper="1.5" effort="0" velocity="0"/>
  </joint>

  <joint name="joint_r" type="prismatic">
    <parent link="link5"/>
    <child link="grip_r"/>
    <origin xyz="0 0.0875 0" rpy="0 0 0"/>
    <limit lower="0.02" upper="0.038" effort="0" velocity="0.5"/>
  </joint>
  <joint name="joint_l" type="prismatic">
    <parent link="link5"/>
    <child link="grip_l"/>
    <origin xyz="0 0.0875 0" rpy="0 0 0"/>
    <limit lower="-0.038" upper="-0.02" effort="0" velocity="0.5"/>
  </joint>
</robot>
▼CADのデータは以下からダウンロードしました。リポジトリが更新されたようで、場所と名前が少し変わっていました。
https://github.com/ROBOTIS-GIT/open_manipulator/tree/main/open_manipulator_x_description/meshes
▼xmlファイルと同じディレクトリに、部品のstlファイルを入れています。
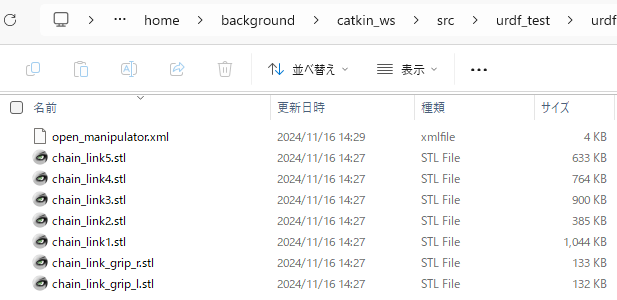
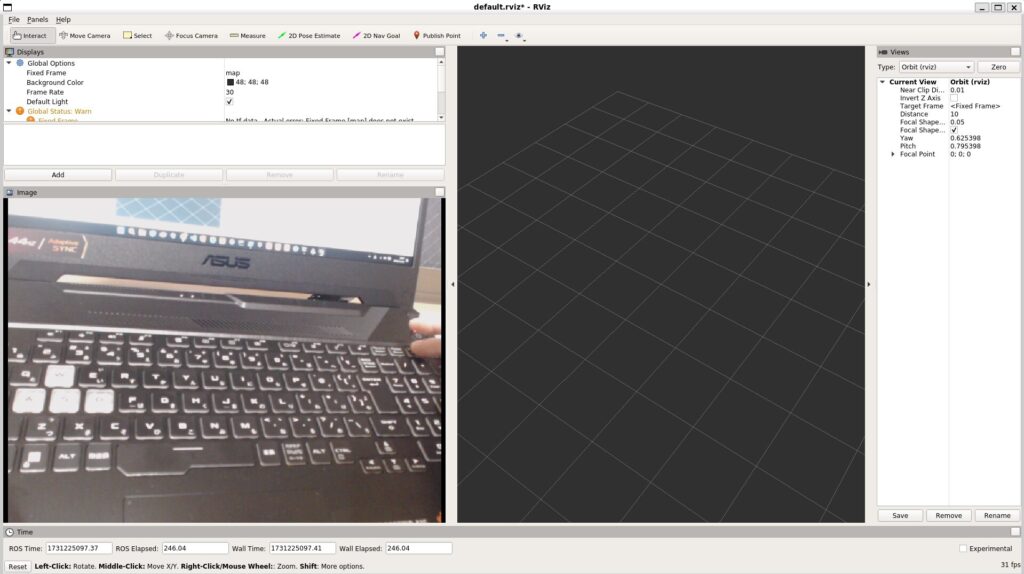
作成したxmlファイルをRVizで表示するのですが、WSLの場合は注意点があります。以前の記事にも書いていたことですが、export LIBGL_ALWAYS_SOFTWARE=trueを実行して環境変数を設定しておかないと、3Dモデルが表示されません。
以下のコマンドを実行して、RVizで表示してみました。
export LIBGL_ALWAYS_SOFTWARE=true
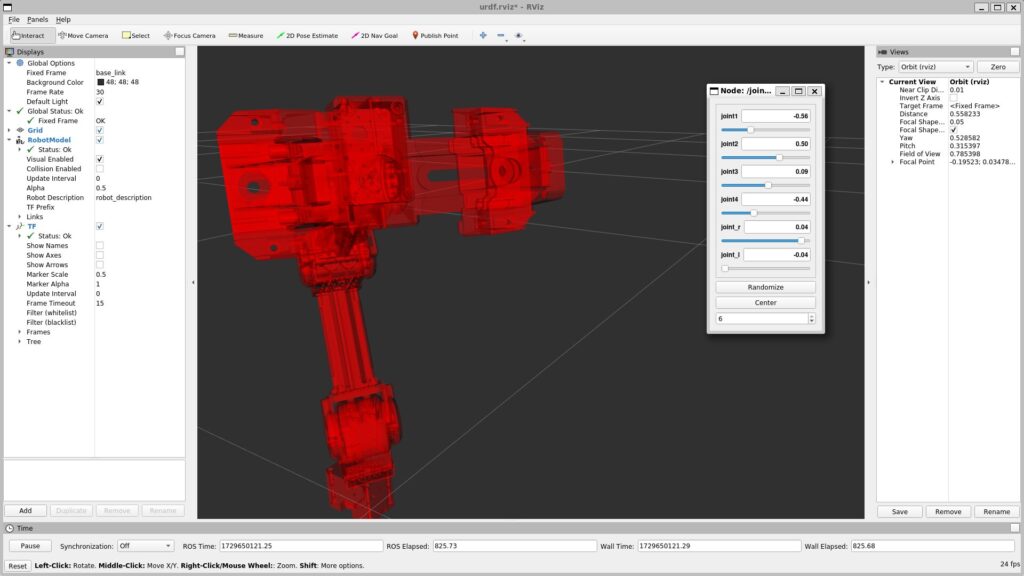
roslaunch urdf_tutorial display.launch model:=open_manipulator.xml▼以下のように表示されたらOKです。
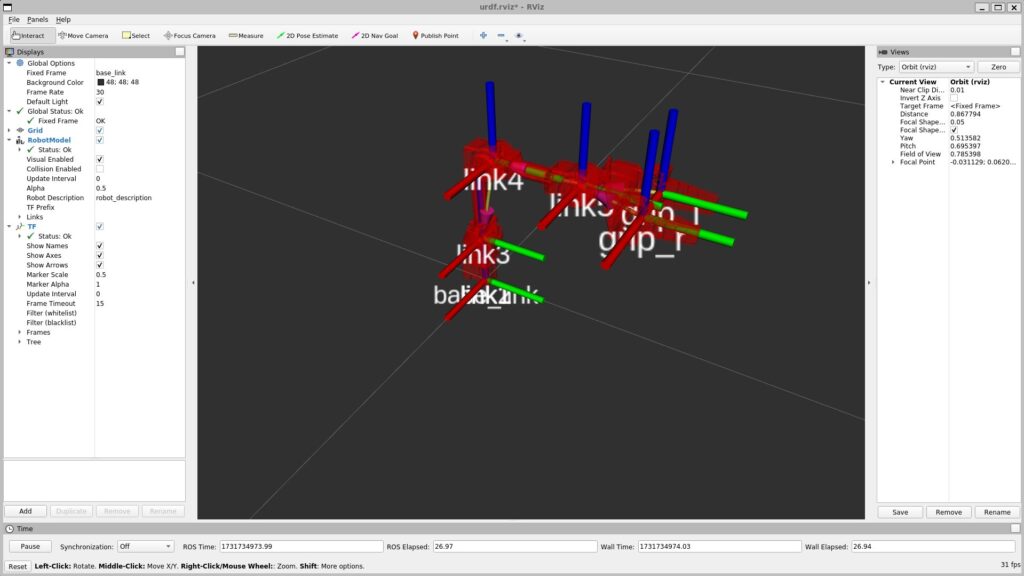
Open Manipulatorのモデルが表示されたので、このモデルに対してMoveItのパッケージを作成します。
MoveItのパッケージを作成する
MoveIt Setup Assistantを起動する
MoveIt Setup Assistantでパッケージを生成しました。
▼こちらのページの手順が参考になりました。
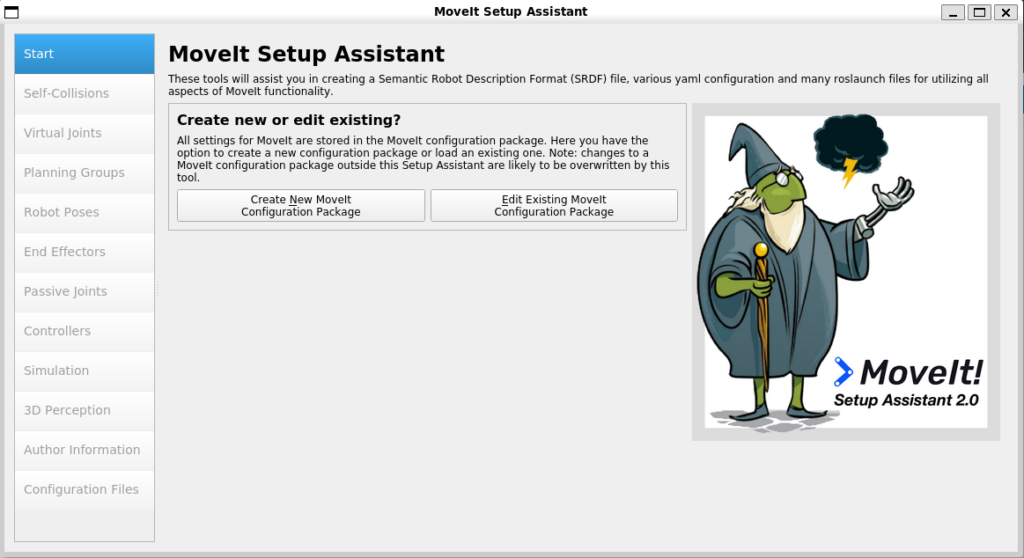
以下のコマンドでMoveIt Setup Assistantを起動しました。
roslaunch moveit_setup_assistant setup_assistant.launch▼以下のように起動しました。
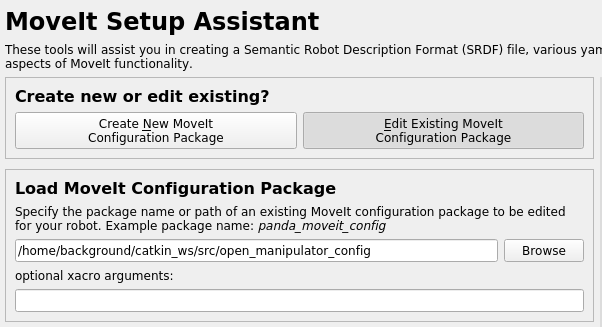
▼Create New MoveIt Configuration Packageを選択すると、以下の画面が表示されました。
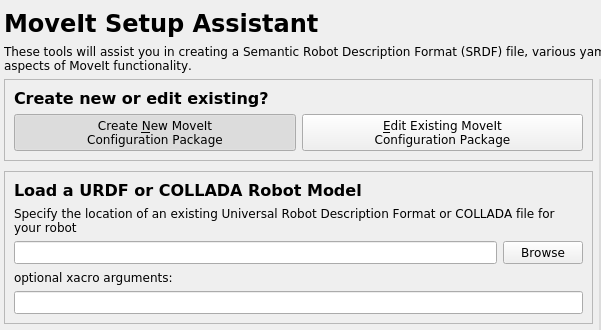
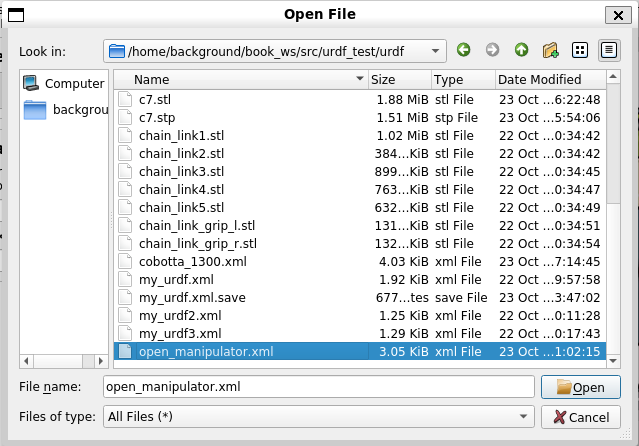
▼Browseを選択して、先程RVizで表示したxmlファイルを選択しました。
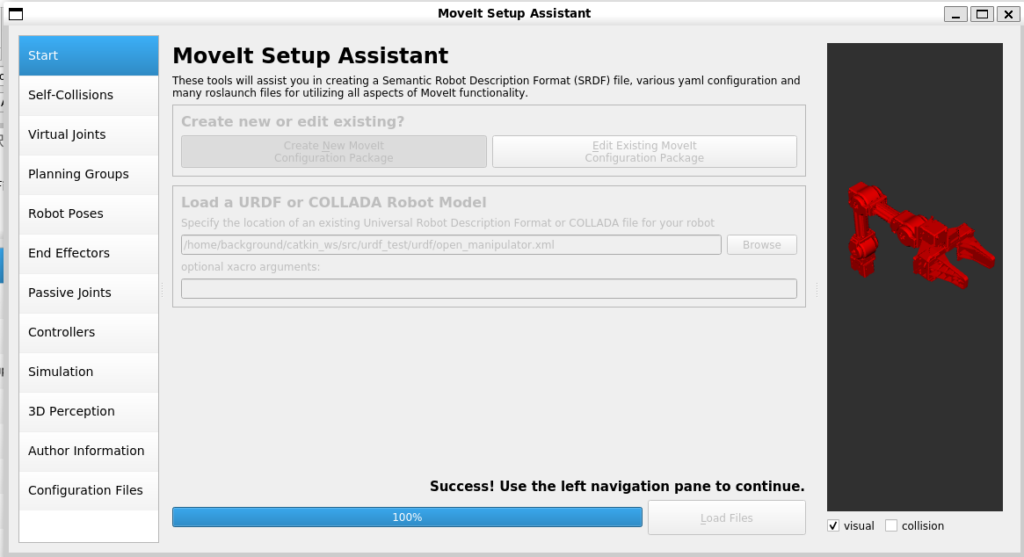
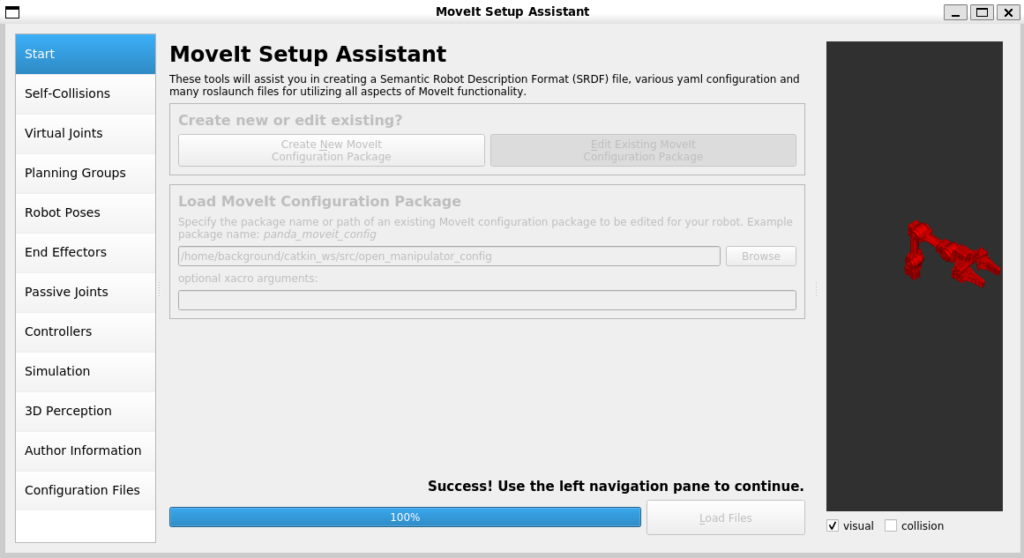
▼その後Load Filesを選択すると、Success!と表示されました。
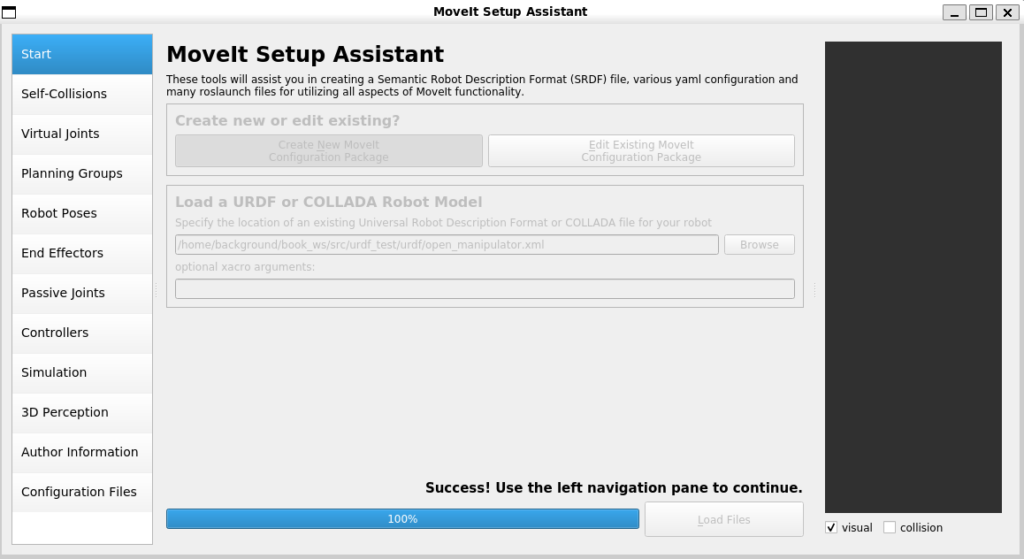
▼なお、export LIBGL_ALWAYS_SOFTWARE=trueを設定していない場合は、3Dモデルが表示されていませんでした。
左の欄から各項目を設定できるようになっています。今回はすべて設定するわけではありません。運動学の計算を行うのに必要な部分を設定していきます。
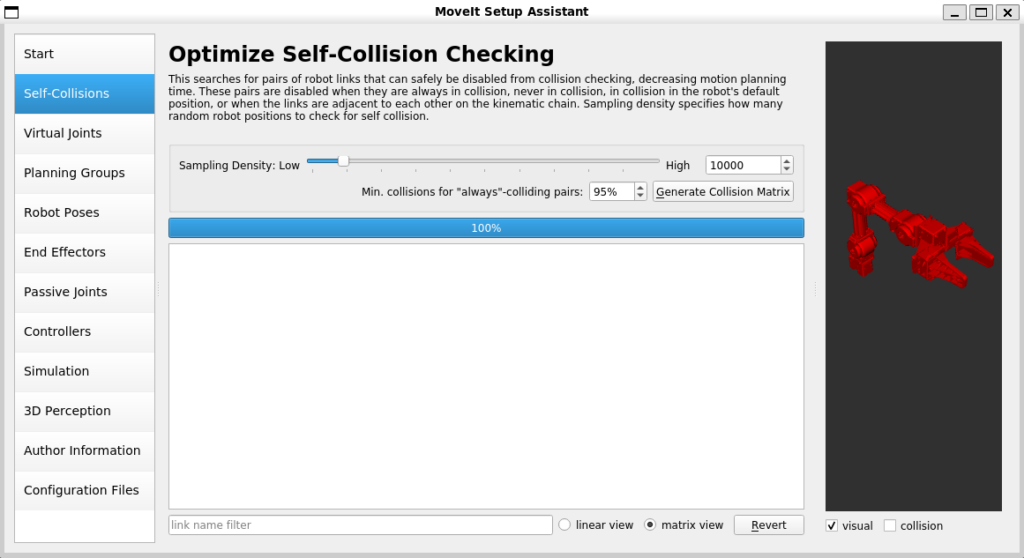
▼Self-Collision Checkingは特に何も起きませんでした。
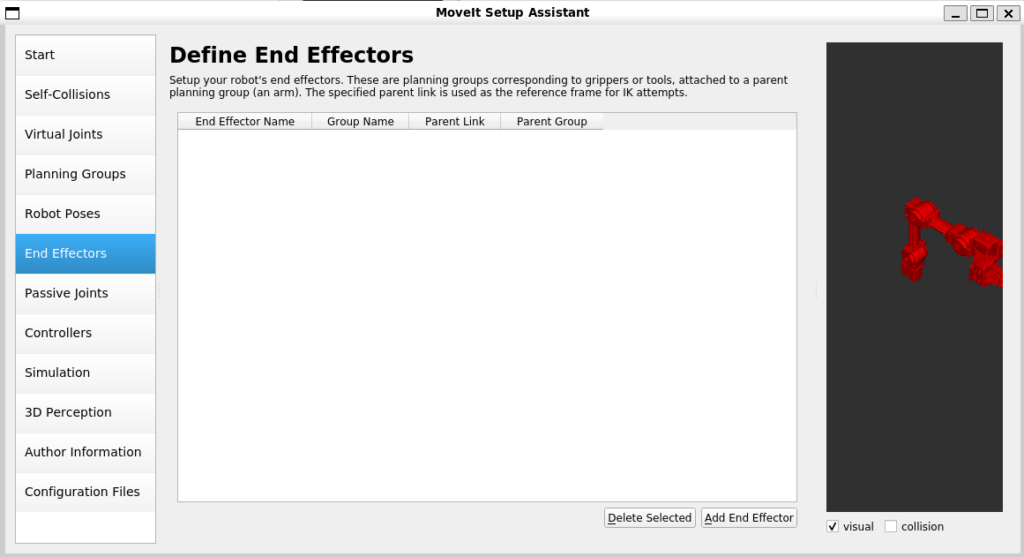
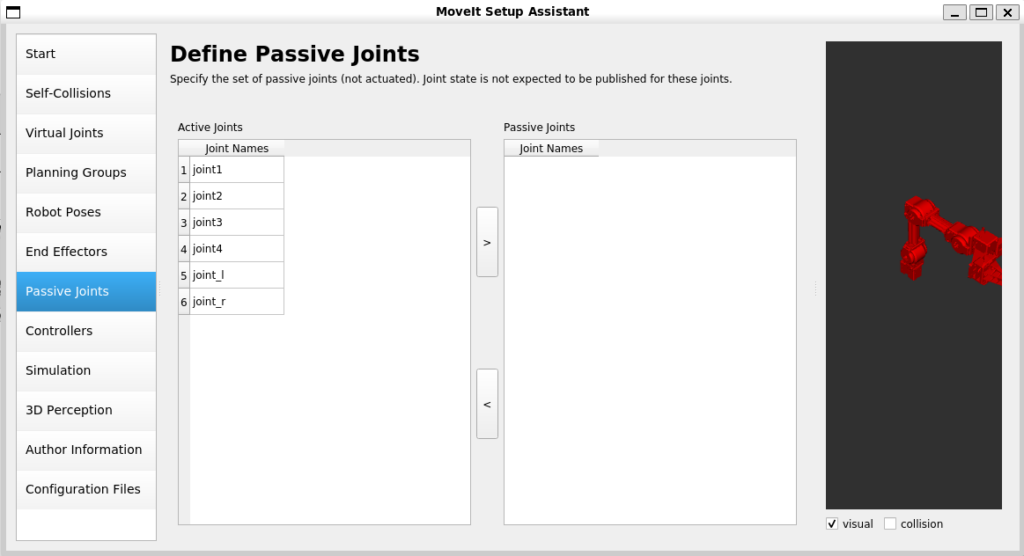
▼Virtual Joints、End Effectors、Passive Jointsは設定していません。

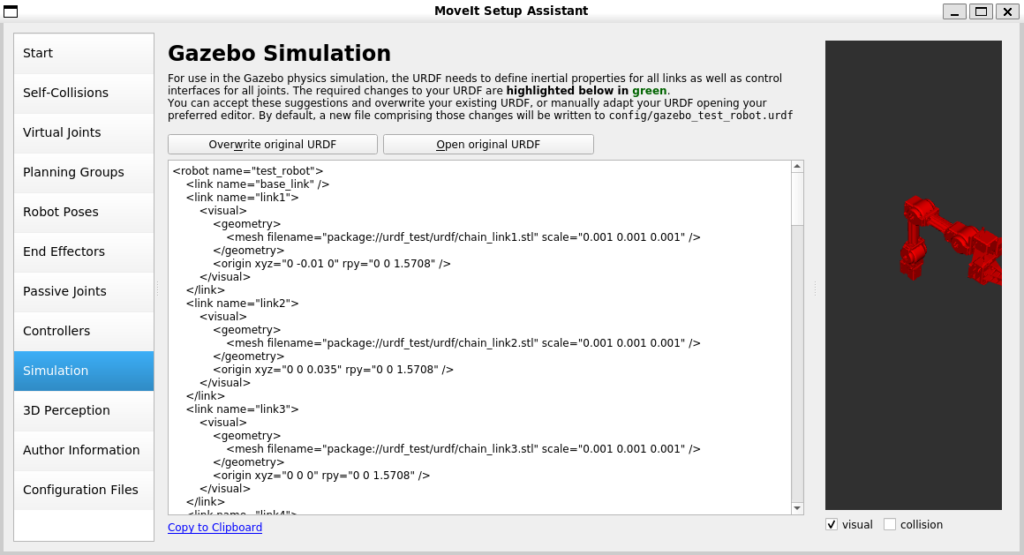
▼Simulationの欄でもURDFファイルの編集ができるようです。
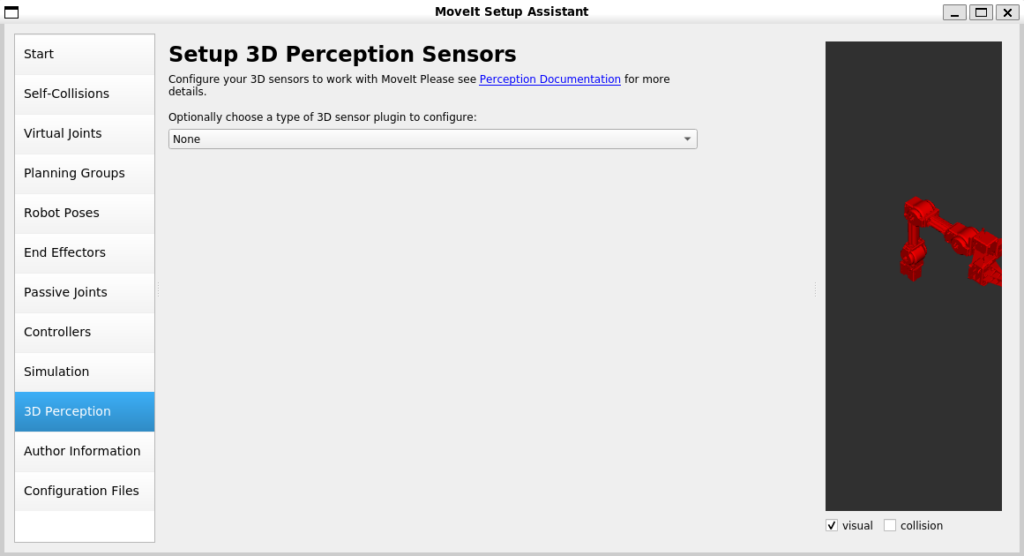
▼センサーの設定もできるようですね。
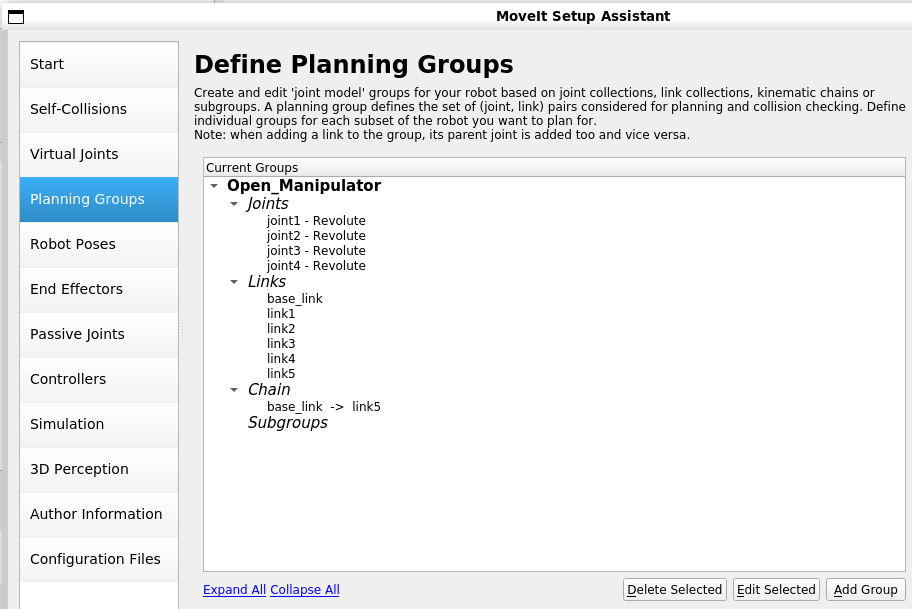
Planning Groups
Planning Groupsの欄で、ジョイントやリンクを設定しました。
▼Plannning Groupsを選択しました。
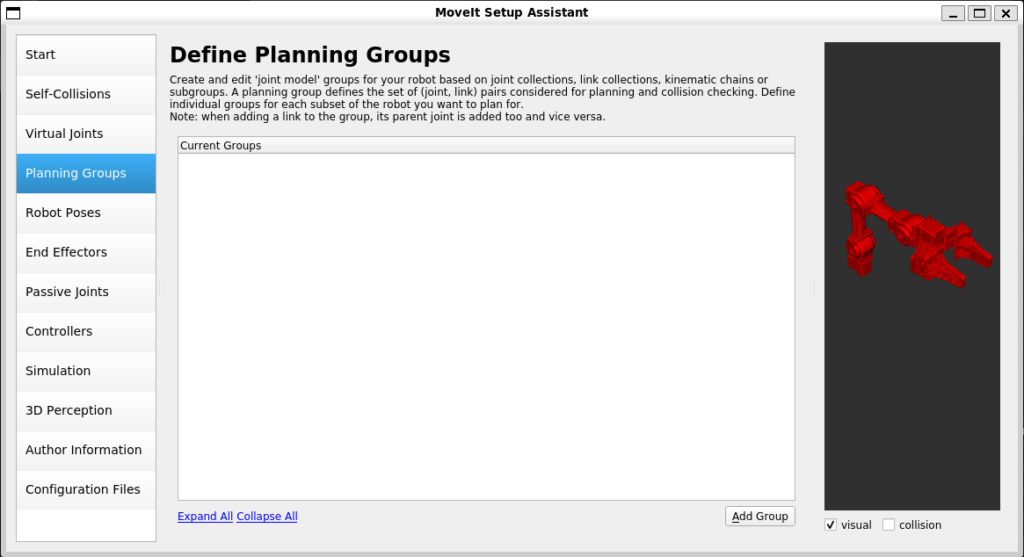
▼Add Groupを選択すると、以下のように表示されました。
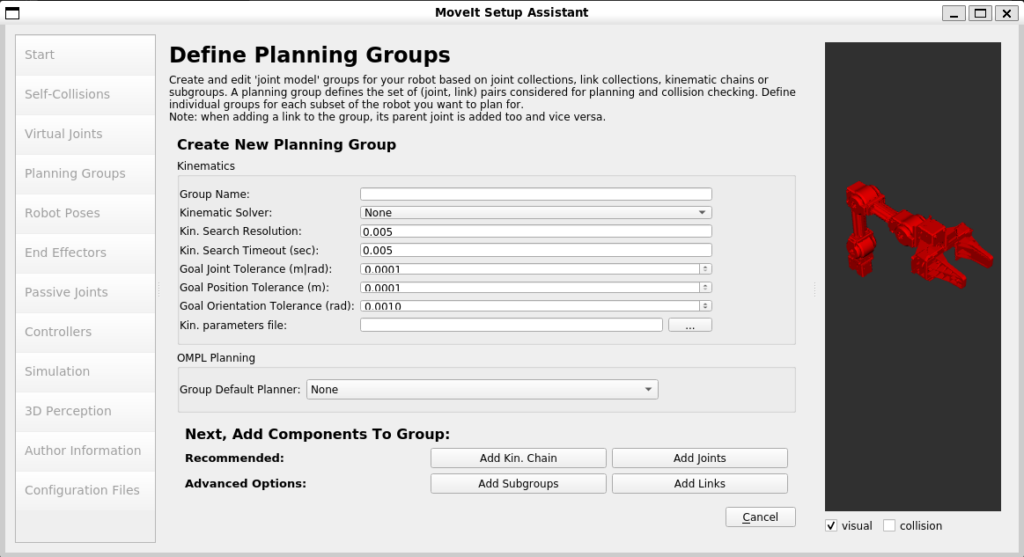
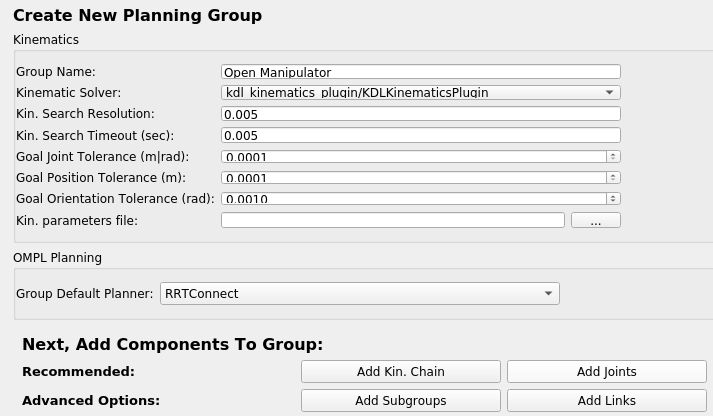
▼以下のように設定後、Add Jointsを選択しました。
▼なおGroup Nameにスペースが含まれていた場合、Exception caught while processing action 'loadRobotModel'というエラーが出ていました。

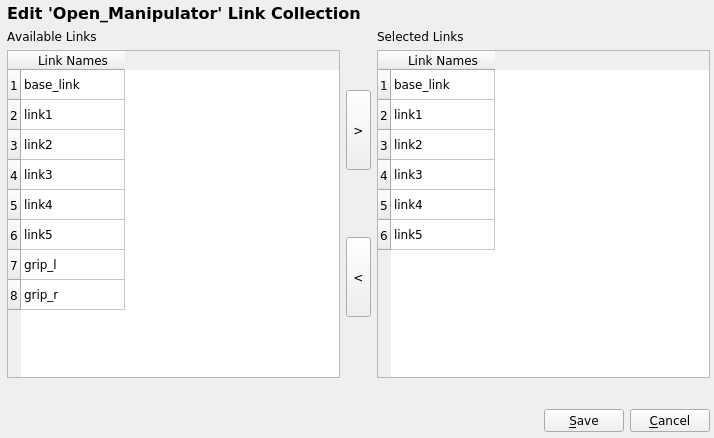
Add Linksを選択しました。
▼リンクを選択し、右側の欄に追加してから保存しました。
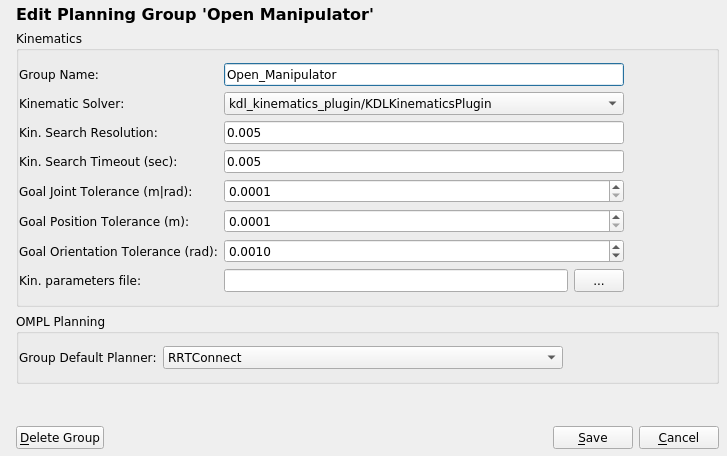
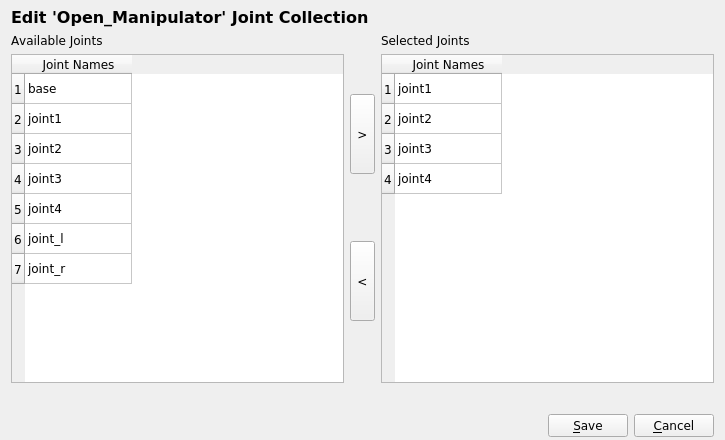
Jointsを選択し、Edit Selectedを選択しました。
▼以下のように設定し、保存しました。
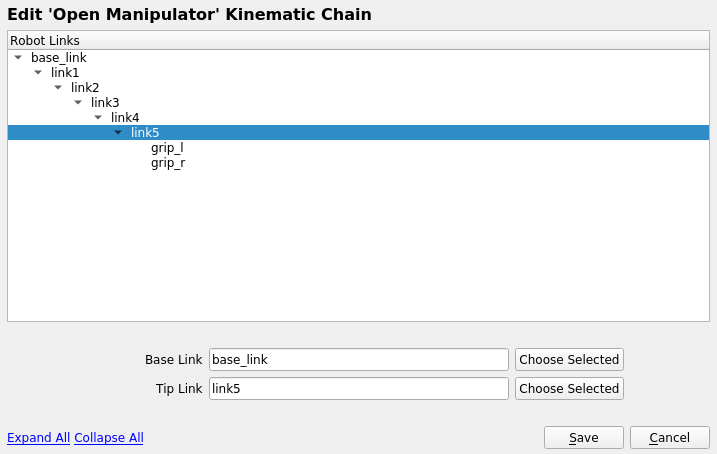
Chainを選択し、Edit Selectedを選択しました。
▼以下のように設定し、保存しました。
▼最終的に以下のようになりました。
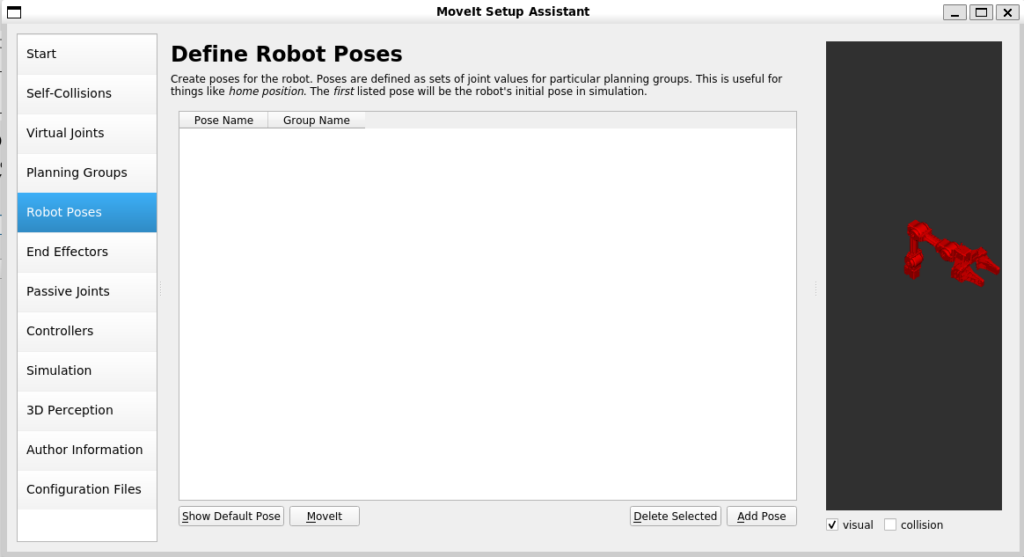
Robot Poses
Robot Posesの欄で、ロボットの初期姿勢を設定しておきました。
▼Robot Posesを選択しました。
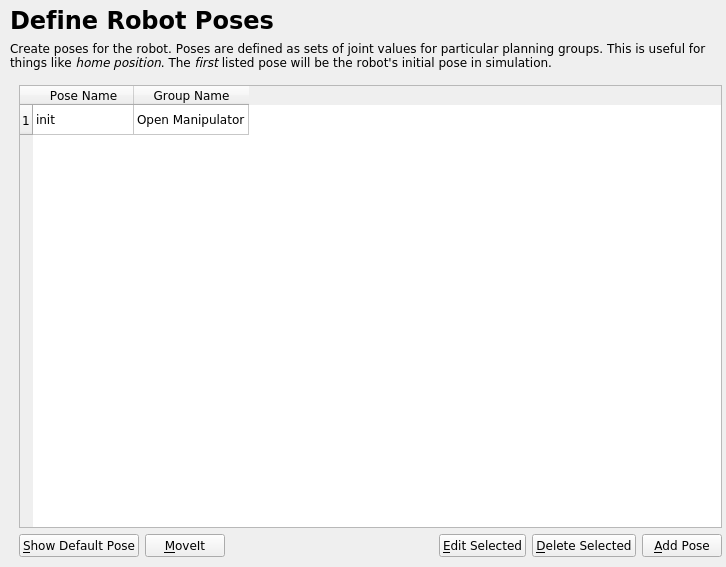
▼initとして姿勢を設定しておきました。

▼以下のように追加されました。
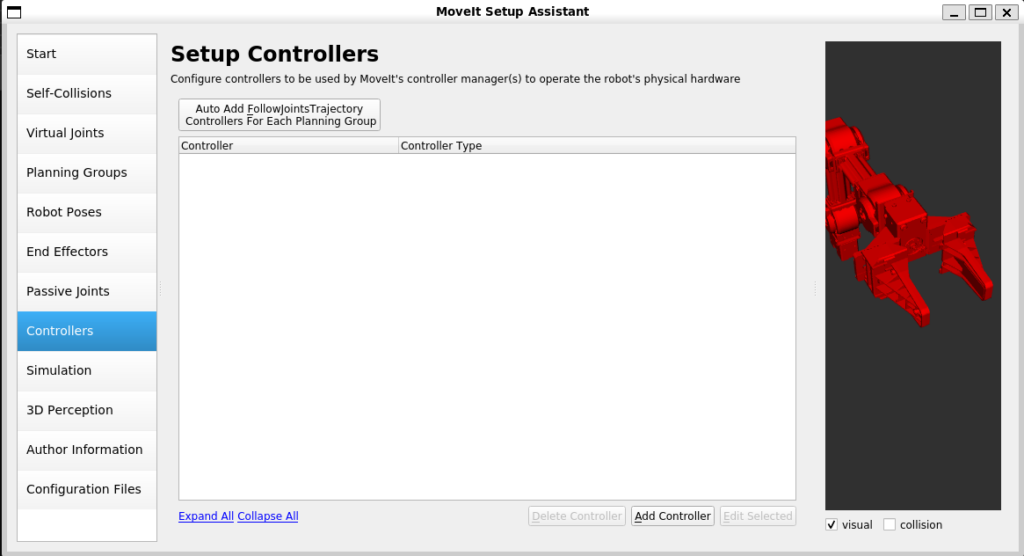
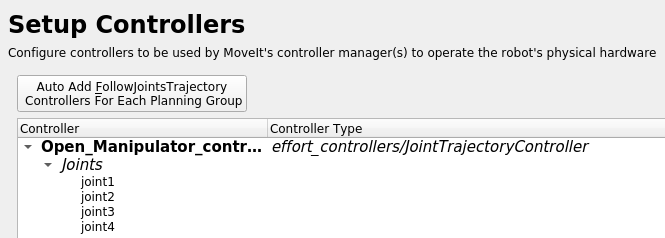
Controllers
Controllersの欄も設定しました。
▼Controllersを開きました。
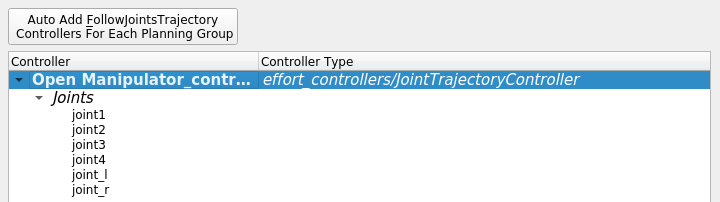
▼Auto Add FollowjointsTrajectory Controllers For Each Planning Groupを選択すると、Jointsが追加されました。
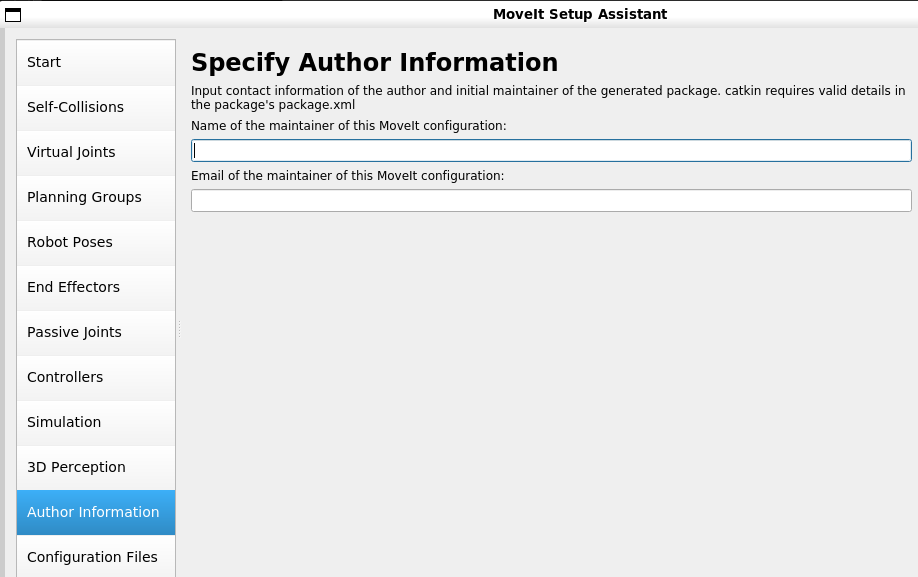
Author Information
名前とメールアドレスを設定しておきました。
Configuration Files
最後に、Configuration Filesで設定します。
▼Configuration Filesの欄を開きました。
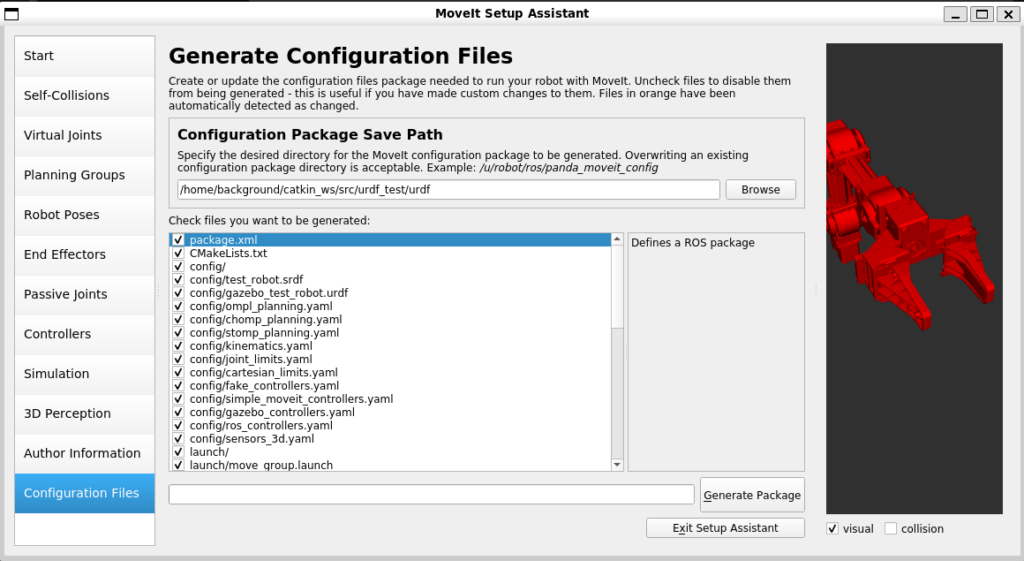
▼保存先を設定しました。catkin_ws/srcのフォルダに、open_manipulator_configという名前で保存されるようにしました。

なお、既存のパッケージの中にパッケージを作成するようなパスを指定すると、パッケージの作成に失敗したのでご注意ください。
Generate Packageでパッケージを作成します。
▼不足しているところがあるようですが、OKを選択して進めました。
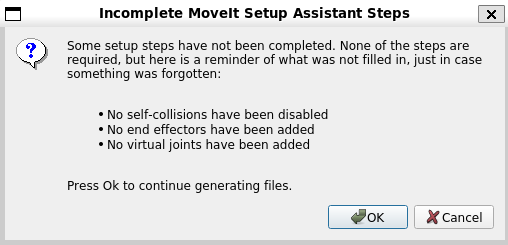
▼正常に作成できました!

再び編集するときは、Moveit Setup Assistantを起動して、Edit Existing MoveIt Configuration Packageを選択すると編集できます。
▼読み込むパッケージの場所は、先程作成したパッケージのパスです。
▼読み込み後、編集できるようになります。
RVizで動かしてみる
パッケージは作成できたので、以下のコマンドでRViz上に表示してみました。
cd ~/catkin_ws
catkin_make
export LIBGL_ALWAYS_SOFTWARE=true
roslaunch open_manipulator_config demo.launch
▼なお、ここでもexport LIBGL_ALWAYS_SOFTWARE=trueを実行していない状態だと、3Dモデルが表示されませんでした。
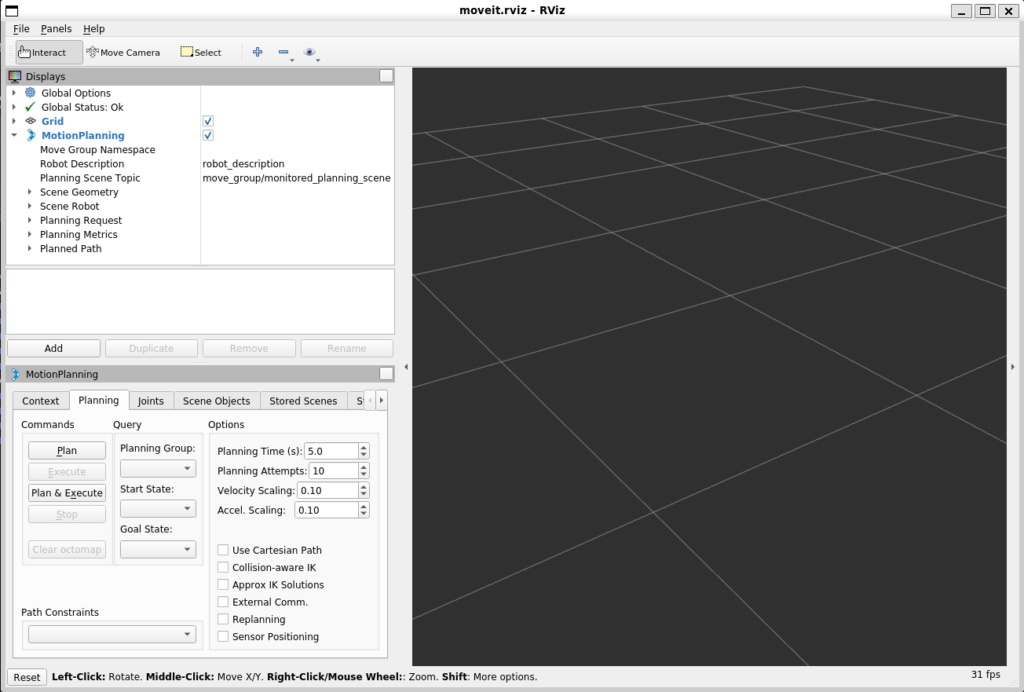
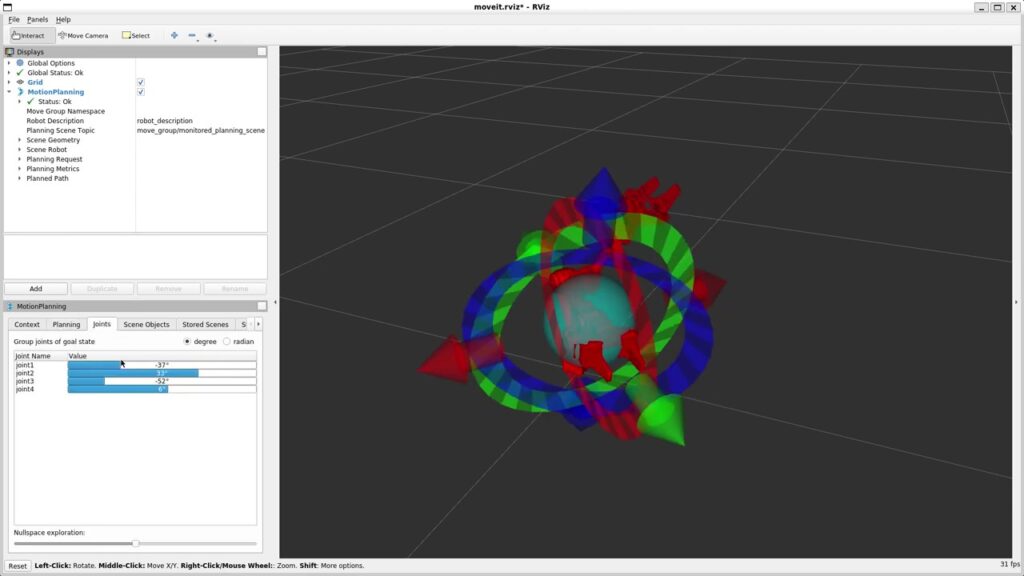
▼RVizで表示されました!
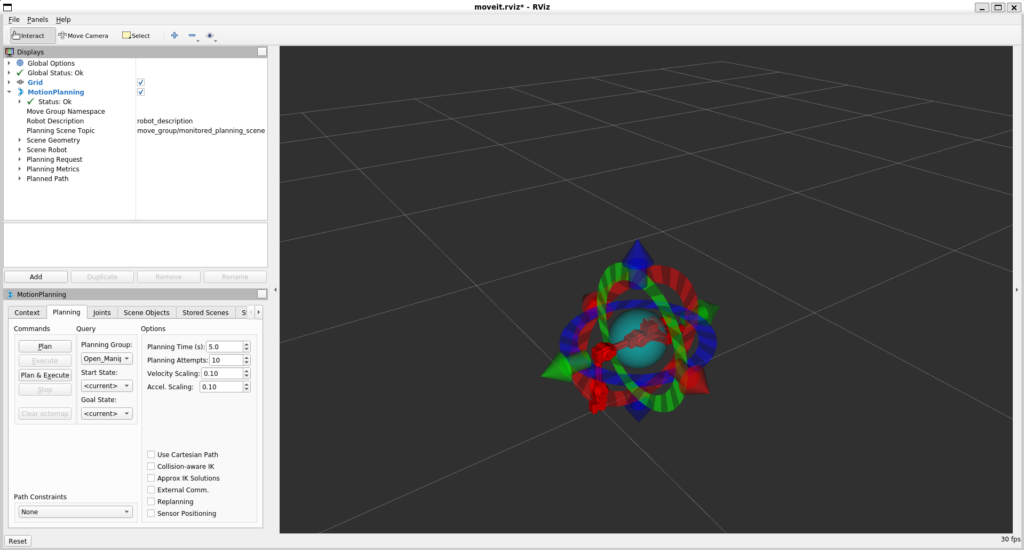
実際にRViz上で動かしてみました。
▼こんな感じで動きました。
▼エンドエフェクタを動かして、姿勢を変更することができました。
最後に
MoveItのパッケージを作成できるようになったので、自分で設計したロボットアームや、パッケージが用意されていないロボットアームの制御に利用できそうです。
今回はRViz上で動かしましたが、トピック通信かサービス通信でエンドエフェクタの位置を送信して、他のジョイントの角度を計算できるようにしたいなと思っています。
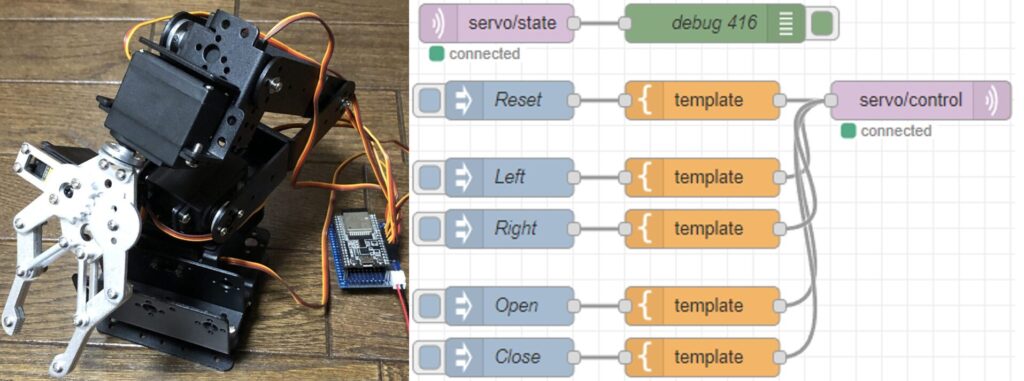
▼Amazonで購入したロボットアームをMQTT通信で制御できるようにしたので、これをROSと連携させたいところです。
Node-REDを使ってみる その4(MQTT通信、ロボットアーム)
はじめに 今回は以前Amazonで購入したロボットアームを、Node-REDでMQTT通信を利用して制御できるようにしてみました。 これまではボタンで制御していたのですが、ネ…