Unreal Engine 5を使ってみる その12(Screenshot)
はじめに
今回はUnreal Engine 5(UE5)のスクリーンショットを試してみました。
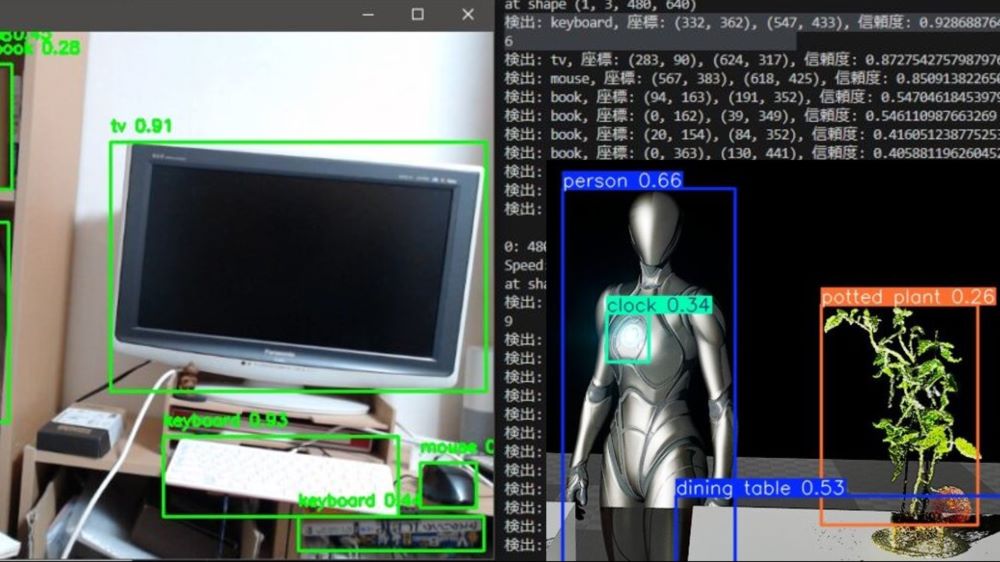
シミュレーション内で撮影することで、YOLOのデータセットを作成できそうだなと考えています。ようやくUE5のグラフィック処理性能を活かせそうです。
▼以前の記事はこちら
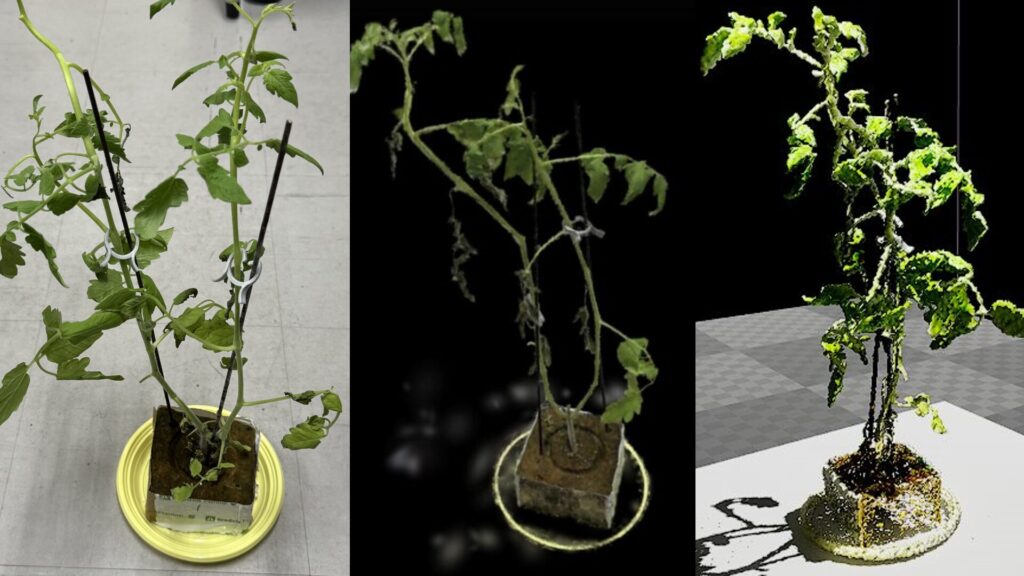
Unreal Engine 5を使ってみる その10(Scaniverse、点群データの取り込み)
はじめに 今回はiPhone 15 ProでScaniverseというアプリを使って3Dスキャンしたデータを、Unreal Engine 5(UE5)に取り込んでみました。 データを取り込むにあたって…
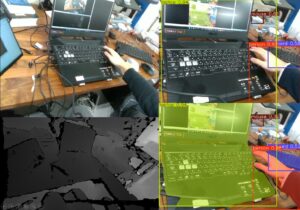
YOLOで物体検出 その2(Python、Node-RED)
はじめに 今回はYOLOをPythonで実行してみました。 以前の記事でYOLOを試したときは簡単なコマンドしか試していませんでしたが、実際にロボットに搭載して処理を行う…
Screenshotを試してみる
エディタでのスクリーンショット
今回試したかったのはゲーム内でのスクリーンショットですが、エディタでもできるとのことで試してみました。
▼エディタでのスクリーンショットについてはこちらに書かれていました。
https://dev.epicgames.com/documentation/en-us/unreal-engine/taking-screenshots-in-unreal-engine
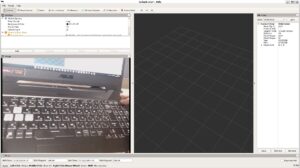
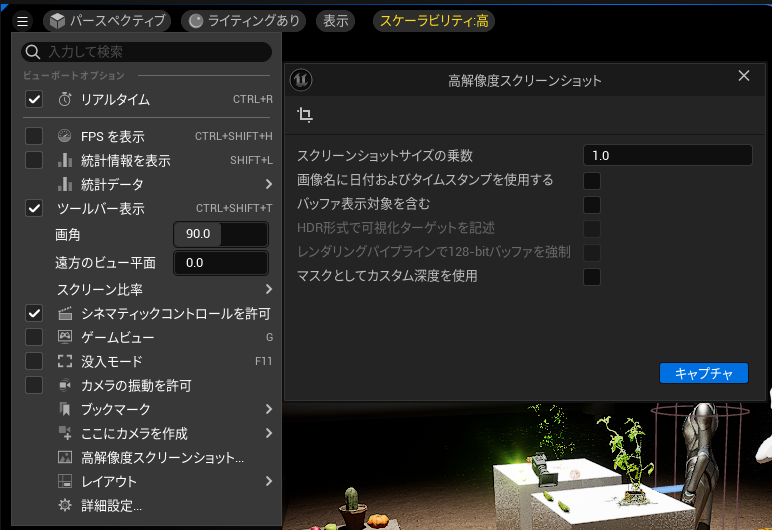
▼エディタ画面左側のメニューから、高解像度スクリーンショットを選択できます。
▼実際にキャプチャしたものがこちら

プレイヤーの視点で撮影する
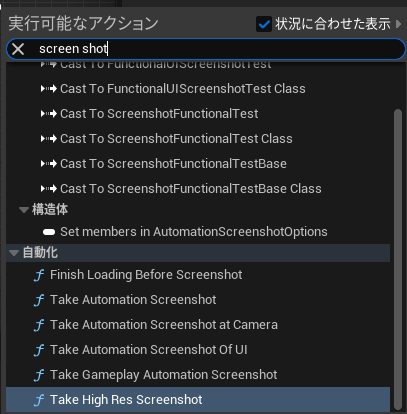
ブループリント上でscreen shotと調べるといくつかあったので、試してみました。
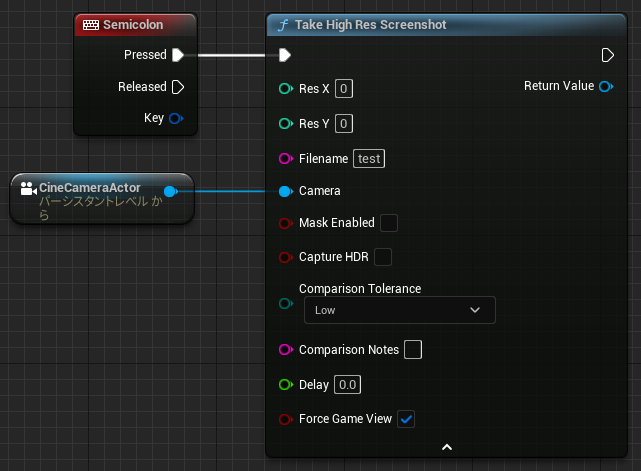
▼今回試すのはTake High Res Screenshotです。
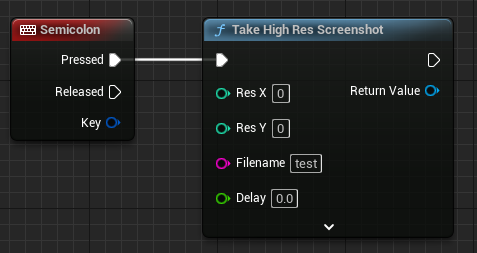
レベルブループリントで、キーを入力するとScreenshotを実行するようにしてみました。
▼セミコロンを入力すると、testというファイル名で保存するようになっています。
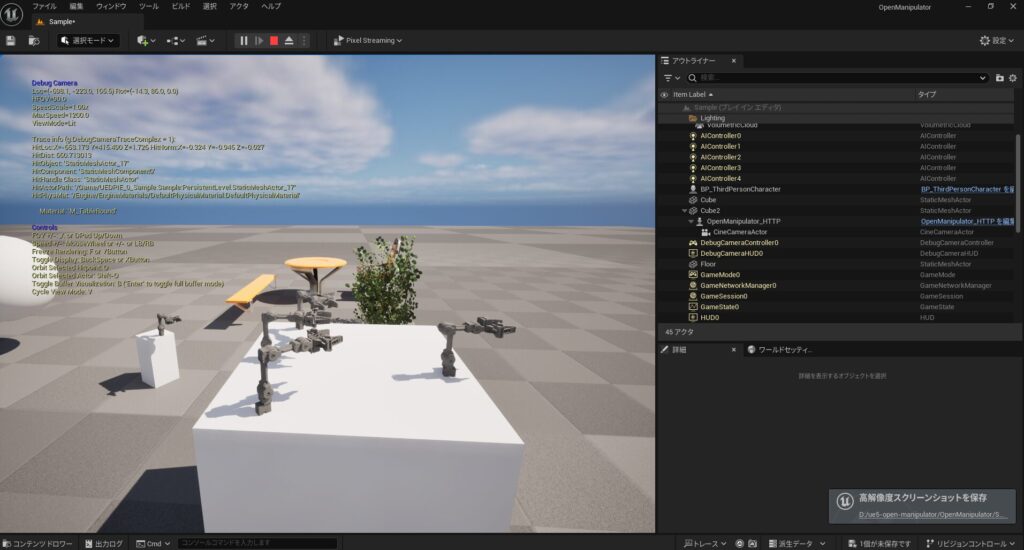
プレイを開始し、キーを入力してみました。
▼右下にファイルの保存先が表示されています。
▼UE5のuprojectファイルと同じフォルダにある、Saved/Screenshots/WindowsEditorフォルダに画像が保存されていました。
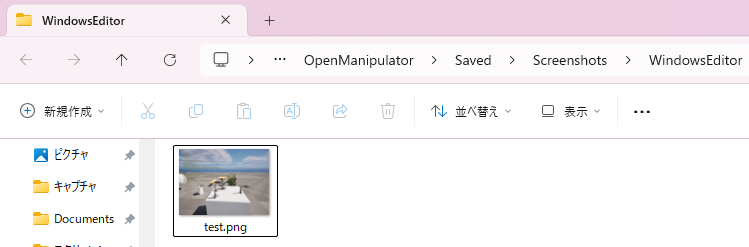
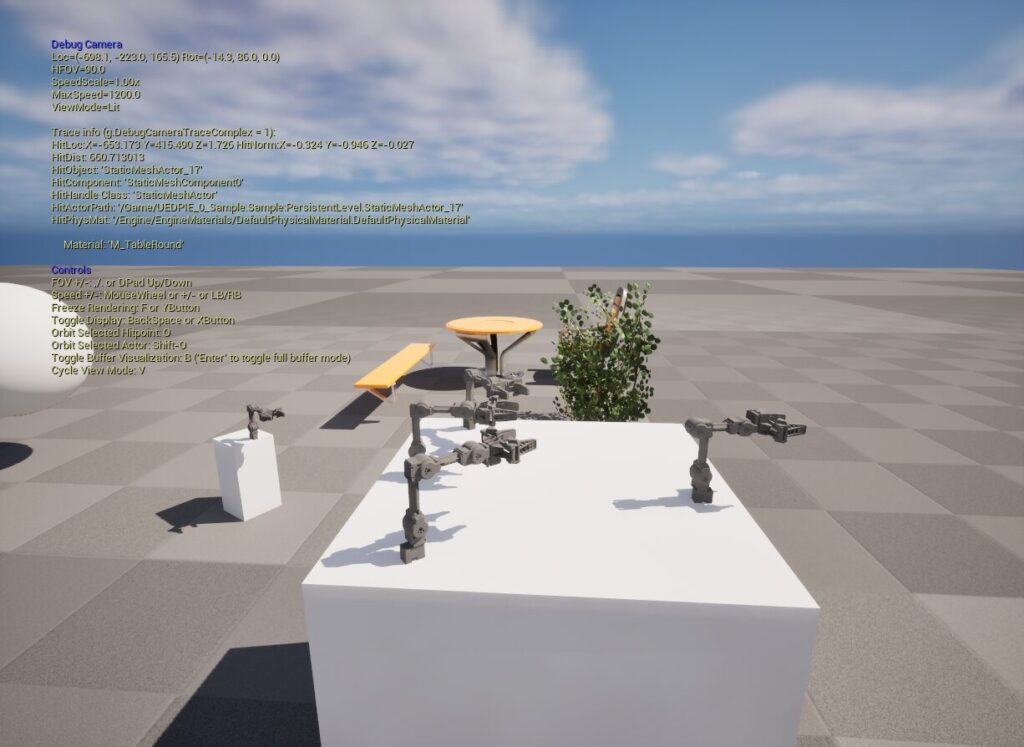
▼実際の画像はこちら。
シーン内のカメラで撮影する
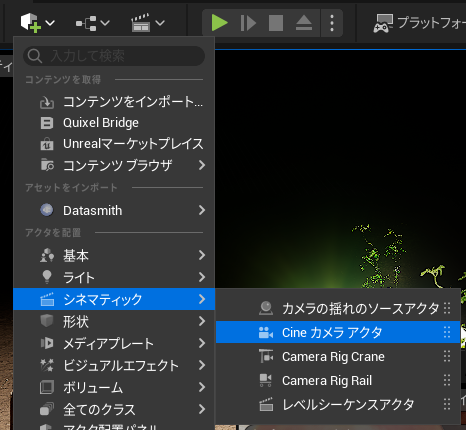
シーン内にCineカメラアクタを追加して、そのカメラの視点で撮影してみました。
▼立方体のアイコンをクリックすると、シネマティックの欄にあります。Rig Craneはクレーンのような動きをシミュレーションできるようです。
▼リンゴが映る位置に配置しました。
Take High Res ScreenshotにCameraのピンがあったのですが、これにシーン内のカメラを接続しても撮影できませんでした。
▼この状態ではプレイヤーの視点でスクリーンショットされました。
調べていると、フォーラムでSet View Target with Blendと一緒に使っている方がいました。
▼こちらのフォーラムです。
https://forums.unrealengine.com/t/high-res-screenshot-through-camera/146352/4
▼ちなみに、NASAのレポートでもSet View Target with Blendが使われていました。撮影はコマンドで行われているようです。
Preparation of Papers for AIAA Journals
フォーラムのフローとは異なりますが、Set View Target with Blendを追加して試してみました。
▼Targetはプレイヤー、New View Targetはレベル内のカメラにしています。
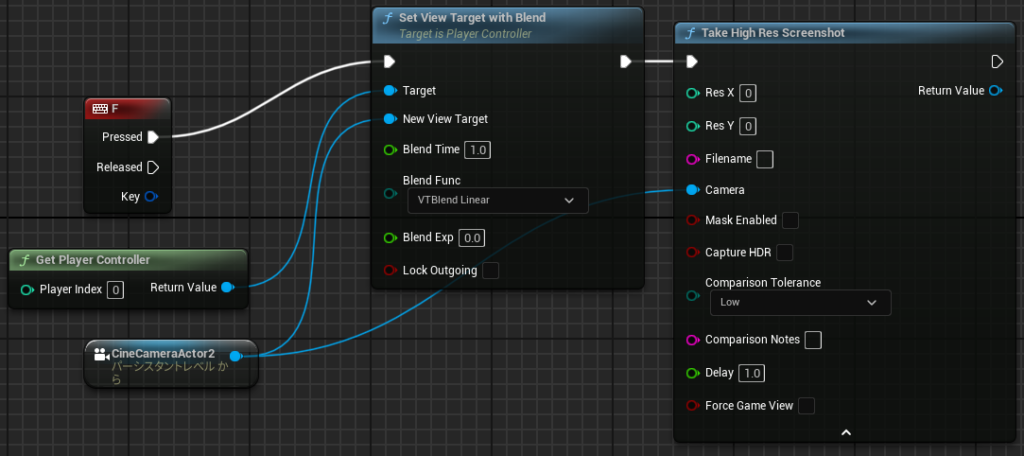
これでカメラの視点で撮影することができました。Blend Timeを変更すると、新しい視点まで移動するようにして切り替わるようになります。
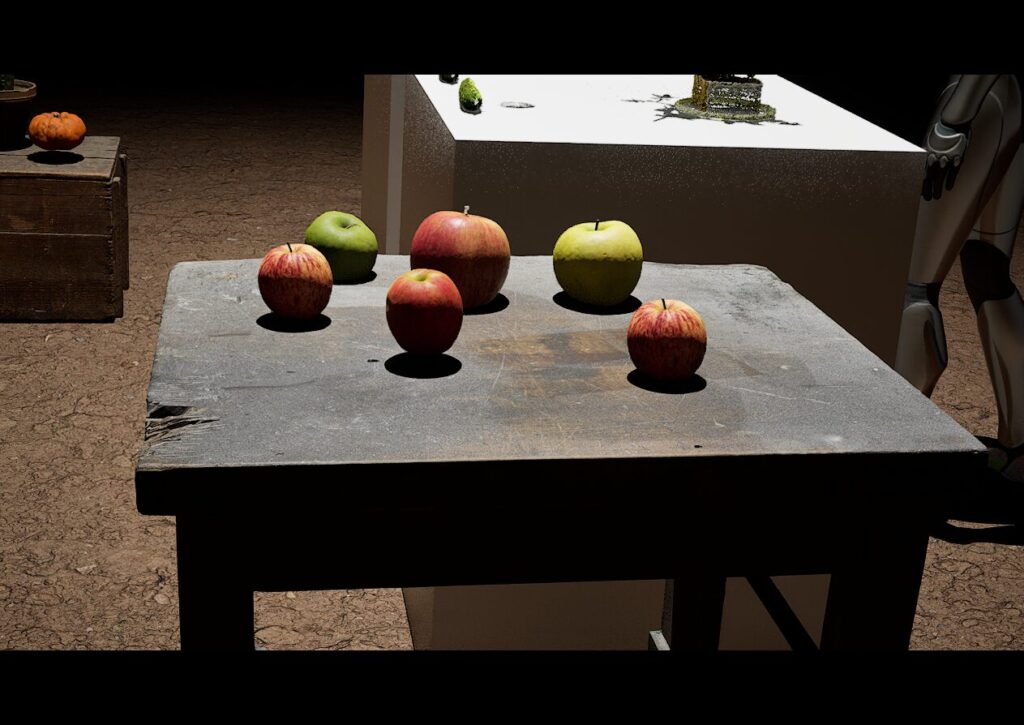
▼撮影されたスクリーンショットはこんな感じ。
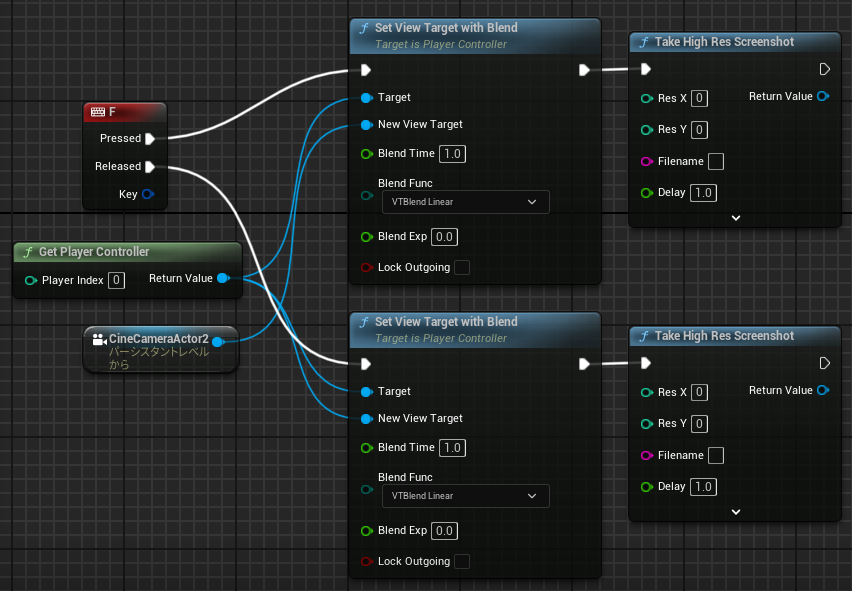
このままだとカメラの視点になってから戻れないので、キーを離すとプレイヤーの視点に戻すようにしました。
▼Released後のNew View TargetをGet Player Controllerにしています。
実際に操作してみました。
▼プレイヤーの視点から、1秒でカメラの視点に移動しています。
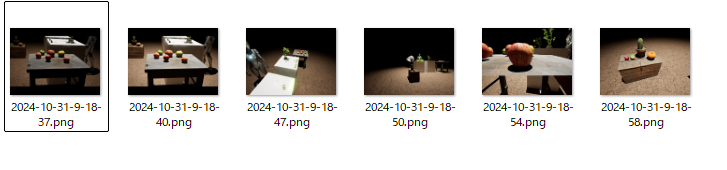
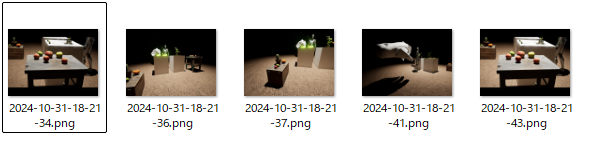
▼動画の動きだと、以下のようなスクリーンショットが撮影されました。


ファイル名を撮影した時間にする
同じファイル名だと一枚しか保存されないので、時間でファイル名を変更するようにしてみました。
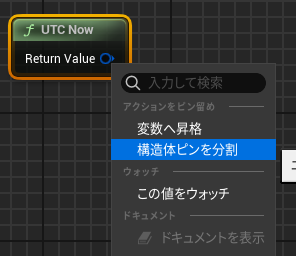
現在の時刻を表すノードとして、UTC Nowというノードがありました。
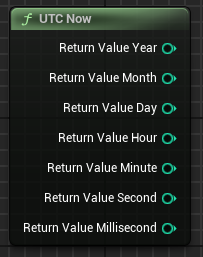
▼ピンを右クリックすると、分割することができます。年月日時分秒に分かれているので、こちらの方が扱いやすそうです。
これをMake Arrayで作成した配列に入れて、Join String Arrayで文字列として結合しました。
▼ノードは以下のようになりました。
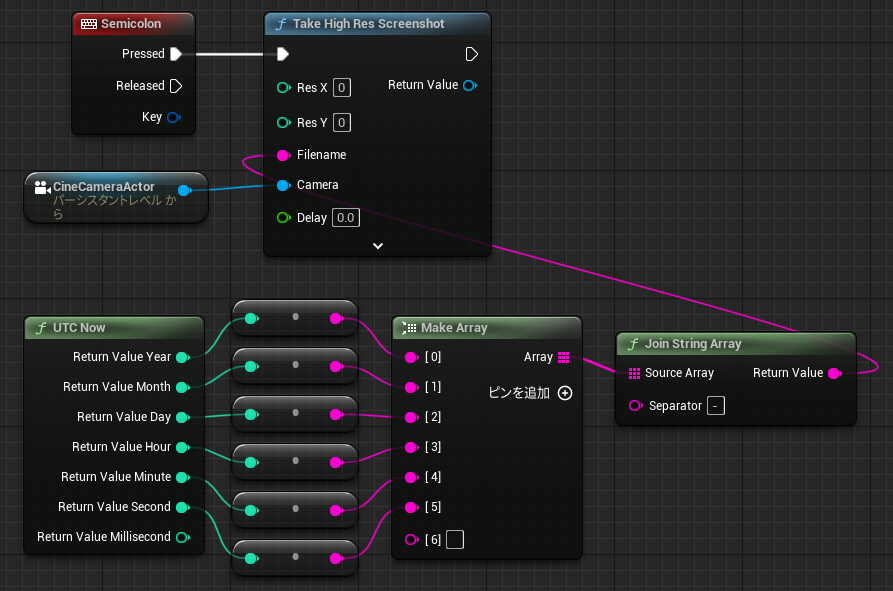
▼なお、Join String ArrayのSeparatorを設定しないままだと、スペース区切りになります。
Separatorにはすでにスペースが入っているので、不要であれば削除してください。
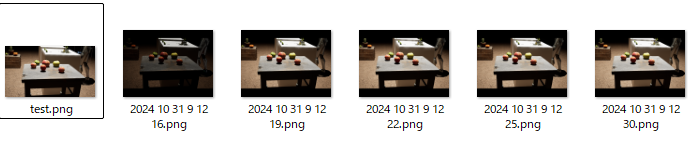
▼ファイル名がおかしい気がするなと思ったら、スペースとハイフンになっていました。

▼ハイフン区切りで保存されました。
UTCは協定世界時で、日本時間ではありません。9時間の時間差があるようなので、足しておきました。
▼オペレータのAddノードを追加しました。

▼日本時間で保存されました。
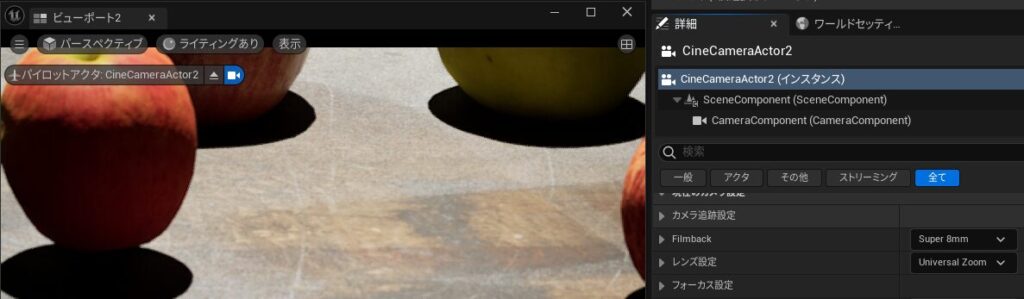
カメラのパラメータ調整
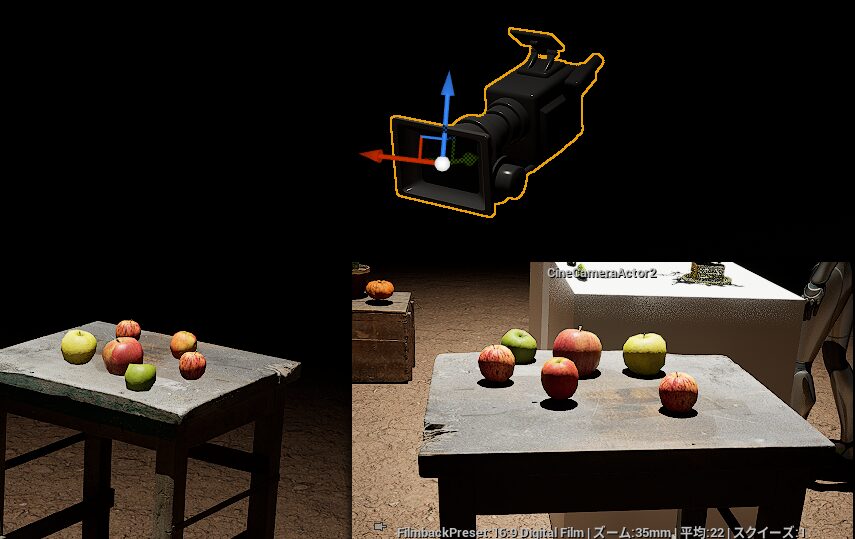
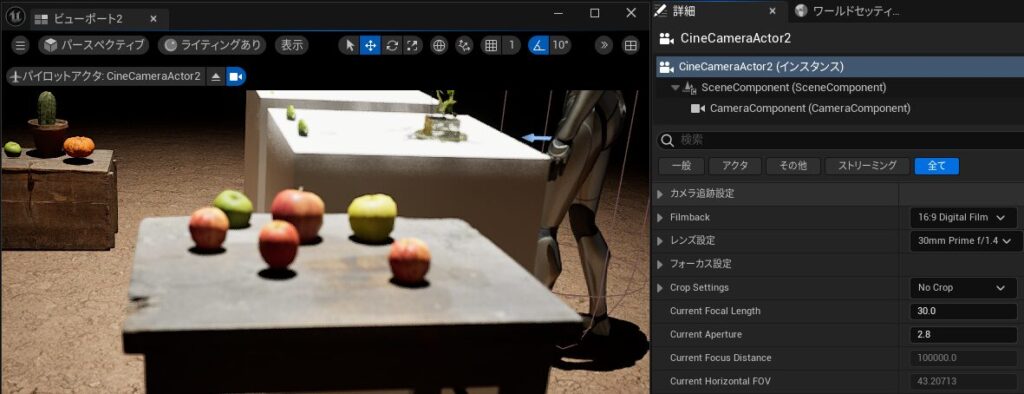
CineCameraActorを見るとレンズやフォーカスの設定があったので調整してみました。
ぼやけているのが気になっていたのですが、Current Apertureを調整するとはっきり映りました。
▼デフォルト値だと以下のようにぼやけています。
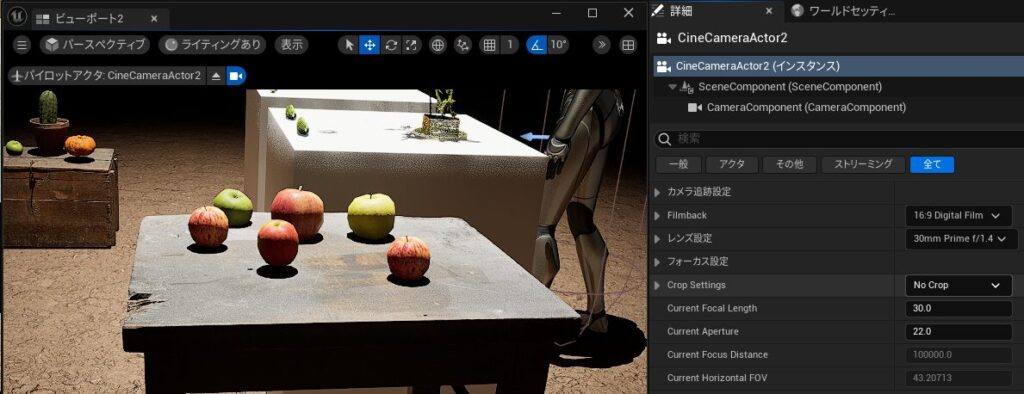
▼Current Apertureを22にすると、はっきり映りました。
他にも調整してみました。
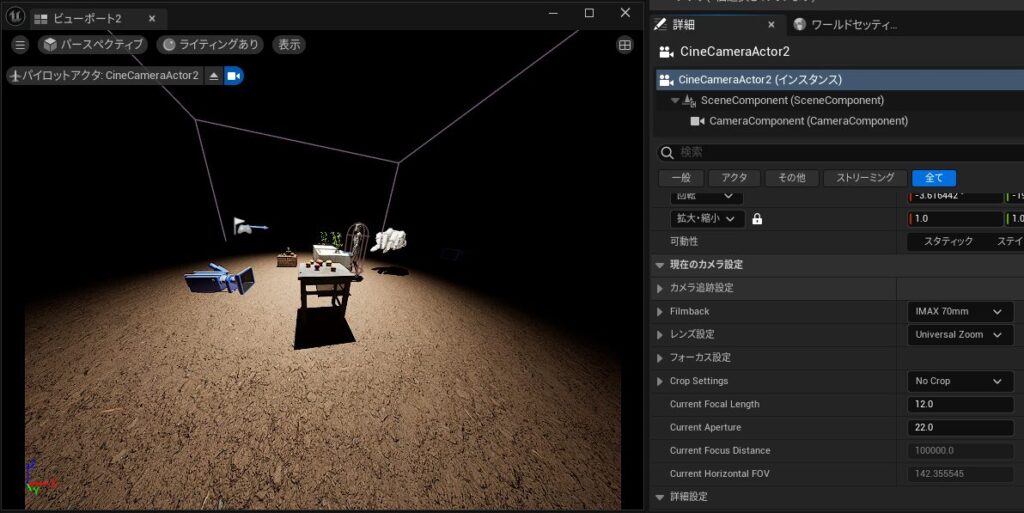
▼FilmbackをIMAX 70mmにするとこんな感じ。
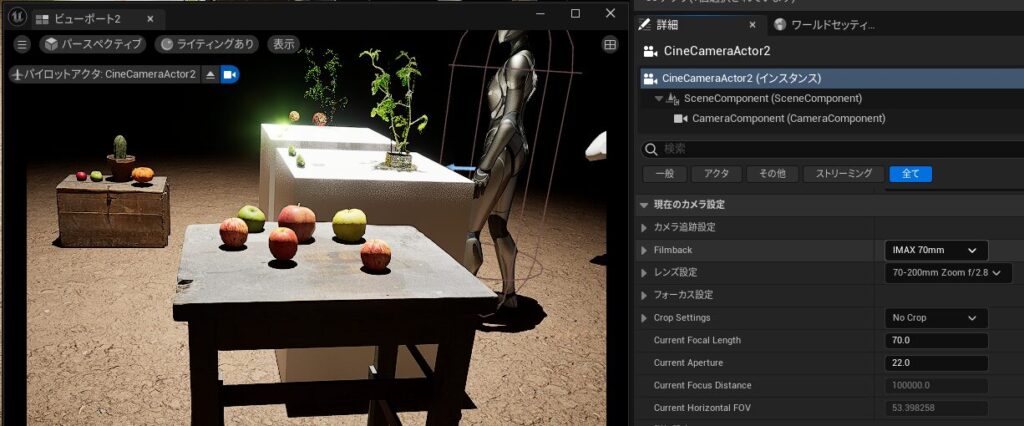
▼レンズ設定を70-200mm Zoom f/2.8にするとこんな感じ。ズームされています。
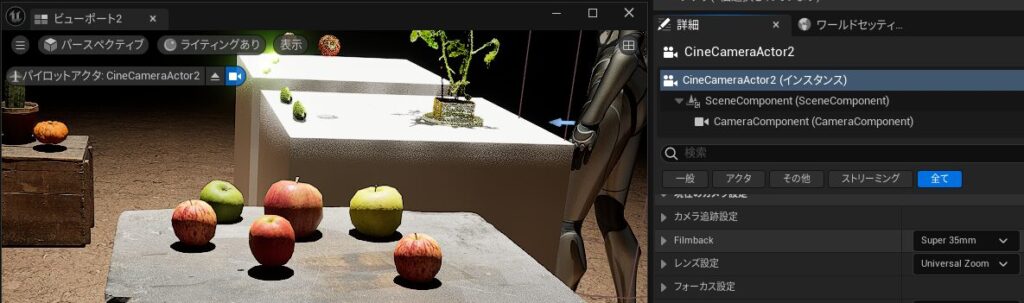
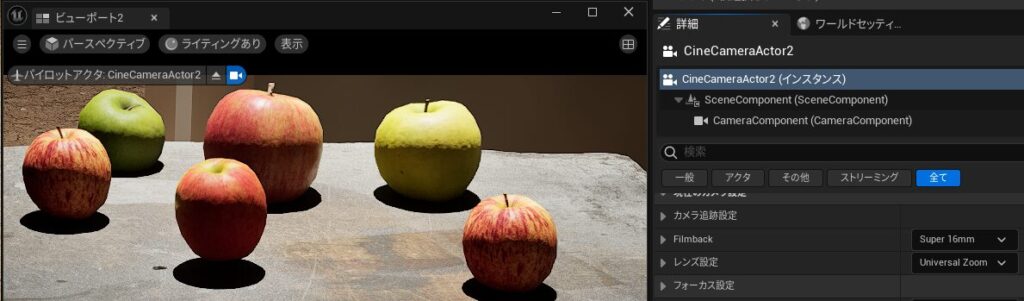
▼FilmbackをSuperの35mmから小さくしていくと、近づいていきました。
最後に
スクリーンショットを撮影してファイルに保存できることを確認したので、Node-REDでその画像を取得し、他のプログラムと一緒に使えそうだなと考えています。
カメラのパラメータを調整できることは分かったのですが、そのパラメータについて詳しくはないので調べる必要がありそうです。
シネマティックの欄にあったCamra Rig CraneとCamera Rig Railはどのような振る舞いで撮影されるのか気になっています。また使い方を調べようと思っています。
▼シーケンサーで利用できるようですね。
https://zenn.dev/tw_trainingcamp/articles/cdabc57a1e2992