Trying Out XIAO ESP32C3 Part 4 (WiFi Access Point and Two-Wheeled Robot)
Introduction
In this post, I configured the XIAO ESP32C3 as a WiFi access point so that it can be operated directly from a web browser. The reason I wanted to try this feature is that it’s very practical for exhibitions and events. Visitors can connect and operate the robot using their own smartphones. It’s much more user-friendly than trying to connect via a venue's shared WiFi.
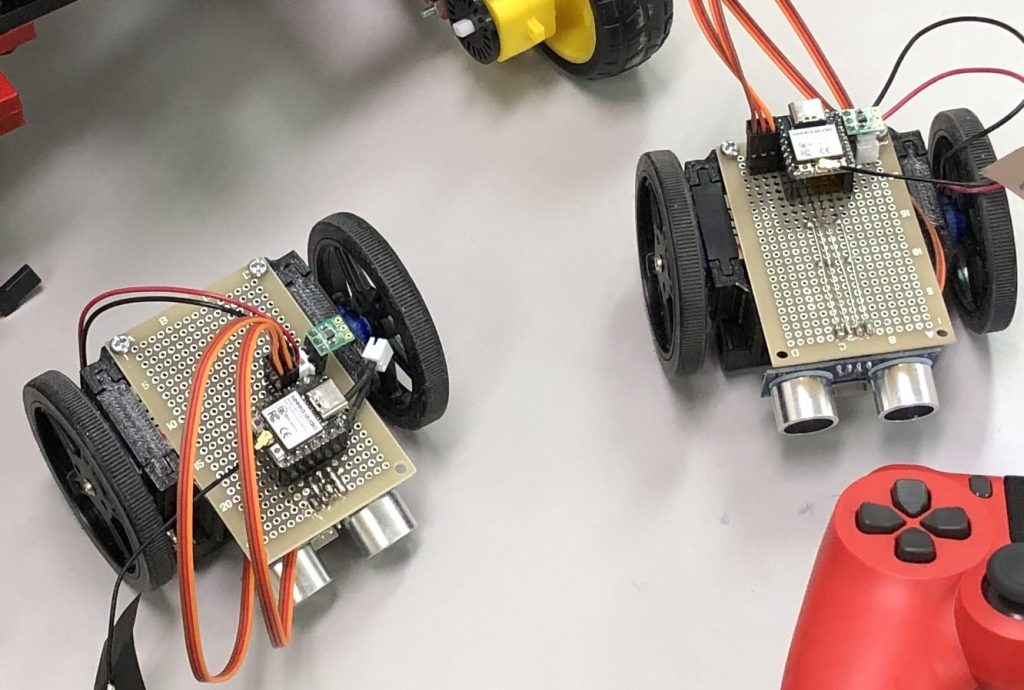
▼I actually built two small robots and brought them to a volunteer event. I managed to keep the cost down to about 2,500 yen per unit.
Starting as a WiFi Access Point
First, let's set up the ESP32C3 as a WiFi access point and connect a smartphone to it.
▼A minimal sample can be found on Seeed Studio's page:
https://wiki.seeedstudio.com/XIAO_ESP32C3_WiFi_Usage/#use-as-an-access-point
▼I based my program on the example provided here:
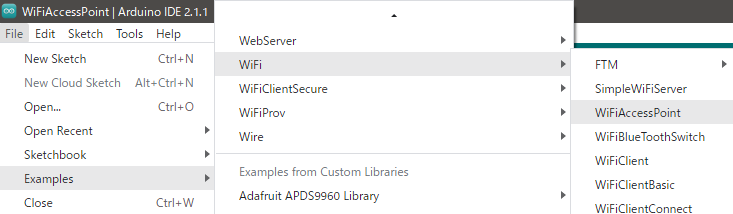
In the sample, you can toggle an LED from the browser. In my version, I removed the comments and added Serial Monitor outputs for verification. I set the SSID to "ESP32C3" and the password to "123456789." Feel free to change these as needed.
Note: If the password is too short, the connection will fail.
▼Program execution:
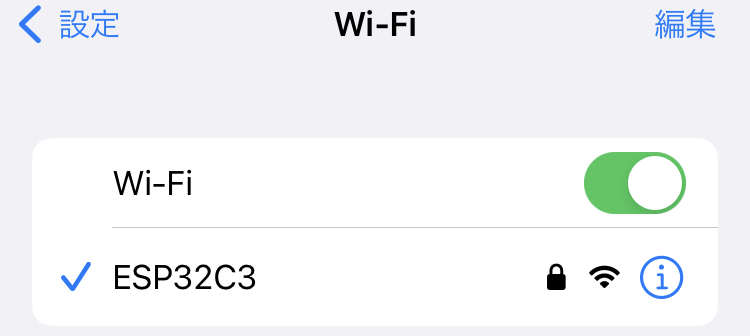
▼When the program runs, "ESP32C3" appears in the list of available WiFi networks.
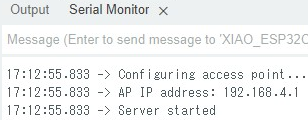
▼Once connected, the status is also displayed on the Serial Monitor.
Access the displayed IP address from a browser. If you just type the numbers, it might default to HTTPS; make sure to use HTTP.
▼Browser screen:
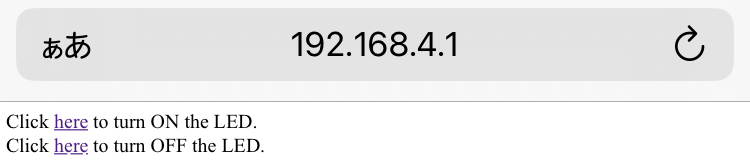
The "here" text acts as a link.
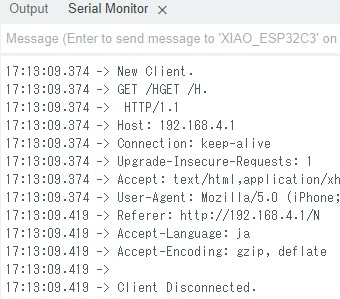
▼When you click the link, you can see that the microcontroller recognizes the request.
Operating a Small Two-Wheeled Robot
Hardware and Software Design
I won't go into too much detail about the design here, but I created a small robot specifically for events.
▼I designed it like this and printed it using a 3D printer.


▼The setup assumes the use of 360-degree continuous rotation servos, a microcontroller, and batteries.


▼Circuit diagram:
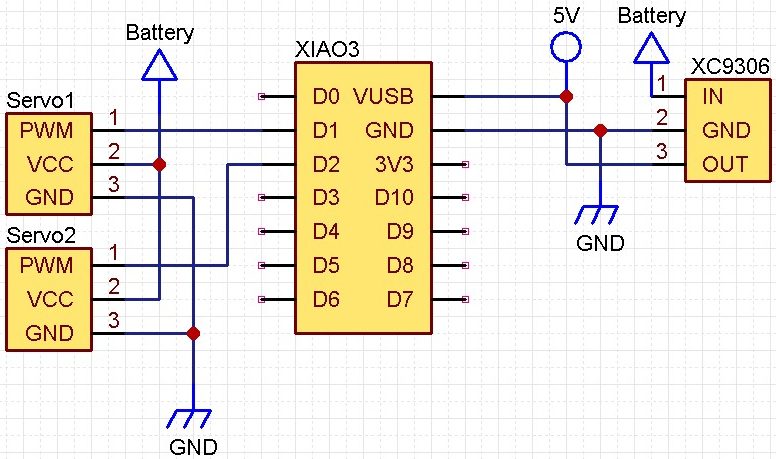
The power source is just three AA batteries. I used a DC/DC converter to step up the voltage to 5V for the microcontroller.
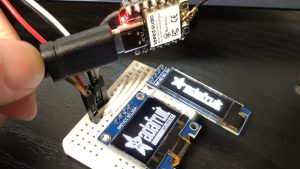
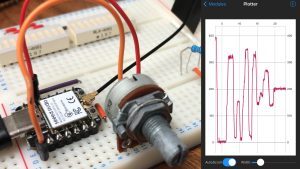
▼For more on controlling continuous rotation servos, see my previous article:
Trying Out XIAO ESP32C3 Part 3 (OLED Display and Continuous Rotation Servo)
Info This article is translated from Japanese to English. Introduction In this post, I experimented with controlling an OLED display and a continuous rotation …

▼Program:
Testing the Operation
After uploading the program, connect your smartphone and access the IP via a browser.
▼Selecting the links makes the servo motors rotate. I'll create a proper UI later…

▼After selecting a link, you can see that you've been redirected by looking at the URL.

▼Actual operation video:
Finally
I successfully operated the XIAO ESP32C3 as a WiFi access point. Next, I’d like to test an ultrasonic sensor and add a collision avoidance feature.
I’m still learning HTML, so I plan to study it more to build a better user interface.
I recently brought these robots to a university volunteer event, and children had a chance to try them out. They seemed to have a lot of fun!
▼Many children attended the event. (Though some said my "Haniwa" robot was a bit creepy…)