Trying Out Unreal Engine 5 Part 8 (HTTP Request, Remote Control Web Interface, and Node-RED)
Introduction
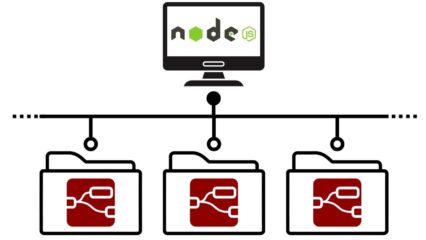
In this post, I tried using the HTTP Request node and the Remote Control Web Interface in Unreal Engine 5 (UE5). I am currently exploring various communication methods with UE5. Since both of these methods use HTTP communication, they should be compatible with Node-RED. Once I can communicate with Node-RED, the possibilities for integration become endless. Information regarding communication is surprisingly scarce, so I’ve been progressing through a lot of trial and error. Perhaps it's because I'm trying to use a game engine for non-gaming purposes. This test was conducted using UE5.4.2 on a Windows environment.
▼Previous articles:
Trying Out Unreal Engine 5 Part 4 (Unreal Learning Kit: Training Virtual Robots – Lesson 1)
Info This article is translated from Japanese to English. Introduction I recently tried out a virtual robot tutorial available in Unreal Engine 5. This is my f…
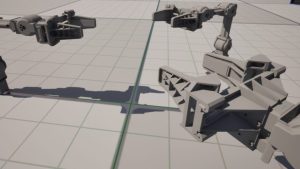
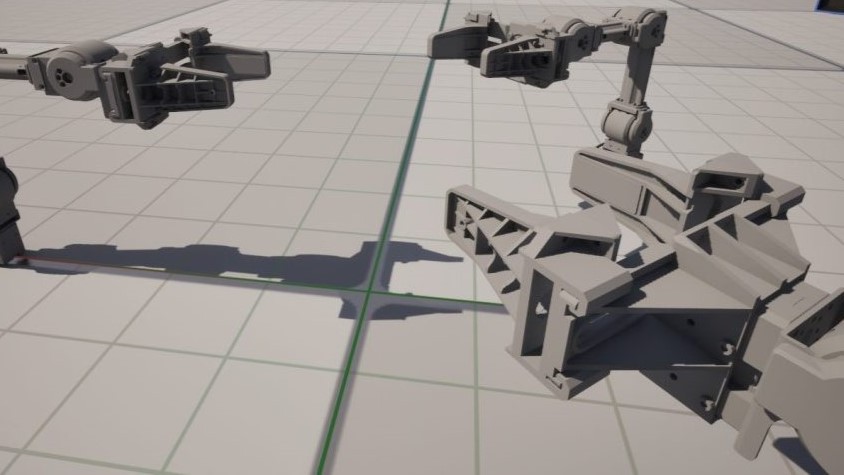
Trying Out Unreal Engine 5 Part 7 (Open Manipulator)
Info This article is translated from Japanese to English. Introduction In the previous post, I created a basic robotic arm in Unreal Engine 5 (UE5). This time,…
Trying Out the HTTP Request Node
The HTTP Request node is quite simple. To verify its operation, I attempted to communicate with Node-RED.
▼This 2-minute video provides a concise introduction to the minimum requirements.
UE5 Side Settings
Add the "HttpBlueprint" plugin.
▼Please note that this is currently labeled as "Experimental."
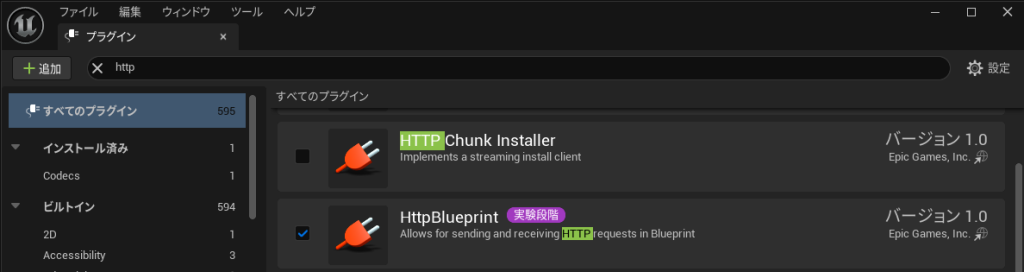
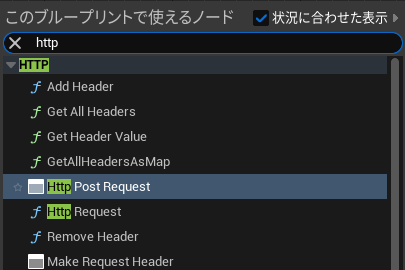
Once the plugin is added, HTTP-related nodes become available.
▼I added them to the Level Blueprint to check the operation.

Right-click in the Blueprint editor and search for "http" to find the nodes.
▼For this test, I added "Http Post Request."
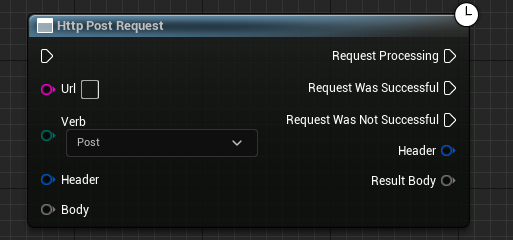
You can branch logic based on the request results and configure the URL, Header, and Body.
▼The "Verb" option allows you to select GET, POST, etc.
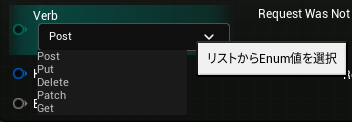
I set it up so that pressing a key sends a GET request to a specified URL and displays the response on the screen using a "Print String" for debugging.
▼The flow looks like this. I assigned the number "9" on the keyboard.
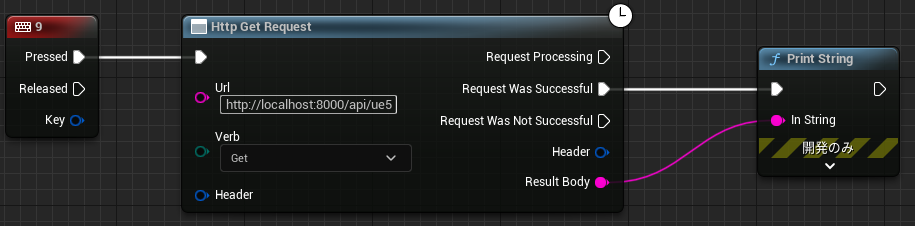
I set the URL to http://localhost:8000/api/ue5, but please change this according to your environment.
▼If you installed Node-RED using the standard method, the URL would likely be:
▼In my case, it’s slightly different because I am running Node-RED embedded in Express.
Trying Out Embedding Node-RED into Applications Part 1 (Electron, Express)
Info This article is translated from Japanese to English. Introduction In this post, I tried embedding Node-RED into an application I am creating with Electron…
Node-RED Side Settings
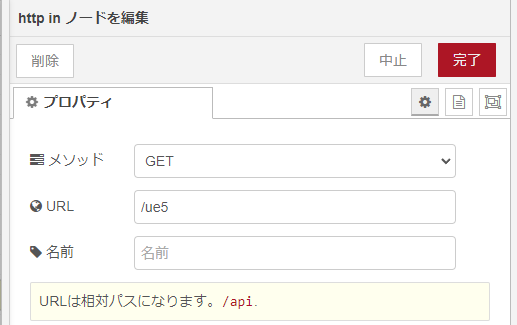
Use the "http in" and "http out" nodes to accept GET requests.
As a prerequisite, the PC running UE5 and the one running Node-RED must be on the same network.
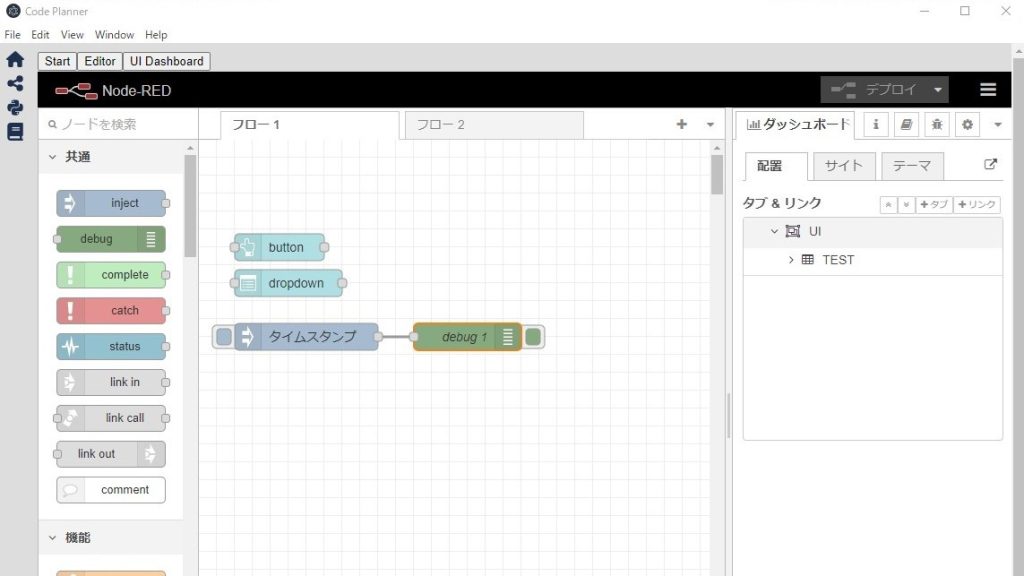
▼The flow:

▼Method is set to GET, and URL is set to /ue5.
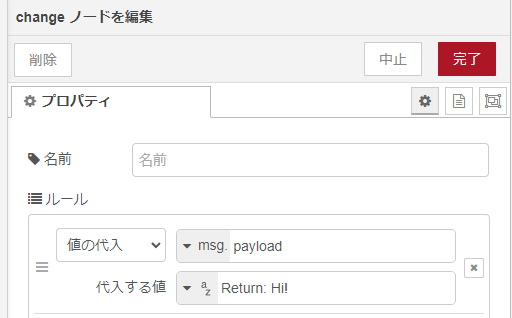
I used a "change" node to modify the value of msg.payload.
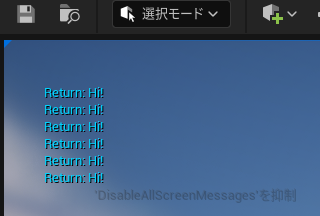
▼I configured it to return "Return: Hi!".
Testing the Execution
Start the level in UE5 and press the "9" key.
▼The value set in Node-RED was displayed!
▼It also appeared in the Node-RED Debug window.

Trying Out Remote Control Web Interface
About the Plugins
I was looking for a way to remotely operate objects in UE5 and found the Remote Control related plugins.
▼Remote Control documentation:
▼Remote Control API HTTP Reference: I successfully called this via Node-RED, so I will summarize it in the next article.
The "Remote Control Web Interface" (Web Interface) allows you to create a dashboard that can be operated from a browser. Note that the Web Interface requires the Remote Control API.
▼I referenced this article for the Web Interface. The icons for adding properties might look different due to version differences.
https://historia.co.jp/archives/33590
▼Official documentation:
▼There are demo videos showing how to change positions or colors.
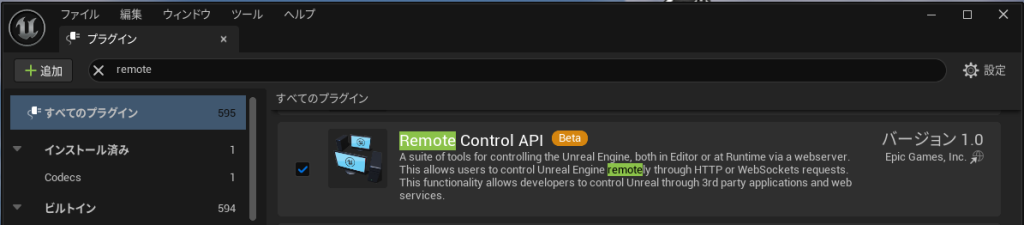
Let's use it. First, I added the following plugins:
▼Remote Control API and Remote Control Web Interface.
▼There are other plugins related to Remote Control as well.
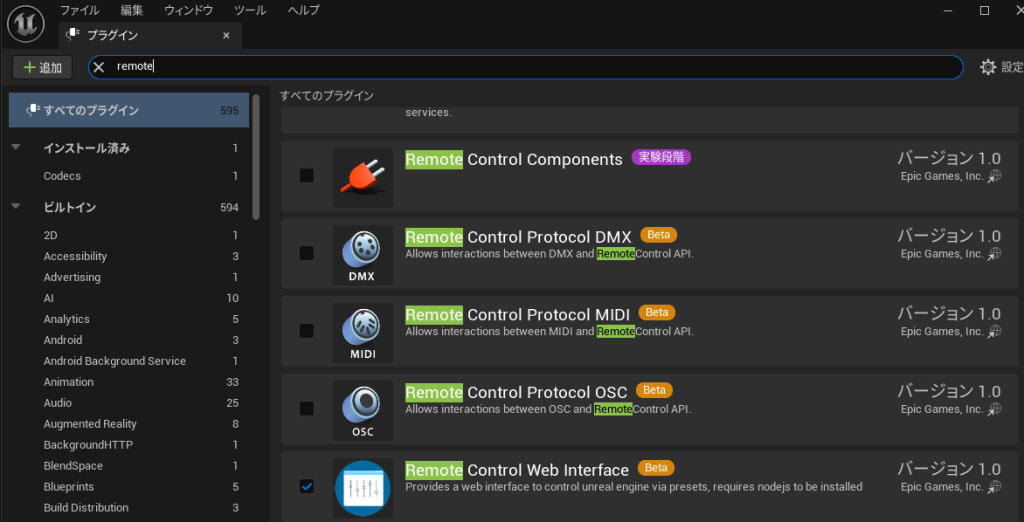
The Remote Control Web Interface requires Node.js. If you use Node-RED, it should already be installed.
▼Download Node.js here:
https://nodejs.org/en/download/package-manager
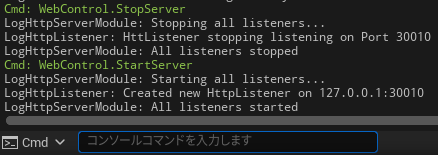
After adding the plugins and restarting, new commands are available in the console.
▼They appear at the bottom of the screen.
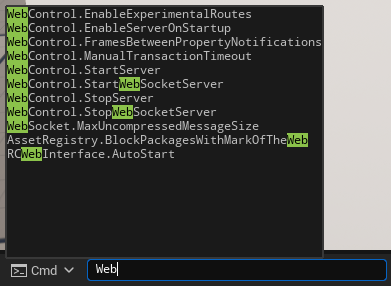
Sometimes the log doesn't show that the server has started after running "WebControl.StartServer." If this happens, try running "WebControl.StopServer" once before running it again.
▼It was written in this article.
https://qiita.com/itouh2-i0plus/items/7ff0aaab3cc12becca7f
▼The server started successfully.
Setting Up the RemoteControlPreset
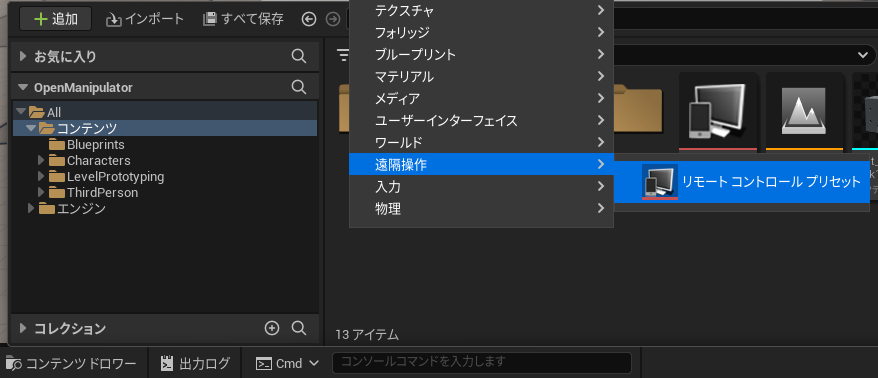
Add a Remote Control Preset.
▼Right-click in the Content Drawer; it’s under the "Remote Control" category.
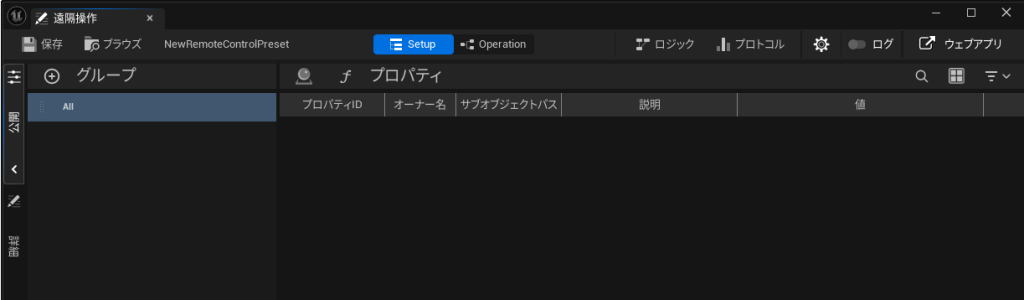
▼A screen appears where you can configure groups and properties.
When the Remote Control Preset is open, square and circle icons appear next to the parameters of objects placed in the level.
▼This time, I selected the OpenManipulator Pawn class created in the previous post.
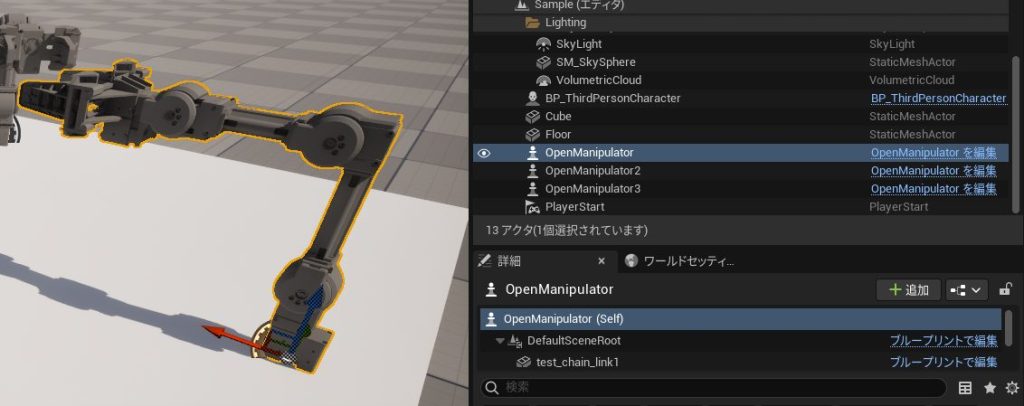
▼You can see the icons added to the right of the parameters.
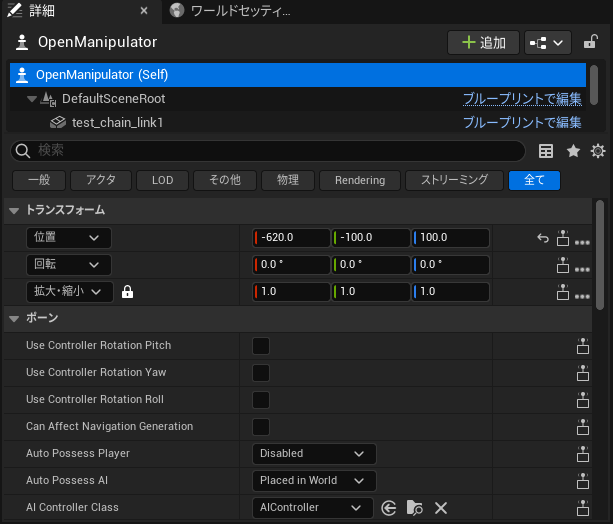
Selecting the icon on the right adds that value to the properties section.
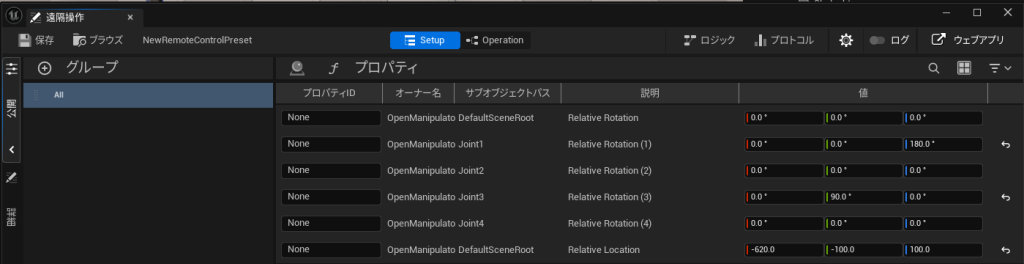
▼I added Location, Rotation, and Scale from the Transform section.

▼They are now listed in the properties.

Creating the UI
Next, create the UI.
▼Selecting the "Web App" icon in the top right opens the interface in a browser.
▼The screen appeared! The port number is 30000.
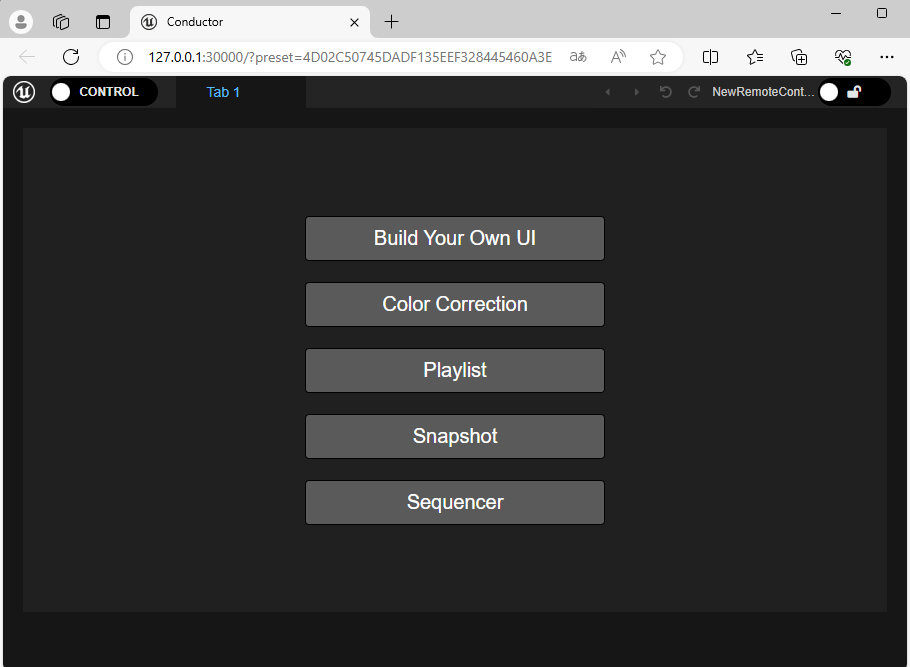
I selected "Build Your Own UI" to create the interface.
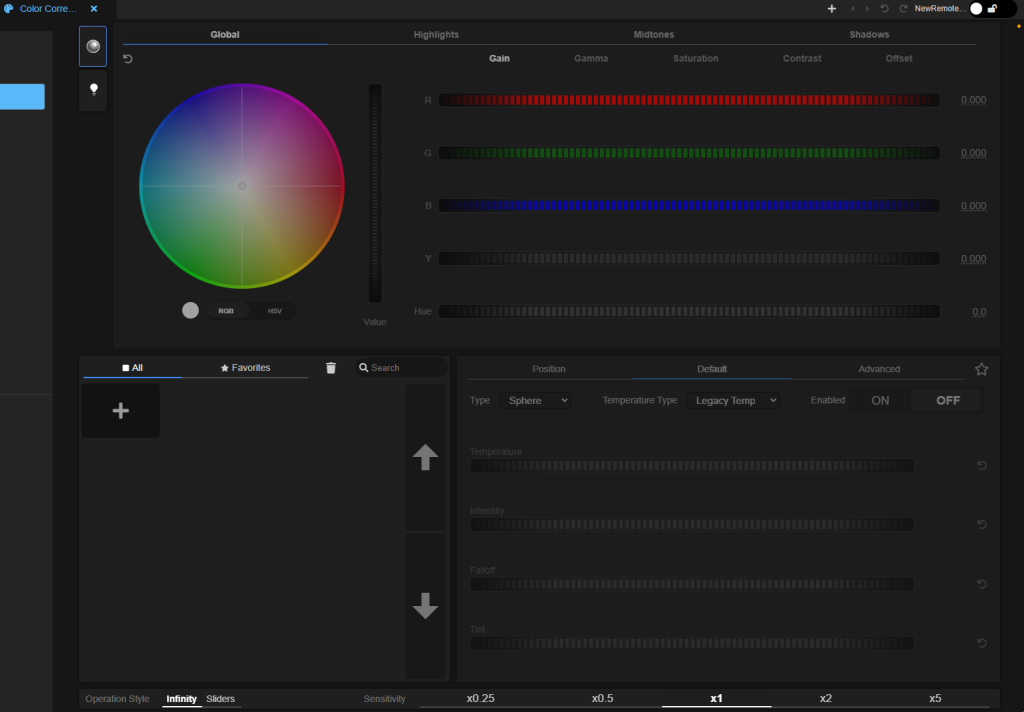
▼For reference, "Color Correction" provides a pre-made screen like this.
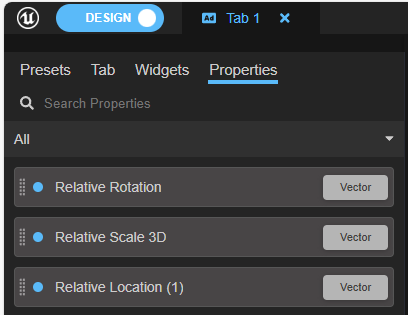
Selecting "CONTROL" in the top left changes the mode to "DESIGN," allowing for editing.
▼The properties added earlier are displayed.
I added them to the UI by dragging and dropping.
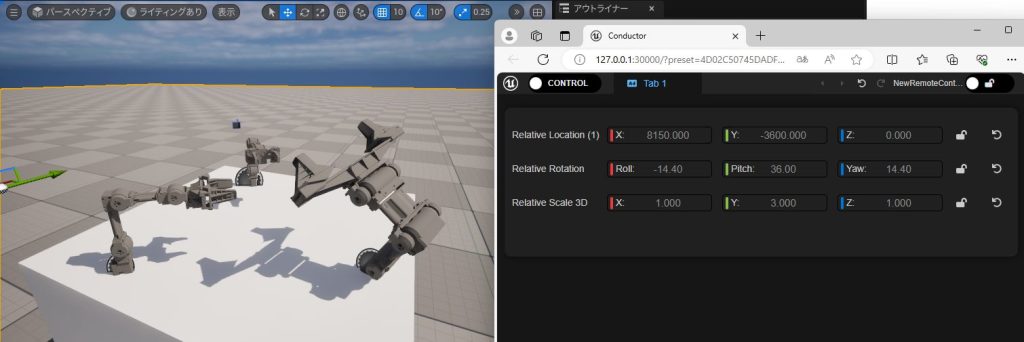
▼This is the browser view, but it looks the same as the Details tab in UE5.

▼Changing the numbers is immediately reflected in the Open Manipulator within UE5.
I wanted to control the joint angles of the Open Manipulator, so I added those properties.
▼I added Relative Rotation (1) to (4) for Joint1–4.
▼The UI looks like this. I also added Relative Location and Relative Rotation at the bottom to move the base of the Open Manipulator.
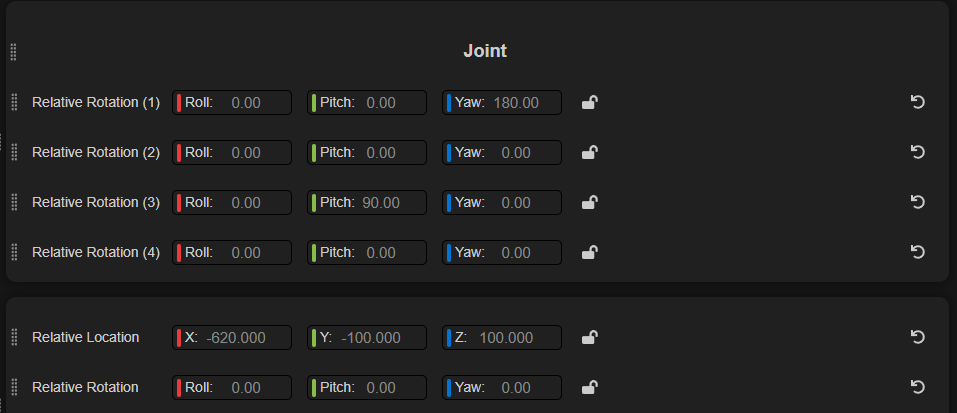
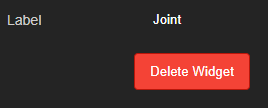
I added a label at the top that says "Joint."
▼There is a "Label" widget in the Widgets section.
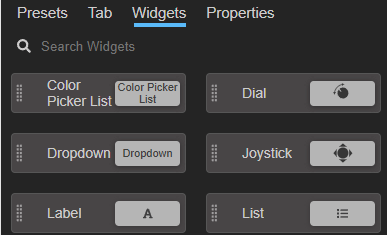
▼The value of the label can be edited by double-clicking it.
You can change the display method for Relative Rotation.
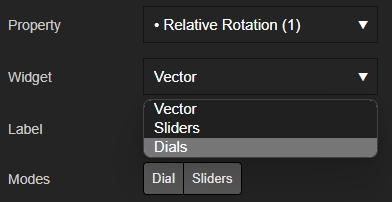
▼Change this in the Widget section.
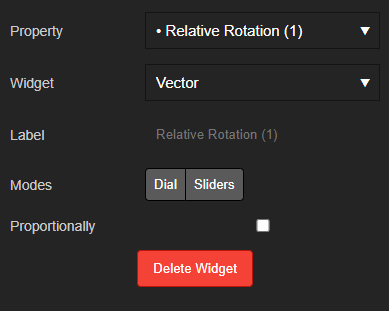
In addition to "Vector," there are "Sliders" and "Dials."
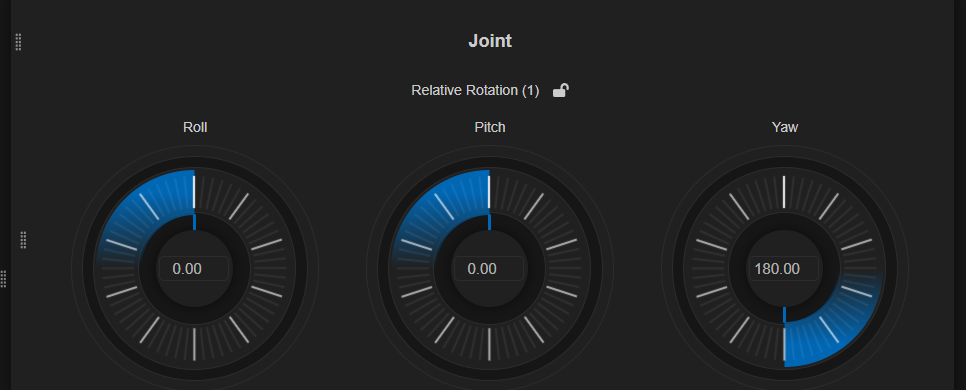
▼I chose "Dials."
▼Dials for each rotation axis are now displayed.
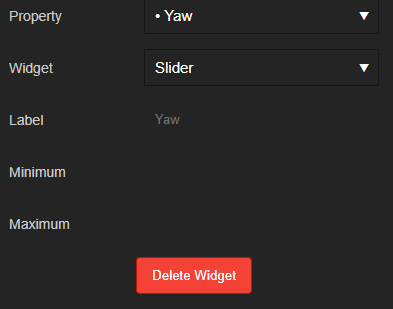
You can configure detailed settings.
▼Labels, minimum values, and maximum values can be modified.
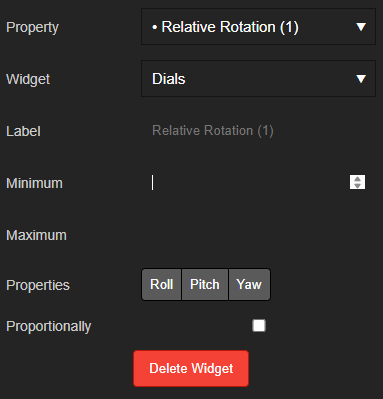
If you select specific components like Roll, Pitch, or Yaw under Properties, only the selected one will be displayed.
▼I tried setting only the Yaw.

▼Only one dial is shown. It’s quite wide, but it seems I can't edit the width…

▼This is what it looks like with a Slider.

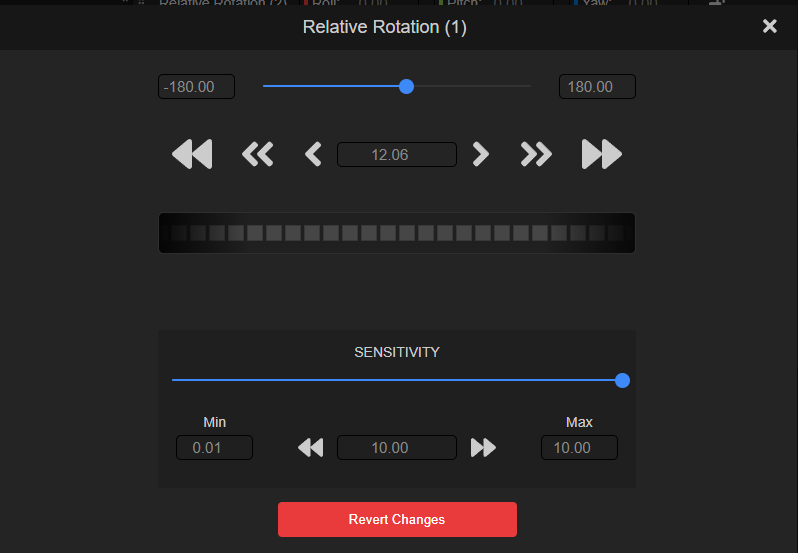
Selecting the square frame icon on the left displays a more detailed control panel.
▼You can move something that looks like a horizontal mouse wheel in the middle.
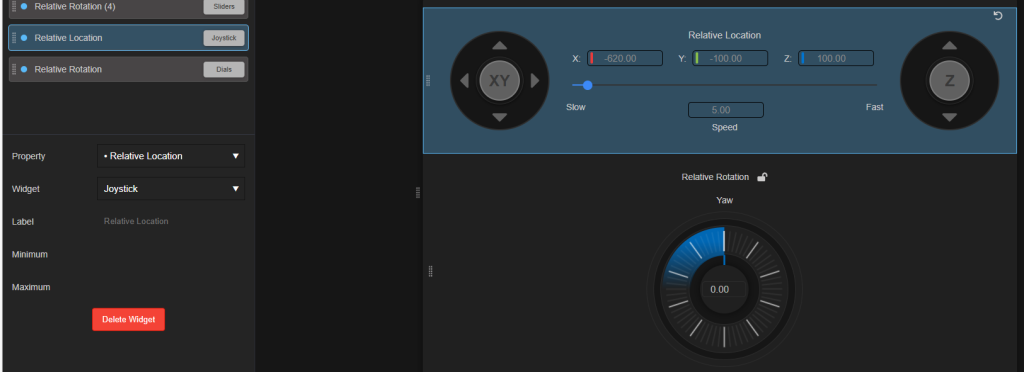
I also set up the Location and Rotation for the Open Manipulator base.
▼For Location, it can be operated with a Joystick. It feels very game-like.
▼This is the resulting control screen.
I realized later that when adding properties, clicking the three dots to the right of the square/circle icons allows you to select only the specific elements you want to expose.
▼For rotation, I could select Pitch, Yaw, and Roll individually.
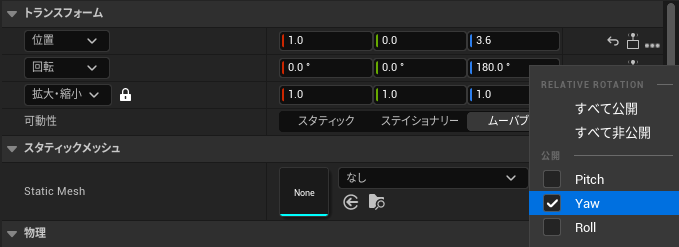
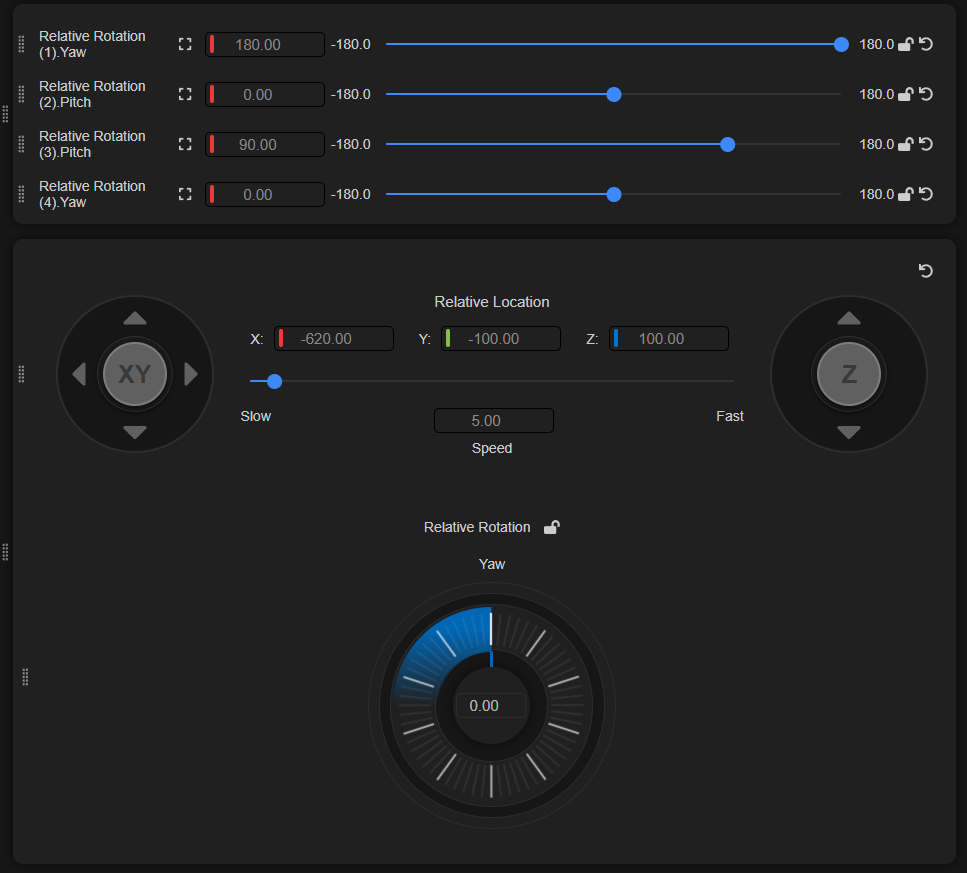
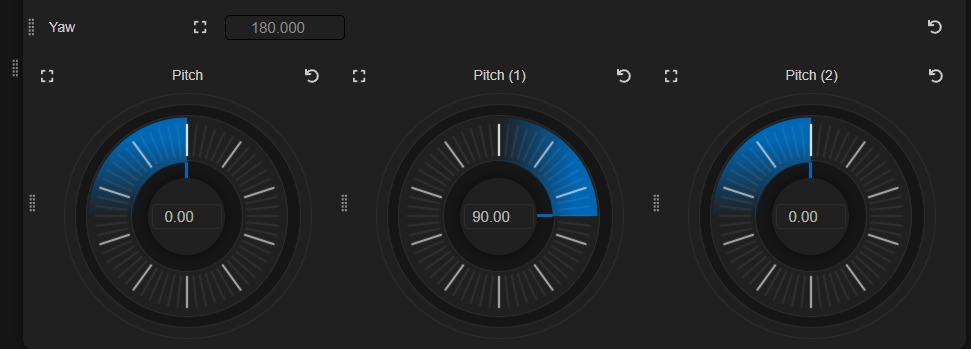
When added this way, instead of being treated as a "Vector," it becomes a single property, which allows you to place multiple dials side-by-side.
▼Since it's a single value, you can choose Slider or Dial as the widget.
▼I was able to align them horizontally.
Accessing from Other Devices
The server started by the Remote Control API is accessible from the machine running the Unreal Engine session. However, to access it from other devices, some file editing is required.
▼This is described at the bottom of the following page:
It states: "To allow other devices to access the Unreal session using the Remote Control API, change the project's DefaultEngine.ini file to the terminal's IP address."
I edited the DefaultEngine.ini file. Close the project, edit the file, and restart.
▼It’s located in the project's Config folder.
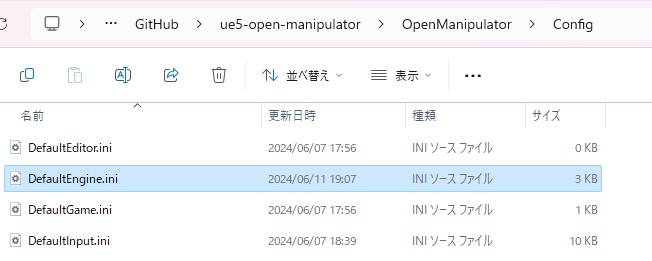
▼I added the following two lines:
 [HTTPServer.Listeners]
 DefaultBindAddress=0.0.0.0
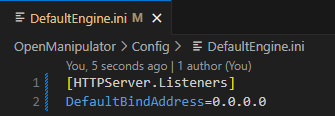
The "0.0.0.0" address acts as a wildcard.
▼This article was easy to understand.
https://keens.github.io/blog/2016/02/24/bind_addressnoimigayouyakuwakatta
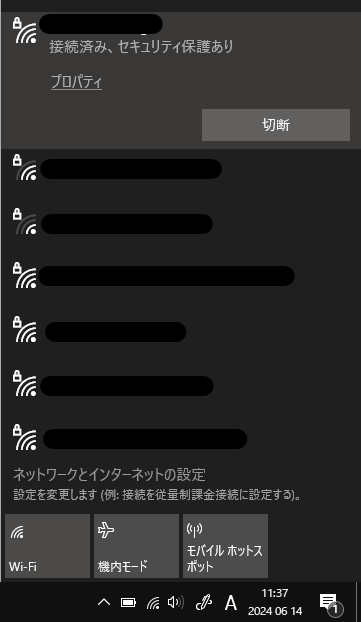
To access it from another device, you need to check the IP address of the PC running UE5.
▼On Windows, you can check this in the Wi-Fi properties.
▼If it shows like this, the address is 192.168.10.21.
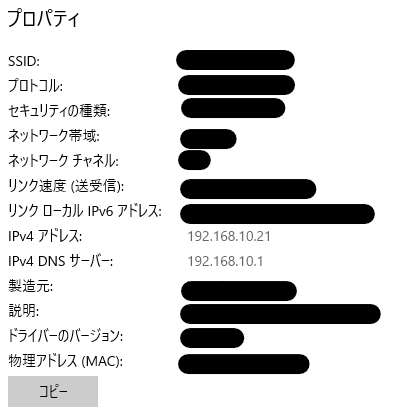
Since the Web Interface port is 30000, you would access it via http://192.168.10.21:30000.
I recommend starting the level play before operating, as the objects return to their original positions when play ends.
▼Here is the operation in action. The PC running UE5 and the PC using the Web Interface are separate. (I realized I have the Joint4 axis wrong…)
Finally
Documentation for the Web Interface was particularly scarce, but I managed to create a UI and control the system. While I used a PC in the video, you can also open it in a smartphone browser. Dials and joysticks are likely easier to use on a smartphone.
I successfully achieved one-way communication from UE5 to Node-RED using the HTTP Request node. Communication from Node-RED to UE5 was also possible via the Remote Control API, which I am summarizing for the next article.
I hope to eventually achieve simulation while controlling real hardware by integrating with ROS.