Shopping: New Laptop and SSD Expansion (ASUS TUF Gaming A15)
Introduction
In this post, I’ll be talking about replacing my PC after my previous one broke down.
I used to use a laptop with a GPU I wasn't very familiar with, but recently I’ve been using Unreal Engine. Since it wouldn't run properly without a solid GPU, I decided to purchase a gaming PC.
Now, both Unreal Engine and AI-related tools run smoothly, allowing me to focus on development.
▼Previous articles are here:
Trying Out the Prusa MK4 (3D Printer)
Info This article is translated from Japanese to English. Introduction I finally bought my long-awaited 3D printer! The Prusa MK4!I had heard about Prusa from …

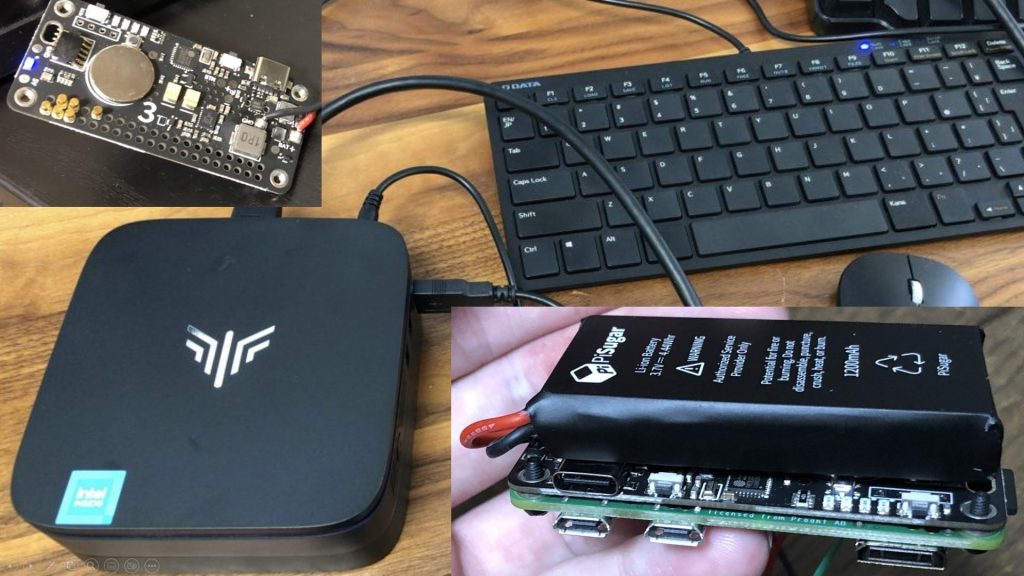
Shopping: Mini PC and PiSugar 3
Info This article is translated from Japanese to English. Introduction A little while ago, during the Amazon Prime Day sale, I bought a mini PC that was signif…
New Laptop
The one I purchased this time is an ASUS gaming laptop. It was on sale and relatively affordable, costing around 100,000 yen.
▼I purchased this PC.

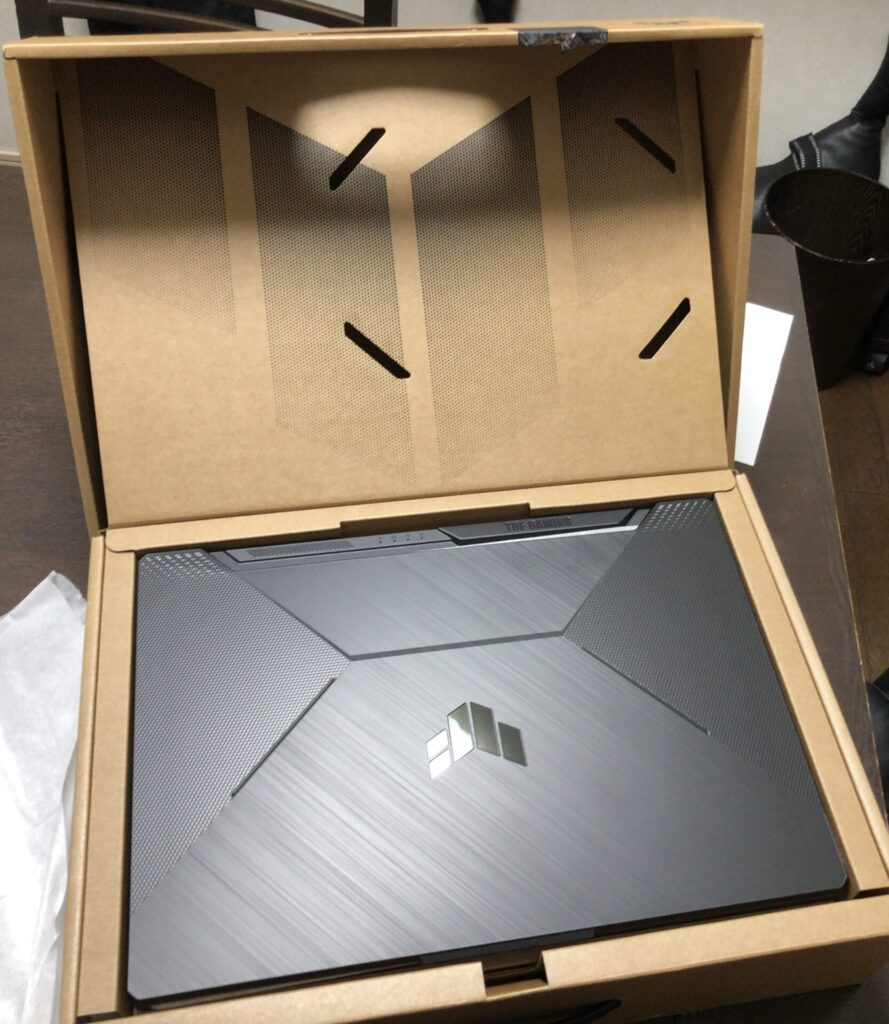
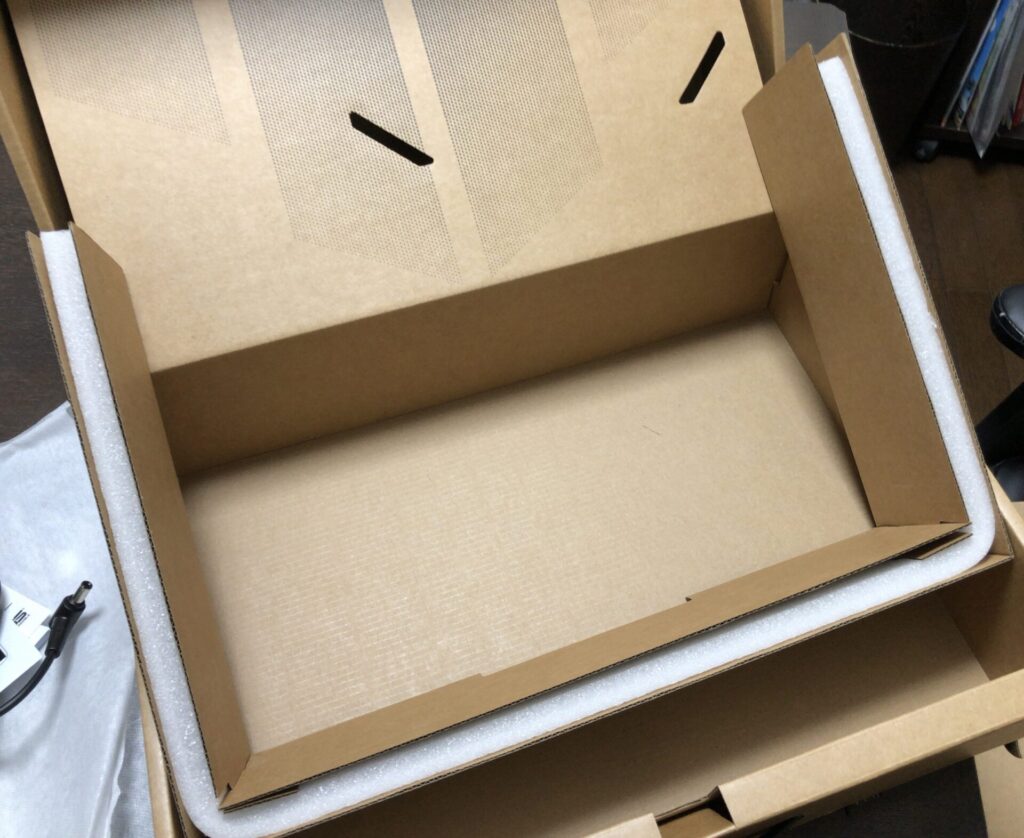
I tried unboxing it.
▼The box opened by sliding out. It was well-packed with cushioning material.
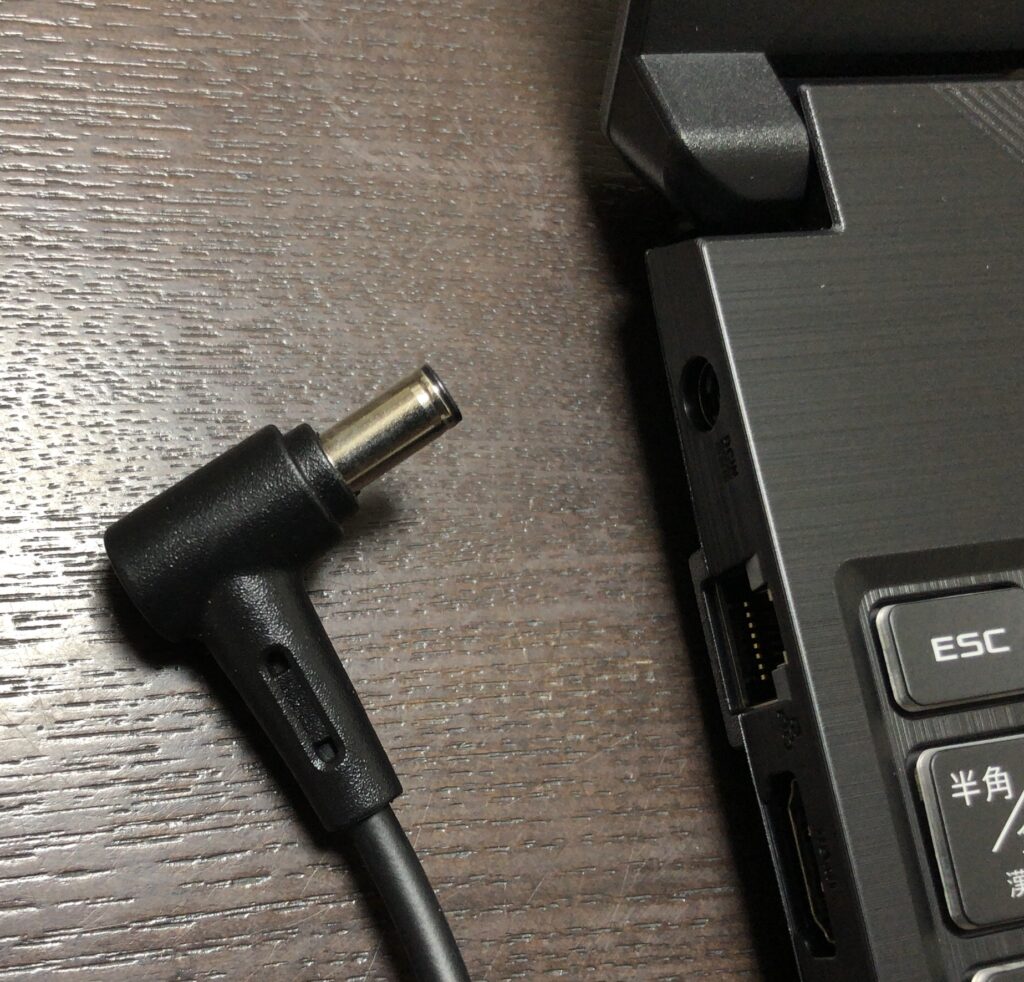
The charging plug on my previous NEC PC broke, but it had a strange rectangular shape, and it seemed like it would cost tens of thousands of yen to have it repaired by the manufacturer. The plug for this new PC has a more common shape.
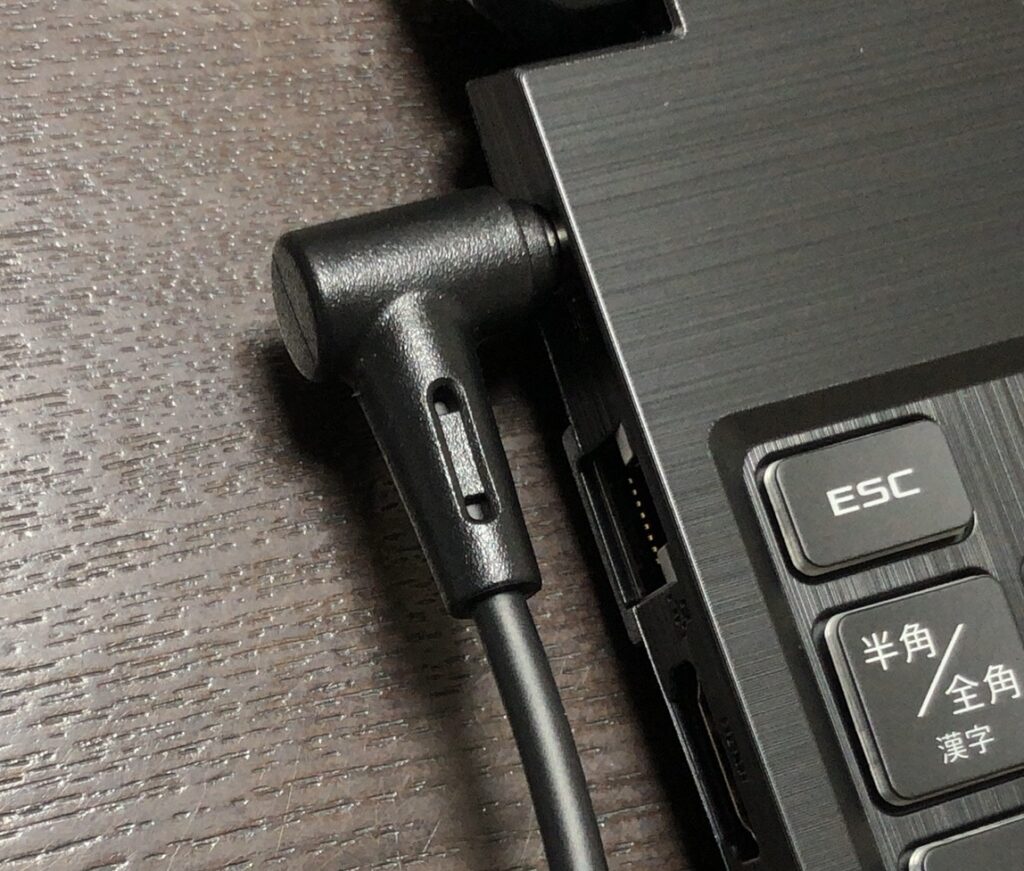
▼I'm not an expert on plugs, but it's a round-shaped one.
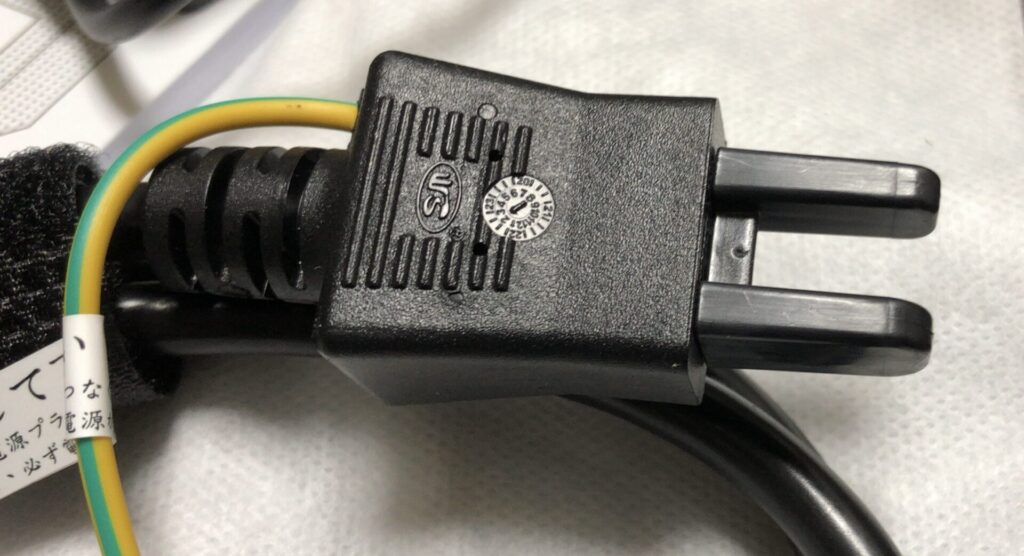
▼The part that plugs into the wall outlet was also covered.
▼The screen is 15.6 inches, which is quite large. The keyboard glows in full color, typical of gaming PCs, though I probably won't use that feature unless I'm in a dark place.
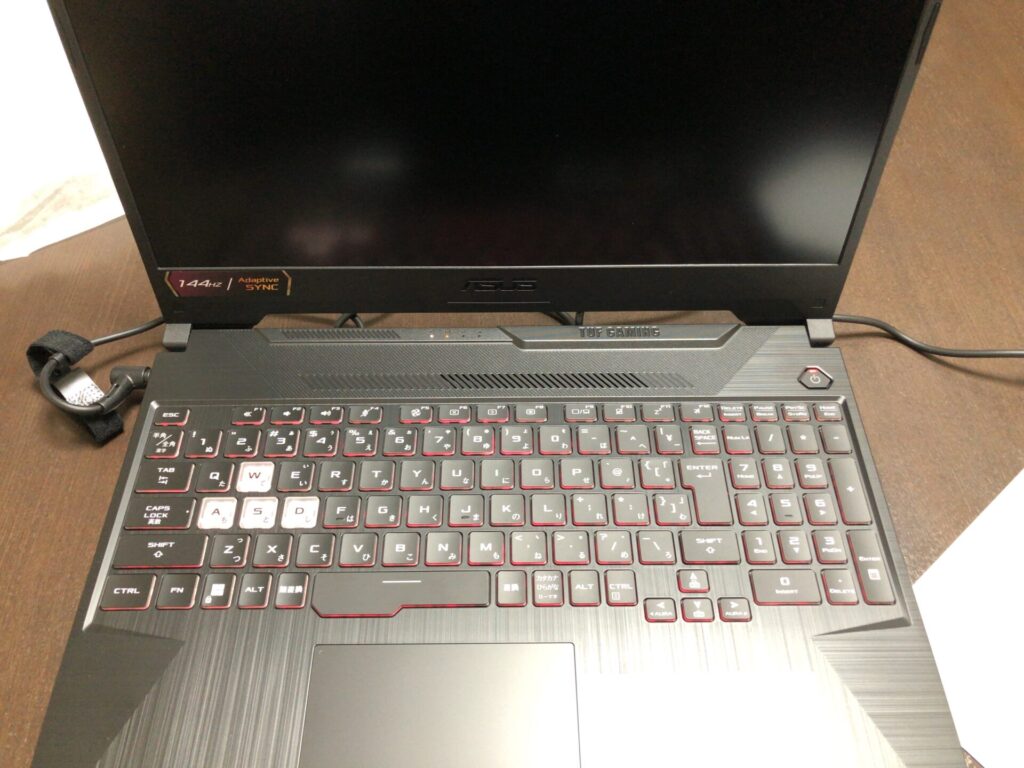
There were USB ports on both the right and left sides, perhaps to make it easier to plug in a wired mouse. My previous PC had a CD/DVD drive, but since I rarely use it, I thought an external one would be fine.
When running heavy software like Unreal Engine, hot air is exhausted from the vents on the right and back with a significant amount of noise.
I usually use a stand for better cooling and typing comfort.
▼I bought one exactly like this at Konan. It's compact and convenient to carry.

▼If you want serious cooling, a stand with a fan would probably be better, though it might be inconvenient for carrying.

I was a bit worried about the built-in storage capacity alone, so I bought an external SSD.
▼I bought a small one that seems fine even if left plugged into the laptop.

▼Someone mistook it for a Bluetooth mouse receiver, and they were surprised when I told them it was an SSD.

I also use a thin, portable mobile monitor, but with my previous PC, it wouldn't display even when connected via Type-C to Type-C. It was a bit cumbersome because I needed both a Type-C for power and an HDMI cable.
Now, a single Type-C cable is enough. The cable plugged in the image above is for the mobile monitor.
▼It's a monitor very similar to this one.

Internal SSD Expansion
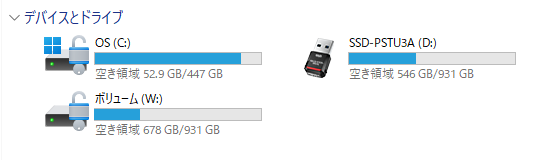
Since the 500GB internal SSD seemed insufficient, I initially bought a 1TB external SSD, but since there was a 2nd SSD slot, I ended up adding another 1TB internally.
This is my first time touching an internal SSD. I researched and bought one that seemed reliable.
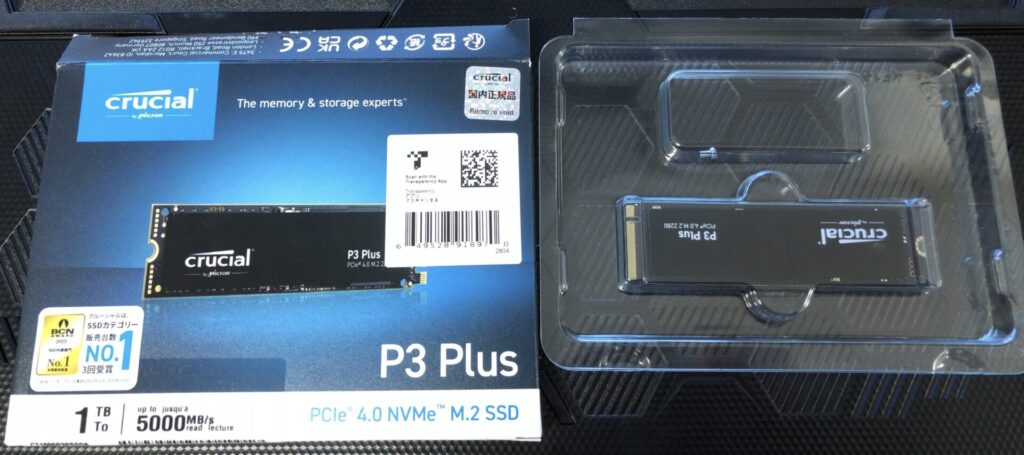
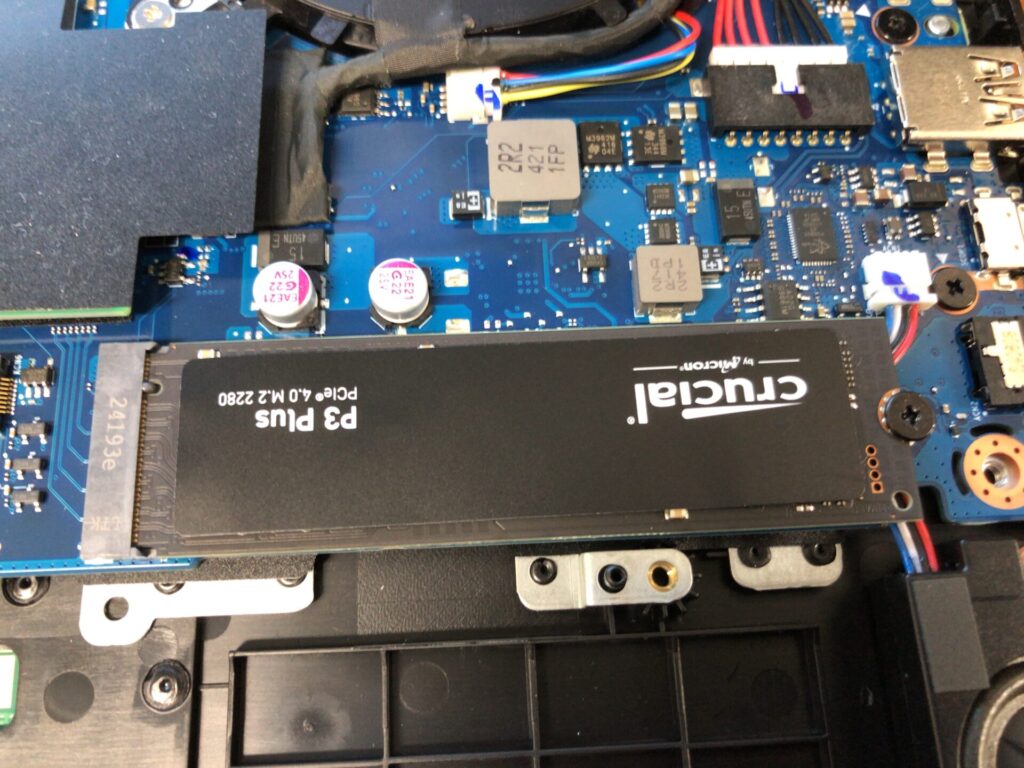
▼I purchased this Crucial SSD. It was about 9,000 yen at the time of purchase.

▼It was listed as a compatible SSD for the ASUS TUF Gaming A15. It also has DRAM.
https://www.crucial.jp/compatible-upgrade-for/asus/asus-tuf-gaming-a15
▼There was a page on the company's website about how to install the SSD.
https://www.crucial.jp/articles/about-ssd/how-to-install-m2-nvme-pcie-ssd
I actually tried installing it.
▼I unboxed the SSD.
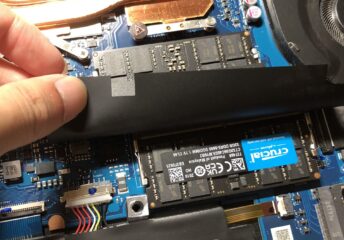
▼I removed the screws on the back of the PC and opened it. The SSD slot is empty.
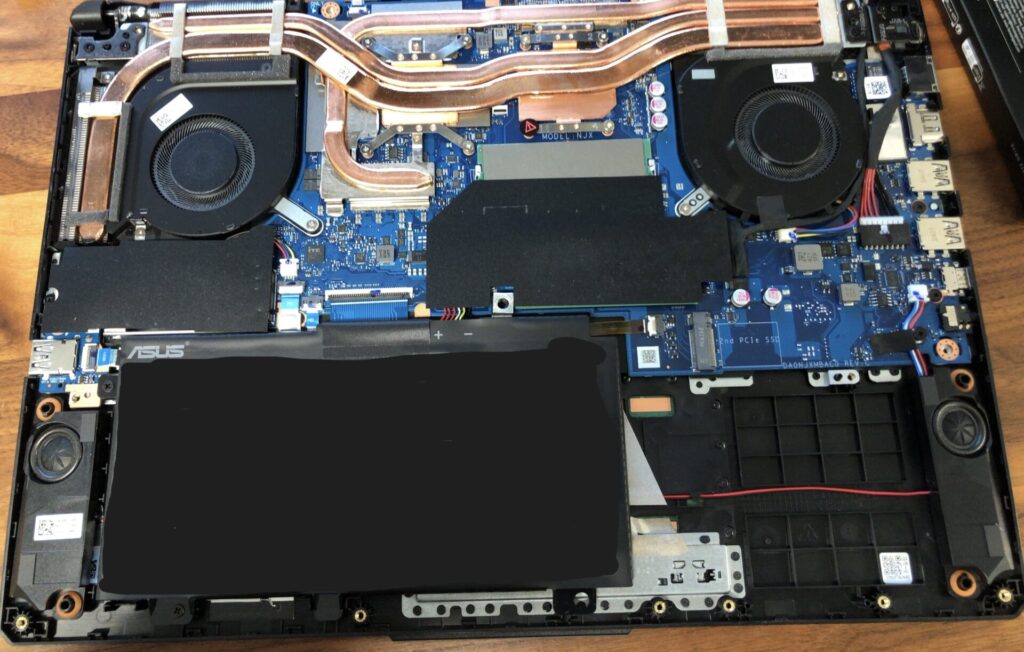
▼I was able to install it easily just by plugging it in.
After starting up, it wasn't recognized just by connecting it to the slot. I had to configure some settings.
▼I referred to this Crucial page.
Windows®でSSDを初期化する方法 | Crucial JP
▼After configuration, it's working now without any problems.
It's great that it's designed to be expanded from the start. I used to think such changes could only be made on a custom-built desktop PC.
Switching Hub and Wired Cables
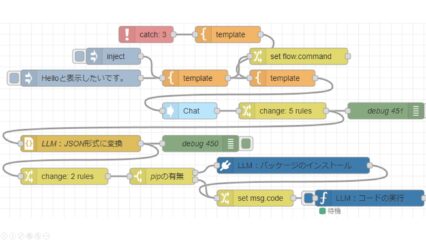
In my research, I used Node-RED to communicate and link Unreal Engine and ROS, but the processing was heavy, so I handled it by communicating between two PCs. At that time, there was lag, likely because I was communicating via wireless LAN.
I wanted to communicate faster using a wired connection, so I bought a switching hub. However, my knowledge of networking is limited, so I'm not sure if I can communicate with this. I'm planning to try it out while researching various things.
▼I was doing hand tracking using YOLO with two PCs and two cameras, but there is quite a bit of lag.
▼I also wrote about it on Qiita at the end of the year.
https://qiita.com/background/items/c0d5b0a744fdd2365fd1
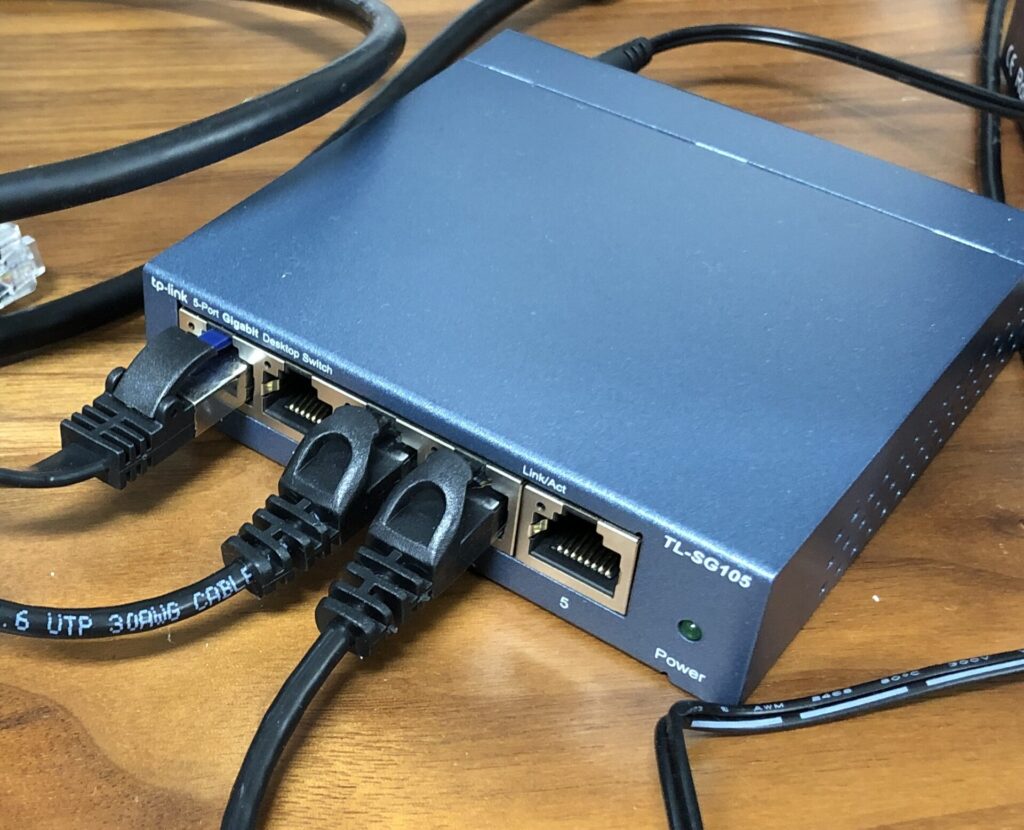
For now, I bought a simple and inexpensive switching hub.
▼It has a metal casing and supports 10/100/1000Mbps.

I also bought cables.
▼I bought three 0.5m CAT6 cables, but I feel like longer cables would have been better.

▼I previously bought one 5m CAT8 cable for my desktop PC. But I think CAT6 would have been sufficient.

▼I also have a ThinkPad, but it didn't have a LAN port, so I bought an adapter.

▼This is what it looks like when actually plugged in.
I will summarize the communication methods later while I continue my research. The ping went through. It would be interesting if this could be mounted on a robot.
Finally
Since switching to the new PC, I've been able to handle Unreal Engine, ROS, YOLO, and other tasks on a single machine that previously required two. I'm surprised that it's working so well for such an affordable price.
Given that repairs would have cost tens of thousands of yen, I think buying a new one was the right choice. I look forward to working on development with my new PC.