Trying Out Jetson Xavier Part 2 (Communication Settings, Node-RED, and Tailscale)
Introduction
In this post, I configured the communication settings for the Jetson Xavier, following the OS setup I performed previously.
Since I wanted to use it as a home server, I’ve made it accessible even from external networks. The tool I used this time, Tailscale, is incredibly convenient, and I have also introduced it to my Windows environment.
▼Previous articles are here:
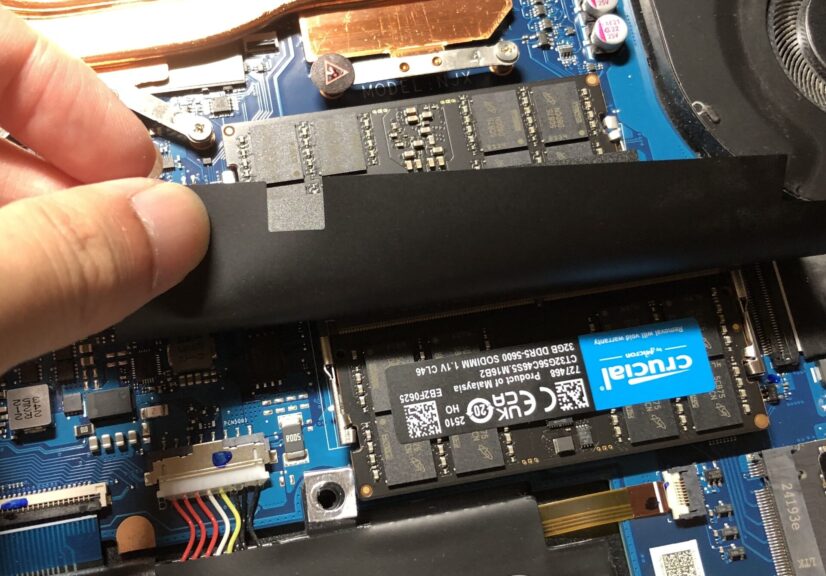
Shopping: Upgrading Laptop Memory (ASUS TUF Gaming A15, gpt-oss-20b)
Info This article is translated from Japanese to English. Introduction In this post, I’ll be sharing my experience upgrading the RAM in my daily-use laptop fro…
Trying Out Jetson Xavier Part 1 (JetPack 5.1.5 Setup)
Info This article is translated from Japanese to English. Introduction I’ve been participating in the TechSeeker Hackathon 2025 recently, and as a participant …
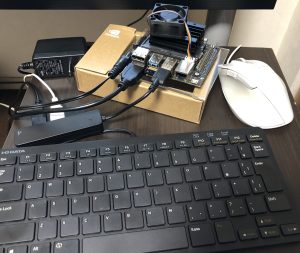
Connecting to the Internet
As was the case with the Jetson Nano, the Jetson Xavier does not have built-in components for wireless connectivity.
▼With the Jetson Nano, I connected using a USB Wi-Fi dongle.

Trying Out Jetson Nano (Peripherals and Remote Desktop Connection)
Info This article is translated from Japanese to English. Introduction I got my hands on a Jetson Nano a while ago, so this time I’m preparing it for robot dev…

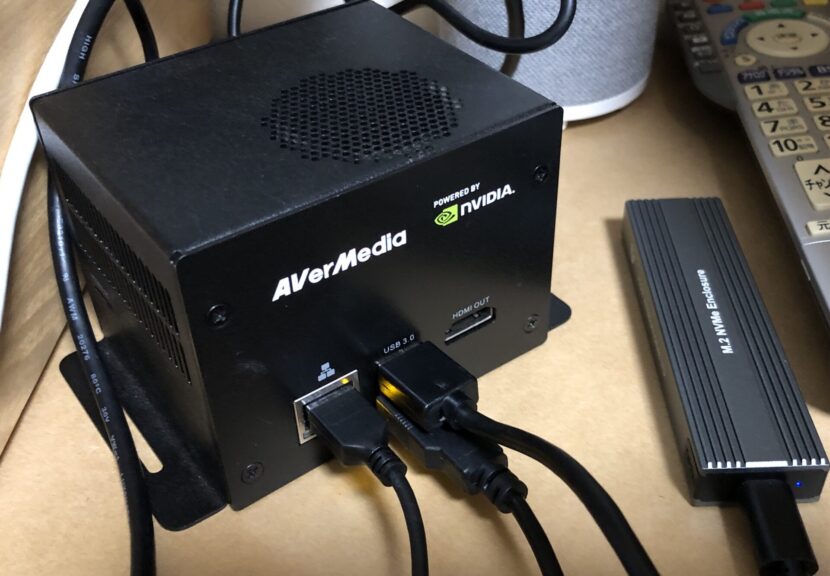
While it does have an Ethernet port, my wireless router was in a different room, making it impossible to plug in a LAN cable directly. Fortunately, I had a Wi-Fi extender, so I connected the Xavier to it via Ethernet.
▼I am using this spare Wi-Fi extender. It also has an Ethernet port.

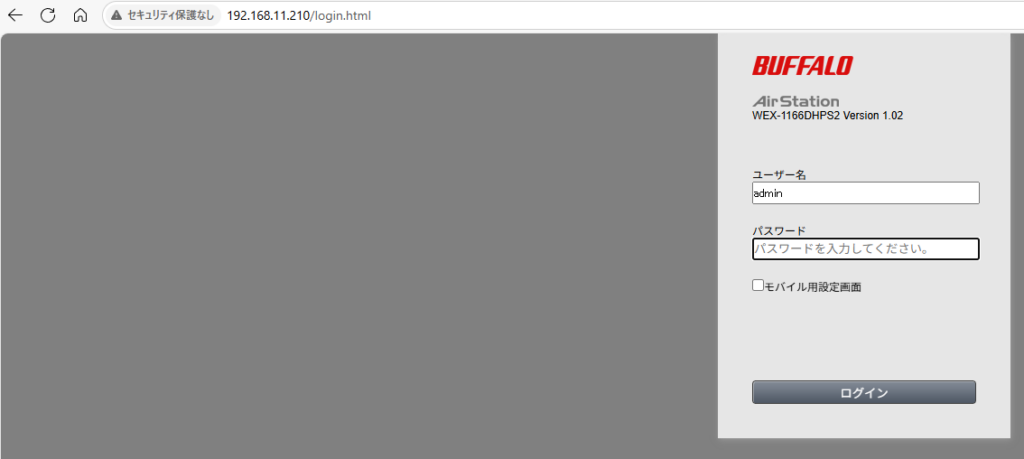
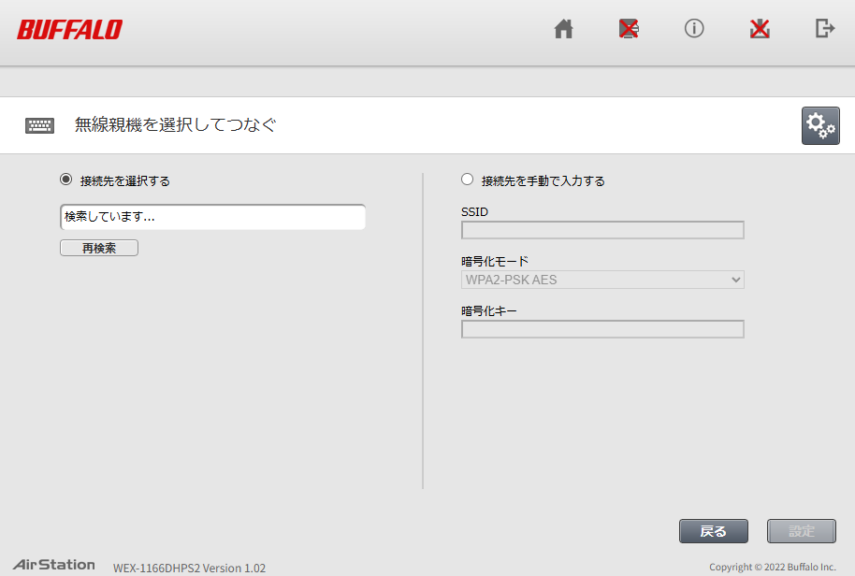
I configured the settings to link the wireless router and the extender. The access address, username, and password for the extender were written on the device itself.
▼I connected to the extender's access point and logged in.
▼I configured the connection destination.
After this, I connected the Jetson Xavier to the extender via a cable and was able to log in from another PC via SSH.
Installing Node-RED
I installed Node-RED, a tool I use frequently. It is a flow-based programming tool that makes implementing communication-related tasks particularly easy.
▼The Raspberry Pi script on the following page can also be used on Ubuntu.
https://nodered.jp/docs/getting-started/raspberrypi
I connected to the Jetson Xavier via SSH from another PC and executed the following commands:
sudo apt update
sudo apt upgrade
sudo apt install curl
bash <(curl -sL https://raw.githubusercontent.com/node-red/linux-installers/master/deb/update-nodejs-and-nodered)
▼I encountered an error stating that "curl" was missing, so I installed it first.

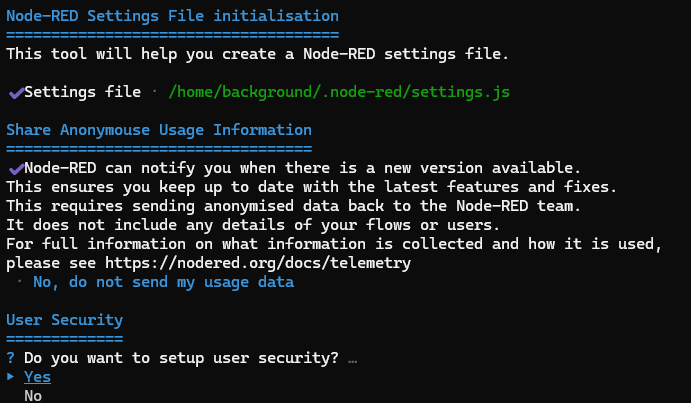
Most of the setup options displayed in the terminal were left as default, but since I wanted to allow access across different networks, I configured the security settings.
▼Enabling "User Security" requires a username and password upon access.
▼After running "node-red" in the terminal and accessing http://:1880, I was prompted for credentials.
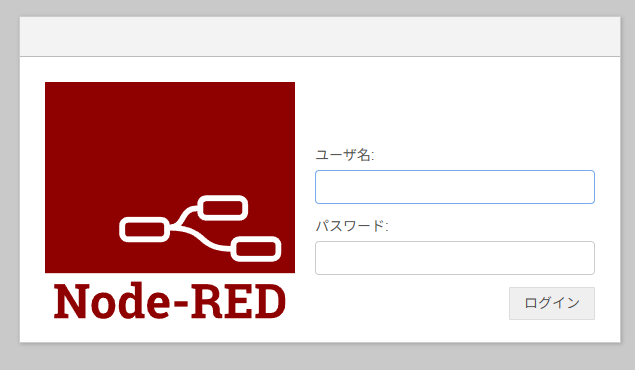
I successfully accessed the Node-RED editor screen.
Trying Out Tailscale
I was now able to perform SSH connections and log in to Node-RED within the local network. Next, I looked for a way to access the home Jetson Xavier from anywhere across the internet.
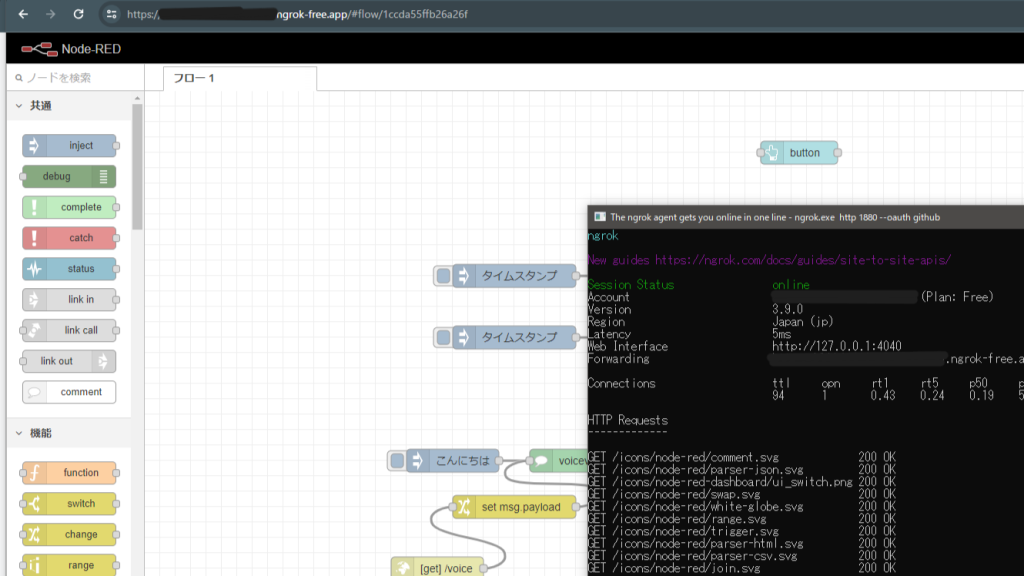
▼I have used Ngrok before, but in the free tier, the data limit is 1GB per month, which I exhausted quickly.
Trying Out ngrok (OAuth, GitHub, and Node-RED)
Info This article is translated from Japanese to English. Introduction In this post, I tried using ngrok. It allows you to expose a server running on your loca…
When I asked ChatGPT for advice, it introduced me to something called Tailscale.
▼Information on how Tailscale works can be found here:
https://tailscale.com/blog/how-tailscale-works
It seems to be a mechanism for easily implementing a VPN. I’m not an expert on VPNs, but I decided to give it a try.
▼Installation instructions for various environments are available here:
https://tailscale.com/kb/1347/installation
This time, I had ChatGPT provide the commands. I was able to install it using "snap".
sudo snap install tailscale
sudo tailscale up
▼The installation went smoothly.

▼A login URL was displayed.
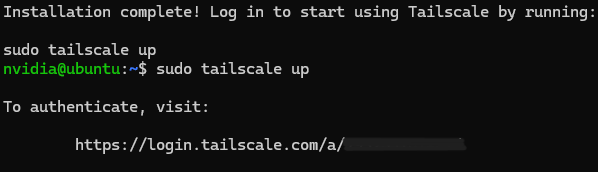
When you run "sudo tailscale up," a URL for logging in is displayed. After accessing that URL and logging in, the setup was completed without any issues.
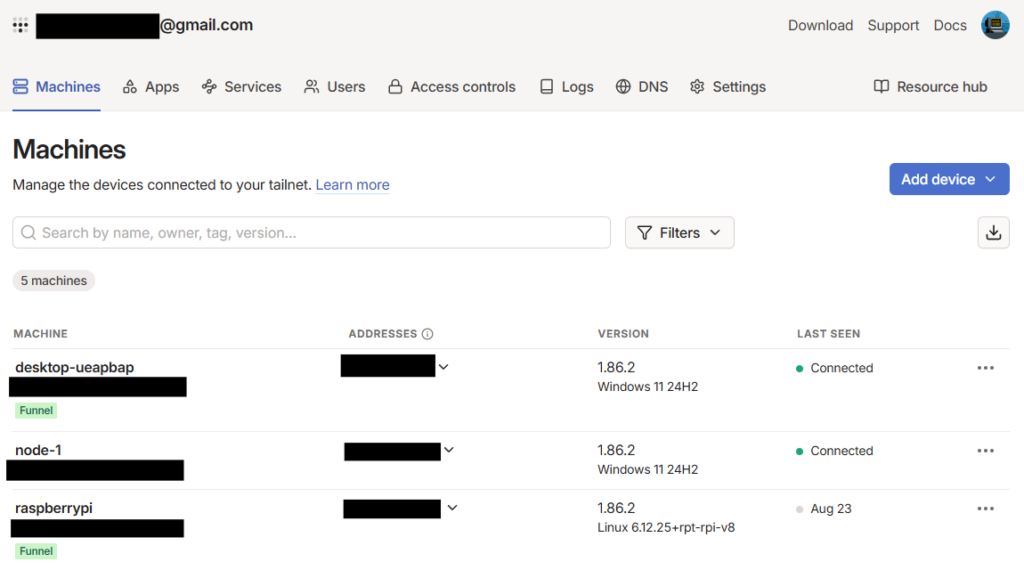
▼Even with other devices set up, you can check the addresses in the browser management console like this. I was also able to establish an SSH connection using this address.
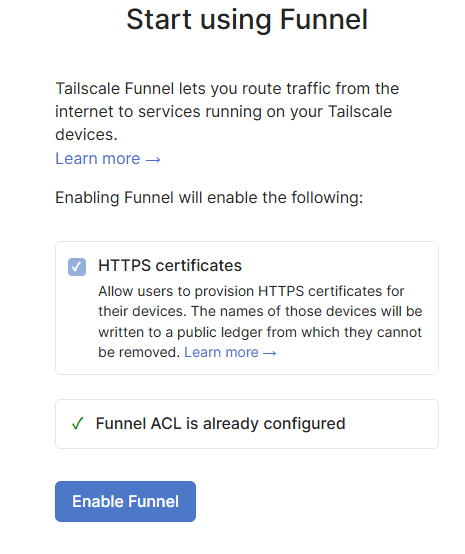
There is also a mechanism called "Funnel," which allows you to expose ports to the public internet, similar to Ngrok.
▼Funnel is explained on this page. It is currently a beta feature.
https://tailscale.com/kb/1223/funnel
▼I enabled Funnel in the browser management console.
I wanted to access Node-RED (running on port 1880) from the outside, so I used Funnel for port 1880.
sudo tailscale funnel 1880▼It was necessary to execute this with "sudo".
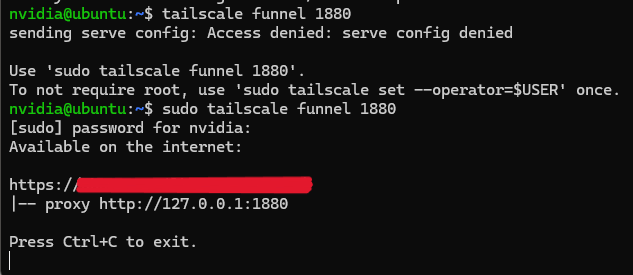
A URL for connecting via HTTPS was issued. Upon accessing that URL, the Node-RED login screen appeared once again.
Since the Funnel becomes inactive when the SSH terminal is closed, I used the Node-RED "exec" node to execute the Funnel command for port 1880 at startup.
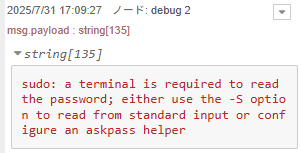
▼Since it needs to run with "sudo," you must pass the password when executing the command.
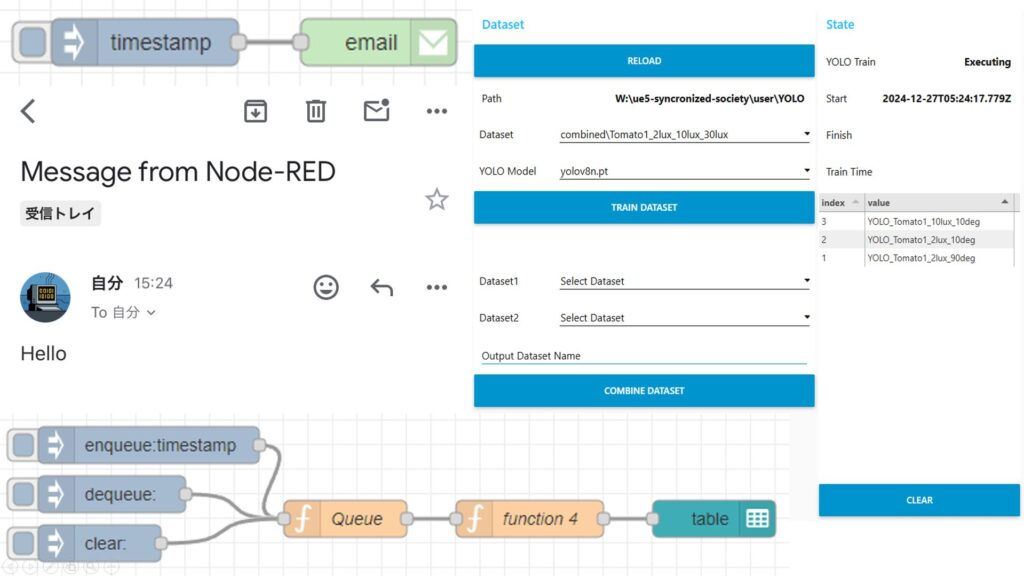
▼I created the flow as follows:

Now, the Funnel is automatically executed upon startup.
▼I combined this with an "email" node to notify me of the issued URL.
Node-REDを使ってみる その3(ui-tableノード、emailノード)
はじめに 今回はNode-REDのui-tableノードとemailノードを使ってみました。 デスクトップPCの作業を自動化して、遠隔でも状態を確認するためにdashboard画面を確認し…
Note that the URL issued by Funnel can also be confirmed in the Tailscale management console.
Finally
Using Tailscale, I can now easily access my device even from external networks. It worked perfectly on my Windows PC as well, so I plan to summarize that in another article.
▼Since SSH involves command-line operations, I use Google Chrome Remote Desktop for GUI-based operations.
Trying Out Google Chrome Remote Desktop
Info This article is translated from Japanese to English. Introduction In this post, I tried using Google Chrome Remote Desktop.I usually carry a laptop with m…