Trying Out Google Chrome Remote Desktop
Introduction
In this post, I tried using Google Chrome Remote Desktop.
I usually carry a laptop with me, but I was looking for a way to access my desktop PC, which has higher GPU processing performance. My requirements were that it must work on Windows and be free to use.
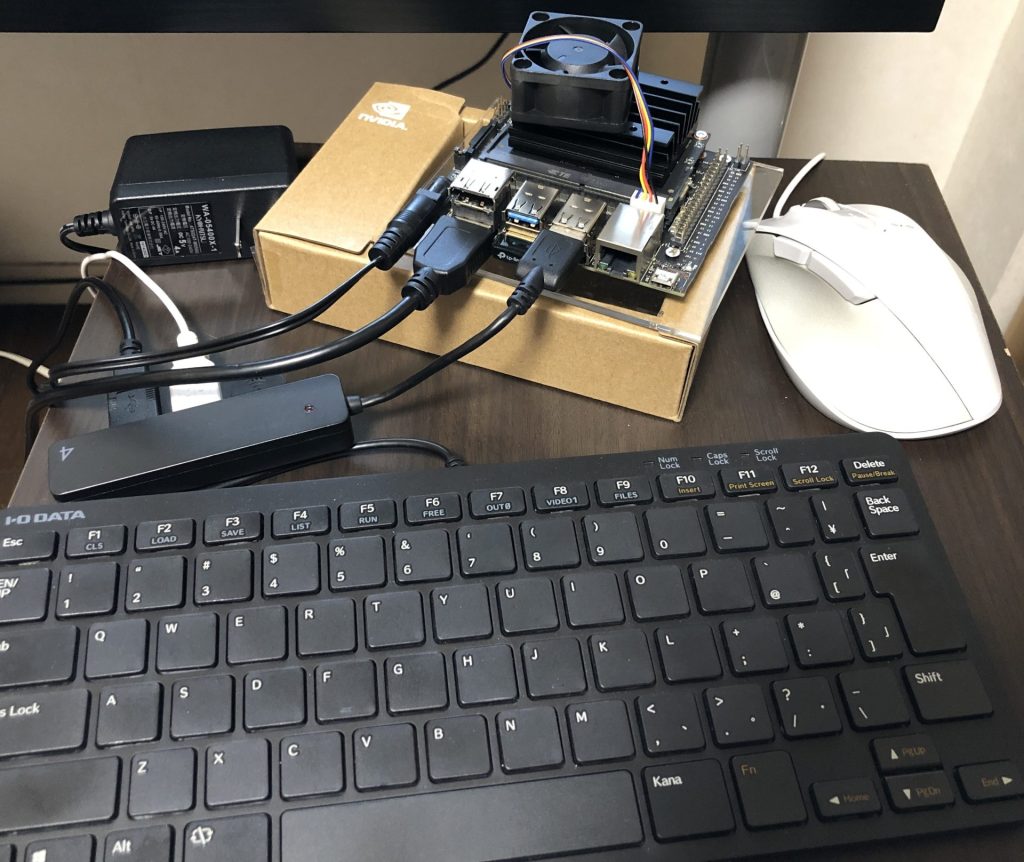
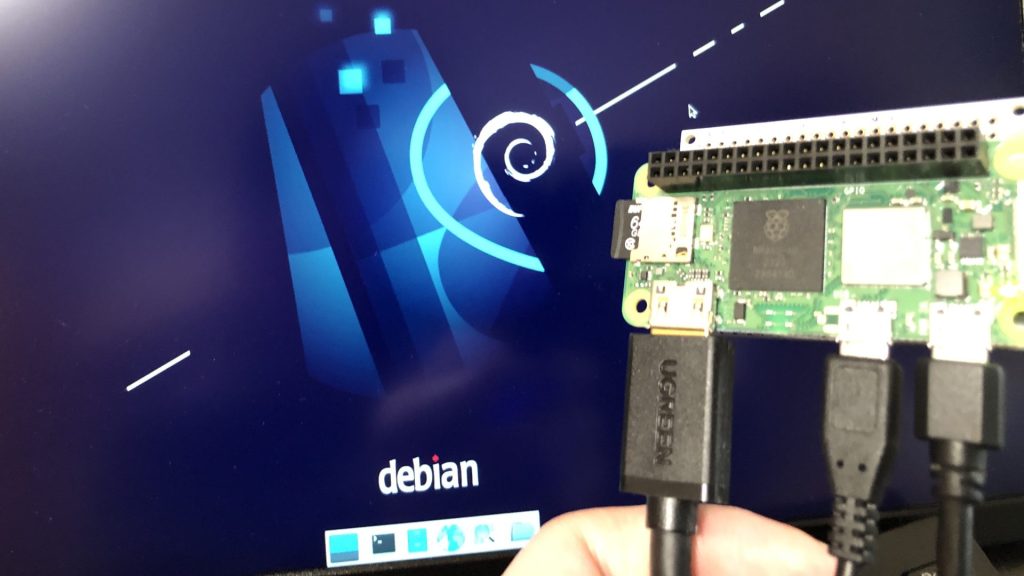
▼I have used remote desktop connections before in Linux-based Jetson environments.
Trying Out Jetson Nano (Peripherals and Remote Desktop Connection)
Info This article is translated from Japanese to English. Introduction I got my hands on a Jetson Nano a while ago, so this time I’m preparing it for robot dev…
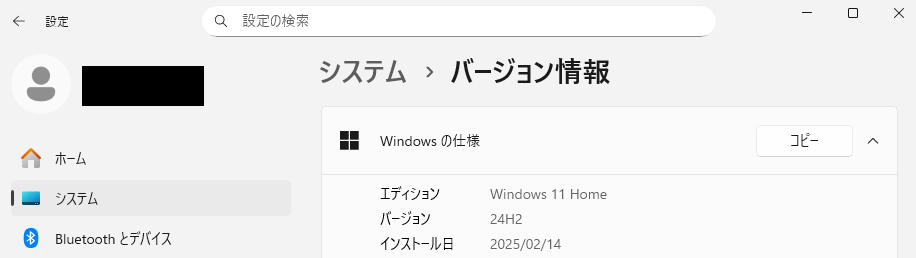
▼It seems that the Pro edition of Windows supports built-in Remote Desktop connections, but Windows Home editions cannot be used as a connection target (host).
▼I checked via Settings > System > About, and my OS was indeed Windows 11 Home.
Google Chrome Remote Desktop was very convenient and ready to use almost immediately.
▼Previous articles are here:
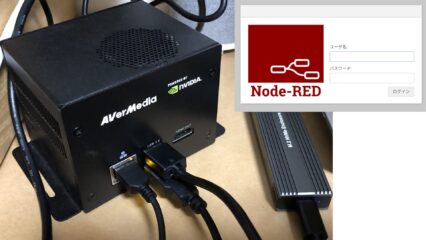
Trying Out Raspberry Pi Zero 2 Part 1 (Xfce, Vivaldi, and Node-RED)
Info This article is translated from Japanese to English. Introduction In this post, I tried using the Raspberry Pi Zero 2. I picked one up at Maker Faire Toky…
Trying Out Jetson Xavier Part 1 (JetPack 5.1.5 Setup)
Info This article is translated from Japanese to English. Introduction I’ve been participating in the TechSeeker Hackathon 2025 recently, and as a participant …
Remote Desktop Setup
Please install Google Chrome on both the client (connecting) and host (target) PCs in advance.
▼Installation methods for various OSs are introduced here:
https://support.google.com/chrome/answer/95346
▼The help page for Remote Desktop is here:
https://support.google.com/chrome/answer/1649523?hl=ja&co=GENIE.Platform%3DDesktop
▼You can configure the Remote Desktop settings from the following page:
https://remotedesktop.google.com/access
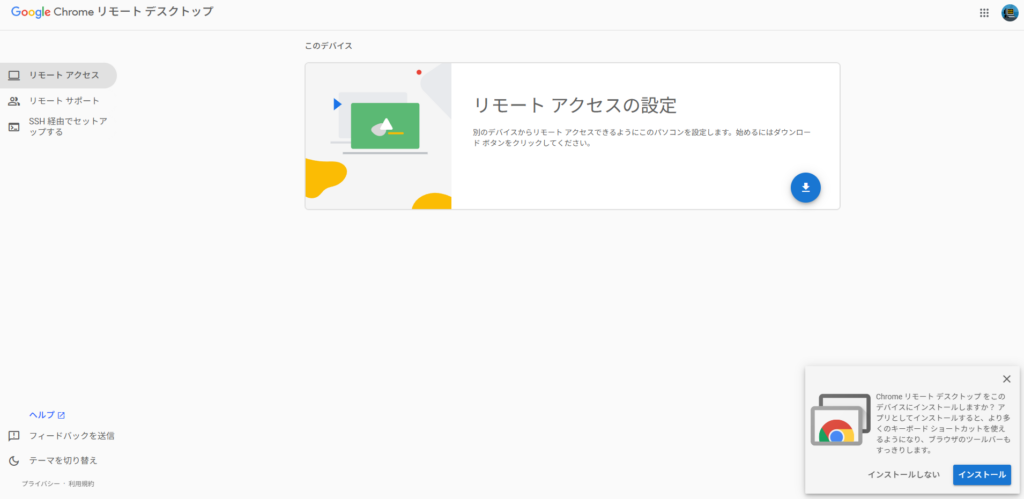
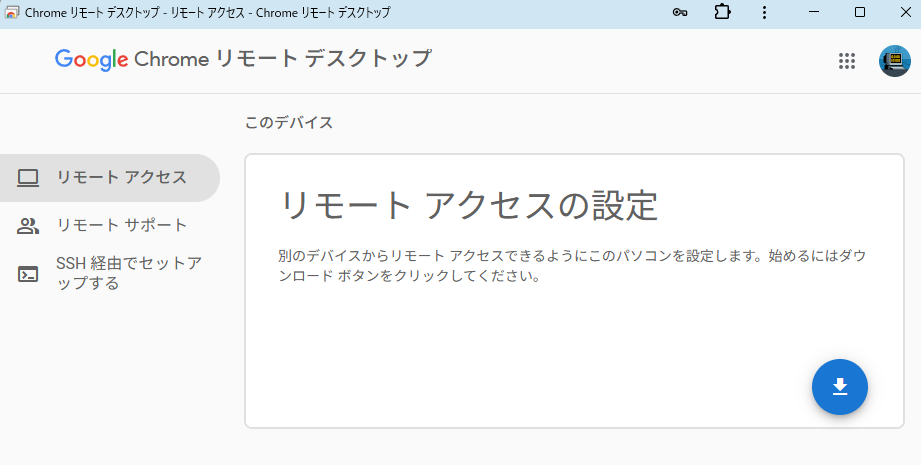
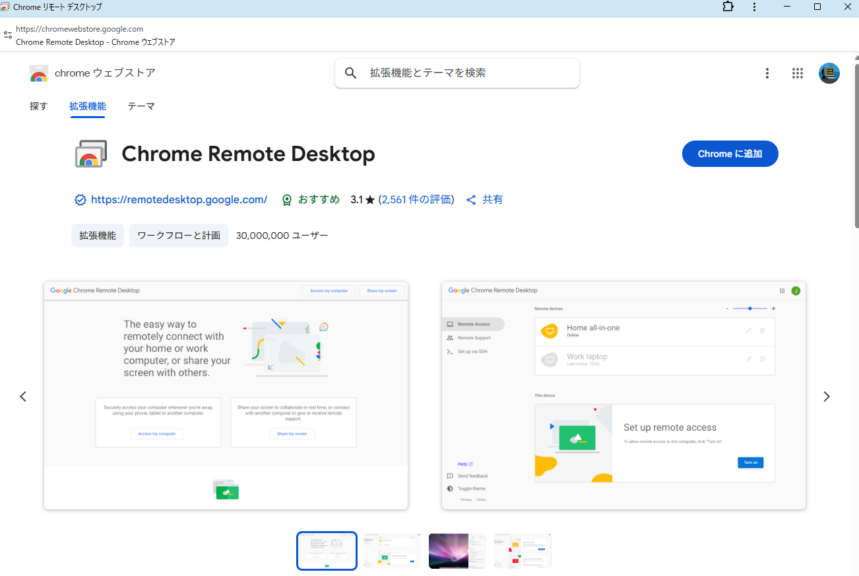
You need to click the download button and install the application.
▼I selected "Install app."

▼A separate window popped up.
▼I selected "Add to Chrome."
▼It was added as an extension.

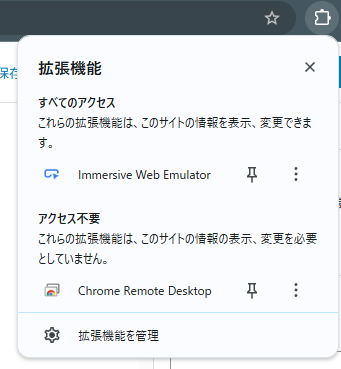
Perform the app addition on both the client and host PCs.
Go back to the "Remote Access" section to configure the connection.
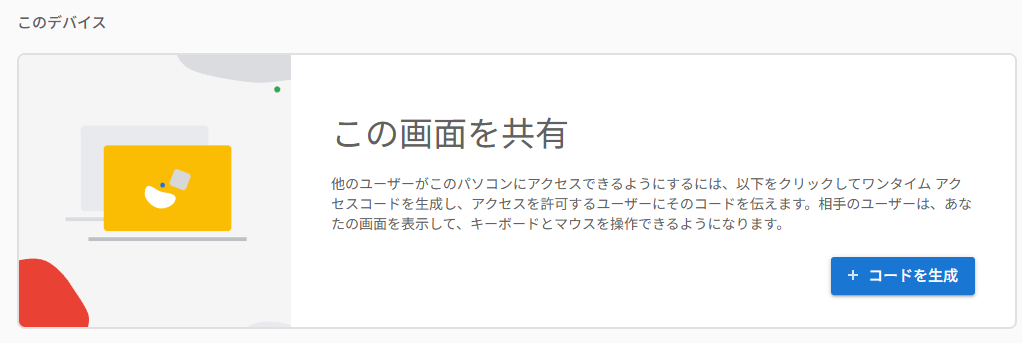
▼Generate a code on the host PC.
▼Enter the generated code on the client PC.
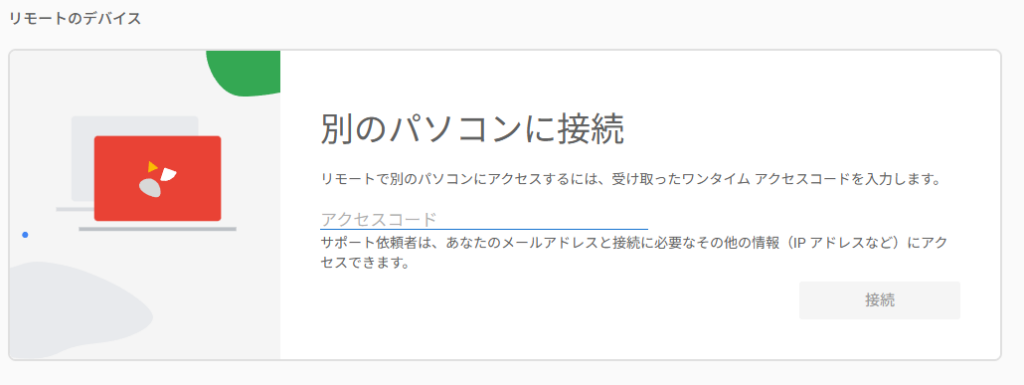
Note that a PIN is required at the time of connection.
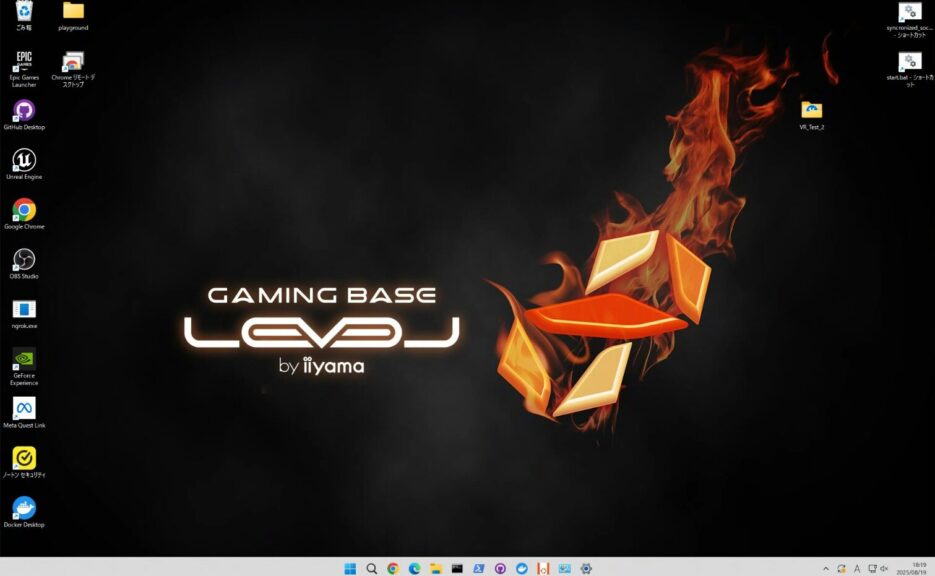
▼The remote desktop connection is established!
If the remote PC has a dual-monitor setup, both displays are shown. You can select which display to view in the settings.
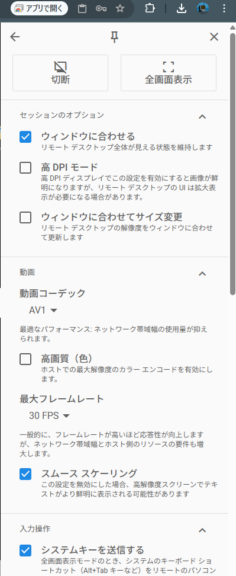
▼There is a settings panel on the right side.
▼File uploading and downloading are also possible. Uploaded files are added to the host PC's desktop, and downloaded files are added to the client PC's download folder.
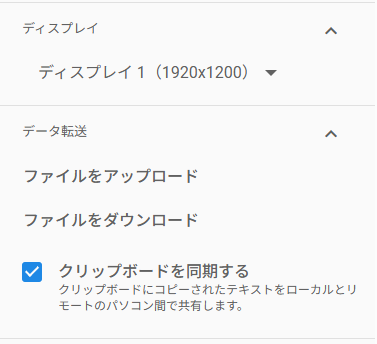
This is strictly for file transfers; it seems folders cannot be transferred directly.
Setting Up via SSH Connection
I noticed an option to set up via SSH, so I gave it a try.
▼After confirming that I could establish an SSH connection to the host PC, I performed the setup from the client PC.

Click "Begin" and follow the instructions. A command was displayed, which I executed in the terminal where I had the SSH connection active.
▼It was added as a target device!
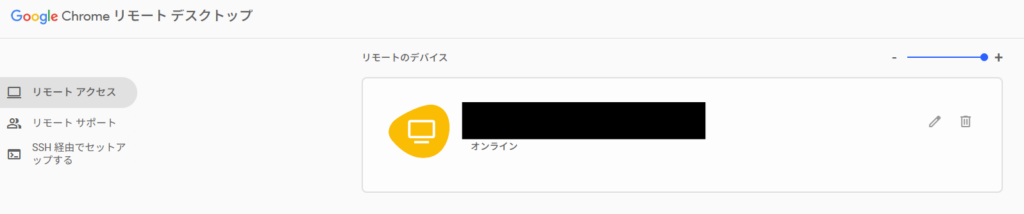
From then on, simply selecting this target device allowed me to establish a remote desktop connection.
According to the help documentation, it can also be used on Linux systems by installing the necessary packages.
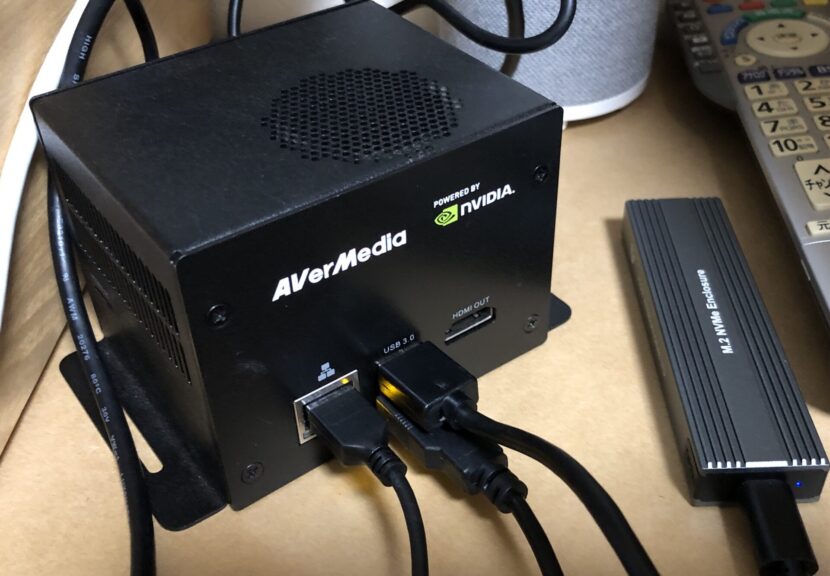
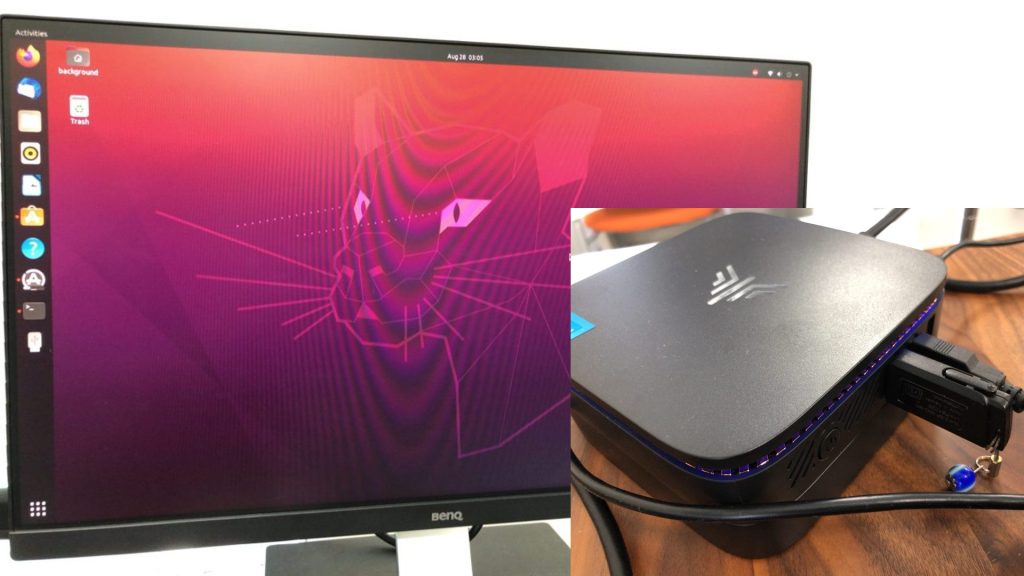
▼When a device doesn't have a display, I use SSH for setup. However, since older Raspberry Pis become slow when opening a browser, a Mini PC would probably be just right for this.
Setting Up Raspberry Pi Zero Without a Wired Keyboard (SSH Connection, Raspberry Pi Imager)
Info This article is translated from Japanese to English. Introduction In this post, I set up a Raspberry Pi Zero via SSH connection because I didn't have a wi…
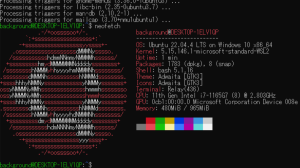
Installing Ubuntu on a Mini PC via USB Drive (Rufus)
Info This article is translated from Japanese to English. Introduction In this post, I tried installing Ubuntu on a mini PC using a USB drive.I knew this was p…
Finally
I was able to easily establish a remote desktop connection through GUI operations.
Since YOLO training and automation tasks in Unreal Engine take a long time, I plan to use remote connections to distribute the processing load. To do that effectively, I'll need to find a way to share folders.
Regarding SSH connections, I have recently started using Tailscale. I'm using it with Raspberry Pi and Jetson, and I plan to summarize that in another article.