CTF Study Part 1 (Kali Linux Installation on VirtualBox, Environment Setup, and OpenVPN)
Introduction
In this post, to study for CTF (Capture The Flag), I set up a Kali Linux environment and configured connections using OpenVPN.
I am planning to participate in a CTF competition soon, so I am currently studying, even if it is a bit of a last-minute effort.
▼Kali Linux was introduced in the following book. It is useful for working on TryHackMe.

▼Previous articles are here:
CTFに挑戦してみる その1(PatriotCTF 2023)
はじめに 今回はCTF(Capture The Flag)という、セキュリティコンテストに挑戦してみたというお話です。図書館でCTFの本を見つけて、面白そうだったので参加してみまし…

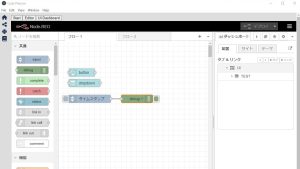
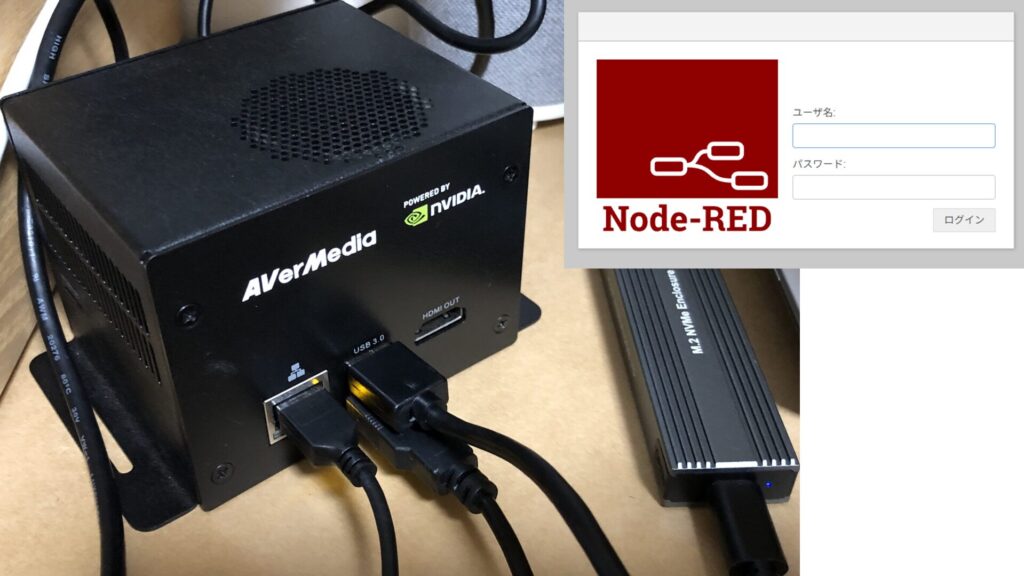
Trying Out Jetson Xavier Part 2 (Communication Settings, Node-RED, and Tailscale)
Info This article is translated from Japanese to English. Introduction In this post, I configured the communication settings for the Jetson Xavier, following t…
Kali Linux Environment Setup
▼I am using a gaming laptop purchased for around 100,000 yen, running Windows 11.
Shopping: New Laptop and SSD Expansion (ASUS TUF Gaming A15)
Info This article is translated from Japanese to English. Introduction In this post, I’ll be talking about replacing my PC after my previous one broke down. I …


I usually use an Ubuntu environment with WSL2, but this time I will run Kali Linux on VirtualBox.
▼The VirtualBox page is here:
https://www.oracle.com/jp/virtualization/technologies/vm/downloads/virtualbox-downloads.html
I installed the Kali Linux image specifically for VirtualBox.
▼I downloaded it from this page. It is about 3.5GB.
https://www.kali.org/get-kali/#kali-virtual-machines
▼After extracting, it was about 14GB.
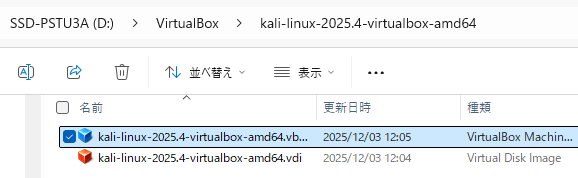
▼I added the downloaded file to VirtualBox.
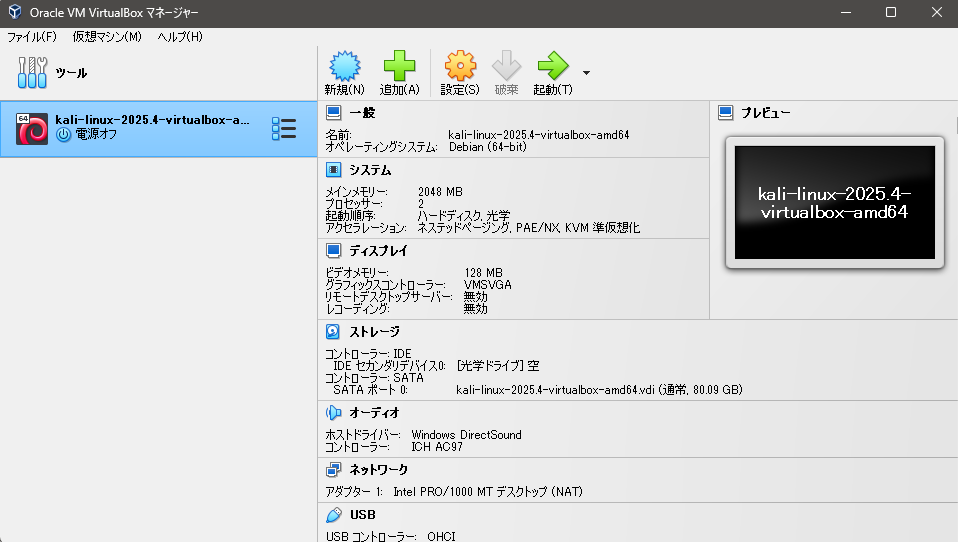
After adding it, I tried to start it.
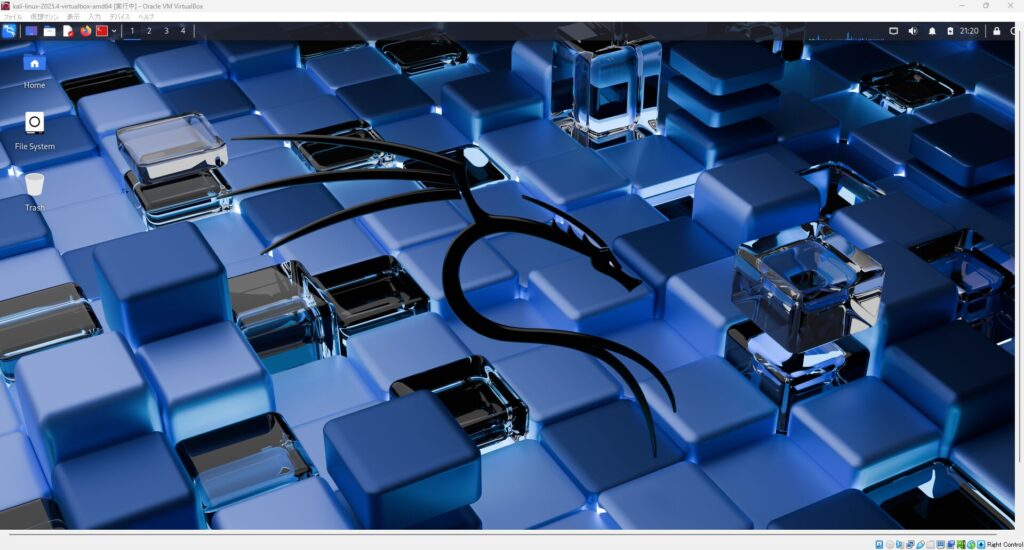
▼After a short while, the login screen appeared.
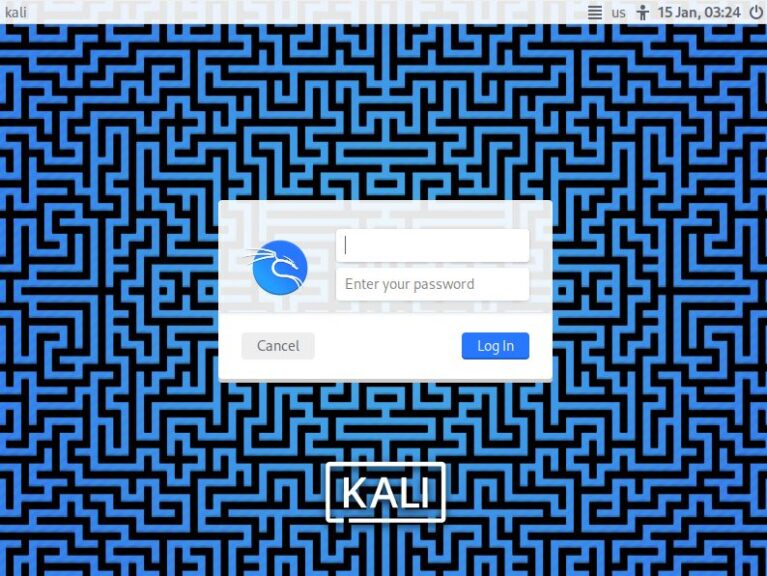
It seems both the default username and password are "kali".
▼I was able to log in!
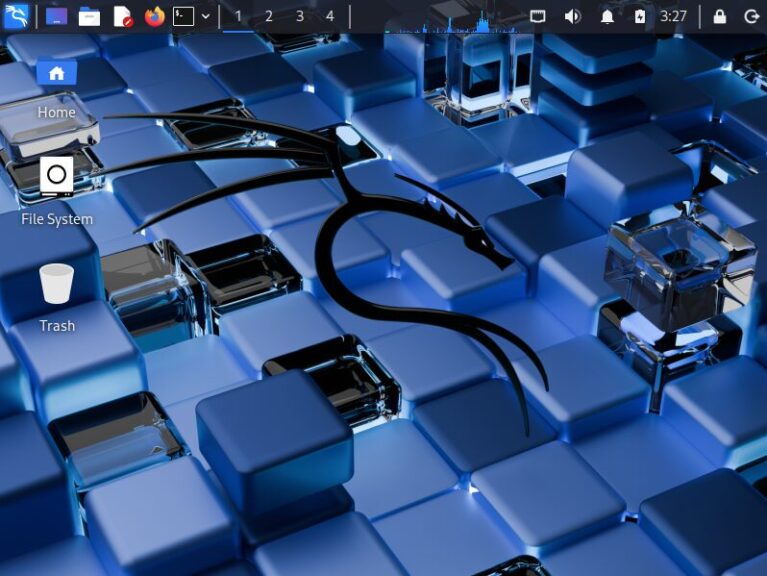
Just in case, I also changed the password using the "passwd" command.
Changing Settings and Installing Software
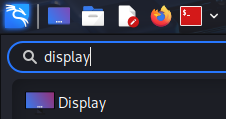
The screen was small, so I made it larger.
▼I changed the Resolution from the Display settings.
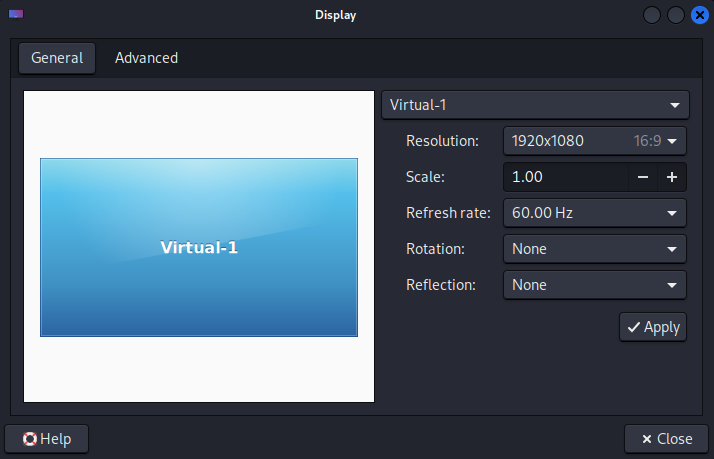
▼The display became larger.
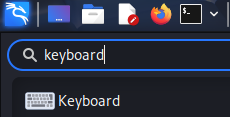
I thought about keeping the language in English, but I changed the keyboard layout because the special symbols differ if it is not set to Japanese.
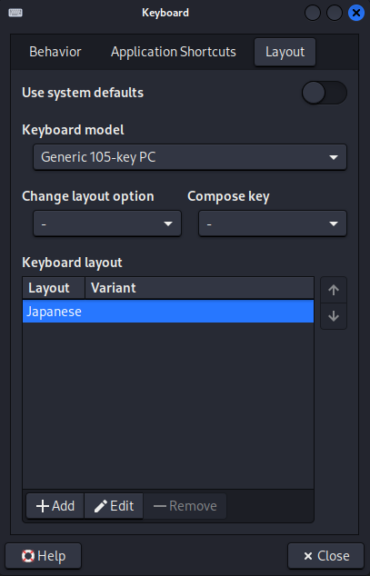
▼I changed it via the Keyboard app.
▼I changed the Layout to Japanese.
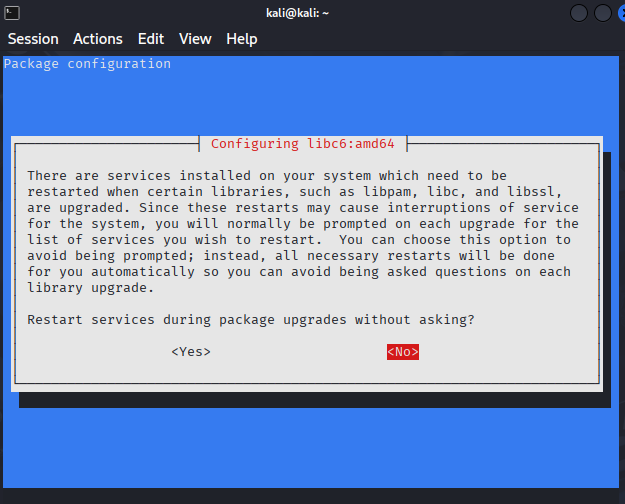
I updated the packages using the following commands:
sudo apt update
sudo apt upgrade -y
▼In the middle of the process, I was asked if it was okay to restart services.
▼There seems to be a terminal that allows you to enter and execute as Root from the start.

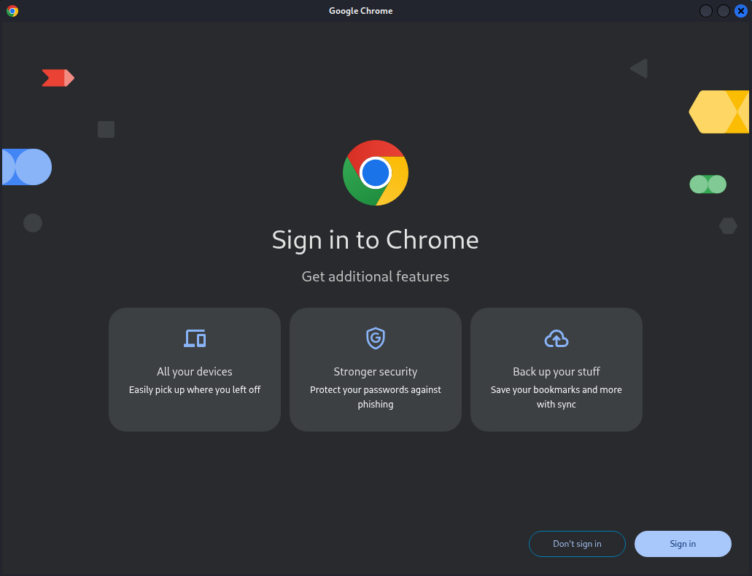
I also installed Google Chrome. Although packages can be downloaded via command line, I downloaded it through Firefox. Unlike using Ubuntu on WSL2, having a desktop screen makes it easy to operate.
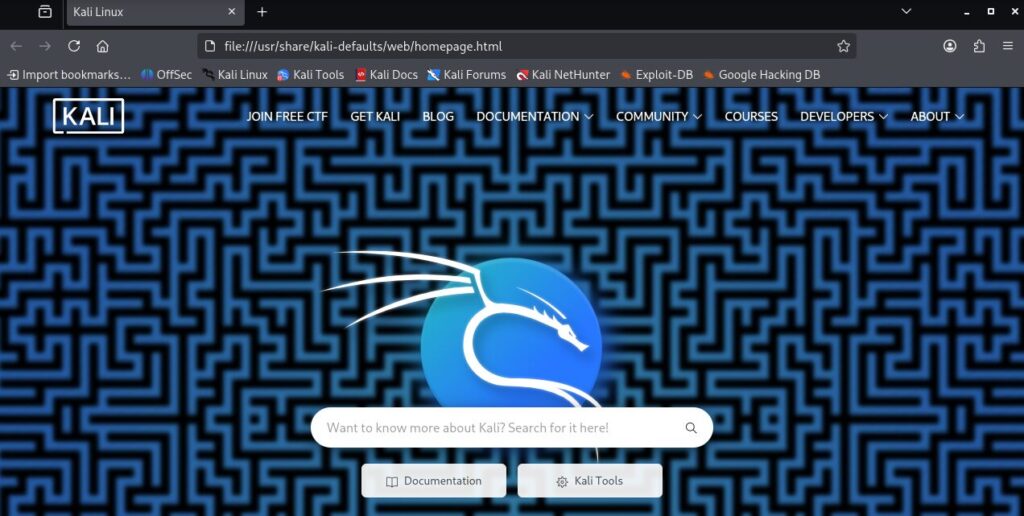
▼When I opened the default browser, a page appeared that seemed to provide access to various tools.
After downloading, I installed it using "apt install":
cd Downloads
sudo apt install ./google-chrome-stable_current_amd64.deb
▼Installation was successful.
I also installed VS Code.
▼This was also installed without any issues.

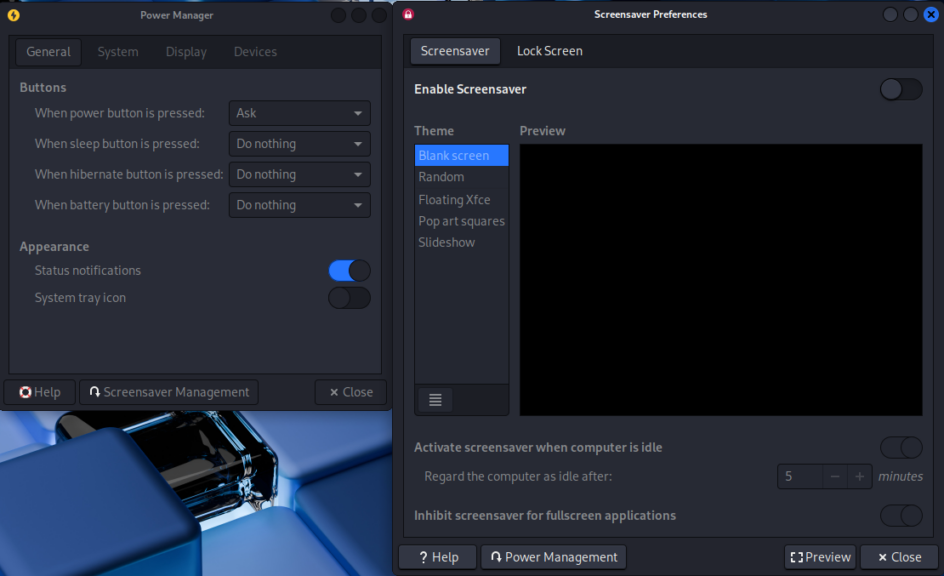
The screen was automatically turning off after a period of inactivity, so I disabled that feature.
▼I opened the Power Manager.
▼I went to Screensaver Management and turned it off.
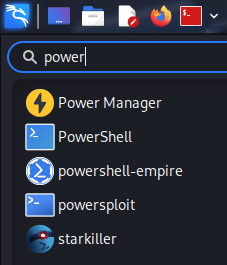
When I searched for "power," I noticed that even though it is Linux, PowerShell exists! I am curious about how people use them for different purposes.
There was also something called "starkiller," so I looked it up.
▼It is described as a frontend for PowerShell Empire.
https://github.com/BC-SECURITY/Starkiller
▼Empire is introduced as a framework for red teams and penetration testers.
https://github.com/BC-SECURITY/Empire
In books, Kali Linux is introduced as a "hacker tool all-in-one pack," and it seems that just the terminal-related tools are more numerous than in a standard Ubuntu environment.
Overall, the operation felt slow, and even "apt upgrade" was taking a considerable amount of time. Looking at the Task Manager, there was plenty of memory, but it seemed that swap memory was being allocated.
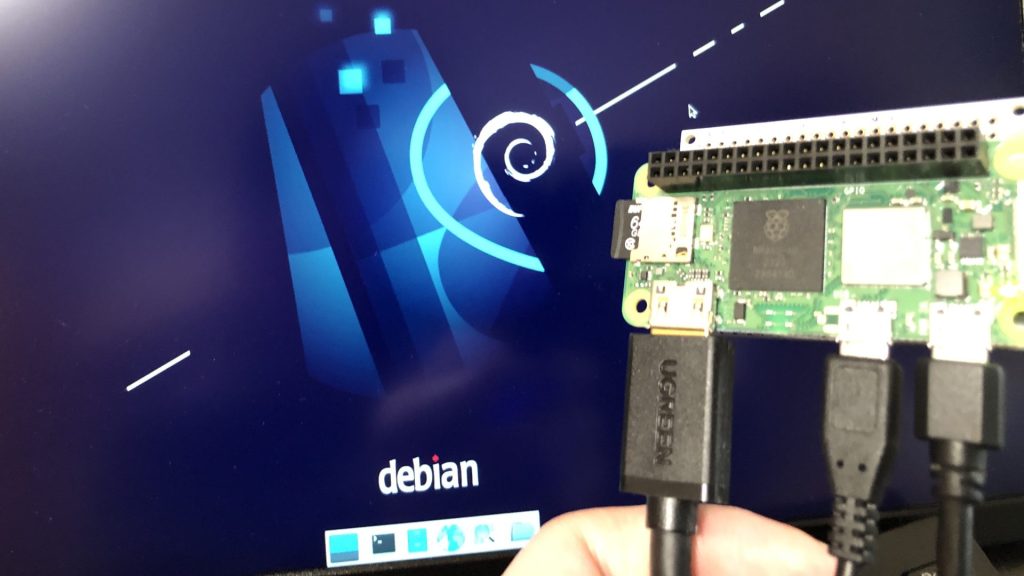
▼I have allocated swap memory before out of necessity because the Raspberry Pi Zero 2 had very little memory.
Trying Out Raspberry Pi Zero 2 Part 1 (Xfce, Vivaldi, and Node-RED)
Info This article is translated from Japanese to English. Introduction In this post, I tried using the Raspberry Pi Zero 2. I picked one up at Maker Faire Toky…
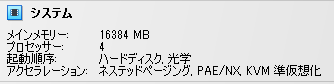
VirtualBox's memory allocation was originally small at 2048MB, so I expanded it.
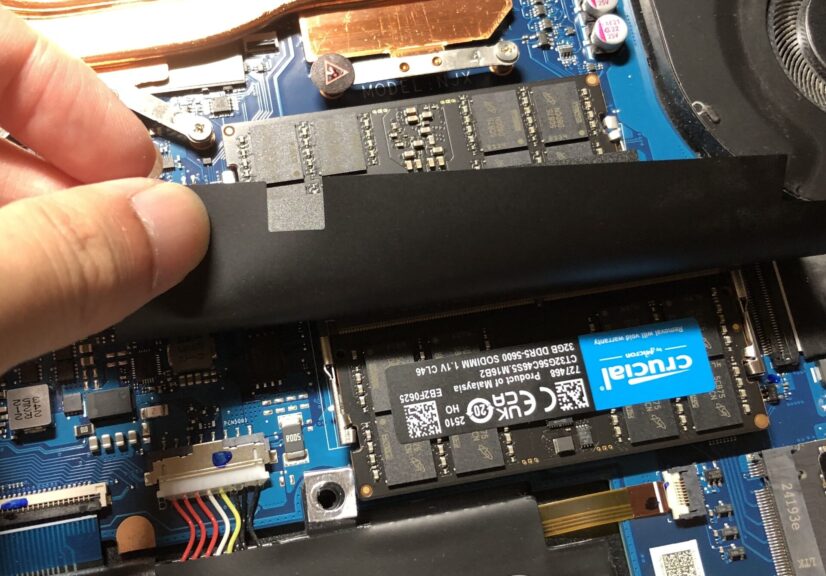
▼I have replaced the memory in my laptop with 64GB to run local LLMs.
Shopping: Upgrading Laptop Memory (ASUS TUF Gaming A15, gpt-oss-20b)
Info This article is translated from Japanese to English. Introduction In this post, I’ll be sharing my experience upgrading the RAM in my daily-use laptop fro…
▼Change this from the VirtualBox settings.
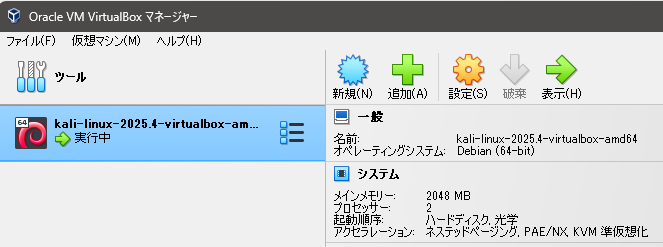
I couldn't change it while Kali Linux was running, so I changed it after shutting it down.
▼From the System settings, I allocated about 16GB of memory.
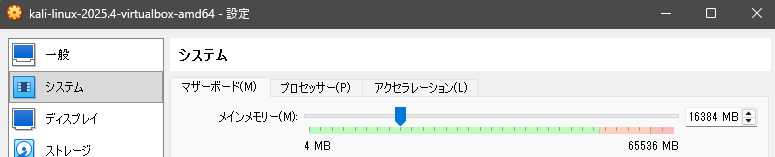
▼I increased the processors from 2 to 4 CPUs.
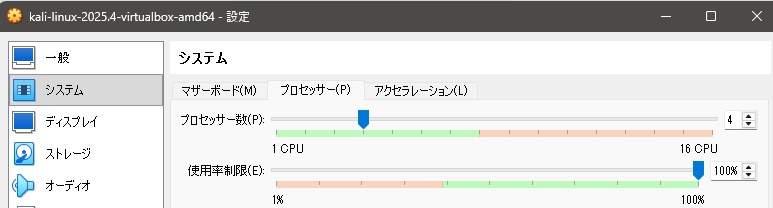
▼The changes were applied.
Since this is for security studies like CTF, I don't think I will be performing very heavy processing, but I plan to adjust it further if it still feels slow.
Confirming OpenVPN Connection
I logged into TryHackMe using Google Chrome on Kali Linux and performed a VPN connection according to the OpenVPN room instructions.
▼The TryHackMe OpenVPN room is here:
https://tryhackme.com/room/openvpn
I proceeded according to the TryHackMe instructions.
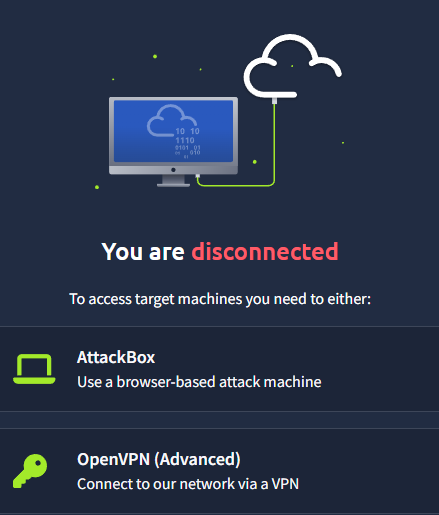
▼I clicked on Access Machine.

▼This time, I will connect using OpenVPN.
▼Instructions for connecting on Linux were displayed.
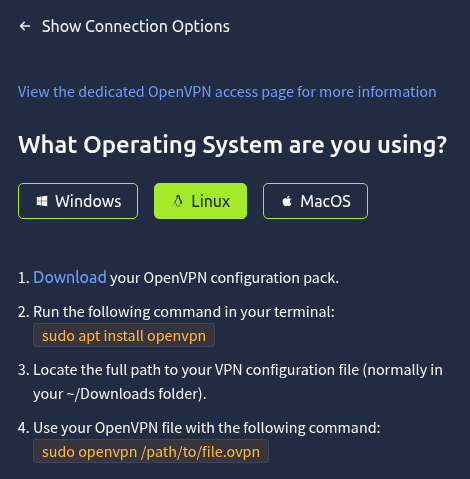
I clicked Download to download the Configuration pack.
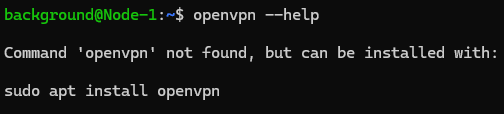
By the way, openvpn was already installed in Kali Linux.
▼In the WSL2 Ubuntu 20.04 environment I often use, OpenVPN did not seem to be included.
The file was downloaded into the Downloads folder with the name "download," so I ran openvpn using the following command:
sudo openvpn ./Downloads/downloadIn this state, I accessed the website through the browser.
▼I selected Start Machine.
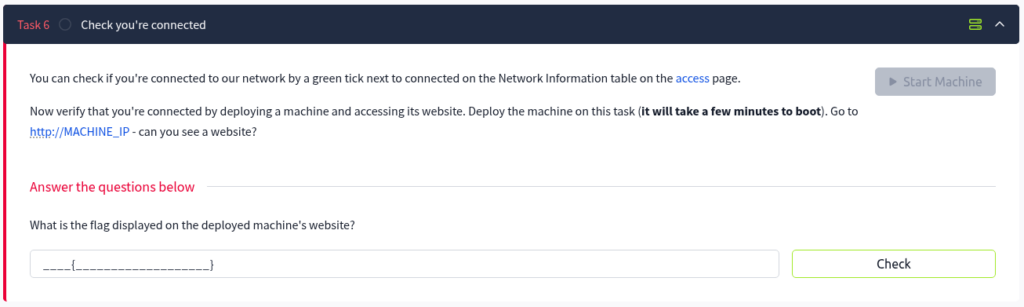
When I accessed the IP address displayed at the top of the room, the website appeared, and I entered the flag found on the page as the answer. It seems the VPN connection worked without any problems.
Finally
The Kali Linux environment I built this time is being used for CTF. It was my first time using VirtualBox, and unlike WSL2, having a desktop screen is very convenient.
▼There is a CTF site called AlpacaHack, and I am trying out various things while studying.