Trying Out Unreal Engine 5 Part 1 (Datasmith, DUALSHOCK 4)
Introduction
I have decided to use Unreal Engine 5 to simulate robots. I have been creating robots in both hardware and software, and I intend to use my experience in this area.
After using it a little, I can import CAD data of robots I have designed, and the programming is the same type as Node-RED, so I will be able to use it right away. There are a lot of things I want to do.
Gathering Information First
First, I looked at what Unreal Engine 5 can do.
▼I found a helpful video. It seems to be used in fields other than game development.
The automobile example is interesting. It seems to be able to do real-time rendering, compare different color products, and run them on a simulation. I see…
▼It seems that some materials are already prepared, such as objects and people.
https://www.unrealengine.com/ja/metahuman
▼This page has a collection of Unreal Engine related information. There is also a tutorial.
https://gamemakers.jp/category/game-create/tutorial/
▼I see on the news page that there is a plug-in that performs fluid simulation.
https://gamemakers.jp/article/2024_04_06_65321/
▼The Cat Can Understand series was introduced; it's about Unreal Engine 4, but it seems to be a good reference.
Run Unreal Engine 5
I have installed and started Unreal Engine 5.1.1, running in Windows environment.
▼Download page is here.
https://www.unrealengine.com/ja/download
▼You can launch it with the Epic Games Launcher. You can also add assets from the Marketplace.

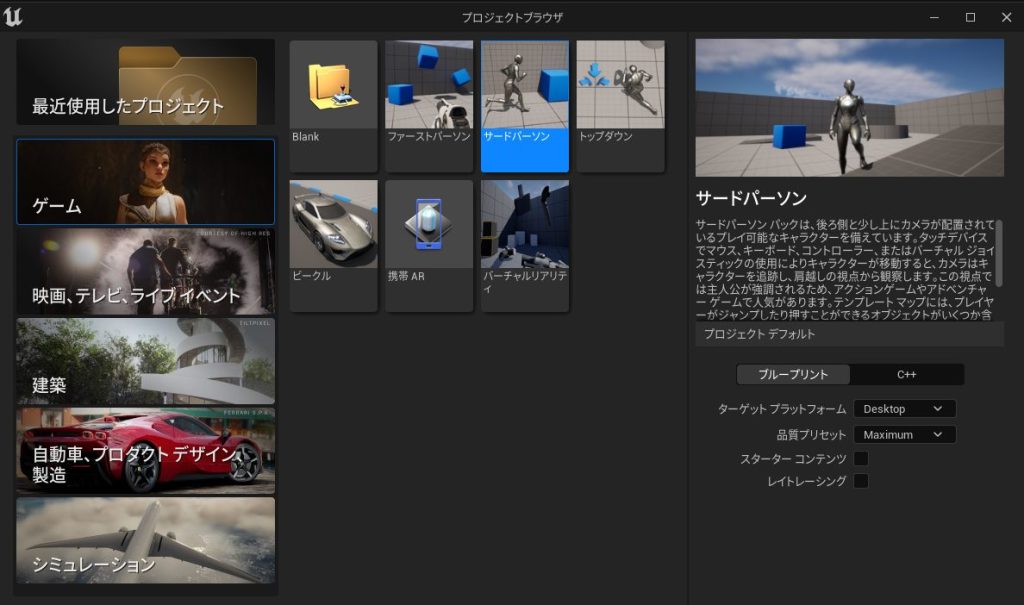
▼This time I created a project for a third person.
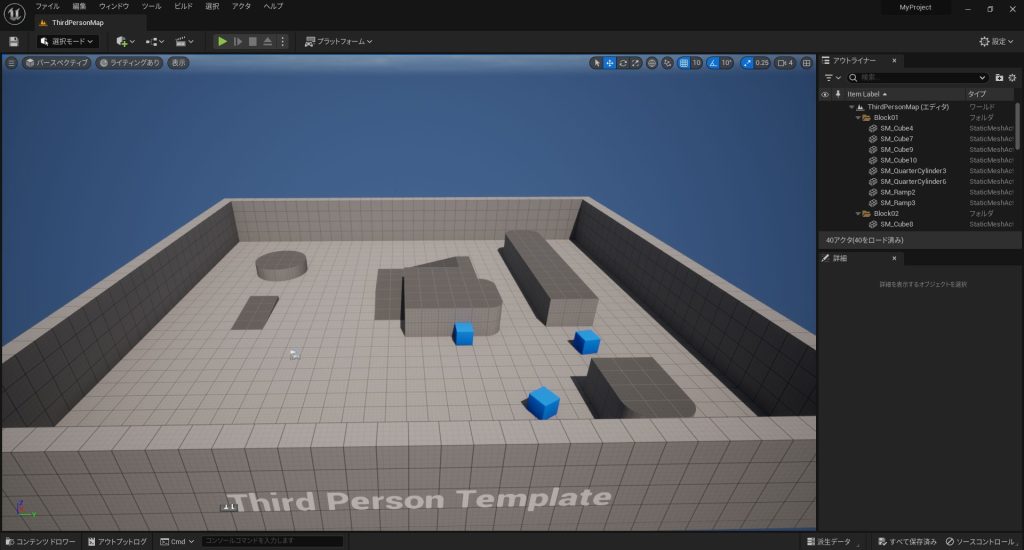
▼When opened, it looks like this. Press the green triangle button in the upper column to operate it.
Import CAD data from Fusion360
I have imported a robot designed in Fusion360, a 3D CAD software.
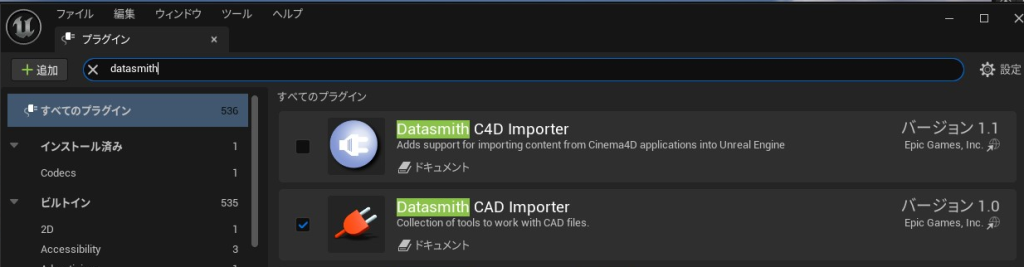
I use Datasmith CAD Importer.
▼It was introduced in this article.
https://metatimecg.com/how-to-use-datasmith/
▼Plugins can be added by going to Edit → Plugins.
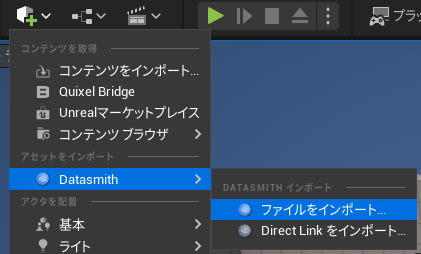
▼CAD data can be imported from “Import File” in Datasmith.
I imported what I created during the hackathon. First, please see the data from the Fusion360 design.
▼This is a robot that carries a smartphone.
TechSeeker Hackathonに参加しました!
はじめに 今回は、TechSeeker Hackathonに参加しましたというお話です。 Hackathon(ハッカソン)とは、HackとMarathonを合わせた造語です。短期間で製作に取り組み、…

▼Data designed with Fusion360 is here.


▼When rendered in Fusion360, it looks like this.


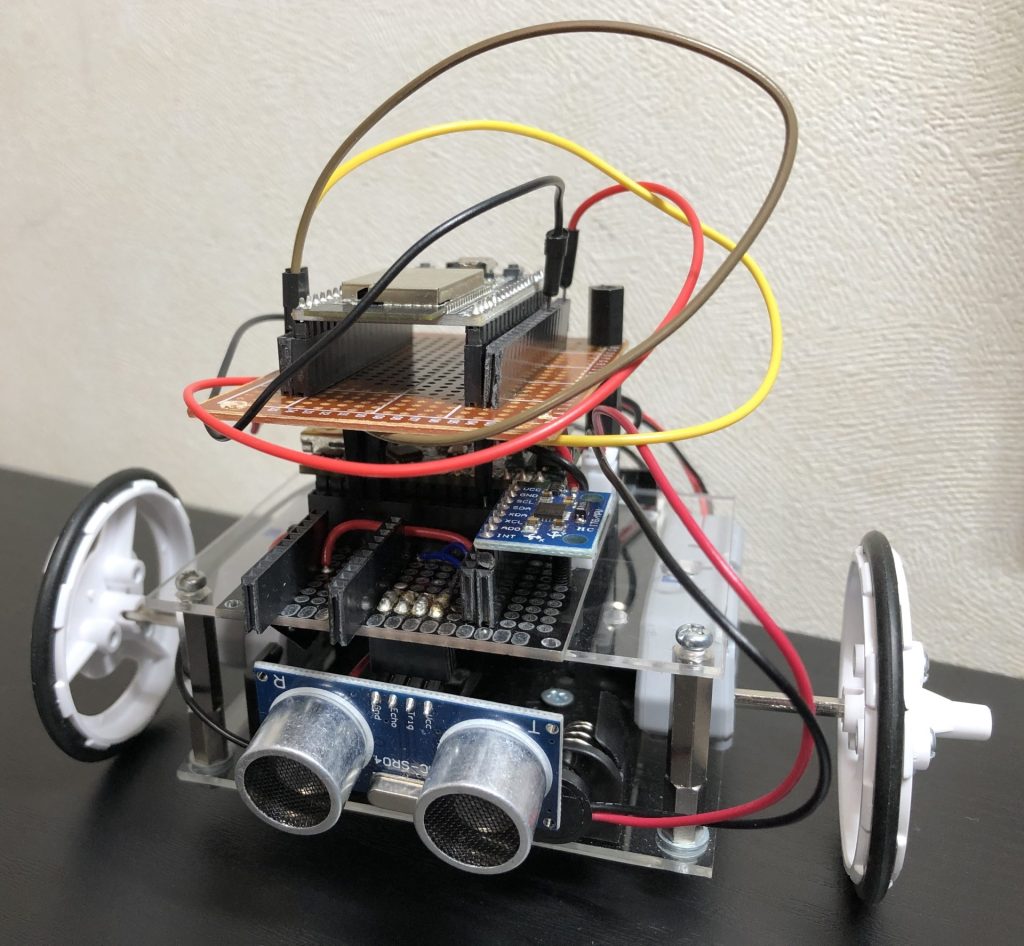
▼The actual product is shown here. I cut the wood with a laser cutter, assembled it, and painted it red. It can be operated with a PS4 controller.


▼When imported into Unreal Engine 5, it looks like this. The color data also seems to be transferred.
▼It also seems to be able to import OBJ and FBX. This article was easy to understand.
https://metatimecg.com/ue5-how-to-import-3dmodel/
Operate with PS4 controller
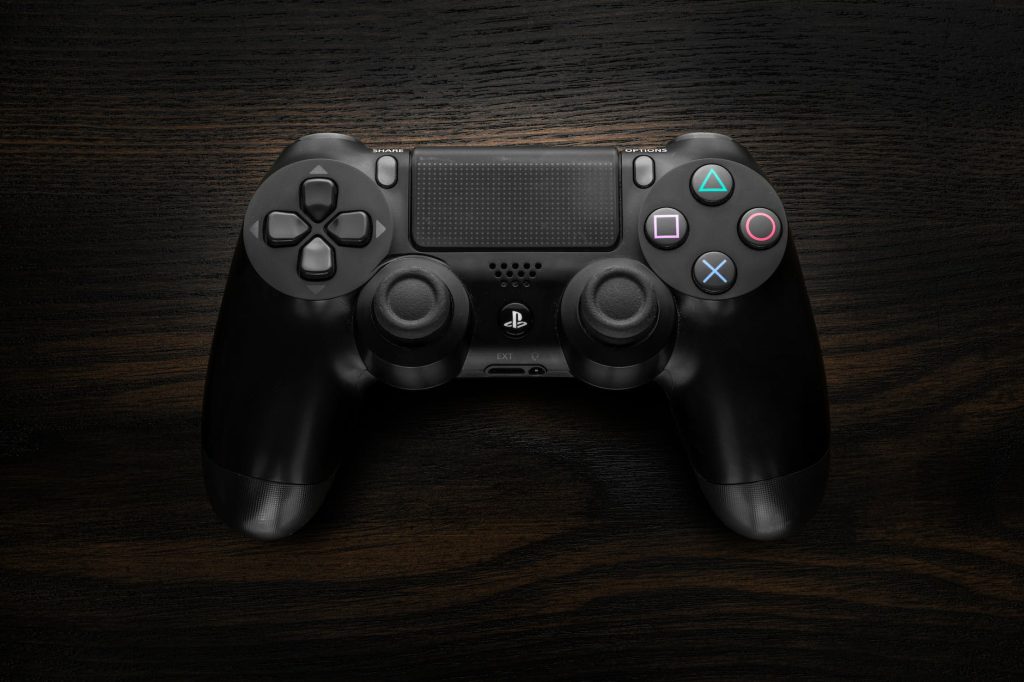
I set it up so that it can be controlled with the PS4 controller (DUALSHOCK 4). I often use the PS4 controller to control the robot as well.
▼I often use it connected to a microcontroller.
ESP32を使って、PS4コントローラとBluetooth接続する
はじめに 今回はESP32を使って、PS4のコントローラとのBluetooth接続をしました。ロボコンで使っているところを見たことがあります。最近はSwitchのコントローラで操作…
小型の二輪ロボットをPS4のコントローラで操作する(ESP32)
はじめに これまでの記事でESP32とPS4のコントローラをBluetoothで接続することができたので、今回はコントローラで実際にロボットを制御してみました。以前製作した小…
▼I was able to operate it after setting it up based on this article. I am using a plugin called Windows RawInput.
https://qiita.com/suramaru517/items/a42199126a6b634c55ca
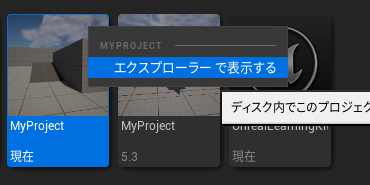
Edit the DefaultInput.ini in the project's Config folder, but it may be hard to locate. You can view it in Explorer by closing the project once and right clicking on it when you open it.
▼Right click on it and you will see “Show in Explorer”. This will make it easier to open.
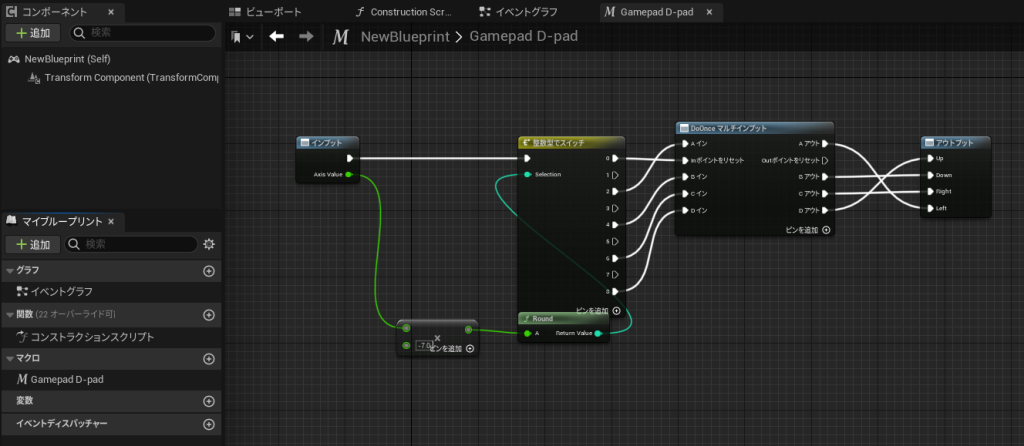
I prepared a controller program in a flow editor called Blueprint based on the article.
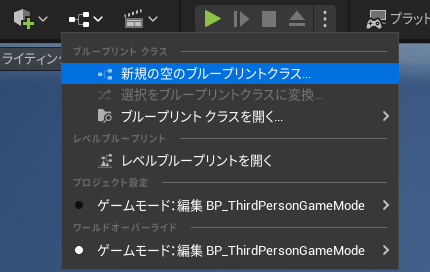
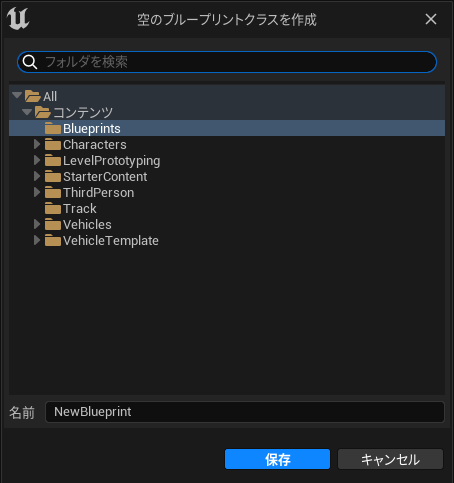
▼Create a new Blueprint class from the flow icon.
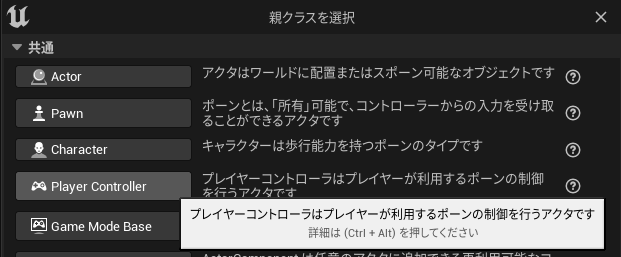
▼I chose Player Controller.
▼I saved it to Blueprints folder.
There was a text in the article for copying and pasting the macro with Ctrl+V anywhere, and the macro was added.
▼The flow style is the same as in Node-RED!
By the way, the connection between the PC and the controller sometimes disconnected quickly, but it was simply a low battery. Normally, I connect to the PC with a wired connection.
Sometimes it would not respond even when connected, but reopening the project would solve the problem.
▼Two shots with controlling!
Finally
I have only used it a little, but it seems useful to be able to control the characters right away and use the materials provided. I don't want to write a program for character manipulation or anything like that…
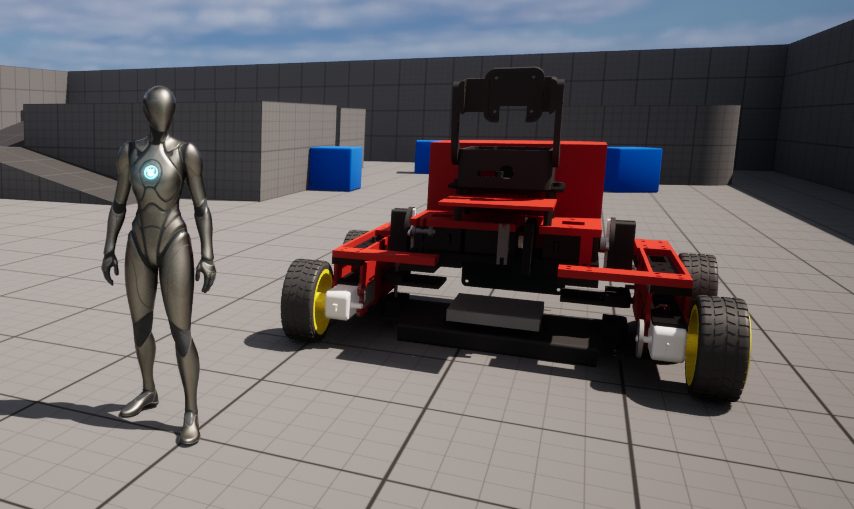
When I usually design with CAD, I am concerned about the dimensions when the data is imported. I will look at this again in more detail. I think I can simulate a robot with a camera on it or something.
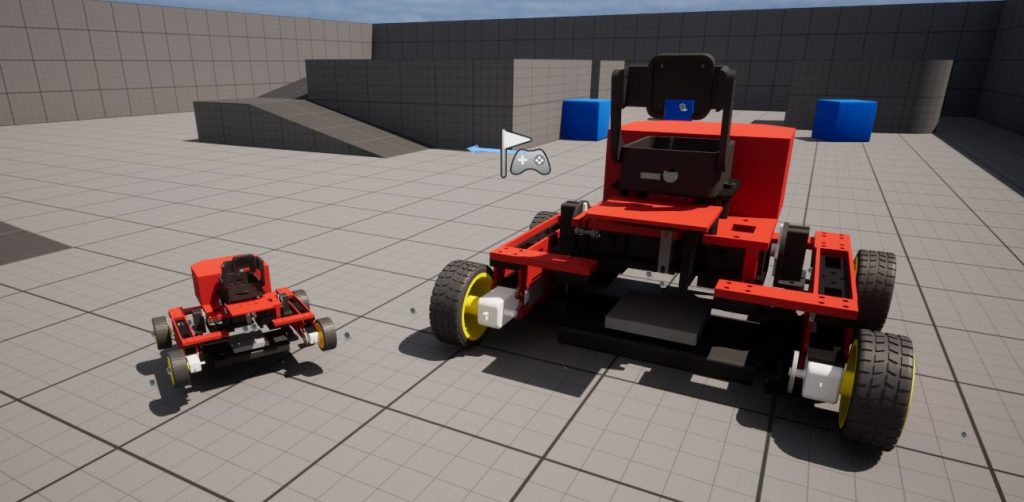
▼This is what it looks like when contrasted without changing the size. They may be about the same size.