WebSocket Communication with ROS on WSL2 (ROS Bridge, Node-RED, Gazebo)
Introduction
In this article, I used ROS Noetic and Node-RED with WSL2 for WebSocket communication.
I wanted to get the values calculated by ROS with Node-RED, and in my research I found ROS Bridge. It seems to start a WebSocket server.
I tried to use ROS Bridge to communicate with ros node of Node-RED.
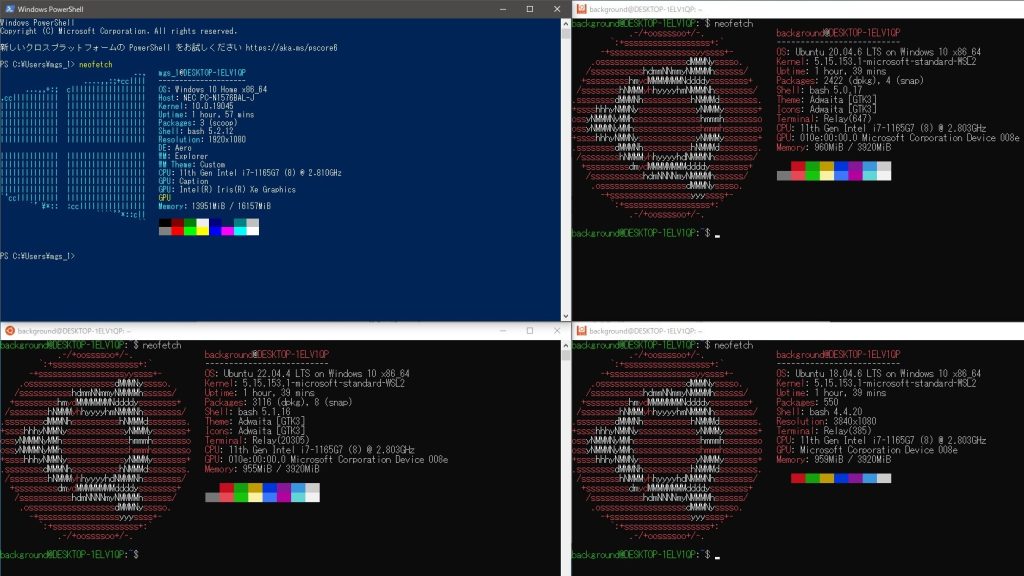
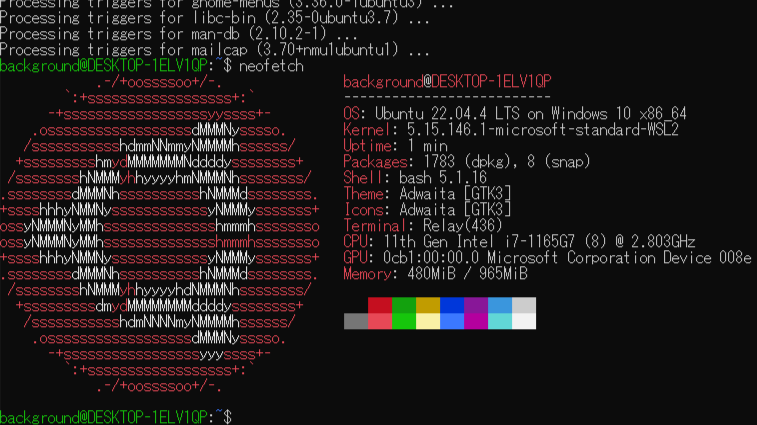
▼I tried it on Ubuntu 20.04 with ROS Noetic, which I had previously built an environment with WSL2.
Trying Out WSL2 Part 3 (Ubuntu 20.04, ROS Noetic, Open Manipulator)
Info This article is translated from Japanese to English. Introduction In this post, I tried installing ROS on Ubuntu 20.04 within WSL2.The environment I built…
▼Previous articles are here.
Trying Out WSL2 Part 1 (Ubuntu 22.04, Node-RED, and Memory Limits)
Info This article is translated from Japanese to English. Introduction In this post, I set up a WSL (Windows Subsystem for Linux) environment, which allows you…
ROS2を使ってみる その2(Turtlesim、rqt、Windows)
はじめに 今回はROS2でTurtlesimとrqtを試してみました。 ROSとROS2について最近触るようになったのですが、Turtlesimとrqtは書籍やオンラインのチュートリアルでよく…

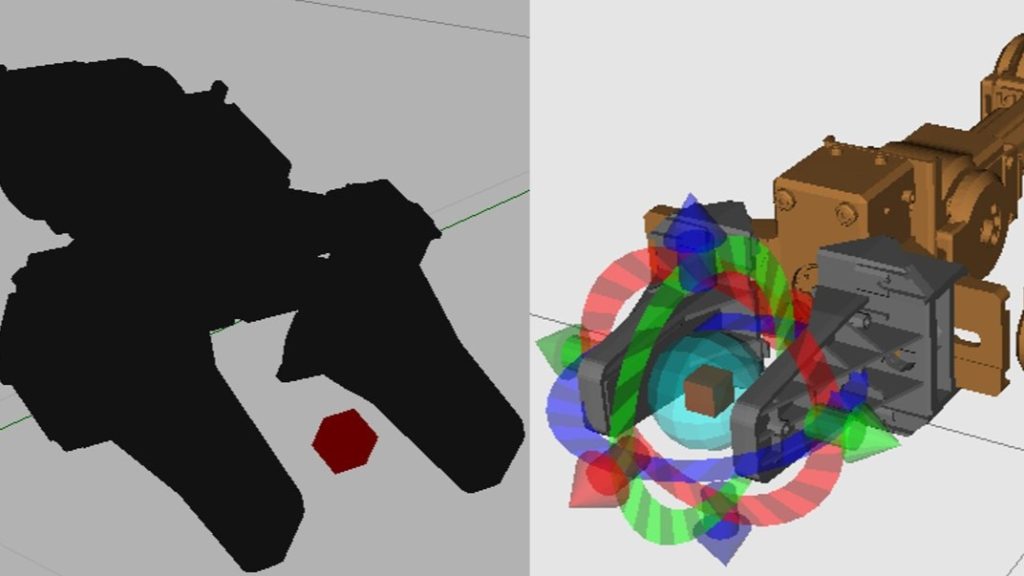
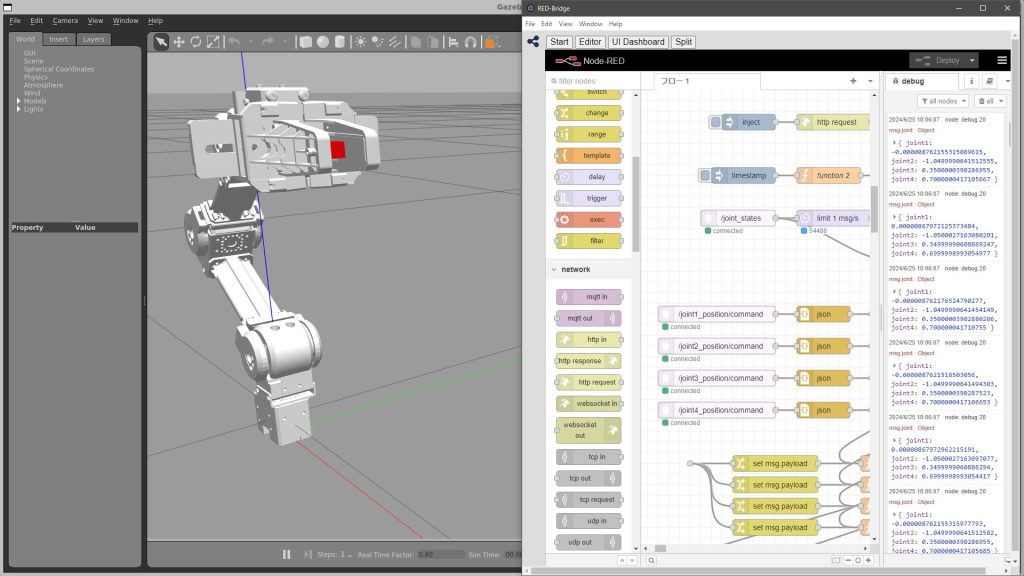
Launch Gazebo
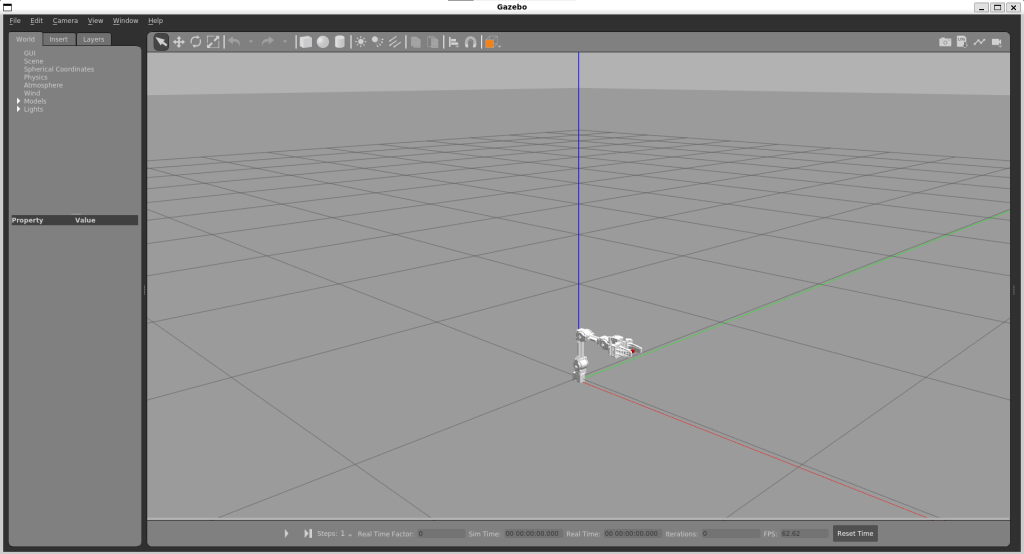
I launched Gazebo to simulate the ROS side.
▼I referred to this page.
https://emanual.robotis.com/docs/en/platform/openmanipulator_x/ros_simulation/#launch-gazebo
▼I also launched Gazebo when I built the ROS Kinetic environment.
Using WSL2 Part 4 (Ubuntu 16.04, ROS Kinetic, Open Manipulator)
Info This article is translated from Japanese to English. Introduction So far, I’ve installed Ubuntu 18.04, 20.04, and 22.04 on WSL2 and built ROS/ROS2 environ…
▼The command is here
roslaunch open_manipulator_gazebo open_manipulator_gazebo.launch
▼When I used Kinetic, it was black, but this one is white.
When I closed the Open Manipulator and then tried to start it again, the Open Manipulator sometimes did not appear on the screen. I am not sure how to deal with this issue.
It appears when I run “roscore” and then start it, or when I close Gazebo, exit the terminal, and wait for a while. It may be necessary to take steps such as properly terminating the process.
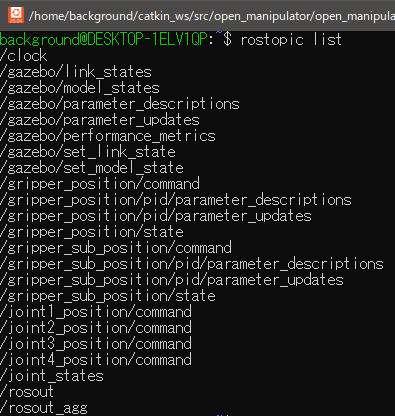
I ran rostopic list and found /joint_states.
▼I also found gazebo and gripper's Topic.
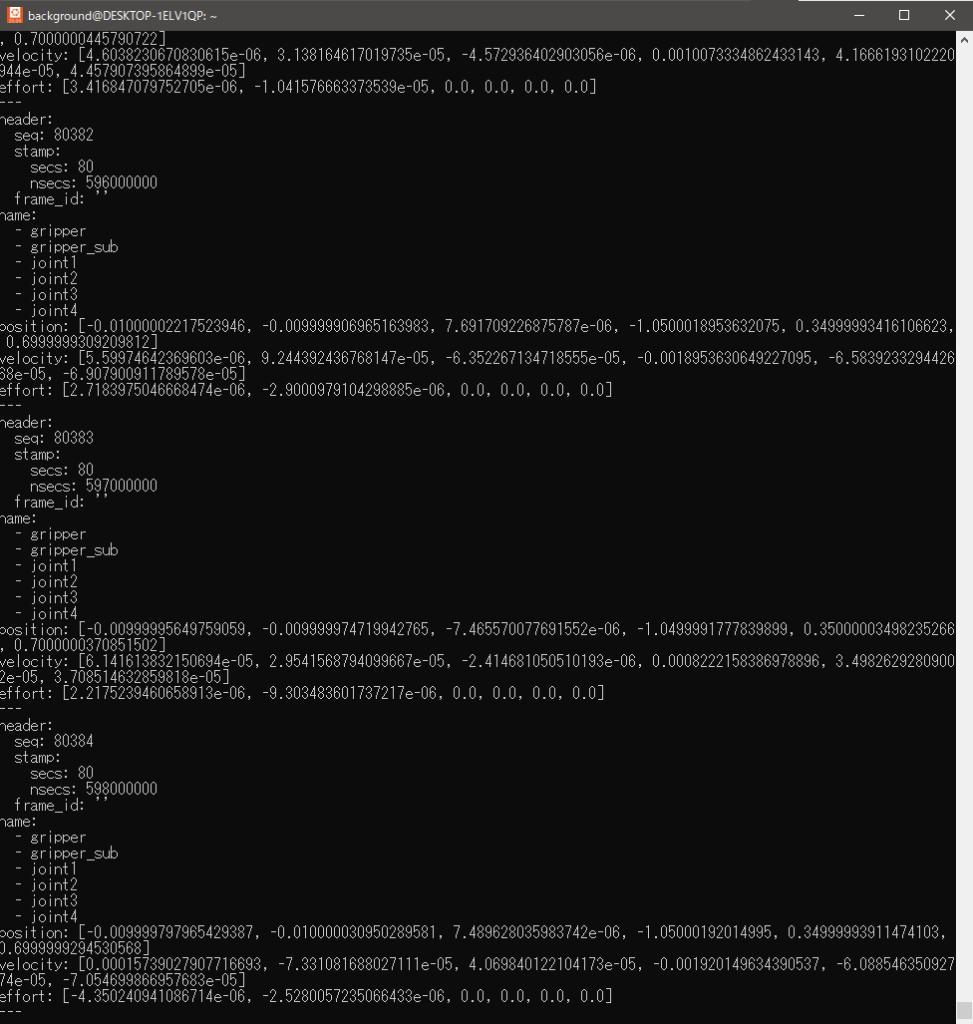
▼I used rostopic echo to display the values.
rostopic echo /joint_states
▼Values such as position and velocity are displayed.
I used a GUI application to controll. In another terminal, start open_manipulator_controller.
▼The command is here
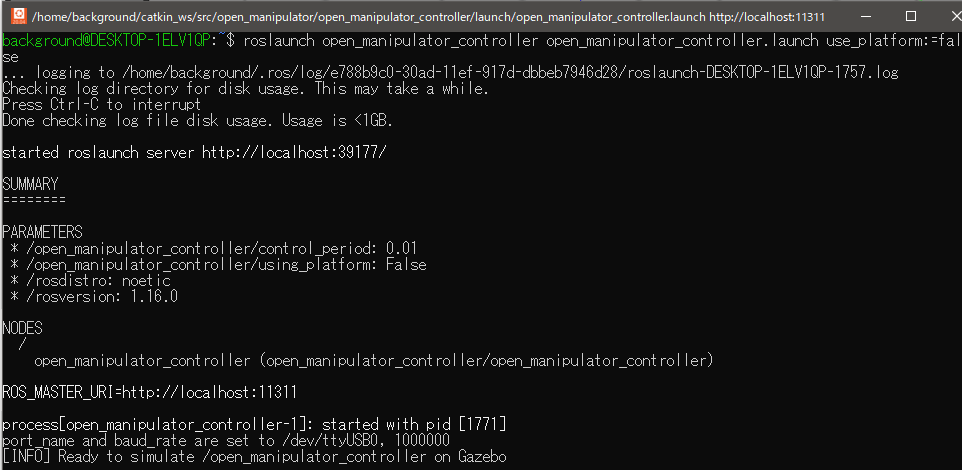
roslaunch open_manipulator_controller open_manipulator_controller.launch use_platform:=false
▼open_manipulator_controller has been launched.
In addition, I started open_manipulator_control_gui in the other terminal.
▼The command is here
roslaunch open_manipulator_control_gui open_manipulator_control_gui.launch
▼The GUI application was launched.
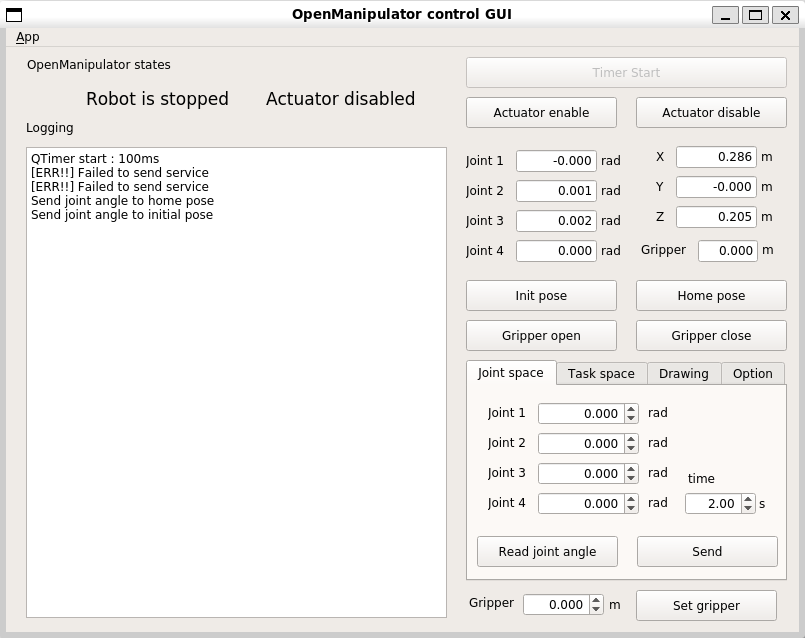
▼I could operate Open Manipulator on Gazebo with a GUI app.
Launch ROS Bridge
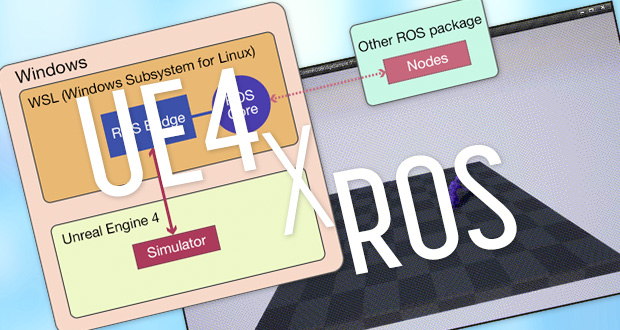
I wanted to be able to communicate between ROS, Unreal Engine 5, and Node-RED later, but with Unreal Engine 4, I found an article about communicating with ROS. I found an article about Unreal Engine 4 communicating with ROS.
▼Here is a page about connecting Unreal Engine 4 to ROS. And it's ROS running on WSL.
UE4 と ROS を連携させてみた - 技ラボ
非常に高機能なゲーム開発エンジンであるUnreal Engine4 (UE4)。物理エンジンも備えているため、ゲームだけではなくシミュレータとしての利用もされていて、ISPでも活用す…
This time, I used ROS Bridge to communicate with Node-RED.
▼Commands for installation and startup were compiled here.
https://qiita.com/bypenguinsan/items/f19ebf8686a9e1c81251
▼The command to install is here
 sudo apt install ros-noetic-rosbridge-server
 pip3 install pyyaml rospkg twisted cryptography six pyopenssl autobahn tornado bson pymongo
 sudo apt install python3-pip
▼The command to start ROS Bridge is here
roslaunch rosbridge_server rosbridge_websocket.launch
There were articles about communicating with WSL2 ROS by ROS Bridge. Please take a look at that article as it was detailed about WSL2 specific issues such as port forwarding.
▼These two articles are here.
https://qiita.com/koichi_baseball/items/fbab3acbcd41b18bae2e
https://qiita.com/koichi_baseball/items/8d15a06d296c09908f5f
I have configured port forwarding and firewalls according to the second article in the section for WSL2.
▼The commands are here.
netsh.exe interface portproxy add v4tov4 listenport=9090 connectaddress=(wsl -d Ubuntu-18.04 exec hostname -I).trimend()
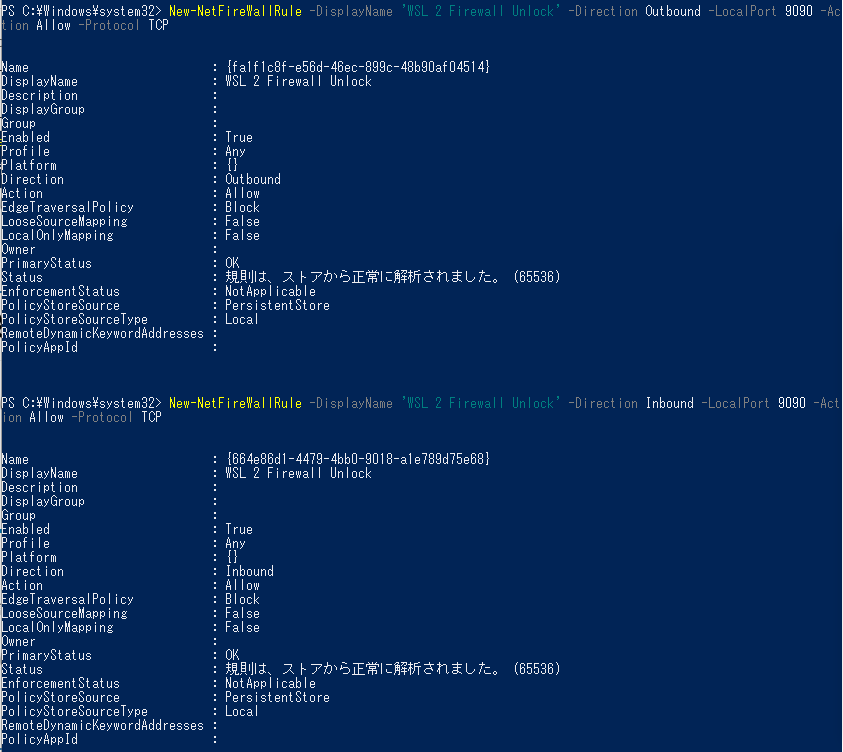
New-NetFireWallRule -DisplayName 'WSL 2 Firewall Unlock' -Direction Outbound -LocalPort 9090 -Action Allow -Protocol TCP
New-NetFireWallRule -DisplayName 'WSL 2 Firewall Unlock' -Direction Inbound -LocalPort 9090 -Action Allow -Protocol TCP
▼If you do not have administrator privileges, you will get an error.

▼Configuration has been done for port 9090.
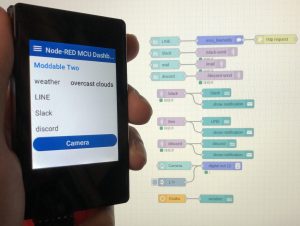
Communication with Node-RED
Communication with ros node
This time I used nodes that were available to communicate with ROS. It was connected to port 9090 by default and was assumed to use ROS Bridge.
▼I used this node.
https://flows.nodered.org/node/node-red-contrib-ros
▼It seems that roslibjs is used for communication.
https://github.com/RobotWebTools/roslibjs
▼After installation, the following nodes were added
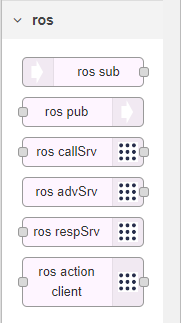
I used the ros sub node because I want to get the simulator values.
When the simulator is running, the debug window will keep updating, so stop it if necessary.
▼The node is here.

Double-click to open the settings window.
▼The address and Topic can be set.
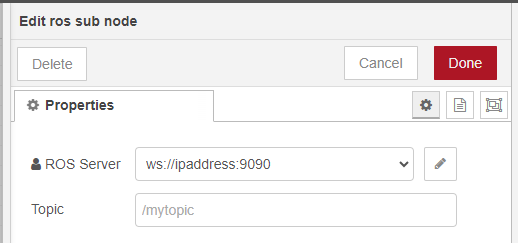
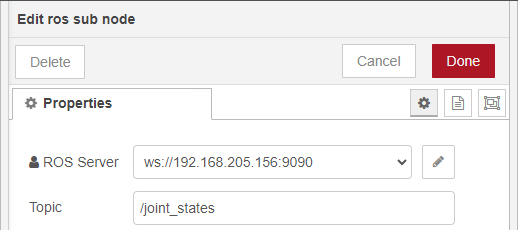
▼You can check the IP address with the hostname -I command; it may vary depending on your Wi-Fi connection.

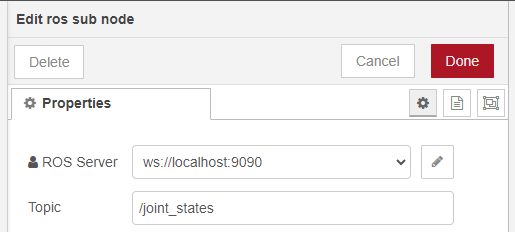
▼Topic is now /joint_states.
▼Since I was running ROS on the PC running Node-RED, I could connect on localhost.
If a connection can be made, the value will be displayed in the debug window.
▼The debug window displayed [object Object].
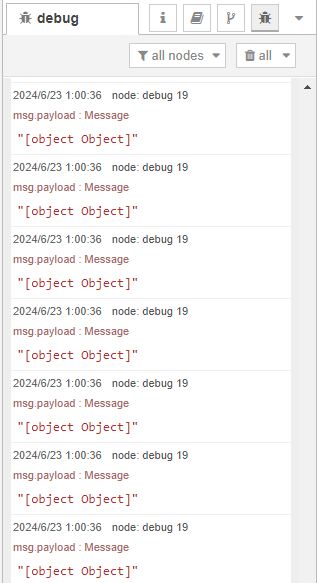
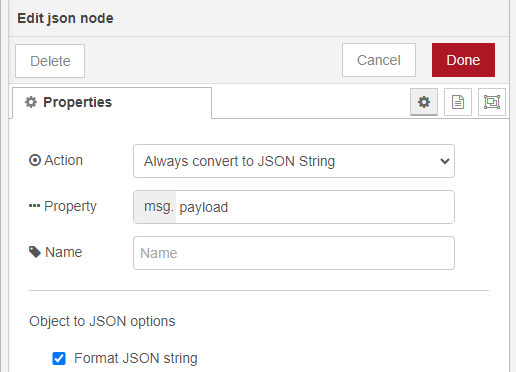
As the data is not understood in this state, it is converted to JSON format.
▼A json parser node is inserted in between.

▼The data was displayed as follows.

▼Check Format JSON string in the json parser node to display the JSON format.
▼It was displayed with line breaks.
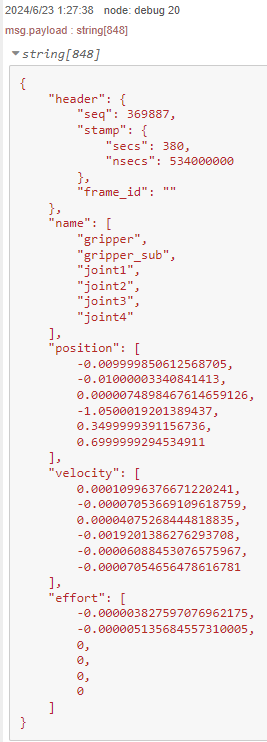
It was still treated as a String, so I added another json parser node.
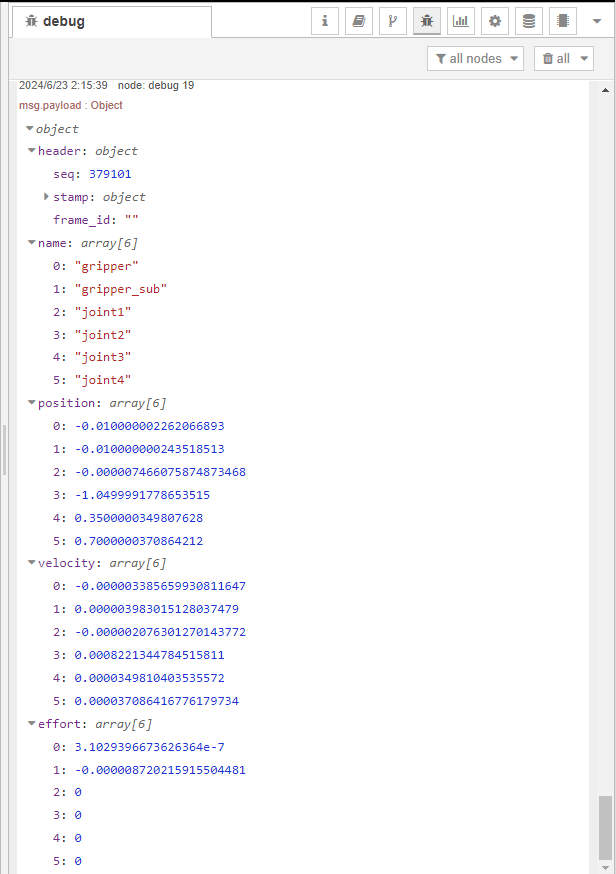
▼Here is the flow.

▼The object has been acquired as an object.
Get the required value
Now that the data is in JSON format, try to get only the values you need. Look at the structure of the data.
▼This data is from a single use of the json parser node.
{
    "header": {
        "seq": 369887,
        "stamp": {
            "secs": 380,
            "nsecs": 534000000
        },
        "frame_id": ""
    },
    "name": [
        "gripper",
        "gripper_sub",
        "joint1",
        "joint2",
        "joint3",
        "joint4"
    ],
    "position": [
        -0.009999850612568705,
        -0.01000003340841413,
        0.0000074898467614659126,
        -1.0500019201389437,
        0.3499999391156736,
        0.6999999294534911
    ],
    "velocity": [
        0.00010996376671220241,
        -0.00007053669109618759,
        0.00004075268444818835,
        -0.0019201386276293708,
        -0.00006088453076575967,
        -0.00007054656478616781
    ],
    "effort": [
        -0.000003827597076962175,
        -0.000005135684557310005,
        0,
        0,
        0,
        0
    ]
}
The “name” contains the name of the element and the “position” contains the angle and other information. Extract these values.
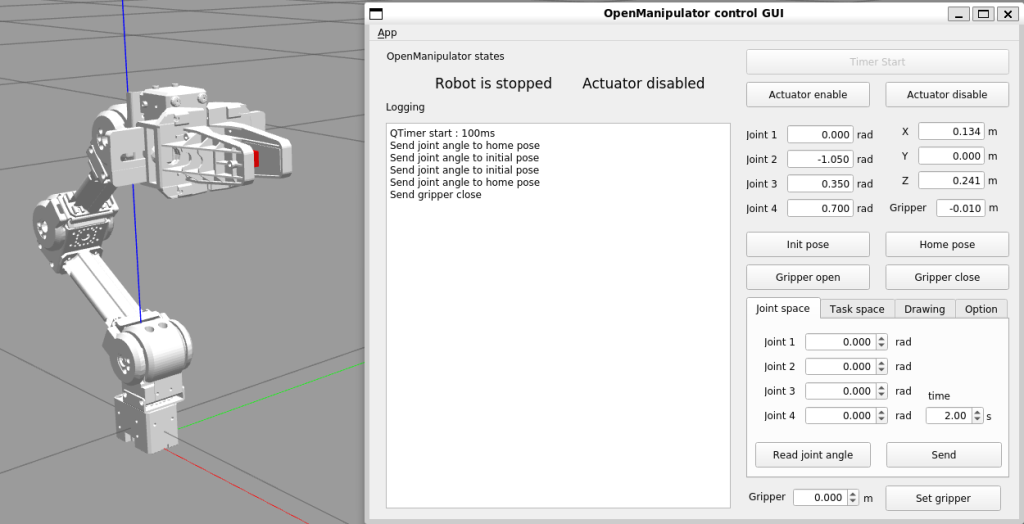
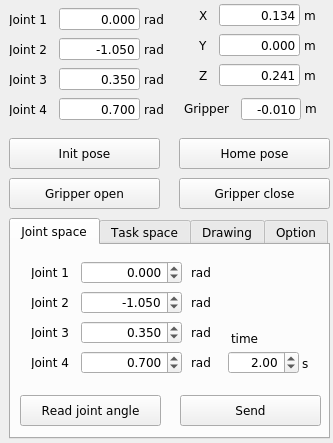
▼By comparing them with the values in the controller, the angle of joints 1~4 can be seen.
▼For more information on how to handle this kind of data in Node-RED, previous articles may be helpful.
Trying Out Node-RED Part 2 (Google Forms & Google Sheets)
Info This article is translated from Japanese to English. Introduction In this post, I integrated Node-RED with Google Forms and Google Sheets. The workflow in…
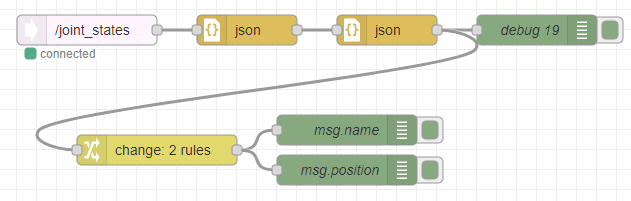
I took out the values at the change node.
▼Here is the flow.
The amount of data displayed in the debug window may be difficult to see. If you do not want the debug node to be displayed, turn it off by pressing the button on the right or delete it.
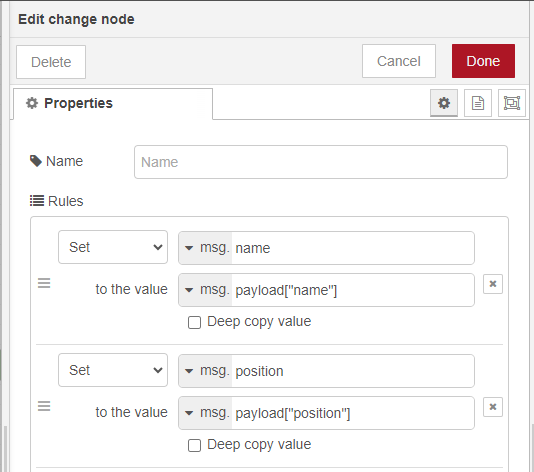
In the change node, msg.name is assigned to msg.payload[“name”] and msg.position is assigned to msg.payload[“position”].
▼The contents of the change node is here.
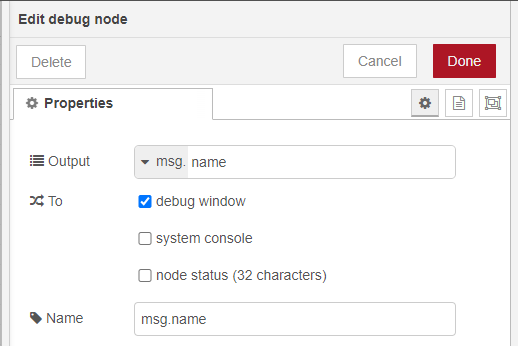
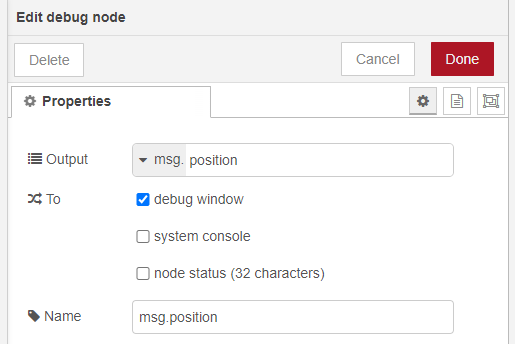
The debug node outputs the value of msg.payload by default, but this time I assigned it to msg.name and msg.position.
▼The contents of the debug node is here.
▼Each property contains values as arrays.
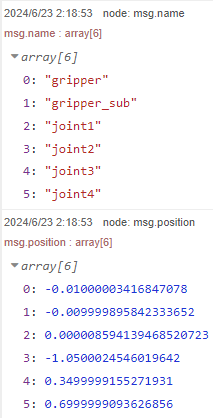
To make it easier to see, output it as an associative array with the element name as key and the numeric value as value. This time, only the joints are displayed.
▼Here is the flow. I added the function node.
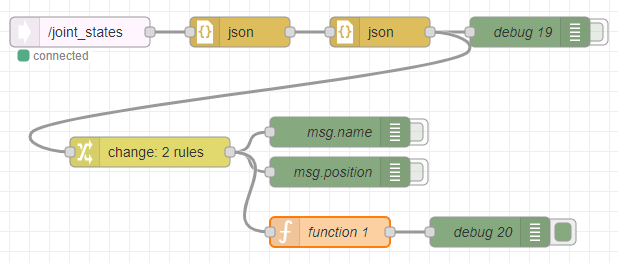
In the function node, I created an associative array in Javascript with msg.name as the key and msg.position as the value.
▼The code is here.
let joint={}
let joint_name = ""

for(let i=2; i<6; i++) {
    joint_name = msg.name[i]
    joint[joint_name]= msg.position[i]
}

msg.joint = joint

return msg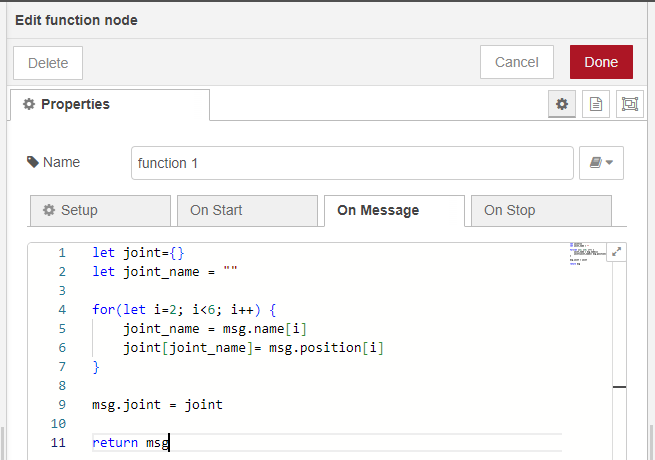
▼It was displayed like this.
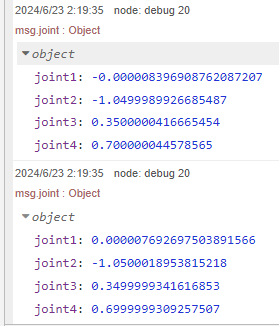
When I operated on the GUI application, the values were properly reflected.
▼The processing was done at a very fast speed.
Finally
I was able to get the angles of Gazebo's Joint activated in ROS with Node-RED, and I plan to further link it with Unreal Engine 5. With this, I think that kinematics and inverse kinematics calculations can be done in ROS and screen rendering can be done in UE5.
I am concerned about whether the processing will be able to keep up with the large amount of data, as there is a delay in displaying the data to the debug node. It may be necessary to limit the amount of communication, etc.
▼There was a document on limiting the flow rate of messages using the delay node. This certainly helped to limit it.
https://cookbook.nodered.org/basic/rate-limit-message-stream