Using Node-RED MCU Part 1 (Node-RED, M5Stack)
Introduction
In this article, I used a Node-RED MCU to write a program on the M5Stack. I had introduced a bit of this in a previous article, but I have been using Node-RED MCU exclusively since Maker Faire Kyoto was finished.
Node-RED MCU is a plugin for Node-RED. It allows you to create programs for microcontrollers in Node-RED.
I wrote the introduction of Node-RED in the book introduction page.
▼Click here for the book introduction.
書籍紹介:『はじめてのNode-RED』/『はじめてのNode-RED MCU Edition』 - 趣味的ロボット研究所
Node-REDとは 一言でいうと、Node-REDはプログラミングが簡単にできるツールです。ビジュアルプログラミングの一種で、視覚的にわかりやすくなっています。▼百聞は一見に…
Please also refer to the book for information on building the environment; it vary depending on your OS. Also, please note that future updates to the Node-RED MCU may change the way you build your environment. This is a technology that is still under development.
▼Previous article is here.
Maker Faire Kyoto 2023に行ってきました!
はじめに 4月29、30日には「Maker Faire Kyoto 2023」がありました。世界的な展示会です。今回はそのMakerにはじめて行ってきましたというお話です。 私は知り合いの…
Creating Flows in Node-RED
Display "Hello, World!"
First, I give a short introduction to how to use Node-RED.
In Node-RED, you can program by connecting nodes with lines. Let's create a flow that displays "Hello, World!".
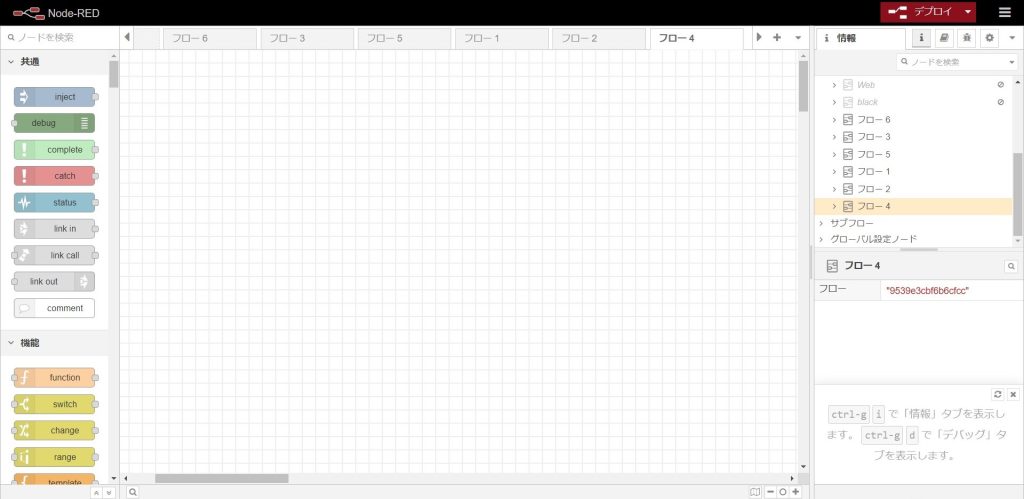
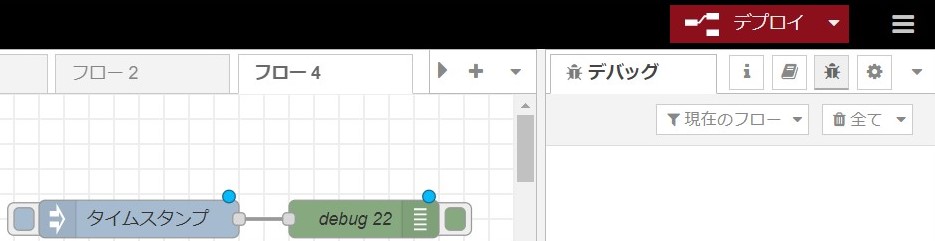
▼When you start Node-RED, it looks like this. Let's use the inject and debug nodes on the left side.
▼Connect the nodes with lines and press Deploy in the upper right corner to apply the changes.
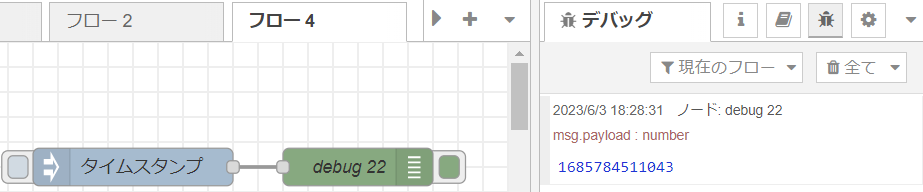
▼Press the button to the left of the timestamp to send data to the debug node.
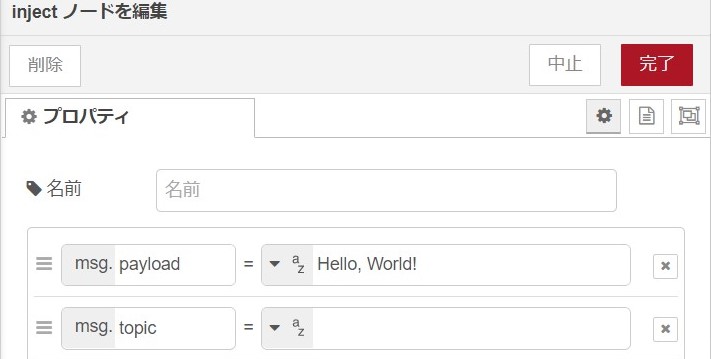
▼The contents of the node looks like this: the msg.payload item is the subject of the debug node.


▼Let's try changing the msg.payload of the inject node to Hello, World!
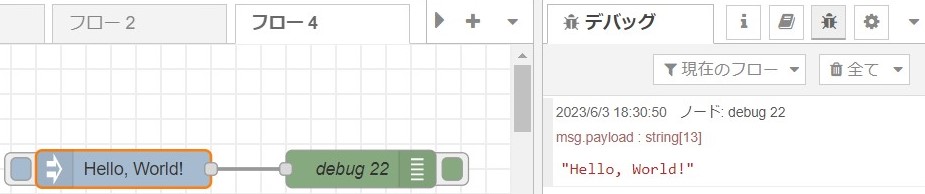
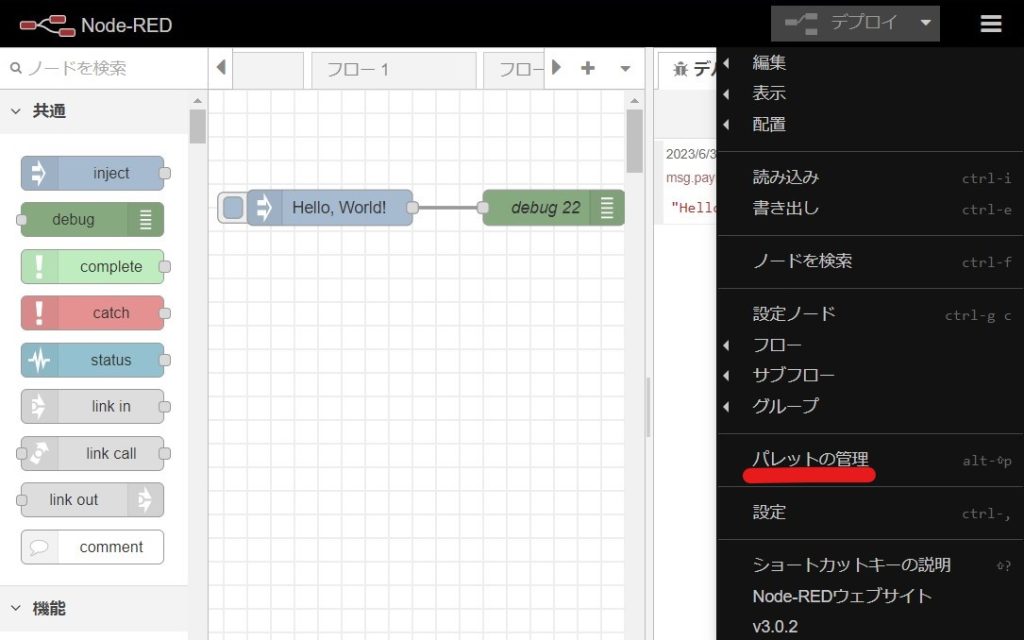
▼Then “Hello, World!” will appear in the debug window.
Adding nodes to the Node-RED MCU
Let's add a node for the Node-RED MCU.
▼Select Manage Palette from the menu in the upper right corner.
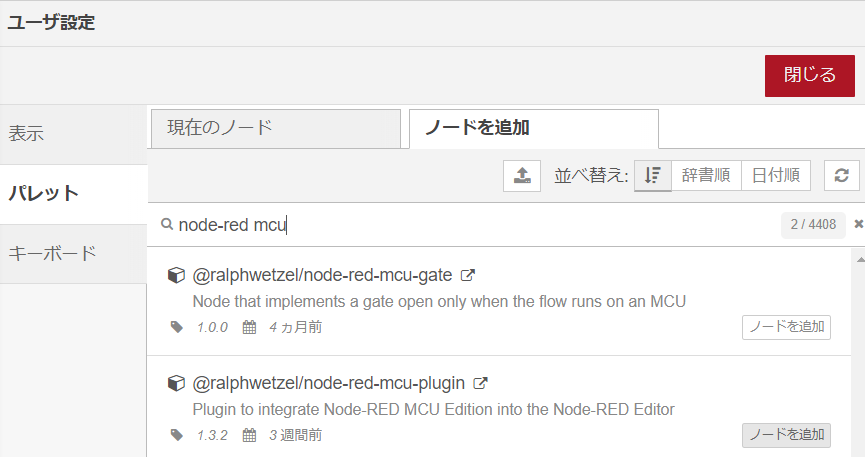
▼In the Add Node section, search for and add node-red-mcu-plugin.
▼When added and lined up, it looks like this. The node for the MCU is added on the left.
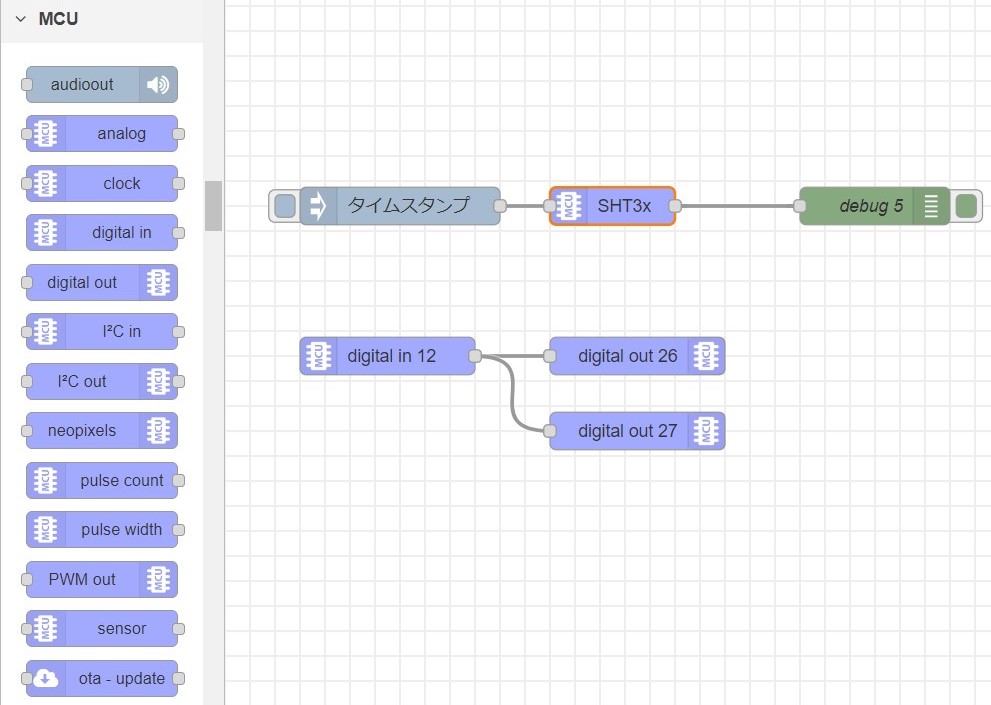
For example, the flow shown in the image above is as follows.
- Send the value acquired by the temperature/humidity sensor of the SHT3x series to the debug node.
- The LEDs connected to pins 26 and 27 are turned on according to the state of the switch on pin 12.
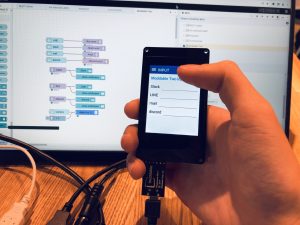
Write programs to M5Stack CORE2
Node-RED MCU is especially compatible with ESP-based microcontrollers, and the one I used this time is the M5Stack CORE2. CORE2 has a touch display.


Using button node
This is a simple sample program introduced in the book. Press the A and B buttons shown on the display, and the text will appear in the display.
▼Only a few nodes are required. It would be much more difficult to write in code.

▼The screen actually looks like this. You can set the placement of buttons by yourself.


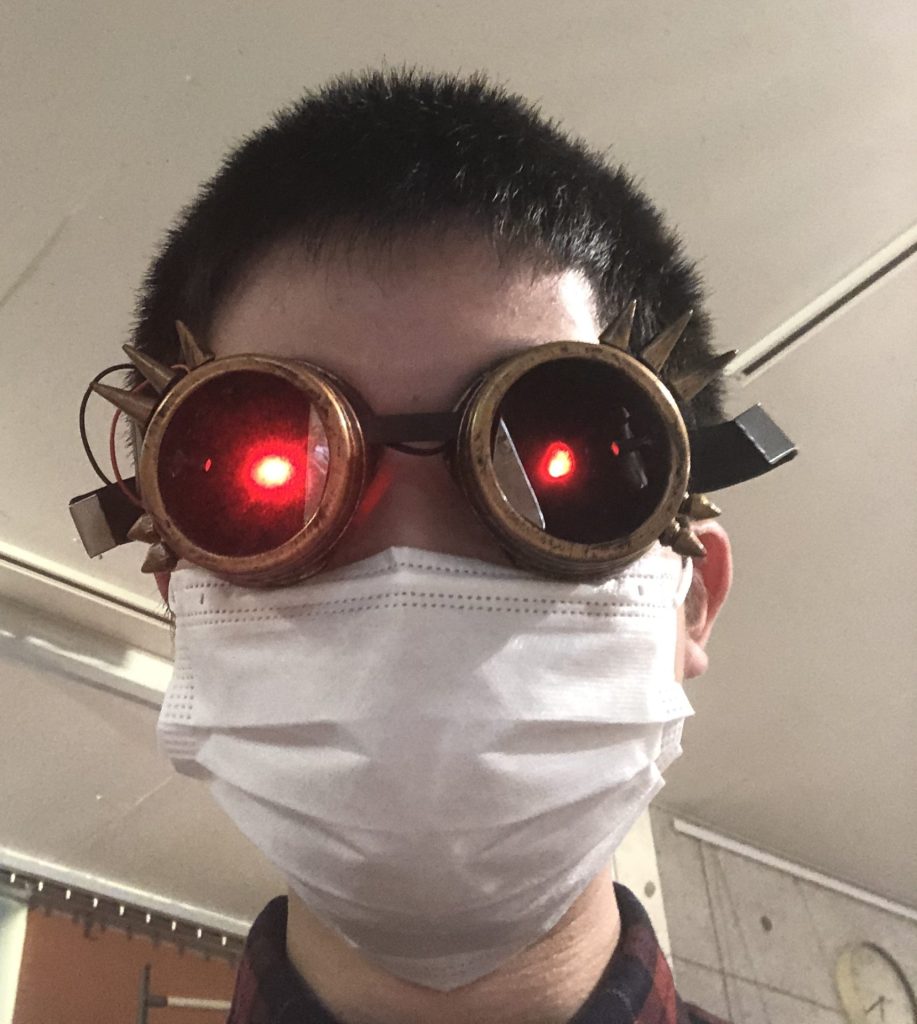
Change the color of the full-color LEDs with the buttons
▼I made the nekomimi I received from Maker glow. It uses full-color LEDs with a chip called NeoPixel.
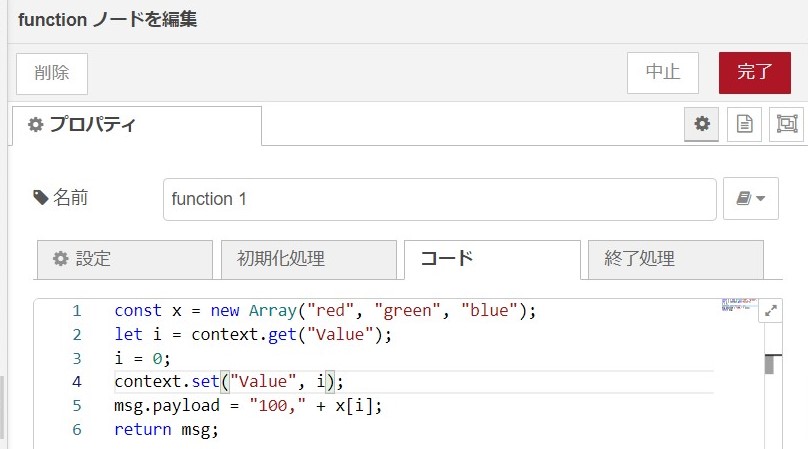
▼The flow is just this: I write a program inside a function node. The flow is easy to understand.
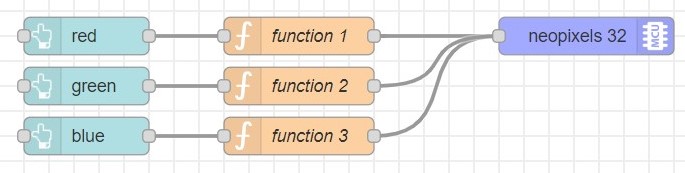
▼Here is the content of the function node, which is JavaScript.
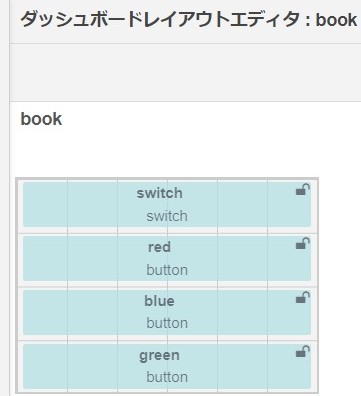
▼Here is the screen for editing the dashboard layout. It is easy to edit.
Finally
I usually write programs in code, so visual programming like Node-RED seems so much easier. I have only tested a few simple operations, but I think I can do a lot of things with Node-RED. It is possible to display sensor values in a graph.
I'd like to combine it with web-based technologies to create something like IoT. I will try various things.