Publish Created Nodes for Node-RED
Introduction
I created a node for Node-RED MCU in a past article. In this article, I have published that node.
In January, there was an event called “ Hands-on to create Node-RED node” (In Node-RED User Group Japan) which introduced the details of releasing the node. I refer to the documents from that event.
▼Here is the event page.
https://node-red.connpass.com/event/305047/
▼Here is the documentation of the event
https://qiita.com/kazuhitoyokoi/items/64ed5b7798197bb6dfdf
Unlike the above document, I omitted creating test cases and publishing them via GitHub actions. l have published directly to npm, and only the minimum necessary content is introduced.
▼The contents of this article have already been published.
https://flows.nodered.org/node/@background404/node-red-contrib-mcu-servo
▼Previous article is here.
Creating Node for Node-RED MCU Part 2 (Servo node)
Introduction I previously posted an article on Qiita about creating a Servo node for a Node-RED MCU. At that time, I only did the processing of msg.payload t…
Confirmation before publishing
About Naming Rules
It appears that the node naming convention was revised on January 31, 2022.
▼You can read more about it here.
https://nodered.org/docs/creating-nodes/packaging#naming
They want you to give it a scoped name, e.g. @myScope/node-red-sample.
▼Learn more about npm scope
https://docs.npmjs.com/cli/v8/using-npm/scope
Simply, write the name of the node after the user name or organization name.
In my case, my npm account name is background404 and my Servo node is published as @background404/node-red-contrib-mcu-servo.
As recommended, it is easy to tell that it is a package for Node-RED if it contains at least node-red-.
▼There is also a mention of Naming in the scoreboard described below.
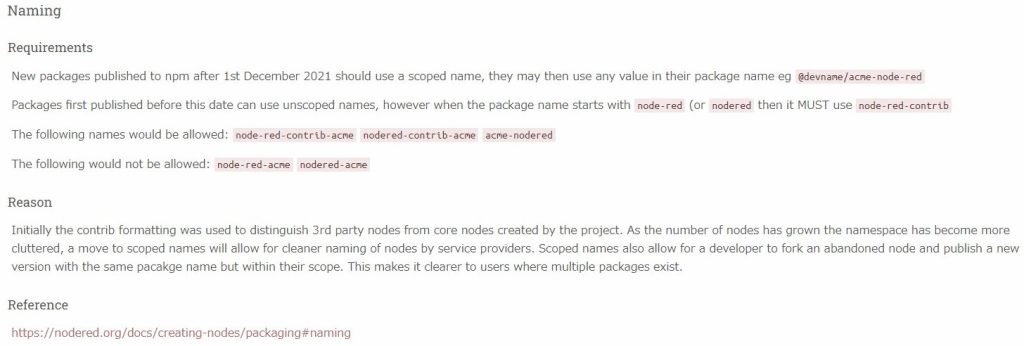
It used to be recommended that core project nodes should have names starting with node-red- and other nodes should have names starting with node-red-contrib-.
I use names starting with node-red-contrib-.
▼I also found the description here.
https://nodered.org/blog/2022/01/31/introducing-scorecard
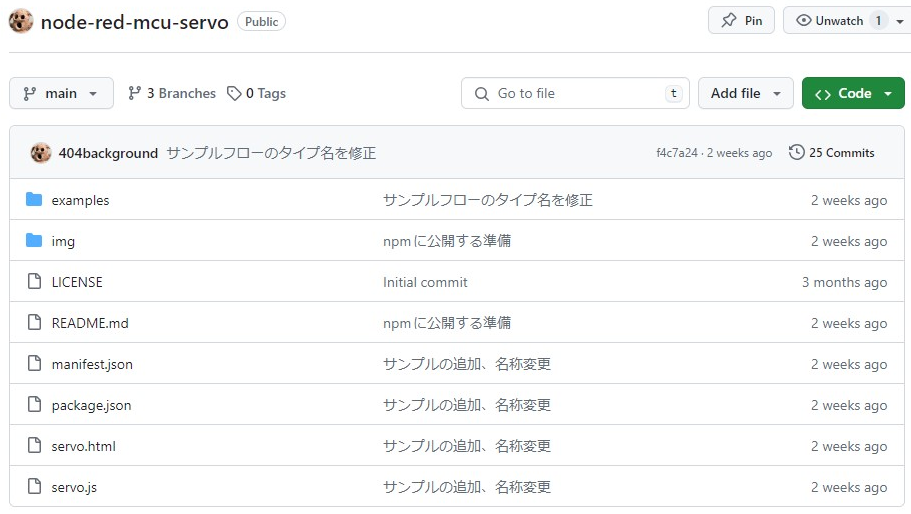
Note that the GitHub repository and the name of the npm package can be different. However, it may complicate management.
When you publish to npm, the name in package.json will be applied instead of the repository name.
▼I created it when I didn't know the naming convention, so it is missing “contrib”.
Create package.json
You can create package.json interactively with the npm init command.
At this time, you name it, following the naming convention described above. The keyword must include “node-red”. If you want to enter other keywords, you can separate them with a space.
▼For other setting items, please see here.
If you make a mistake during the process, you can edit package.json later.
▼The created package.json is here.
{
  "name": "@background404/node-red-contrib-mcu-serial",
  "version": "0.0.1",
  "description": "Node to use serial communication with Node-RED MCU",
  "main": "node/mcu_serial_in.js",
  "scripts": {
    "test": "mocha test/**/*_spec.js"
  },
  "engines": {
    "node": ">=14.0.0"
  },
  "node-red": {
    "version": ">=1.3.7",
    "nodes": {
      "mcu_serial": "node/mcu_serial.js"
    }
  },
  "repository": {
    "type": "git",
    "url": "git+https://github.com/404background/node-red-contrib-mcu-serial.git"
  },
  "keywords": [
    "node-red",
    "node-red-mcu",
    "moddable",
    "Serial"
  ],
  "author": "@background404",
  "license": "MIT",
  "bugs": {
    "url": "https://github.com/404background/node-red-contrib-mcu-serial/issues"
  },
  "homepage": "https://github.com/404background/node-red-contrib-mcu-serial#readme"
}
The engines and node-red properties are filled in later; what you write in the nodes of the node-red property will be read by Node-RED.
Check Score
There is a system called scoreboard to check for package deficiencies.
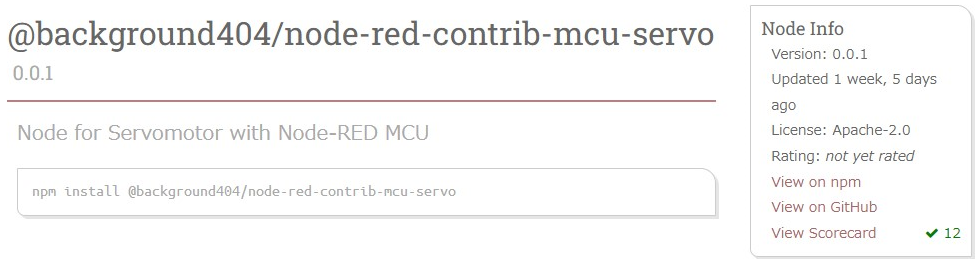
▼Here is what it looks like in Node-RED flows. On the right side it says 12, which is a perfect score.
▼Learn more about the scoreboard
https://nodered.jp/blog/2022/01/31/introducing-scorecard#node-developers
Before publishing to Node-RED flows, you can check it with the command. If there are any deficiencies, they should be corrected at this point.
▼Command to install tools for checking
npm install -g node-red-dev
▼Command to check
node-red-dev validate
For example, you should specify the LICENSE and prepare a sample flow containing the created node in the examples folder.
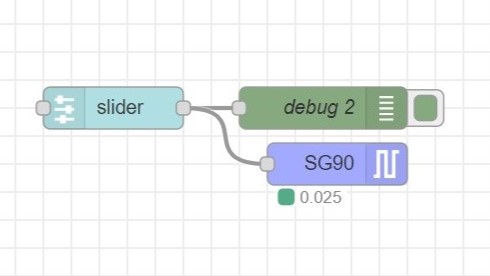
Check the behavior of the node in the local environment
The created node can be installed with the following command.
npm install <Folder Path>
For example, if I had my Servo node on Desktop in a Linux environment, it would be npm install "/home//Desktop/node-red-mcu-servo".
The installed node will be appended to the package.json that is referenced when starting Node-RED. Also, a folder for the installed node will be added to the node_modules folder in the same directory.
You can uninstall it with the following command: npm list to check the package name, and then enter the command.
 npm list
 npm uninstall <Package Name>
For example, to uninstall my Servo node would be "npm uninstall @background404/node-red-contrib-mcu-servo".
Publish npm package
▼Please create an npm account previously.
Log in to npm at the command line first.
npm login
The following command is used to publish to npm.
npm publish --access public
In my case, after entering ENTER, the default browser was to enter the two-step verification password.
▼For more information about npm publish
https://docs.npmjs.com/cli/v9/commands/npm-publish
▼If the package is public, it appears that an option is needed.
https://docs.github.com/ja/actions/publishing-packages/publishing-nodejs-packages
If there are changes in the repository, you must re-publish. At this time, you must use the npm version command to increase the version.
▼This article was concise.
https://qiita.com/__mick/items/e92e3fc001994ca9dfaf
npm version major #Change from v1.0.0 to v2.0.0
npm version minor # Change fromv1.0.0 to v1.1.0
npm version patch # Change fromv1.0.0 to v1.0.1
https://qiita.com/__mick/items/e92e3fc001994ca9dfaf
Register to Node-RED
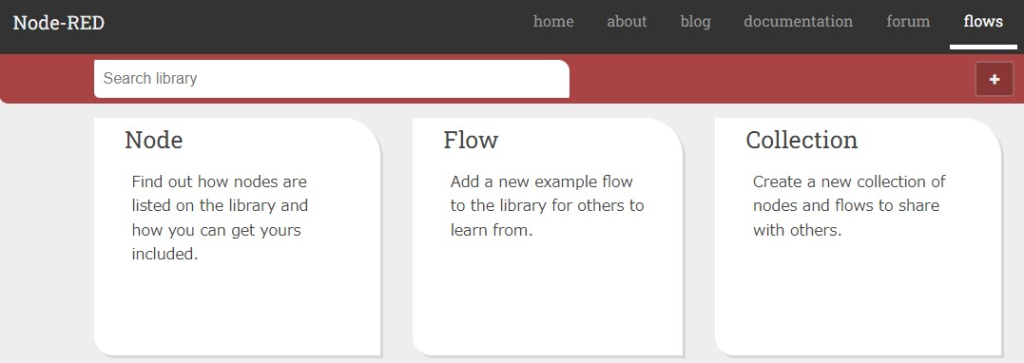
On the Node-RED flows page, press the + symbol to see the choices of what you want to add.
▼In this case, select Node.
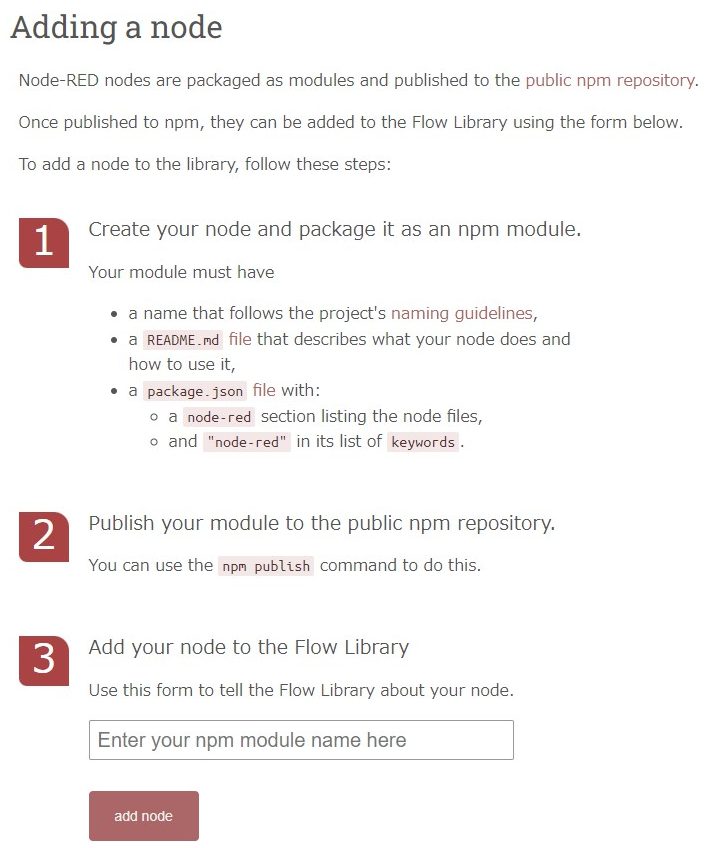
▼Enter the name of the npm repository and select add node to add it to flows.
https://flows.nodered.org/add/node
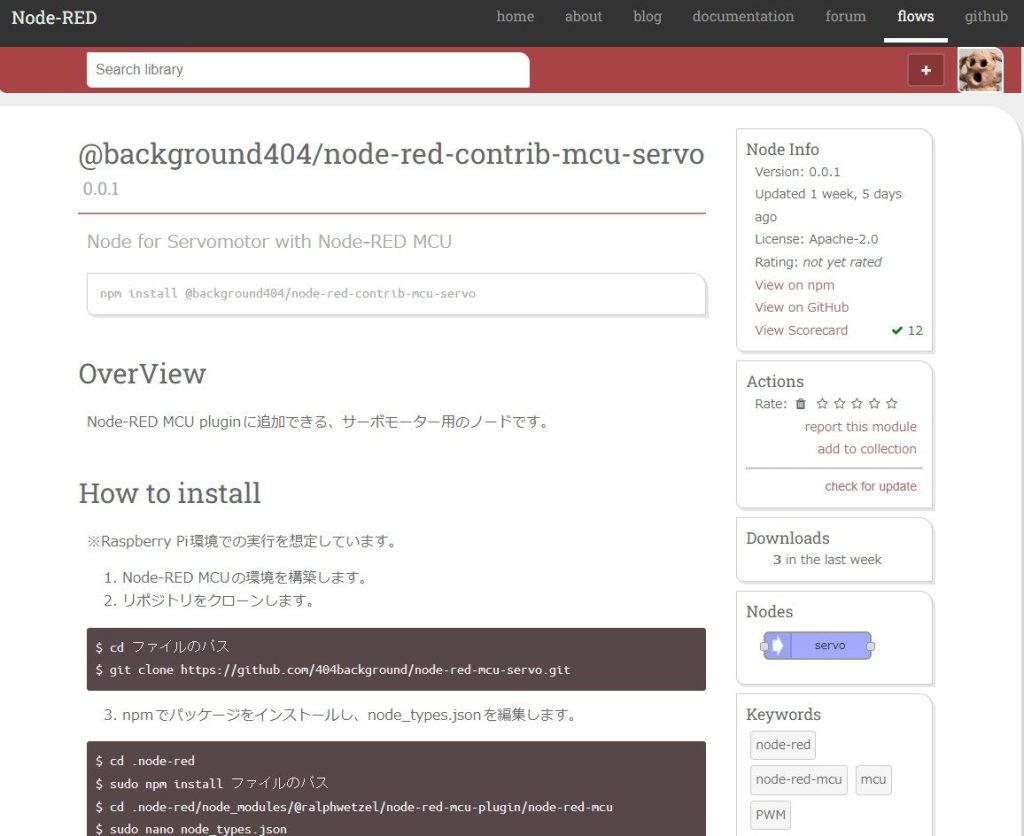
▼My public node looks like this.
https://flows.nodered.org/node/@background404/node-red-contrib-mcu-servo
After a short time after this, you will be able to install it from “Manage Palettes” in Node-RED.
If there have been any changes to the repository, after upgrading the npm version, you will need to re-add the changes to Node-RED's flows as well. This will reflect the changes on the Node-RED side.
Finally
The process was to develop the software while using GitHub, publish it to npm, and register it with Node-RED.
I think this is a good and reasonable mechanism, as what is required to publish is intended for use by third parties.
I used my Servo node as the example for this article, but I have recently published three other nodes. I will try to summarize them in articles.
▼Serial node for Node-RED MCU
https://flows.nodered.org/node/@background404/node-red-contrib-mcu-serial

▼Node that handles the Python virtual environment
https://flows.nodered.org/node/@background404/node-red-contrib-python-venv
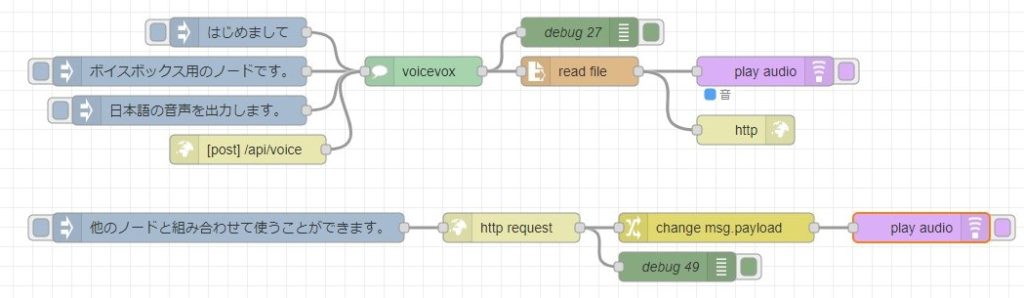
▼Node that handles VOICEVOX CORE
https://flows.nodered.org/node/@background404/node-red-contrib-voicevox-core