Trying Out YDLIDAR X4 Pro Part 1 (Windows, Operation Check with GUI App)
Introduction
I recently purchased a LiDAR sensor and decided to perform an operation check.
LiDAR sensors are more expensive compared to other low-cost sensors, and since I didn't have a robot capable of carrying one, I hadn't touched them until now. However, I bought this one because it seemed like a good fit for a mobile robot I am currently designing. My immediate goal is to mount it on the robot to enable collision avoidance.
▼Previous articles are here:
Trying Out Distance Sensors Part 1 (VL53L0X)
Info This article is translated from Japanese to English. Introduction In this post, I experimented with the VL53L0X distance sensor. This sensor is also used …

Unreal Engine 5を使ってみる その16(測距センサーを用いた簡易的なスキャン、Node-RED)
はじめに 今回は測距センサーを利用してLiDARのようにスキャンできないかな?と思ったので、まずはUnreal Engine 5 (UE5) のシミュレーション環境で試してみました。 …
Purchased Items
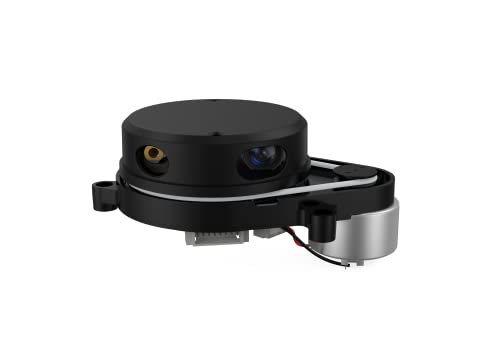
I purchased the unit from Switch Science.
▼This is the product:

It also seems to be available on Amazon at a slightly lower price.

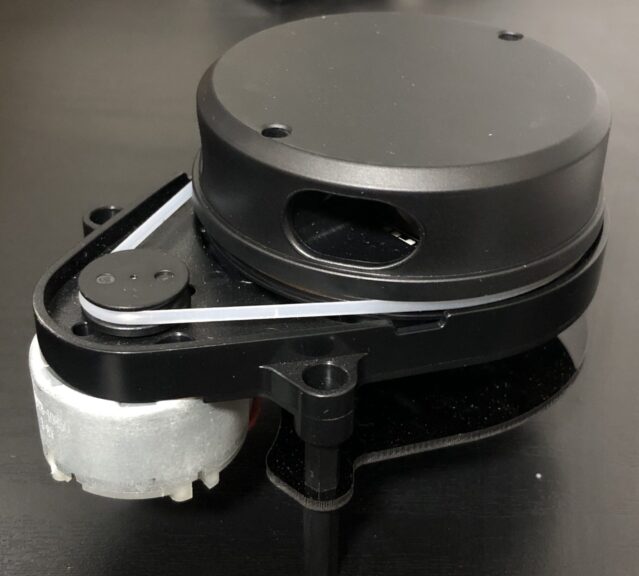
▼This is what it looks like unboxed.
▼Although not shown in the sales page images, spacers were included.

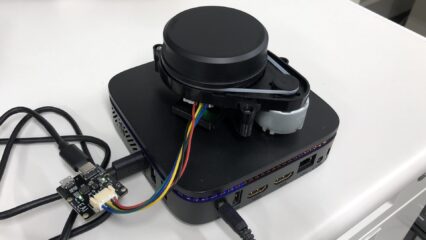
▼The serial adapter is split into a signal line and an auxiliary power line.
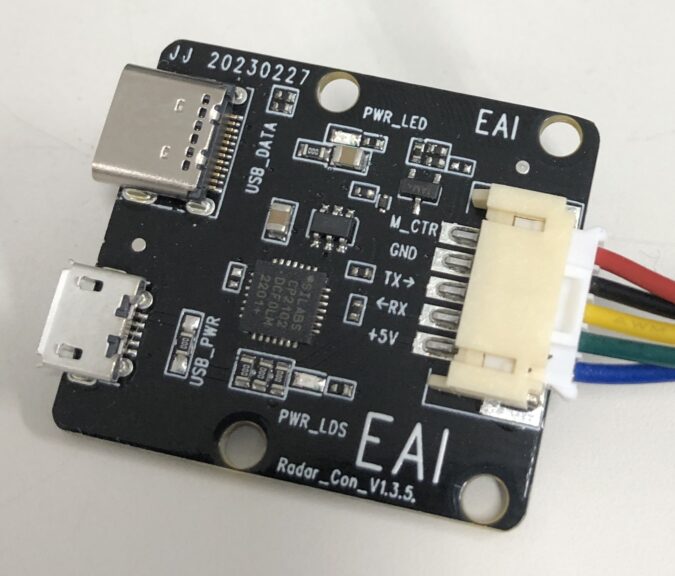
If a single cable handles both communication and power, there's a risk of insufficient power supply to the LiDAR. However, since this setup allows for auxiliary power, it seems likely to operate stably.
▼For example, the USB ports on a Raspberry Pi provide limited current, so a self-powered hub is often used in such cases.

Testing with the GUI App
I followed the user manual to proceed with the setup.
https://www.ydlidar.com/download/category/user-manual
While it can be connected to ROS on Linux, I performed the operation check on Windows this time.
▼I am using a gaming laptop purchased for around 100,000 yen, running Windows 11.
Shopping: New Laptop and SSD Expansion (ASUS TUF Gaming A15)
Info This article is translated from Japanese to English. Introduction In this post, I’ll be talking about replacing my PC after my previous one broke down. I …


I downloaded "EaiLidarTest-V1.12.6-20250612" from the Tools page.
▼I downloaded it from this page:
https://www.ydlidar.com/download/category/lidar-sensor
I ran the executable file included in the download.
▼The GUI application launched.
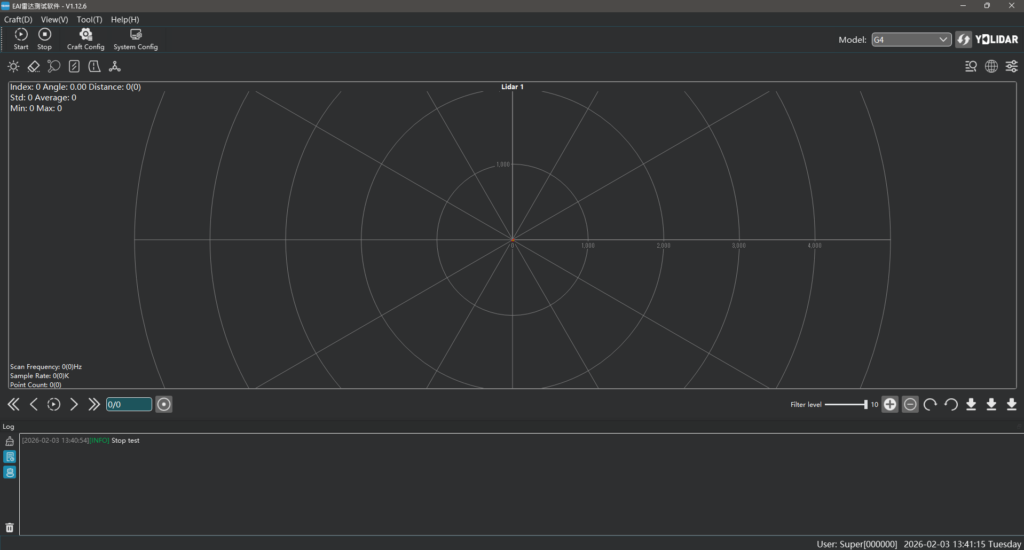
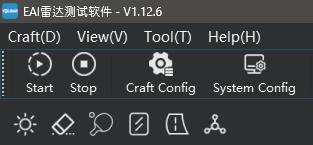
There is a "Start" button in the top-left corner, but it didn't seem to connect to the X4 Pro initially. By default, the model was set to G4, so I had to change it in the "System Config." Interestingly, the model drop-down menu in the top-right corner didn't seem selectable.
▼Configuring via "System Config."
▼I reordered the list so that "X4-Pro" was at the top.
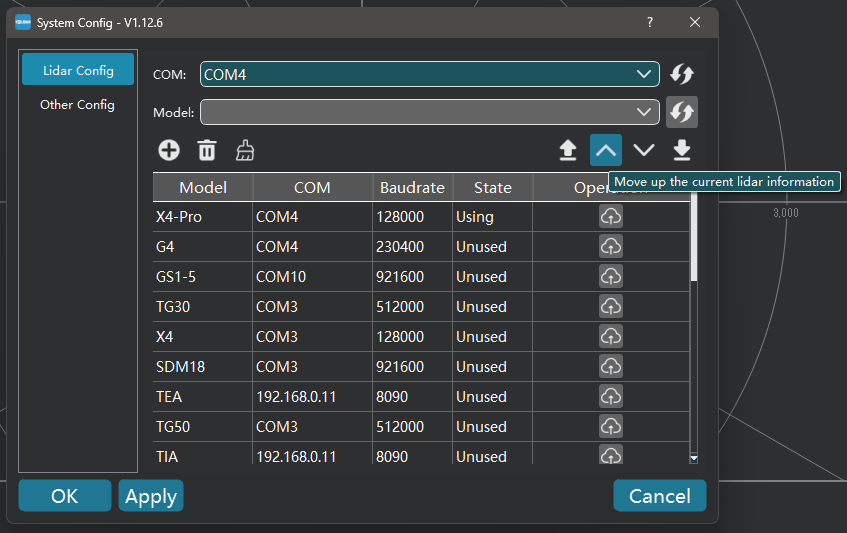
I double-clicked the model to select it, changed the COM port, and clicked "OK."
▼The model displayed in the top-right corner changed to X4-Pro.
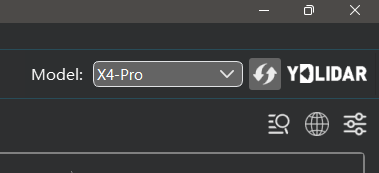
Clicking "Start" at this point allowed me to acquire data.
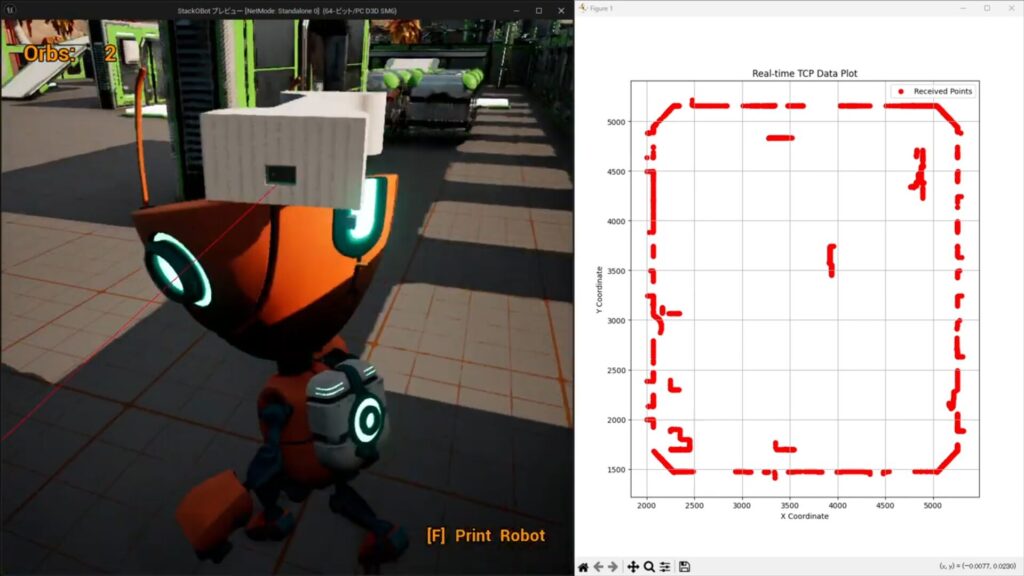
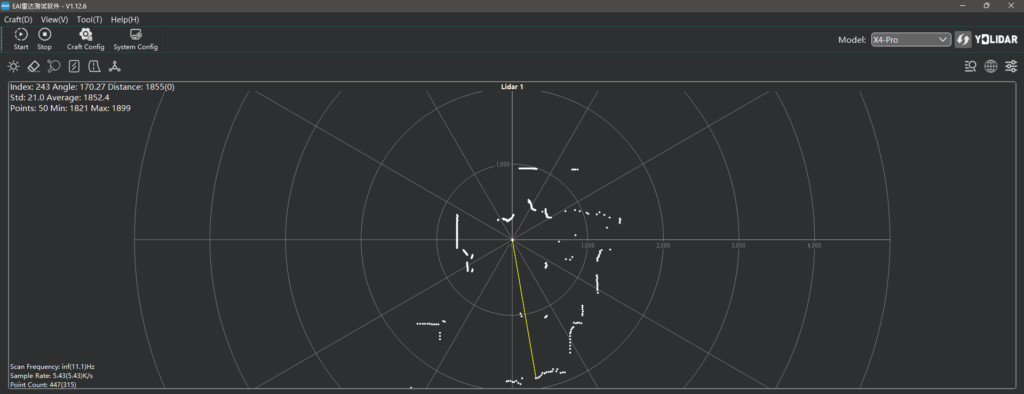
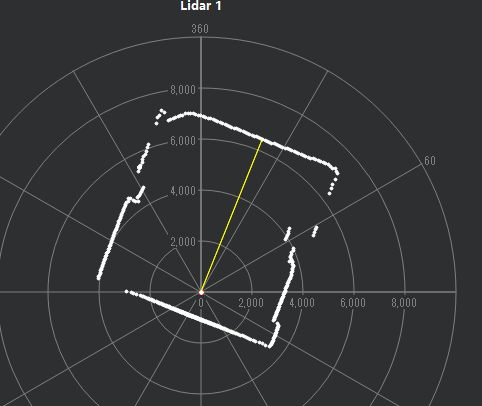
▼Point cloud data was obtained!
The sales page stated a measurement range of 0.12–10 m, and in practice, it stopped detecting objects at around 100mm.
▼Objects closer than this were not detected.
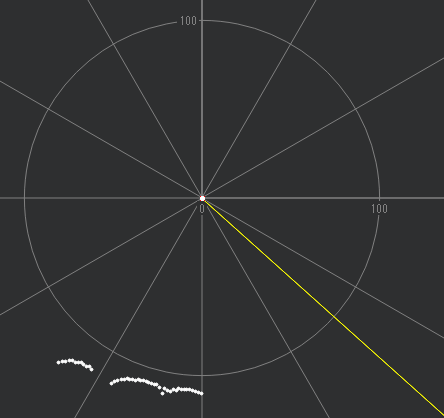
Measuring with a ruler, the distance seemed to be calculated from the center of the LiDAR's rotation.
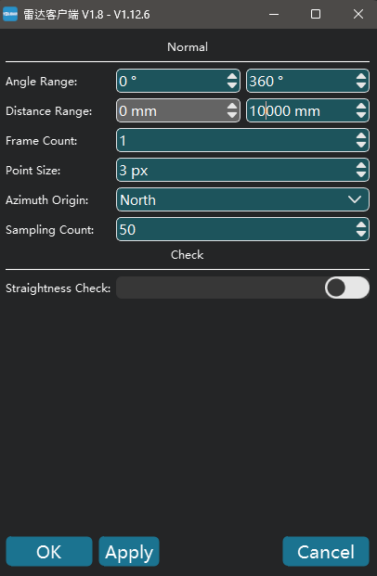
Regarding the display range of the GUI app, the "Distance Range" was set to 5000mm by default. Since the X4 Pro should be able to scan up to 10m, I adjusted this setting.
▼I changed it via "Craft Config."
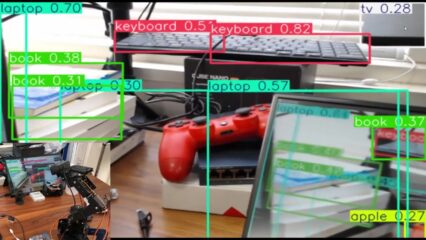
▼When scanning from a high position with few obstacles, it was able to capture the general outline of the room.
Finally
Now that I've confirmed it works, I plan to perform an operation check in a Linux environment so I can mount it on a robot.
I have a spare Raspberry Pi 3 I wanted to use, but I'm starting to feel its performance limitations, so I'm considering using a Mini PC instead.
▼I'm also looking forward to trying out SLAM.