Installing Ubuntu on a Mini PC via USB Drive (Rufus)
Introduction
In this post, I tried installing Ubuntu on a mini PC using a USB drive.
I knew this was possible because I know someone who frequently switches between Windows and Ubuntu via USB. However, since I am not very familiar with internal PC settings, I struggled quite a bit with things like BIOS and network drivers.
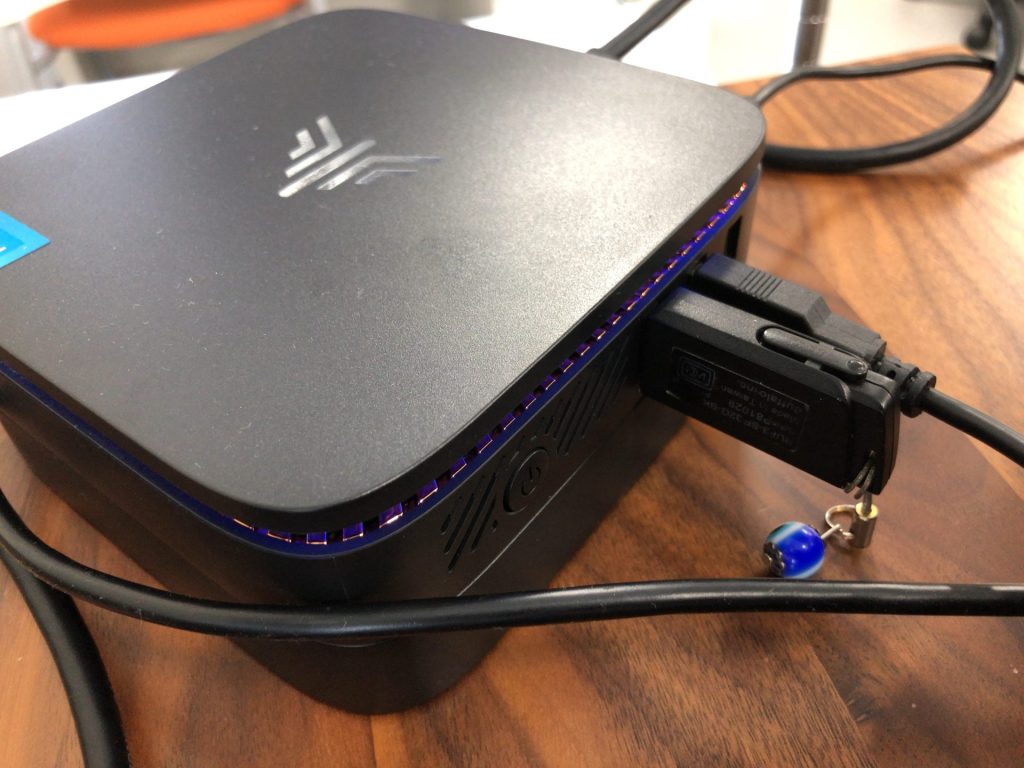
I used a mini PC I purchased recently, which I didn't mind wiping completely, so I could experiment freely.
▼The mini PC I used is introduced here:
Shopping: Mini PC and PiSugar 3
Info This article is translated from Japanese to English. Introduction A little while ago, during the Amazon Prime Day sale, I bought a mini PC that was signif…
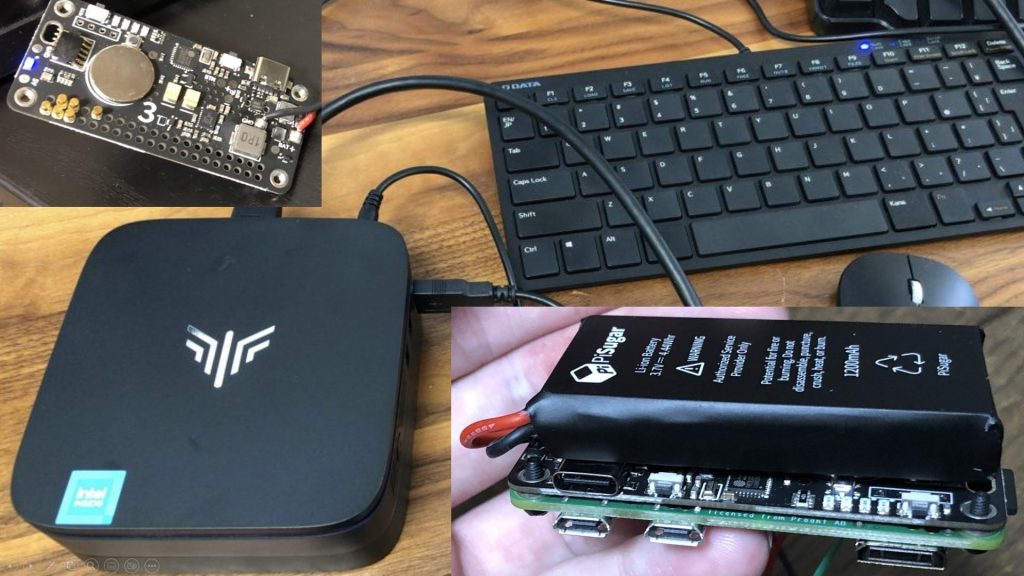
▼The price was further reduced by a coupon. It’s now roughly the same price as a Raspberry Pi 5, but this one comes with a built-in SSD.

▼Since we are flashing an image, a USB drive is, of course, required.

▼Previous articles are here:
Trying Out WSL2 Part 1 (Ubuntu 22.04, Node-RED, and Memory Limits)
Info This article is translated from Japanese to English. Introduction In this post, I set up a WSL (Windows Subsystem for Linux) environment, which allows you…
Trying Out WSL2 Part 3 (Ubuntu 20.04, ROS Noetic, Open Manipulator)
Info This article is translated from Japanese to English. Introduction In this post, I tried installing ROS on Ubuntu 20.04 within WSL2.The environment I built…
Creating a Bootable Drive with Rufus
To install Ubuntu, I found a software called Rufus that can create bootable USB drives, so I gave it a try.
▼The Rufus page is here:
▼It was recommended in this article:
https://jp.minitool.com/partition-disk/windows-11-and-linux-dual-boot.html
I downloaded and launched "rufus-4.5.exe".
▼The interface looks like this:
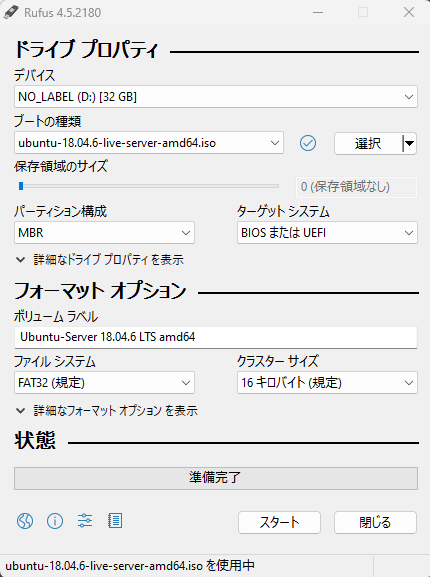
In the "Boot selection" section, clicking "Select" allows you to choose a file. Here, you can select an ISO image file.
▼First, I downloaded the ISO file for Ubuntu Server 18.04:
https://releases.ubuntu.com/bionic
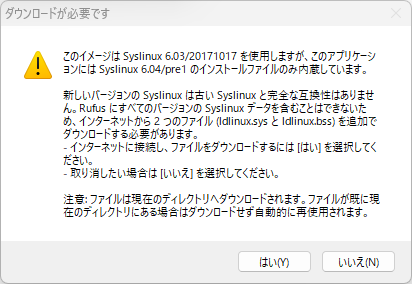
After selecting the downloaded ISO file, I clicked "Start."
▼It seemed additional files were required, so I downloaded them as prompted.
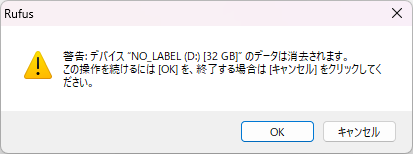
▼Please note that any existing data on the USB drive will be erased.
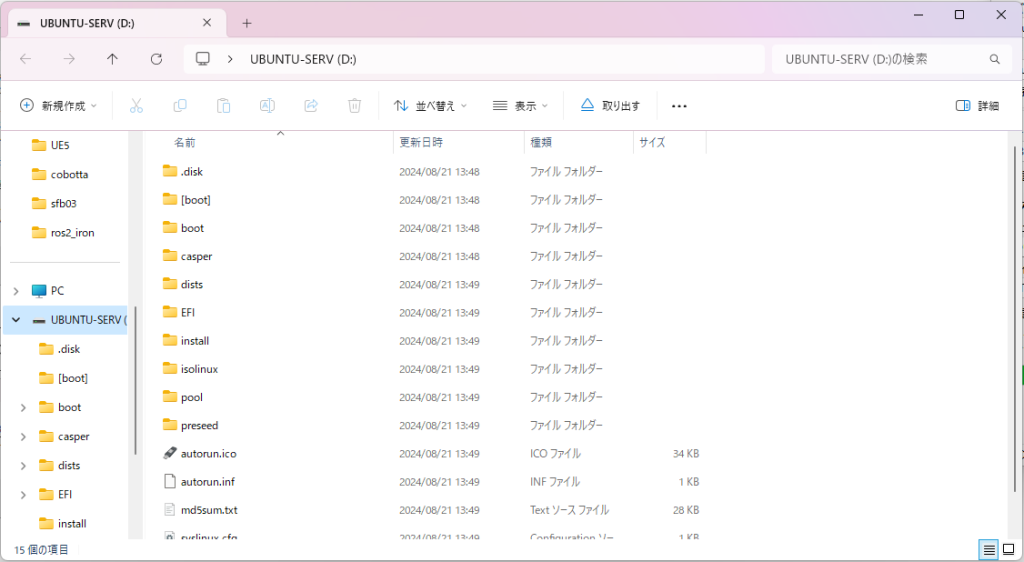
▼The creation of the bootable drive is complete.
Booting from the USB Drive
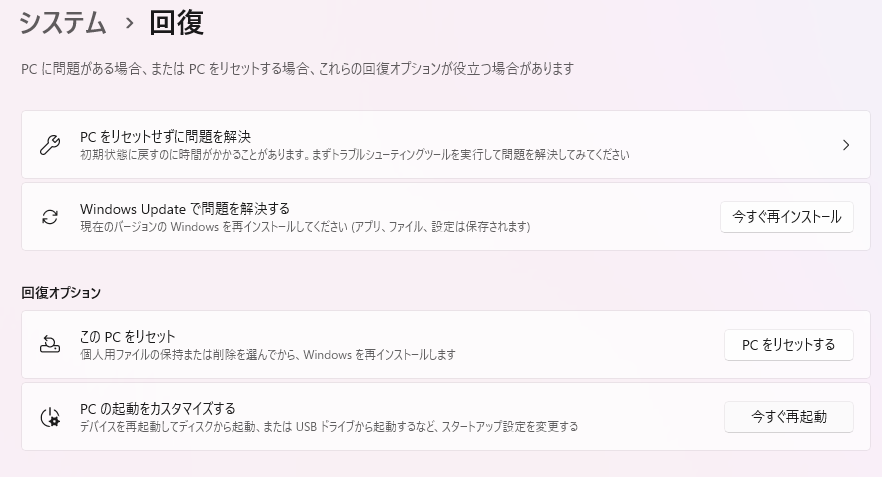
Since the mini PC originally had Windows 11, I customized the PC startup settings.
▼This is located in System > Recovery.
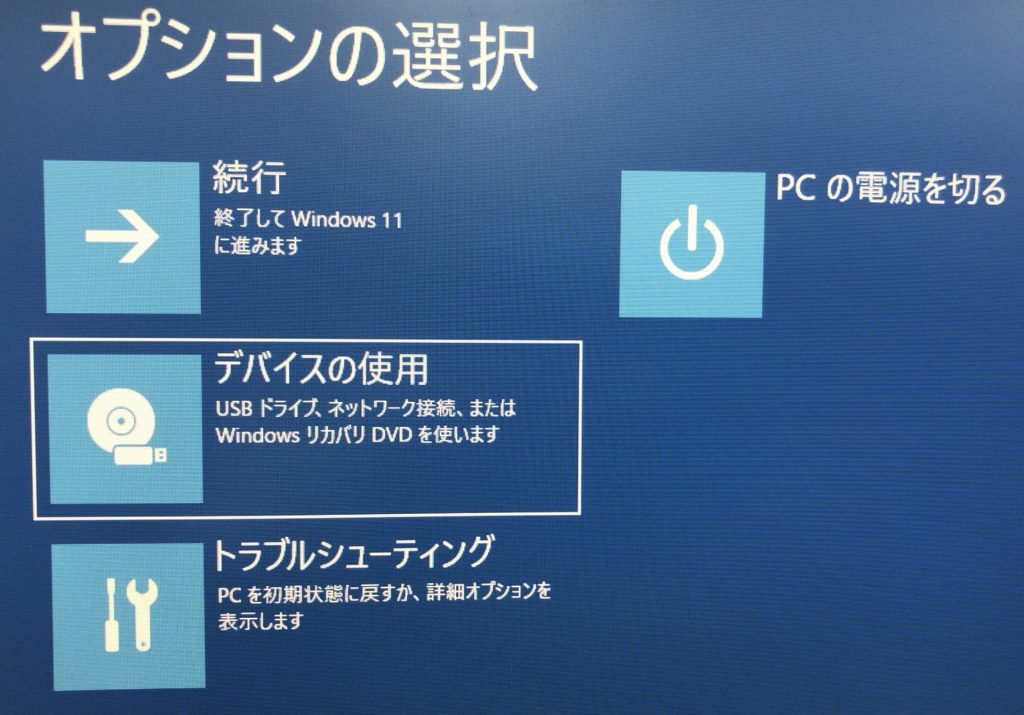
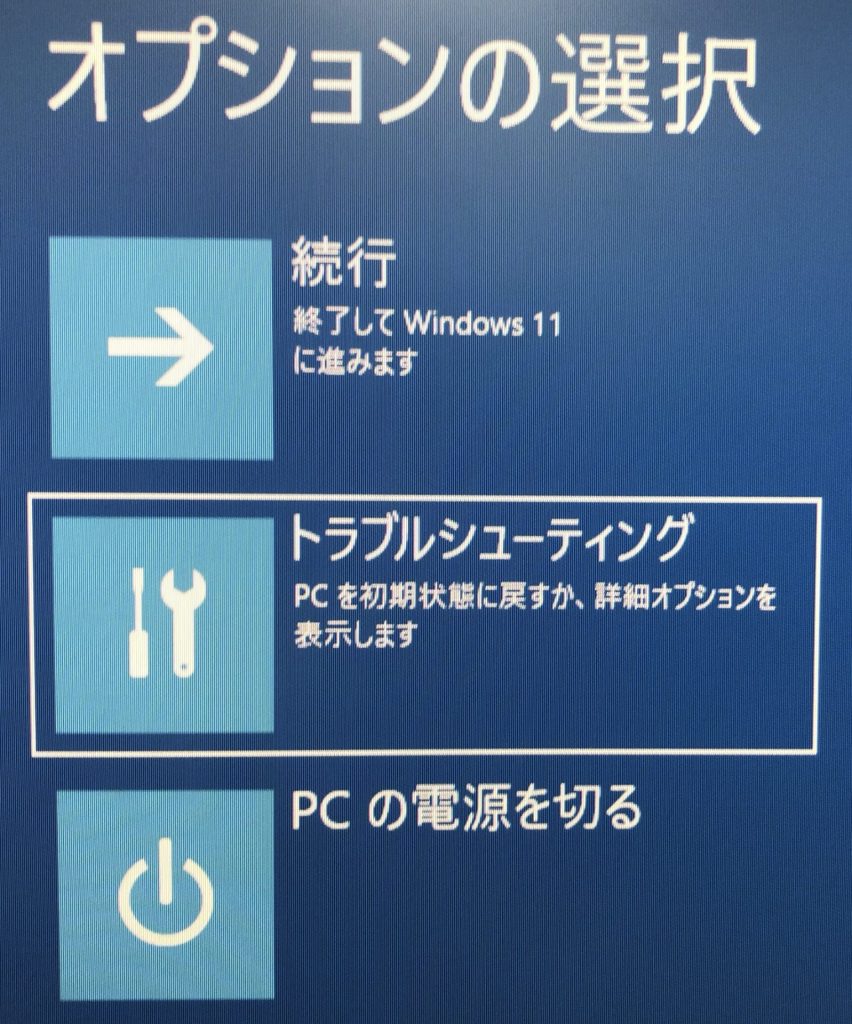
After restarting, the "Choose an option" screen appears.
▼With the USB drive inserted, select "Use a device."
▼Select the USB device and restart.
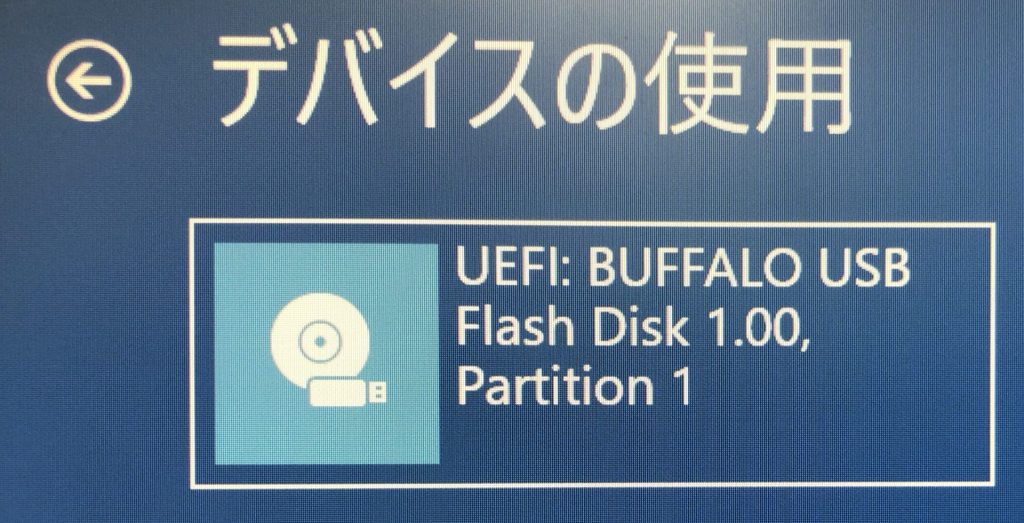
▼By the way, if no USB is inserted, the "Use a device" option does not appear.
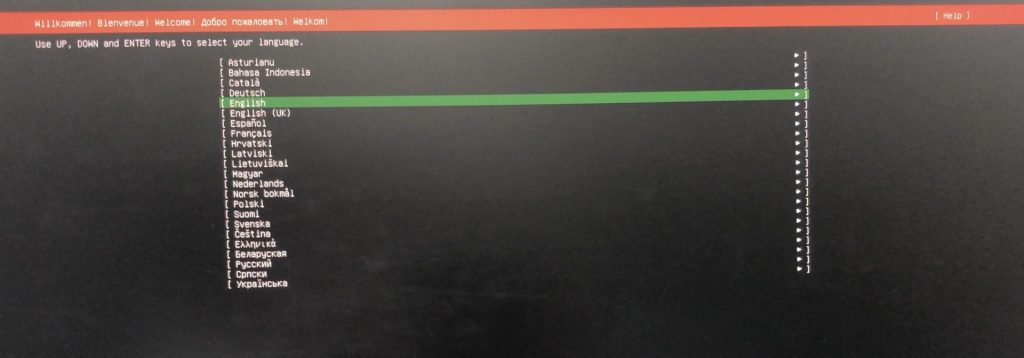
Upon booting, the Ubuntu Server setup screen appeared.
▼First, the language selection screen was displayed.
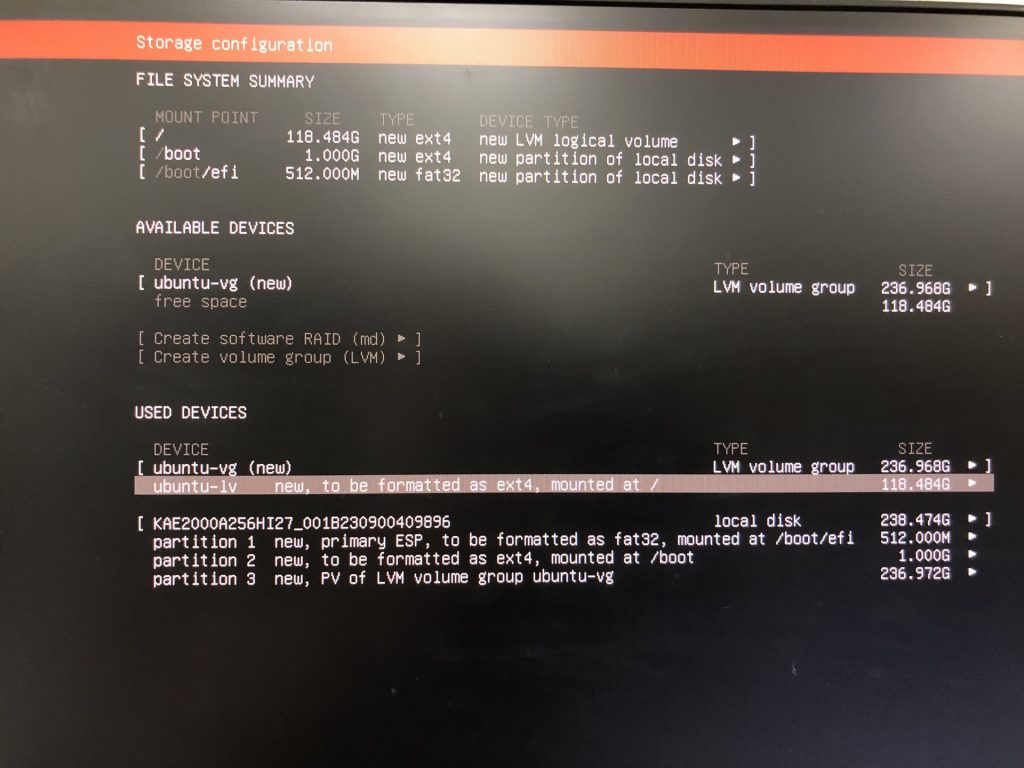
▼Next, the storage configuration screen appeared.
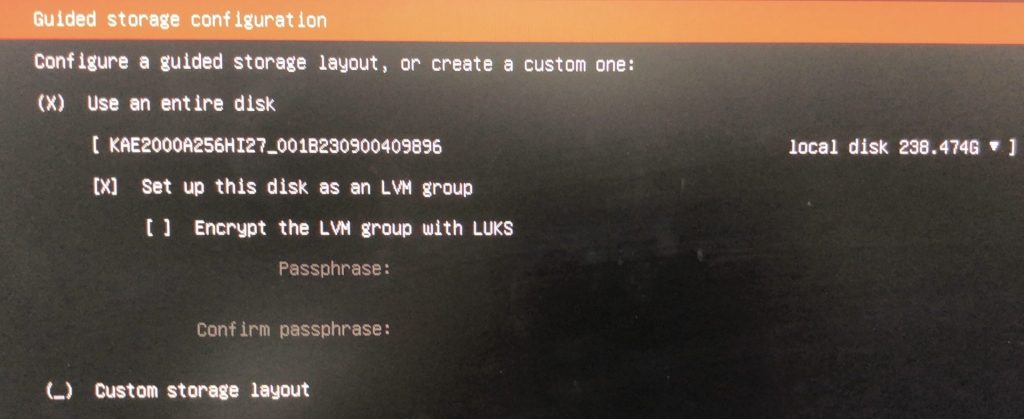
Selecting "Use an entire disk" displays the storage configuration. Here, you can set the size of the storage to be allocated to the Ubuntu installation.
Please be careful: if you allocate storage incorrectly, existing installations may be erased. In my case, I wasn't entirely sure what I was doing, and after several attempts, my Windows environment was eventually erased…
▼You can change the capacity by selecting the DEVICE under "USED DEVICES."
▼Here is an image from one of my attempts where I set it to 64GB. It seems to reserve size for "ubuntu-lv" within "ubuntu-vg."
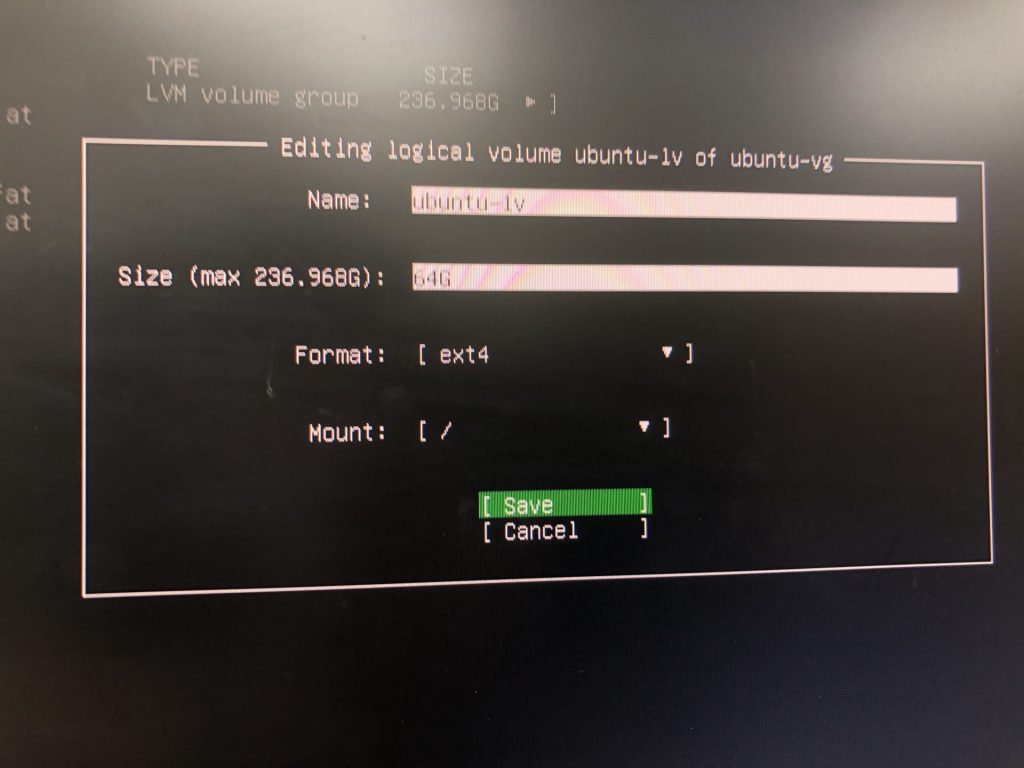
▼After finishing the settings, it was correctly allocated at 64GB.
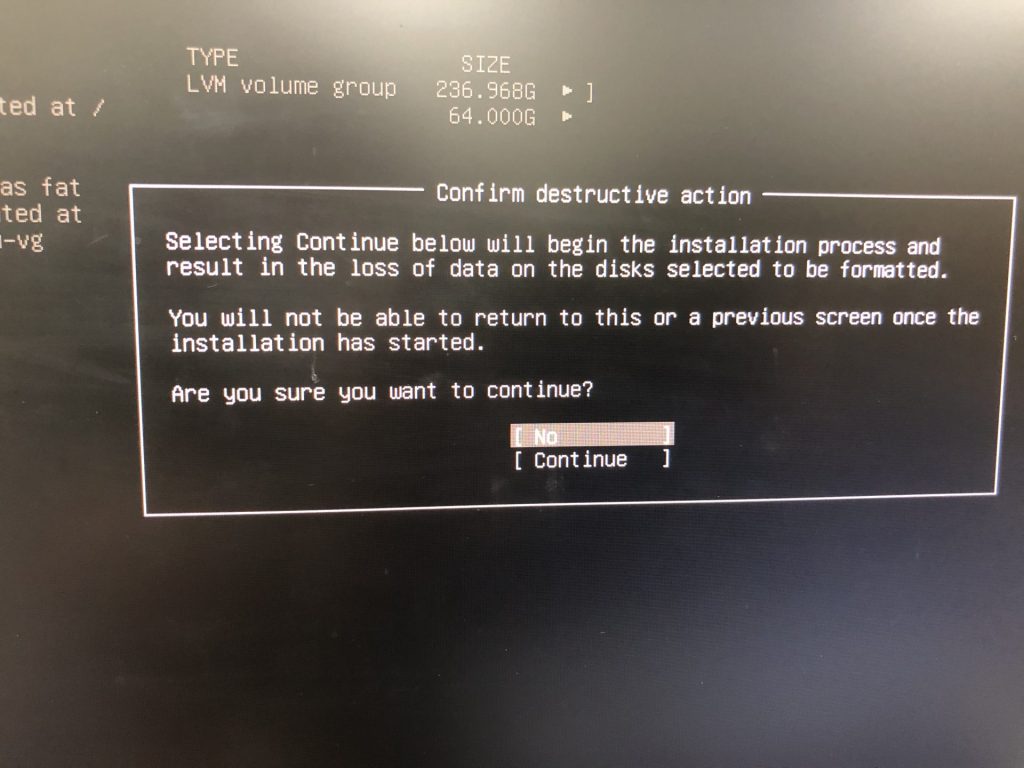
▼Be warned that once data is erased during this process, it cannot be recovered.
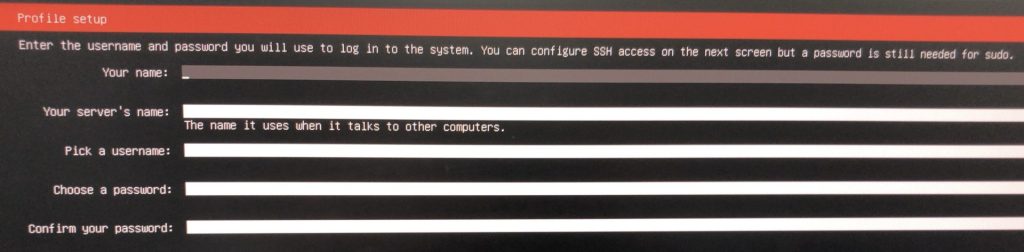
▼Afterward, the username and password setup screen appeared.
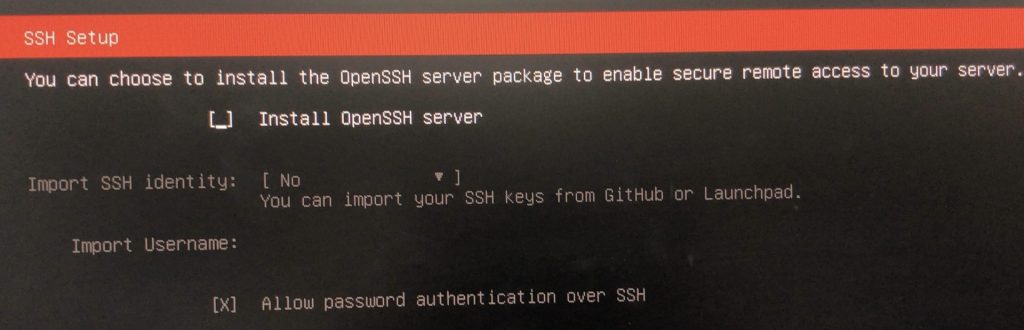
▼I didn't configure any specific settings for the OpenSSH server.
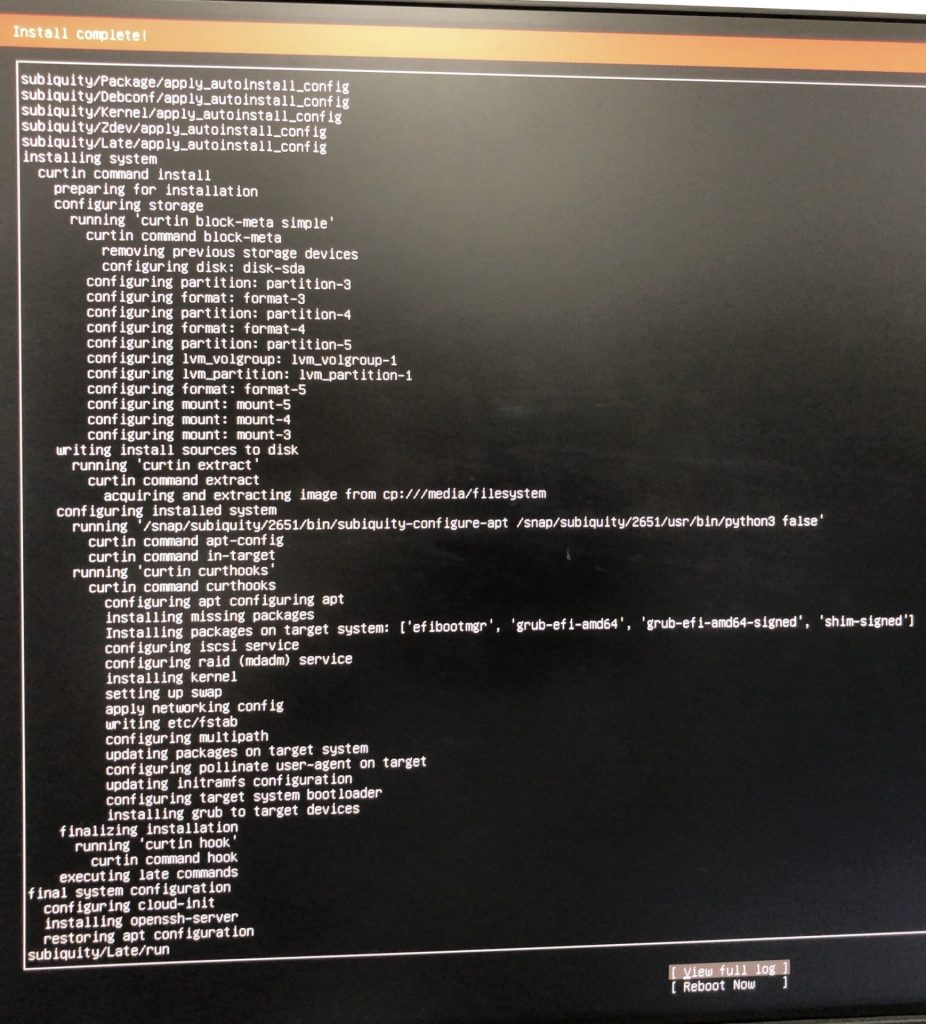
▼The installation finished, and I restarted the system.
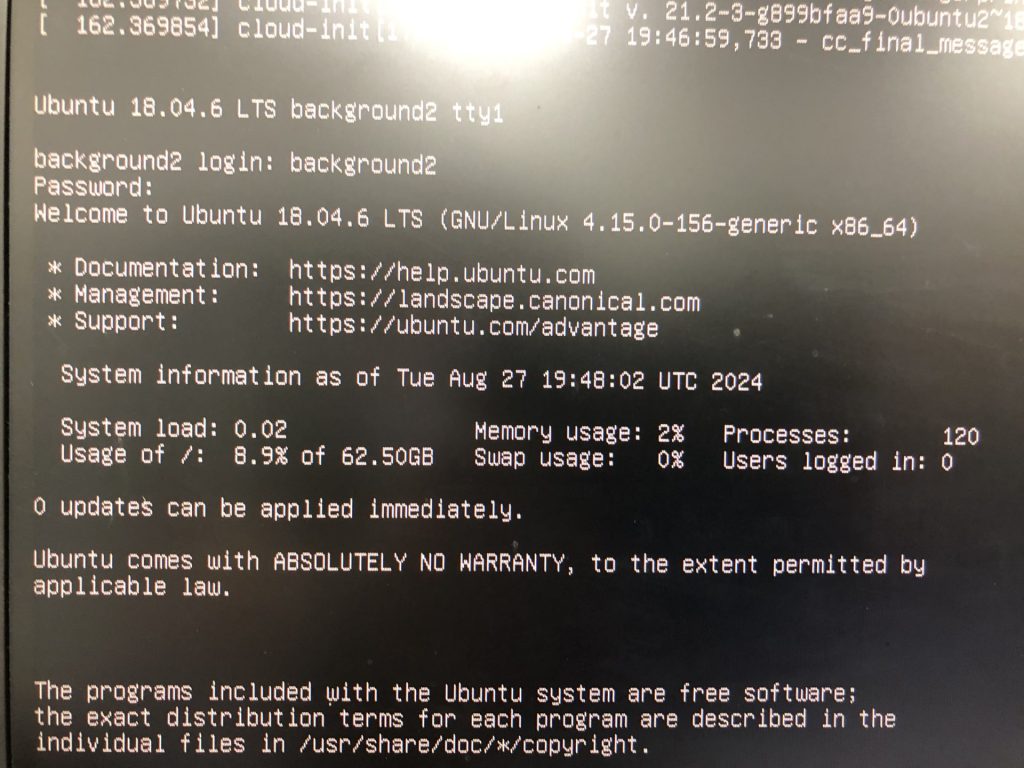
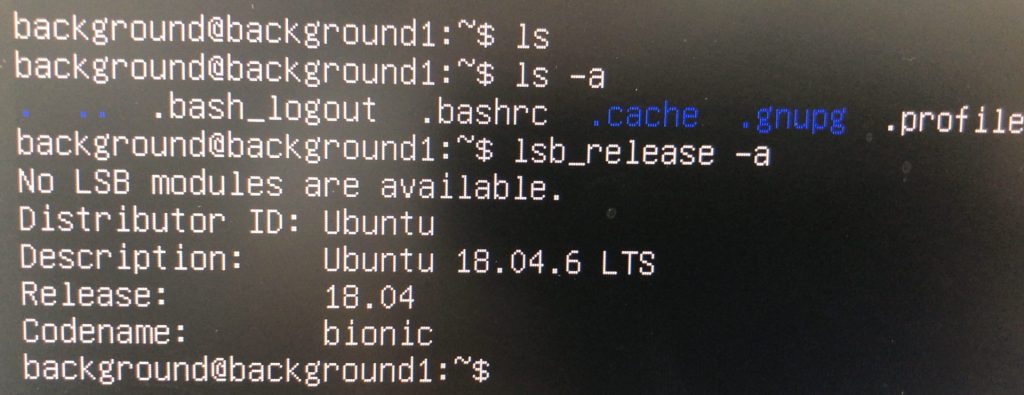
▼I was able to log in, and the installation was successful.
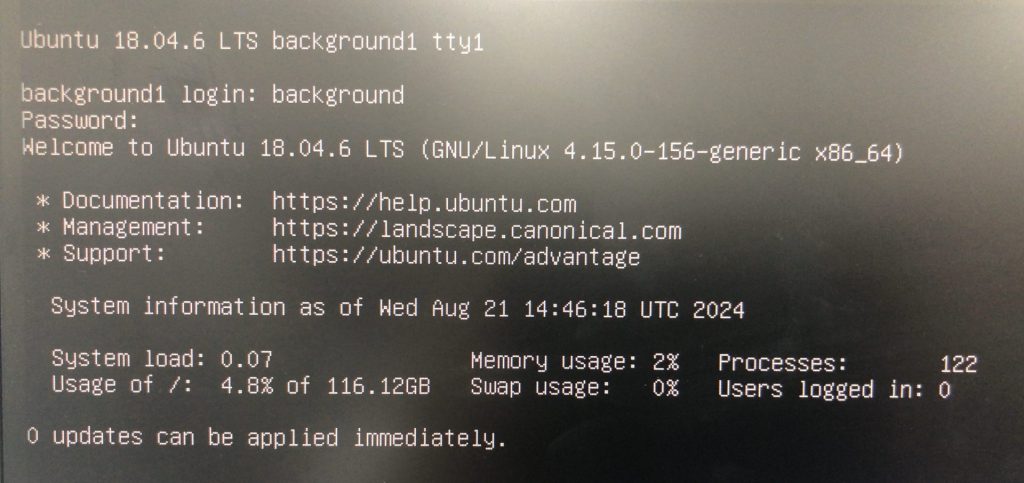
▼Ubuntu 18.04 is now installed.
As I mention later, I ended up installing Ubuntu 20.04 Desktop after this because I couldn't get the Wi-Fi to work.
▼I experienced some slowness while waiting for network connection completion after Ubuntu Server booted, but there seems to be a fix for this:
https://qiita.com/NoIshii/items/fcc860394ace35f434d4
Booting BIOS to Change Boot Options
While Windows allows you to customize startup via recovery options, Ubuntu, of course, has different settings. To change the boot options, I accessed the BIOS.
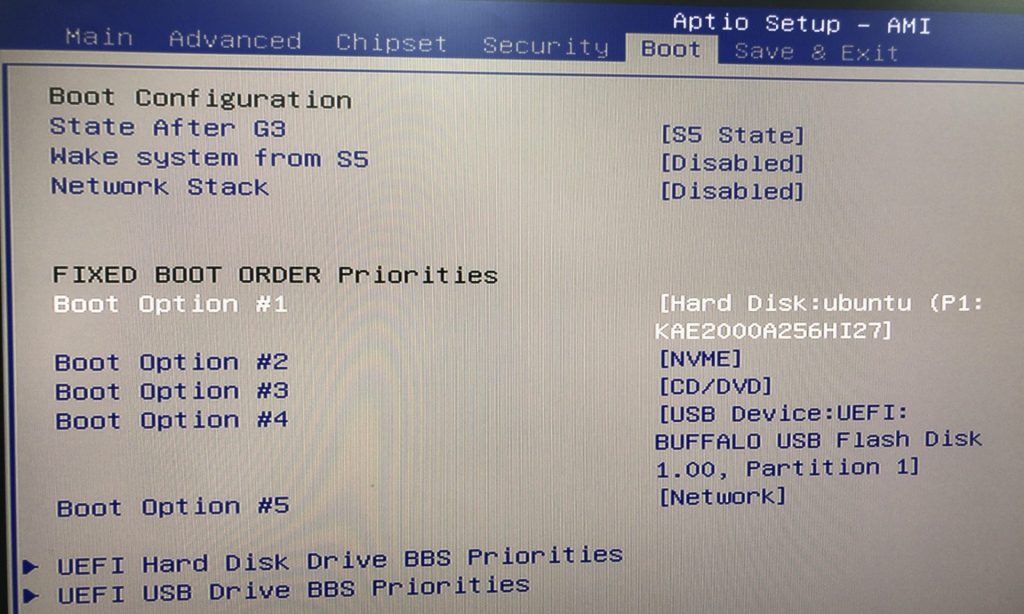
▼According to this page, you should press Delete, F2, or ESC immediately after starting the PC. In my case, it was an AMI BIOS, and pressing ESC brought up the BIOS screen.
https://www2.mouse-jp.co.jp/ssl/user_support2/sc_faq_documents.asp?FaqID=28865
▼By changing "Boot Option #1" to the USB Device and restarting, I was able to start the Ubuntu setup again.
Addressing the "Network Interface Not Recognized" Issue
I wanted to connect to Wi-Fi, but the commands for connection were failing.
▼It displayed "NetworkManager.service not found."
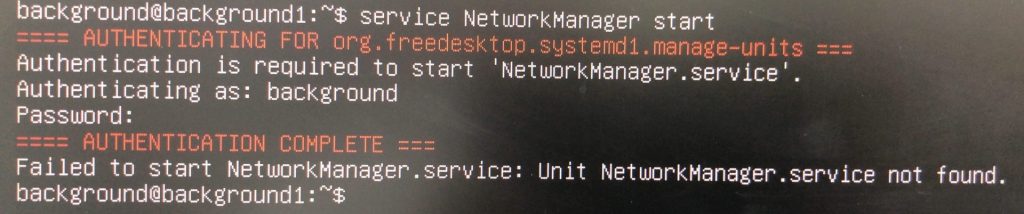
I tried to install the packages required for networking, but since I wasn't connected to the internet, I couldn't download them. Connecting via Ethernet or using a USB Wi-Fi dongle were options, but I didn't have either on hand.
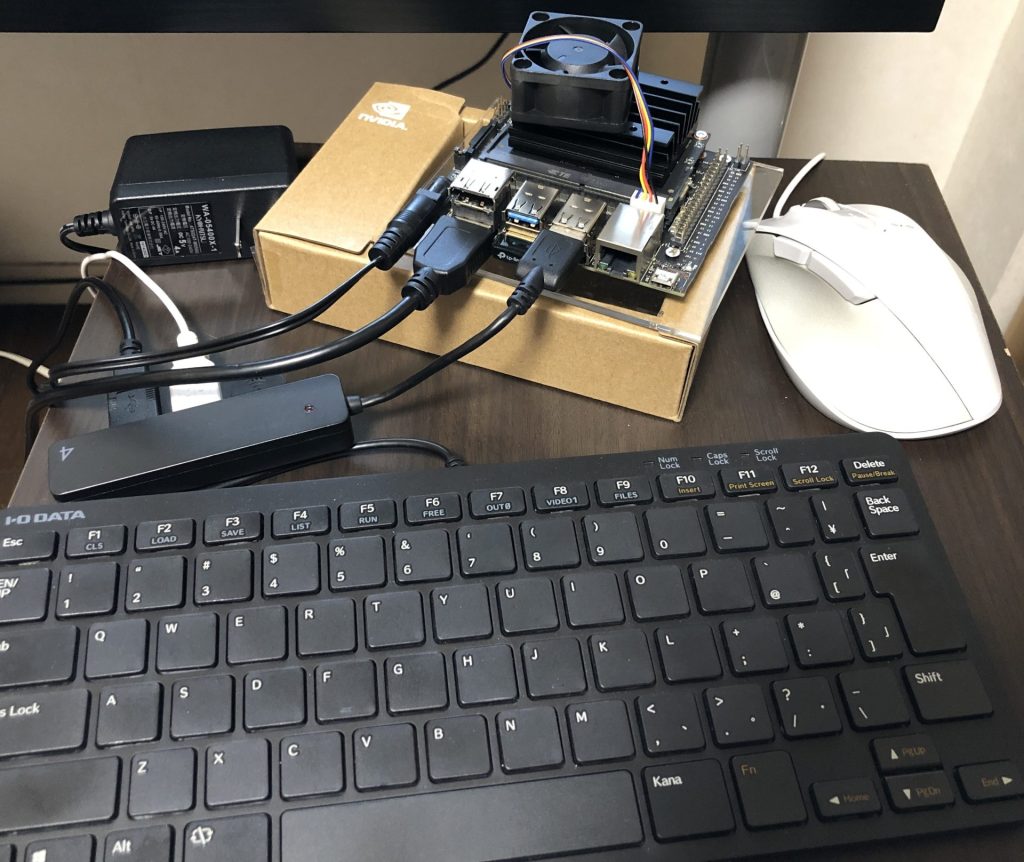
▼I used one of these when working with the Jetson Nano since it lacked a NIC module.

Trying Out Jetson Nano (Peripherals and Remote Desktop Connection)
Info This article is translated from Japanese to English. Introduction I got my hands on a Jetson Nano a while ago, so this time I’m preparing it for robot dev…
There were also guides for configuring this on Ubuntu Desktop rather than Server, so I tried installing the Ubuntu 18.04 Desktop image instead.
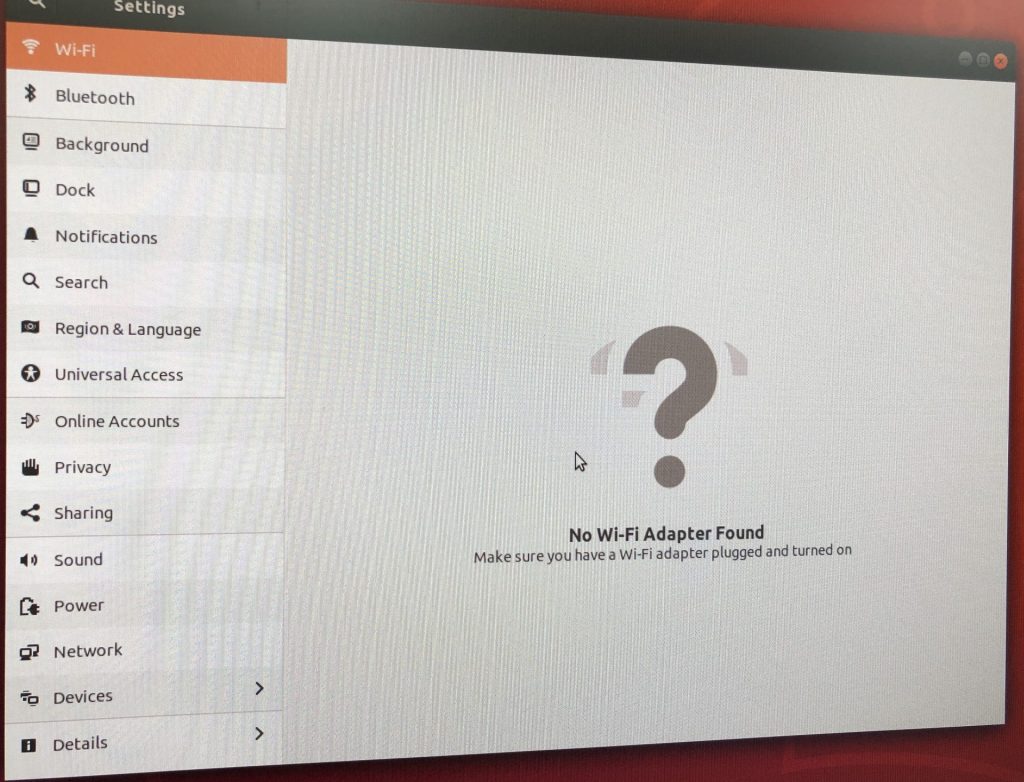
However, the Wi-Fi settings screen still showed "No Wi-Fi Adapter Found."
▼Airplane mode was not enabled.
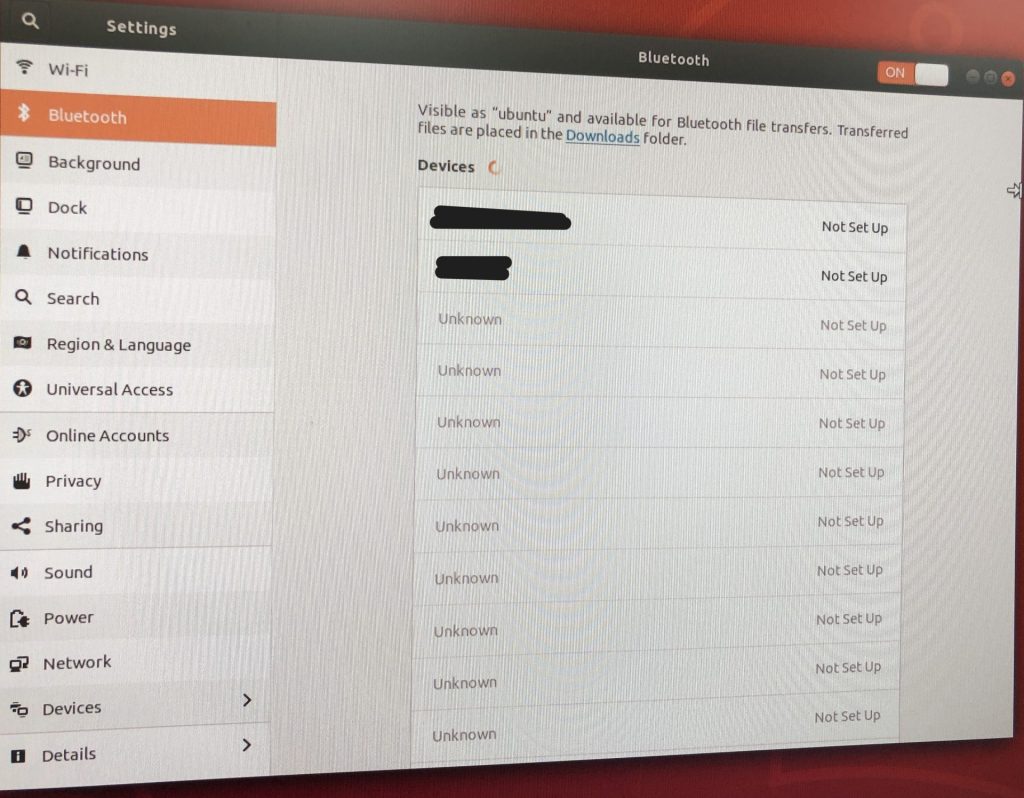
▼Bluetooth was working, though.
▼If you encounter a similar issue, this page might be helpful:
https://qiita.com/11kenterada/items/f88eb509b3cf8656bb03
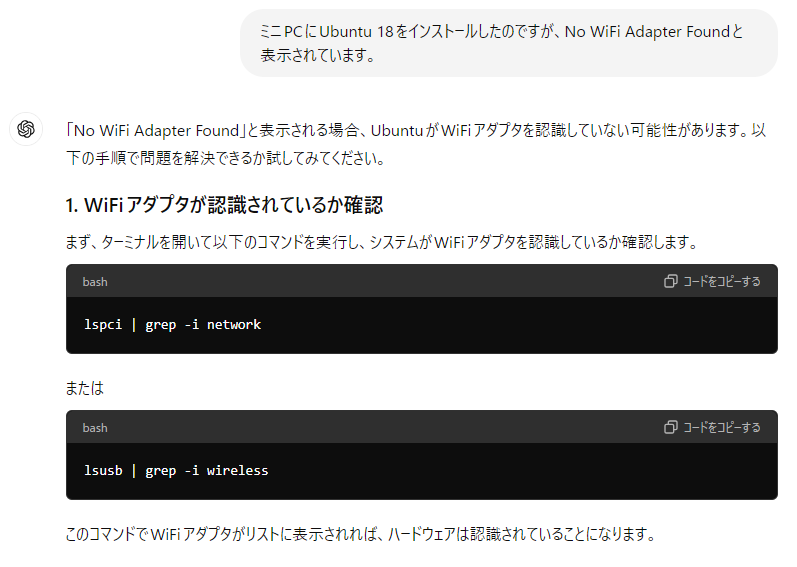
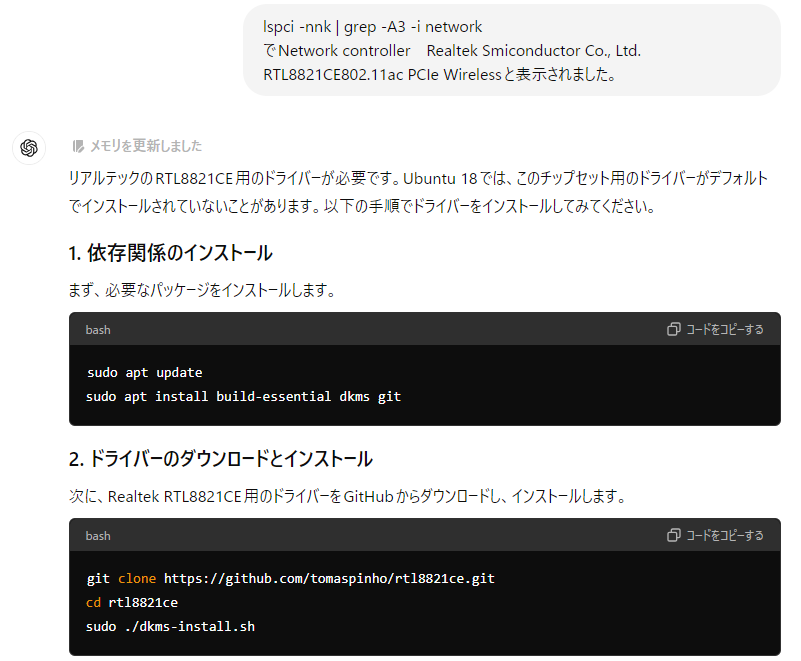
Information was a bit cluttered because everyone's hardware environment is different. So, I asked ChatGPT for a solution.
▼I was given a command to identify the Wi-Fi adapter and ran it.
▼The first command didn't solve it, but after receiving a follow-up command and running it:
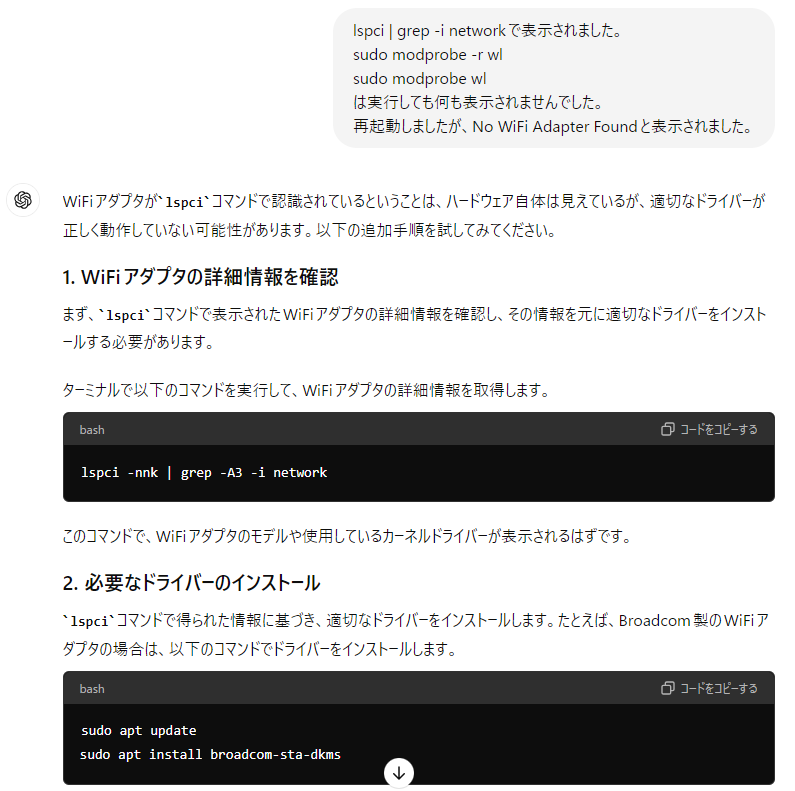
Executing "lspci -nnk | grep -A3 -i network" revealed that the Network controller was a Realtek RTL8821CE.
▼It turns out the driver for the RTL8821CE might not be installed by default.
Since I couldn't download a driver without Wi-Fi, I asked if other Ubuntu versions included it by default.
▼Apparently, it is installed by default in Ubuntu 20.04 and later.

In the end, I downloaded the Ubuntu Desktop 20.04 ISO file, created a bootable USB drive, and installed it.
▼The download page is here:
https://releases.ubuntu.com/focal
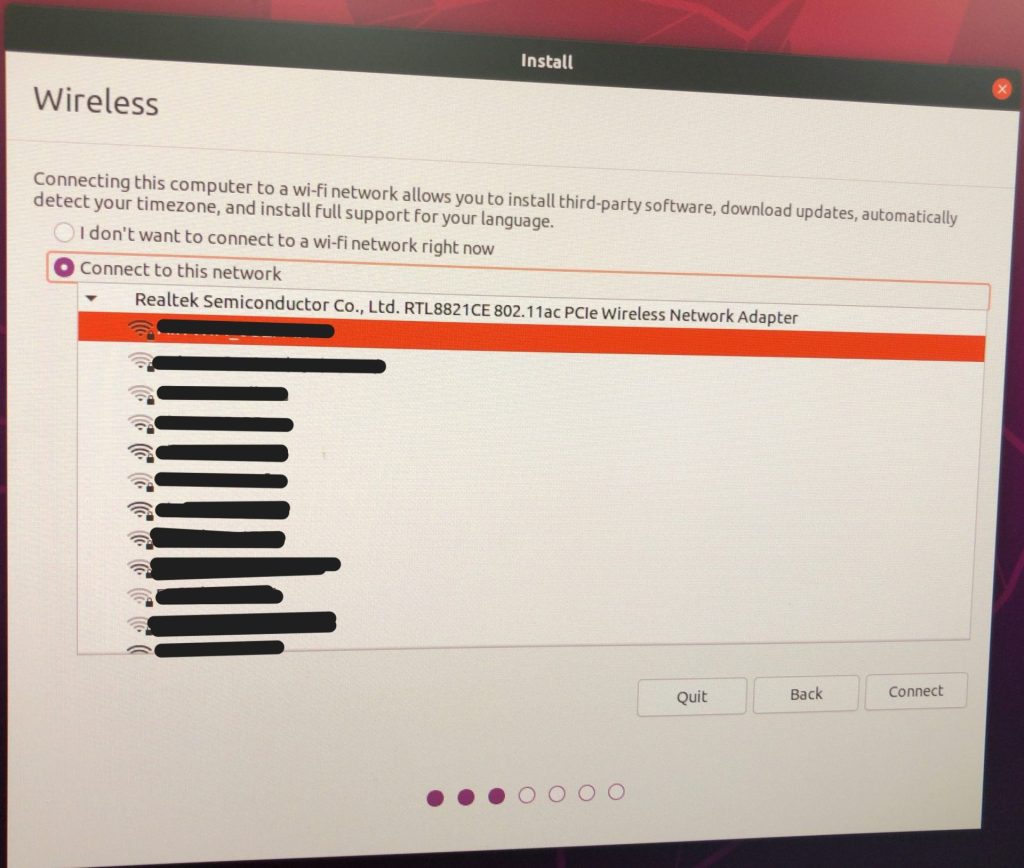
▼And just like that, I was able to configure Wi-Fi during the installation!
▼I didn't need the Ubuntu 18.04 environment I had been trying to set up, so I wiped it all.
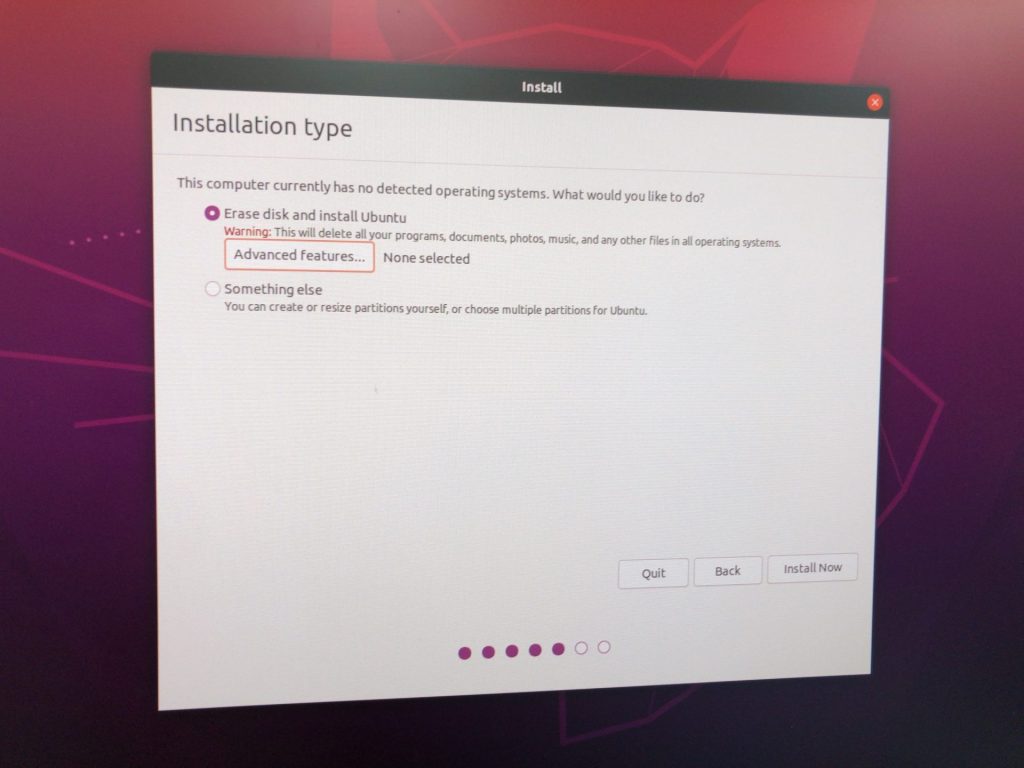
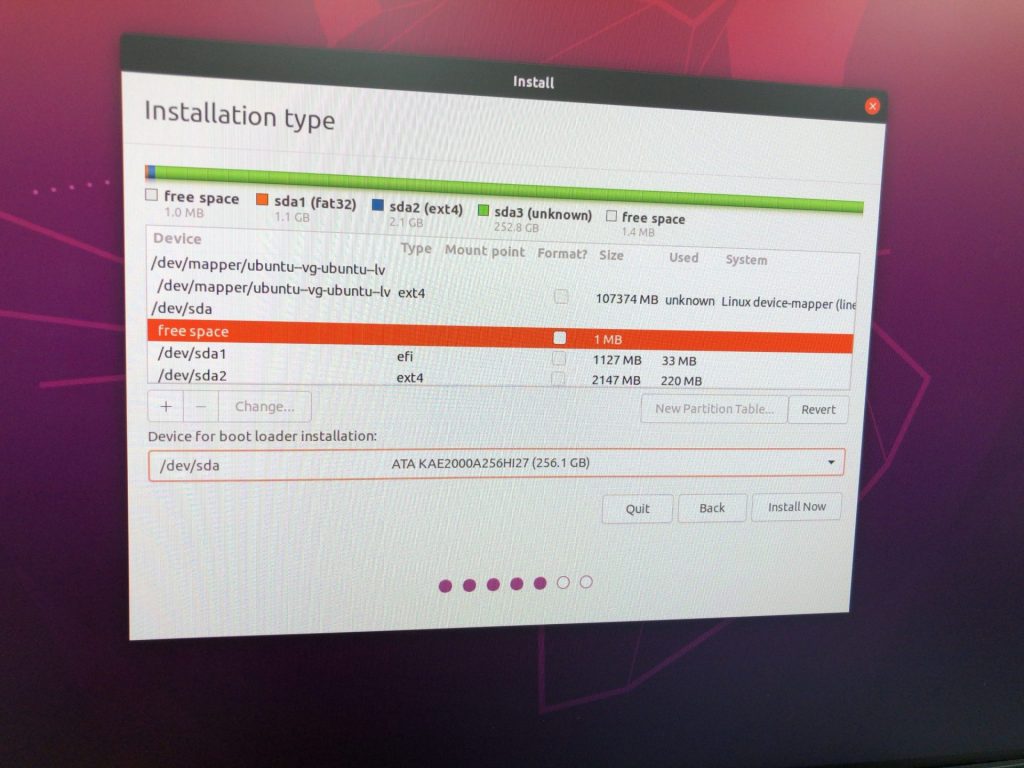
▼In the Desktop version, selecting "Something else" allows you to modify partitions.
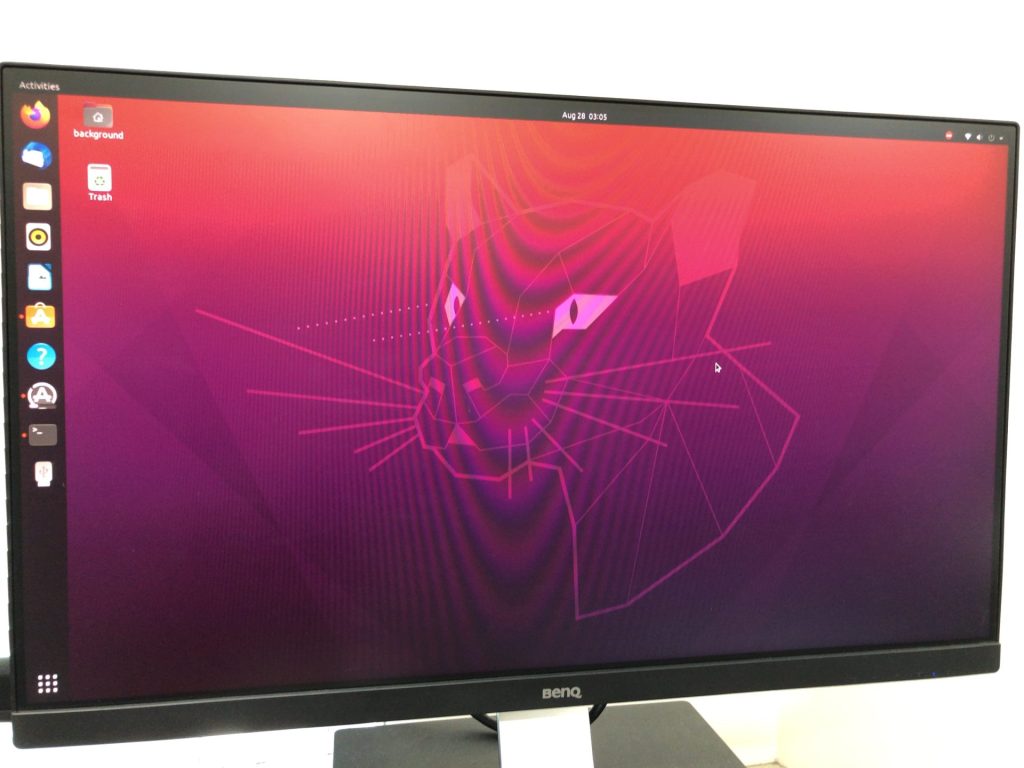
▼I successfully built an Ubuntu Desktop environment with working Wi-Fi.
Configuring Japanese Input
When typing commands, sometimes the ":" key would result in a "'". This is because the keyboard wasn't configured for a Japanese layout.
The fix is simple, but the method differs between Ubuntu Server and Desktop.
For Ubuntu Server
▼I was able to change it using the command introduced here:
https://qiita.com/Toshiaki0315/items/08dfaf70ec11b23fe05b
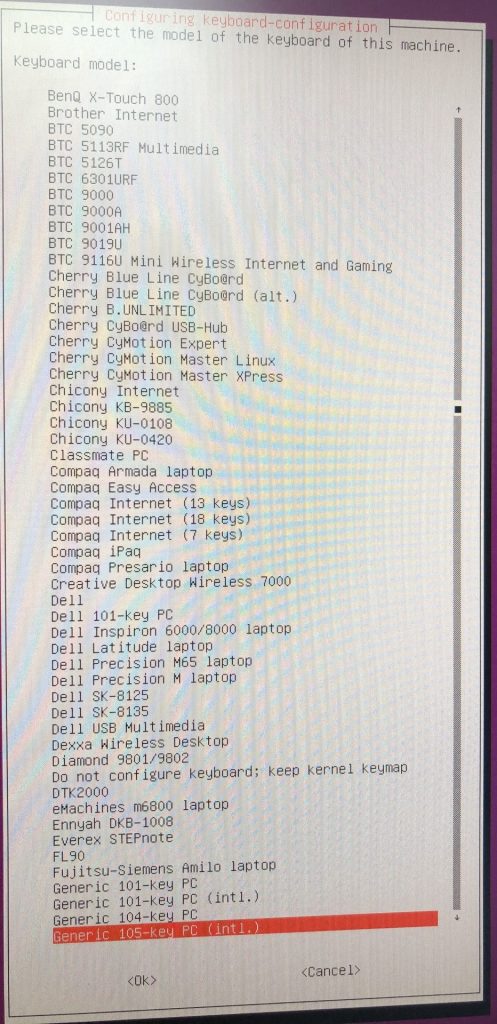
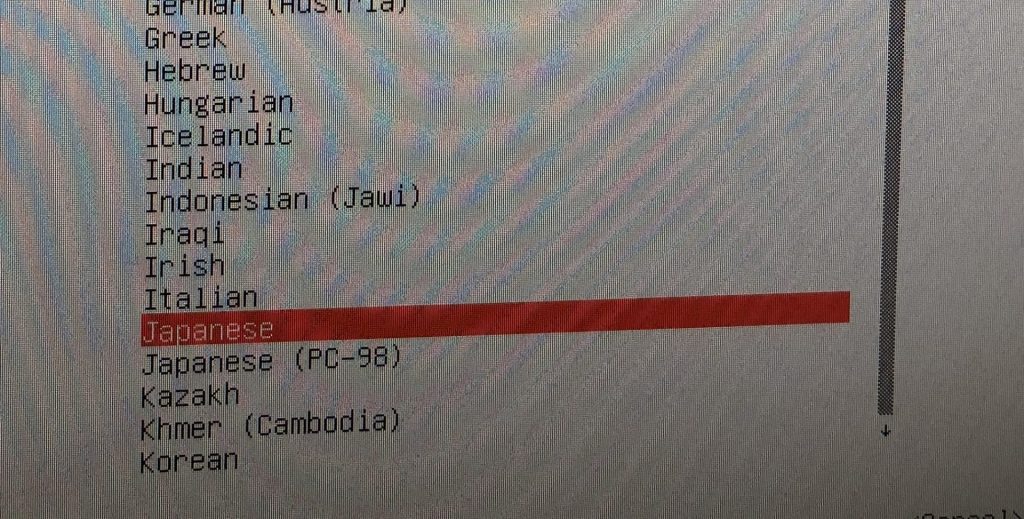
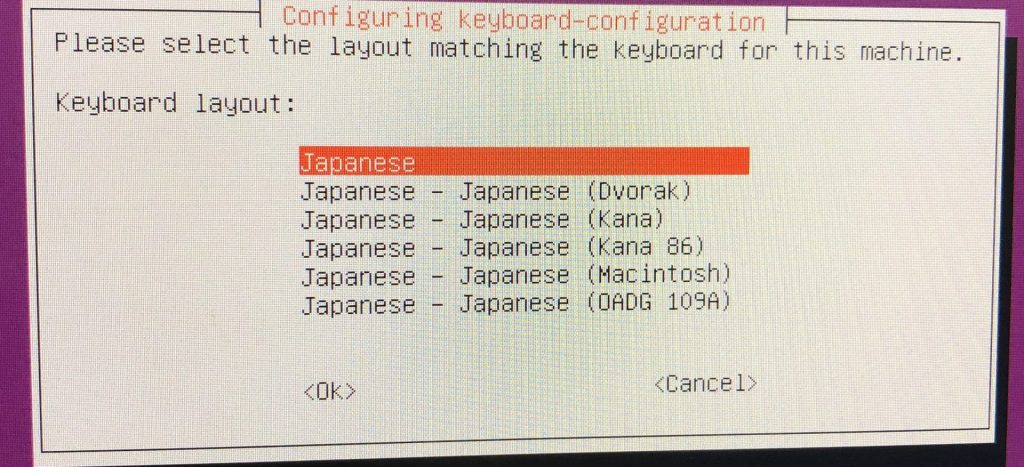
sudo dpkg-reconfigure keyboard-configurationI selected: Generic 105-key (Intl) PC → Japanese → Japanese → The default for the keyboard layout → No compose key.
▼The screens look like this:
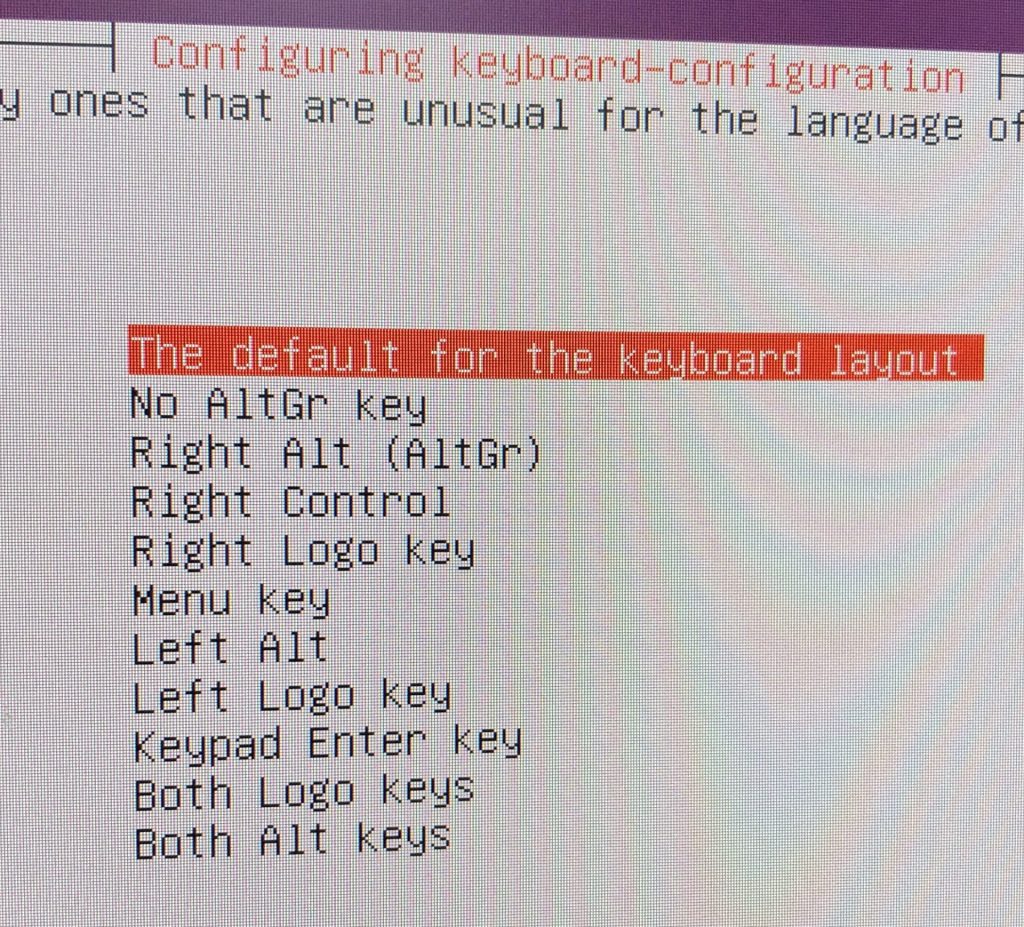
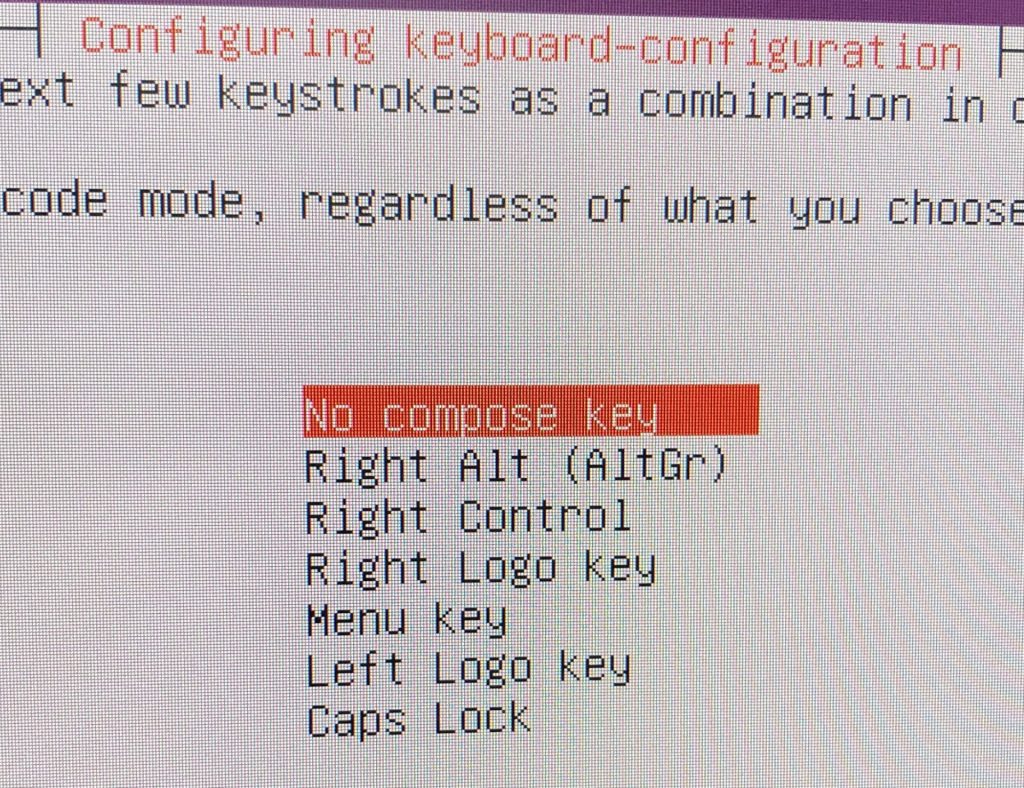
After making these selections and restarting, the changes were reflected.
For Ubuntu Desktop
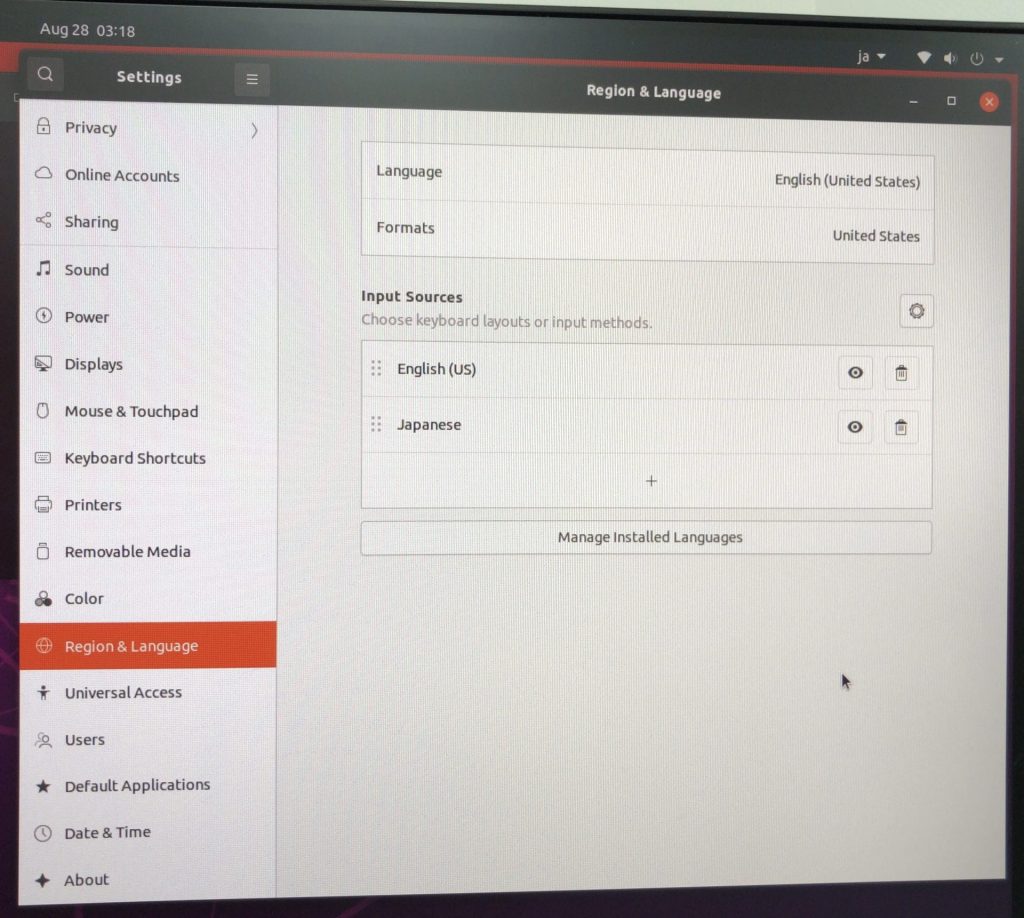
I was able to set it via Settings > Region & Language.
▼By adding "Japanese" to the "Input Sources," I could switch the "en" in the top right to "ja."
Finally
This was my first time creating a bootable USB drive and configuring BIOS settings. If I had accidentally deleted Windows on my primary PC, it would have been a disaster, but since this was a mini PC, I could afford to fail and retry as many times as needed.
The reason for the Wi-Fi failure—a missing driver in certain Ubuntu versions—is something I might not have figured out through searching alone, but ChatGPT helped me solve it. For issues that vary by device and OS version, asking ChatGPT seems faster than searching manually.
Now that I have successfully installed Ubuntu, I plan to use it for software verification and working with ROS.