Setting Up Raspberry Pi Zero Without a Wired Keyboard (SSH Connection, Raspberry Pi Imager)
Introduction
In this post, I set up a Raspberry Pi Zero via SSH connection because I didn't have a wired keyboard on hand.
While methods found online varied slightly, I used a Windows 10 laptop, a Raspberry Pi Zero, and an SD card.
▼I performed the setup using parts I had purchased in the past.


I was using my wired keyboard elsewhere, but I really should have a spare…
▼Previous articles are here:
Raspberry Pi Zero 2を使ってみる その1(Xfce、Vivaldi、Node-RED)
はじめに 今回はRaspberry Pi Zero 2を使ってみました。Maker Faire Tokyo 2023にて会場で販売されていたので購入してみました。 一度Raspberry Pi OSのデスクトップ…
Raspberry Pi Zero 2を使ってみる その2(カメラ、Thonny、Node-RED)
はじめに 今回はRaspberry Pi Zero 2にカメラを取り付けてみました。 少し古い書籍を読みながら試していたときは、コマンドを入力してもエラーが出て撮影できないこと…
About Security
On a side note, though it is a very important topic, let's touch upon security.
In this article, I am using default usernames and hostnames for verification purposes, but this is not good from a security perspective. Please make sure to change them when you actually put the system into operation.
▼This page explains how to change the user, password, and other settings on a Raspberry Pi:
https://monoist.itmedia.co.jp/mn/articles/1912/11/news022.html
▼This page from Make: Japan covers SSH protection and firewalls for Raspberry Pi:
Make: Japan | Raspberry Piを攻撃から守るための手順
Raspberry Piは、あらゆるプロジェクトに使える夢のボードだ。安くて、簡単に使えて、さまざまなOSに幅広く対応していて、プログラム可能なGPIOピンやマルチコアのCPUや複…
▼Using default passwords on IoT products is, of course, dangerous:
▼The story of the Mirai botnet is famous—an incident involving malware targeting IoT devices:
https://www.cloudflare.com/ja-jp/learning/ddos/glossary/mirai-botnet
Creating the Image
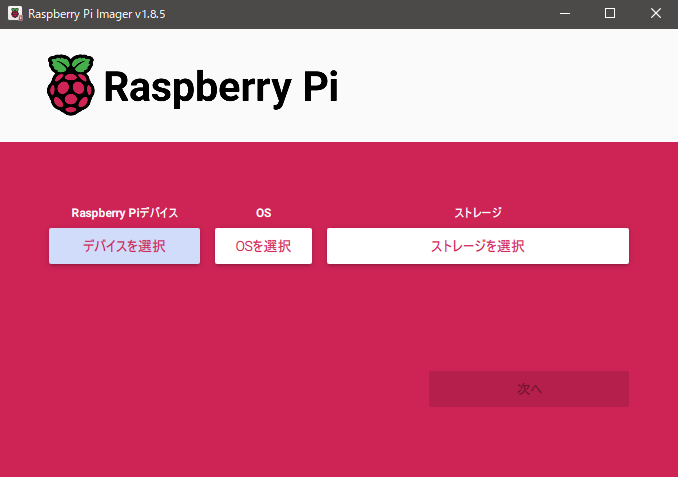
I am using Raspberry Pi Imager v1.8.5 for this process.
▼The download page is here:
https://www.raspberrypi.com/software
▼Launch the Raspberry Pi Imager.
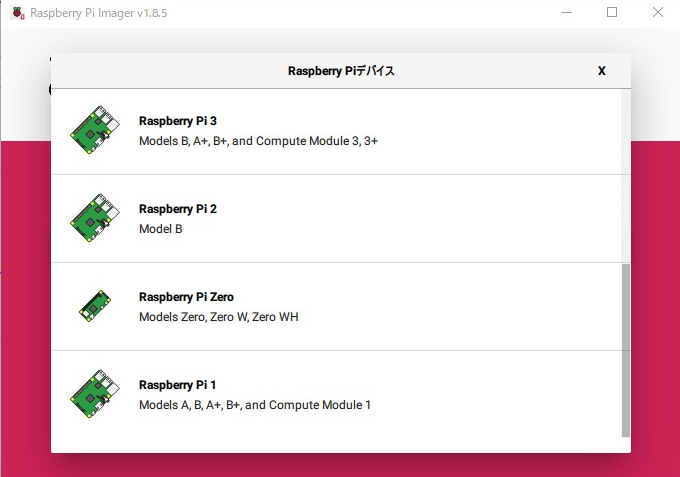
▼The device is Raspberry Pi Zero.
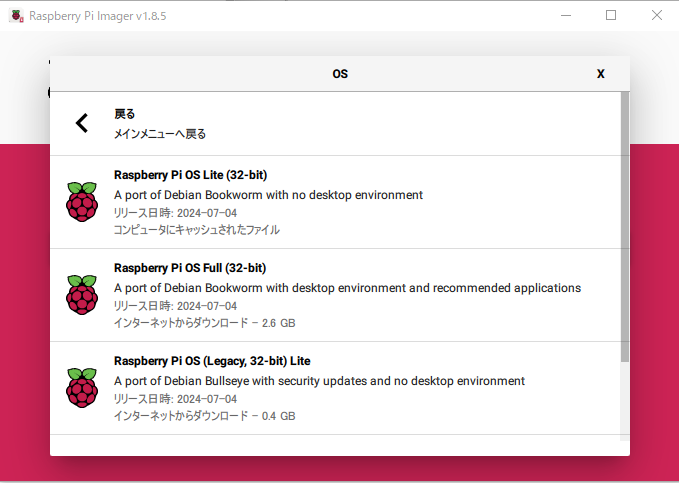
▼I selected Raspberry Pi OS Lite (32-bit) from the "Raspberry Pi OS (other)" menu.

▼Select your storage and proceed.

▼Edit the OS customization settings.
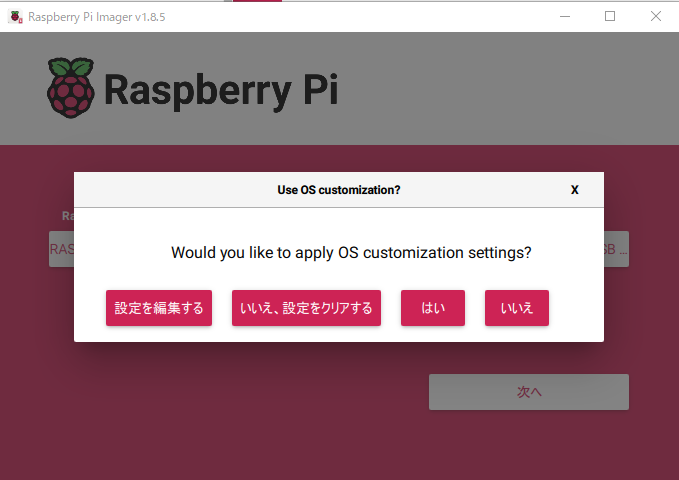
Here, you can configure Wi-Fi and SSH settings. If you don't set them here, you'll have to do it after booting, which would require a wired keyboard.
▼The hostname and username will be needed later. Make sure to set the same Wi-Fi as the other PC you'll use for the SSH connection.
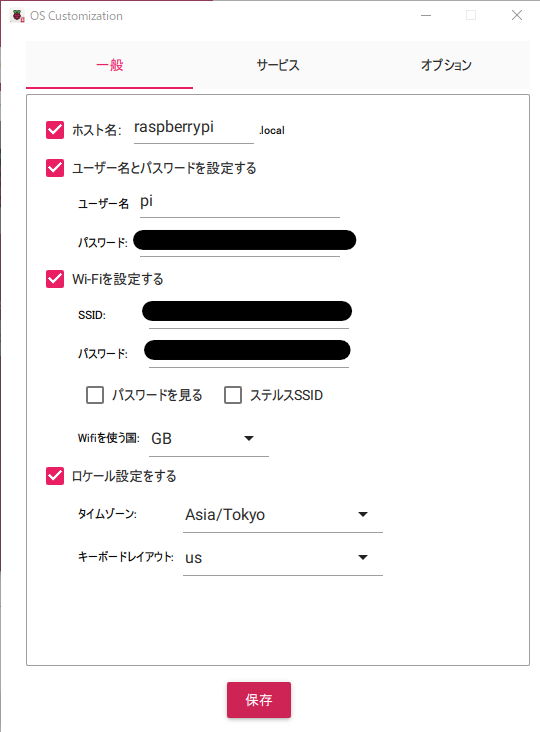
Using default names like "pi" or "raspberrypi" is not ideal for security, so please change them accordingly.
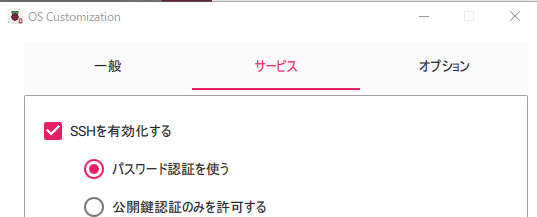
▼Enable SSH. I used password authentication this time.
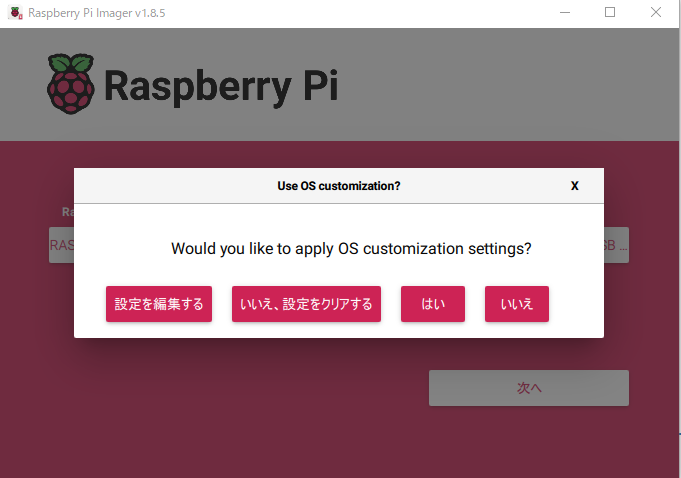
▼The settings are complete, so select "YES."
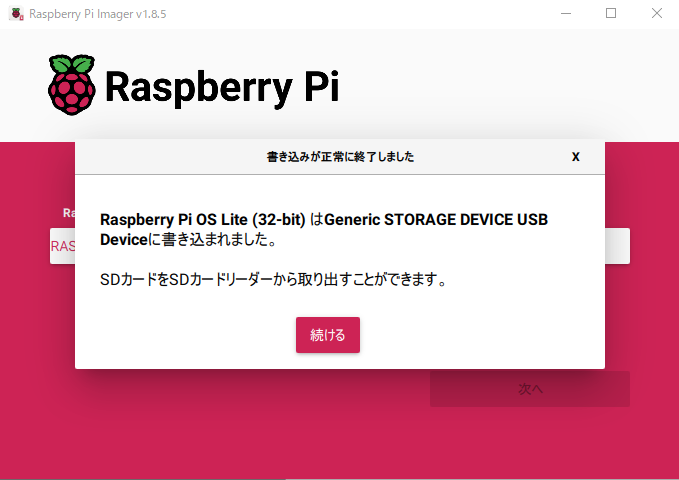
▼Be careful: all data on the SD card will be completely erased.

▼Once finished, remove the SD card.
Connecting via SSH
I am connecting using a Windows 10 laptop this time.
▼The following articles were helpful:
https://note.com/kaolun_note/n/n58e444dcc38f

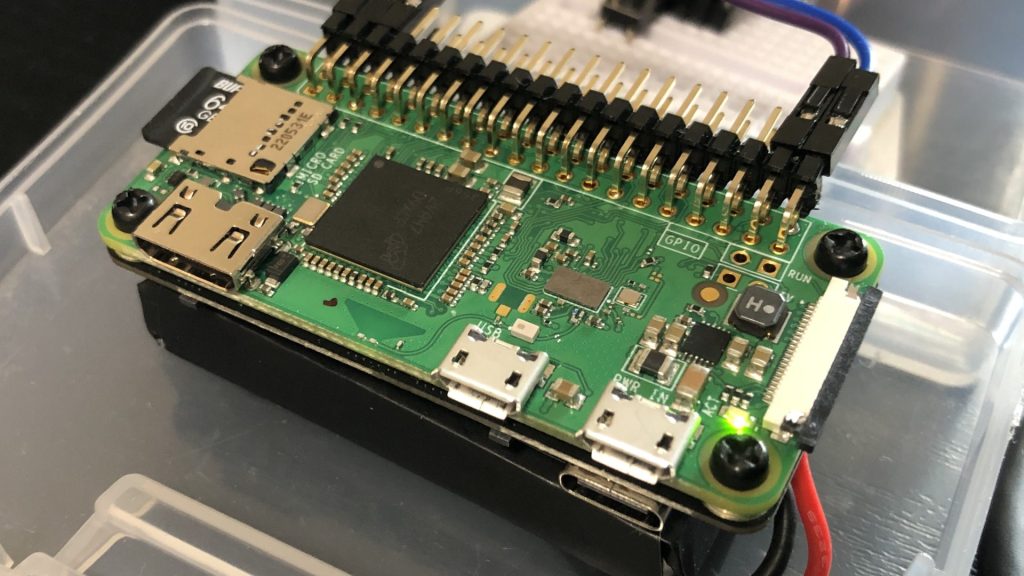
Insert the SD card into the Raspberry Pi Zero and turn on the power.
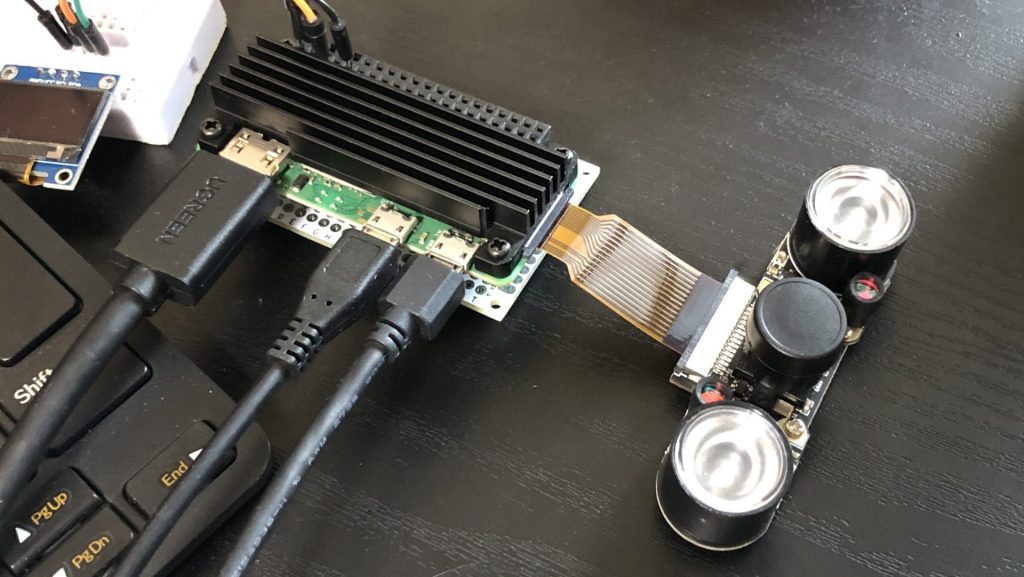
▼I am supplying power using the PiSugar 3, which I introduced in this article:
ちょっと買い物:ミニPC、PiSugar 3
はじめに 少し前の話ですが、Amazonプライムデーで安くなっていたミニPCと、PiSugar 3を購入してみました。 ミニPCにUbuntu 18をインストールして、ROSの環境を構築し…
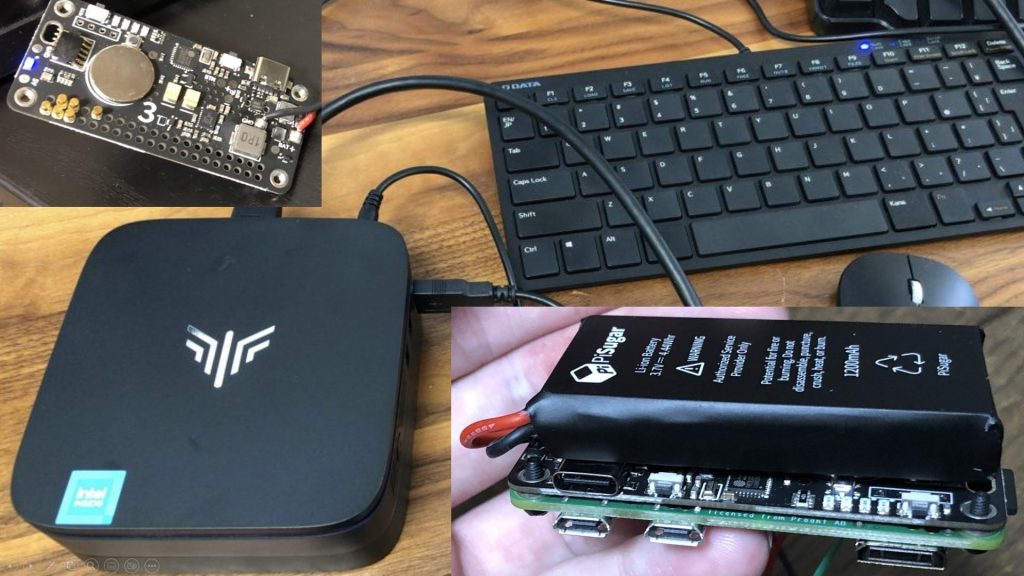
▼It is compact and comes with a battery.
Execute the following command in the Windows Command Prompt. Change the username and hostname as needed.
ssh pi@raspberrypi.localIt takes a moment for the Raspberry Pi Zero to connect to the Wi-Fi after powering on, so please wait a bit.
▼If it's not connected to Wi-Fi yet, you'll see a "Could not resolve hostname" error.

▼Once it can connect, you'll be asked if you really want to continue connecting.

▼You'll be asked for the password to log in.

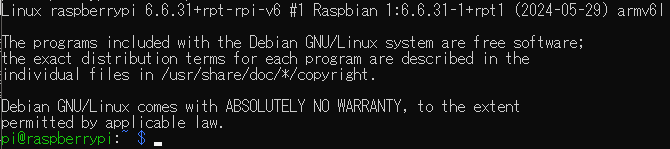
▼I successfully connected!
Note that if you write a new OS to the SD card and try to connect using the same username and hostname, a warning will be displayed.
▼The warning says, "The keys are different; are you under attack?" This is because the key changed when the new OS was written.
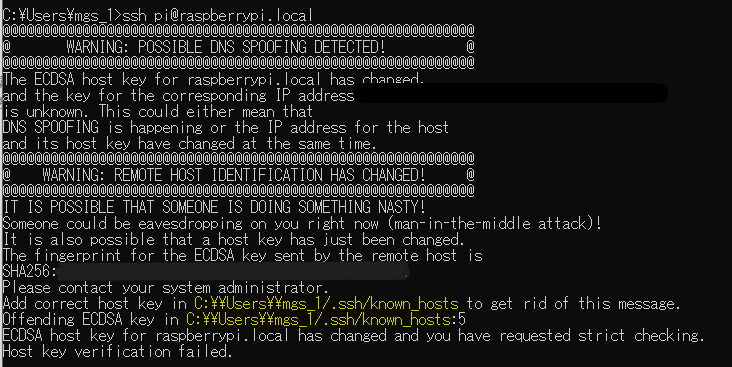
The location of the file where the key is saved was displayed, so I tried deleting the following folder:
C:\\Users\\<username>/.sshWhen I tried the SSH connection again after this, it worked.
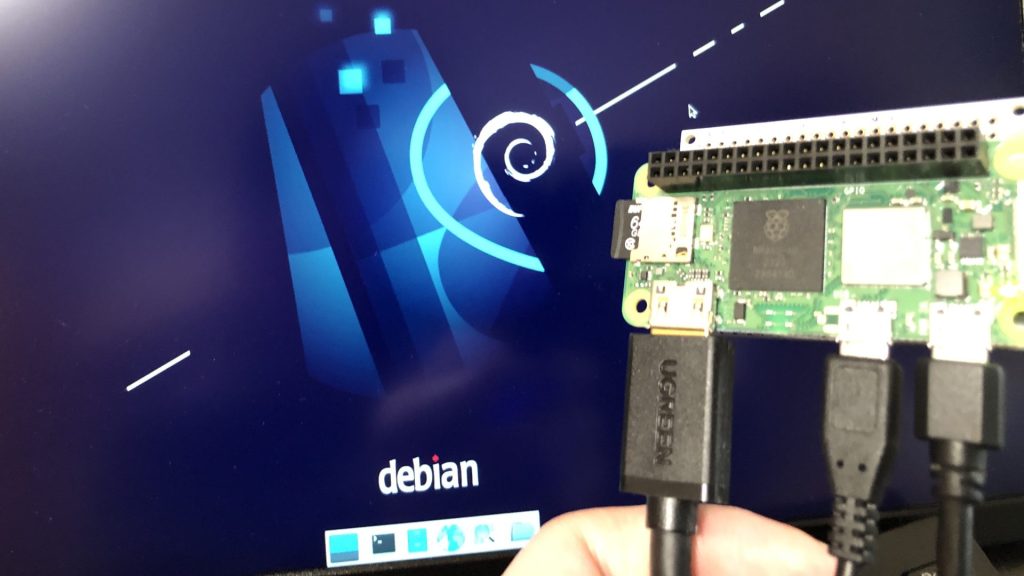
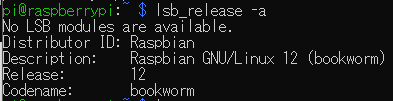
▼It's the usual Raspberry Pi Linux environment.
Finally
After this, I was able to install Node-RED on the Raspberry Pi Zero to run an MQTT broker and display text on an OLED display. I also installed software to manage the PiSugar 3 battery, so it seems like it will be very useful in a compact setup.
While it's great that I could connect easily via SSH, security is still a concern. I plan to try out firewalls and other measures in the future.