
Using XIAO ESP32C3 Part 1 (Battery, Bluetooth)
Introduction
The previous article was about my exhibit at Maker Faire Kyoto 2023. This time I will talk about the microcontroller I used for our exhibit, the XIAO ESP32C3.
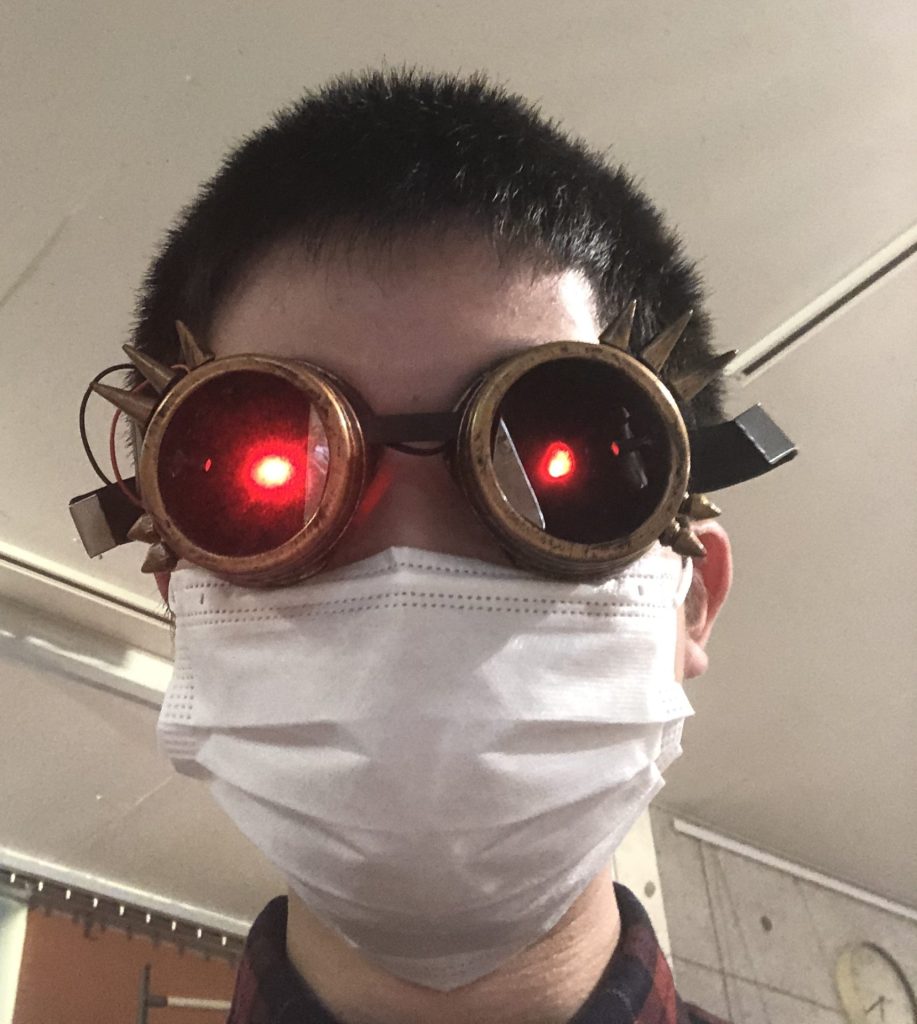
At Maker, I operated it via wireless communication with my iPhone.
I used a LiPo battery for the first time to make it smaller. It's a bit scary to handle…
▼I exhibited like this.


▼Previous article
Maker Faire Kyoto 2023に行ってきました!
はじめに 4月29、30日には「Maker Faire Kyoto 2023」がありました。世界的な展示会です。今回はそのMakerにはじめて行ってきましたというお話です。 私は知り合いの…
About XIAO ESP32C3
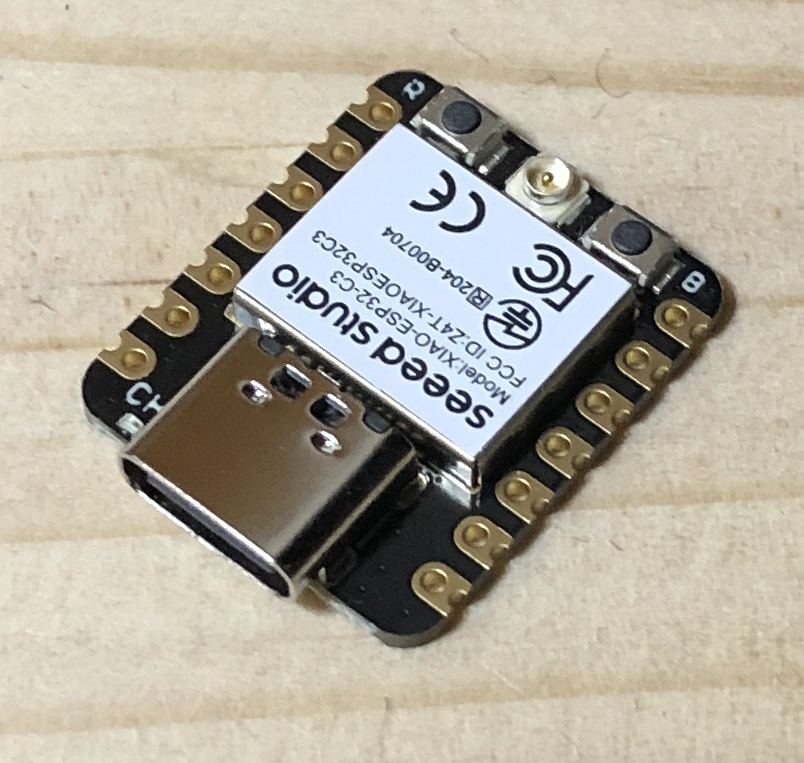
An overview has been given in a previous article; XIAO ESP32C3 is one of the smallest microcontrollers in the ESP family and can use WiFi and Bluetooth.
ESP32C3 supports BLE among Bluetooth standards. My iPhone 8 also seems to support BLE.
▼The official Getting Started page is here.
Getting Started with Seeed Studio XIAO ESP32C3 | Seeed Studio Wiki
▼Purchase page is here.
Seeed Studio XIAO ESP32C3 — スイッチサイエンス (switch-science.com)
Seeed Studio XIAO ESP32C3: マイコン関連 秋月電子通商-電子部品・ネット通販 (akizukidenshi.com)
▼Previous article
A Little Research: ESP32C3 and Bluetooth Standards
Info This article is translated from Japanese to English. Introduction On this website, I frequently summarize how to connect an ESP32 with a PS4 controller (D…
Battery Power Supply and Charging
It is written in the "Battery Usage" section of Getting Started.
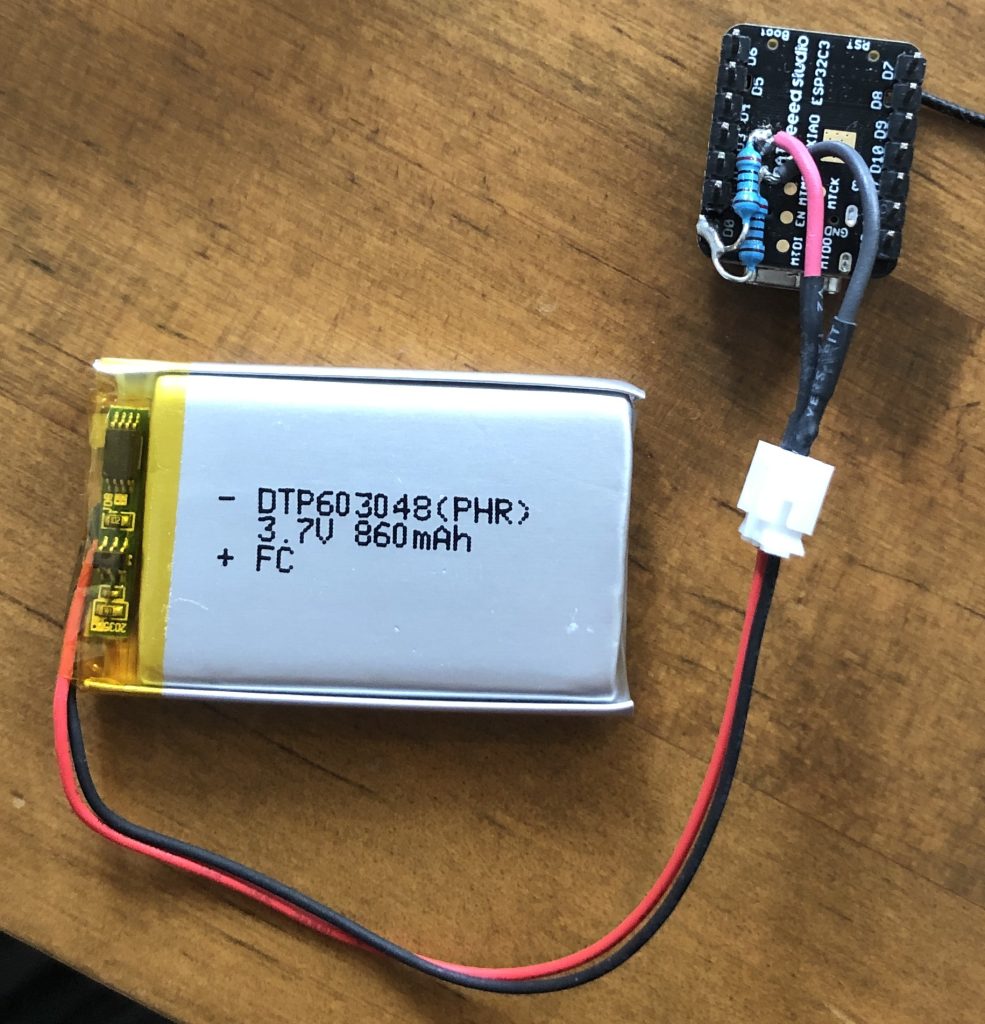
There is a battery terminal on the back of the ESP32C3, which allows you to power the microcontroller with a 3.7V LiPo battery. To charge the battery, you can use the ESP32C3's own battery charger function.
You were warned not to short + and - when soldering, but it seems difficult, so it is better to attach connectors that can be removed.
▼This is the picture of the soldered device. I am worried about the short-circuiting in some way.
▼If you want to buy a charger for LiPo batteries, I recommend Adafruit's module, which is also available for Type-C.
Adafruit microUSB - Li-Po充電器 (v1) — スイッチサイエンス
非常に小型のリチウムポリマー(Li-Po)充電器です。microUSBケーブルをUSBポートに、3.7 V/4.2 V Li-Po/リチウムイオンバッテリーをJSTプラグに差し込むだけで使用できま…

Checking Battery Voltage
I read in the "Check the battery voltage" section of Getting Started that you can read the battery voltage on the pin.
▼Where it was discussed.
I didn't have a 220k ohm resistor so I substituted a 2k ohm resistor. There was a difference of about 0.1V between the voltage I measured with the tester and the voltage I read on the pin.
I am able to measure the voltage on the A0 pin. I can check the status with the full color LED on the external board.
▼It looks like this when mounted on the board. Because the microcontroller is small, the board is also much smaller.
Communication with iPhone via Bluetooth
▼I refer to this page
https://wiki.seeedstudio.com/XIAO_ESP32C3_Bluetooth_Usage/
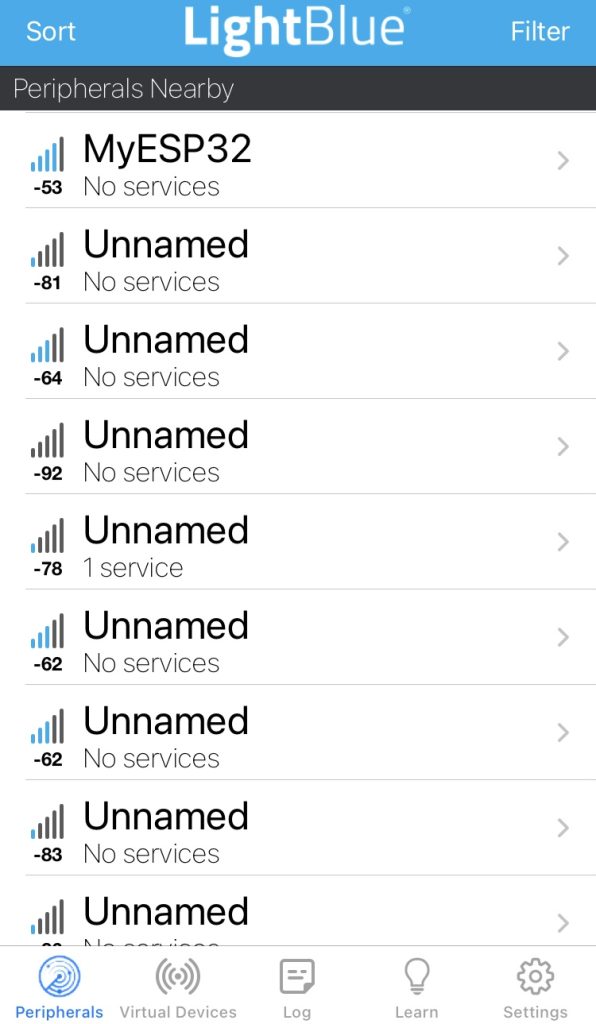
It showed me how to communicate with my phone using an app called "Light Blue." I am using an iPhone 8, so I used the Apple version of the app to communicate.
How to use Light Blue
※ID is painted in.
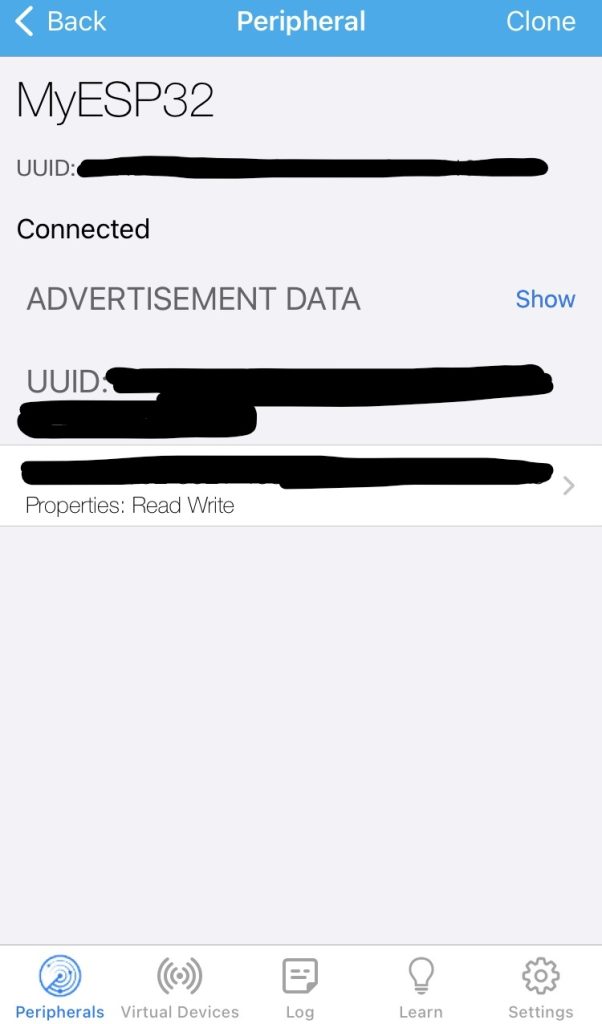
▼Light Blue screen. Pressing the ">" button will show you more details.
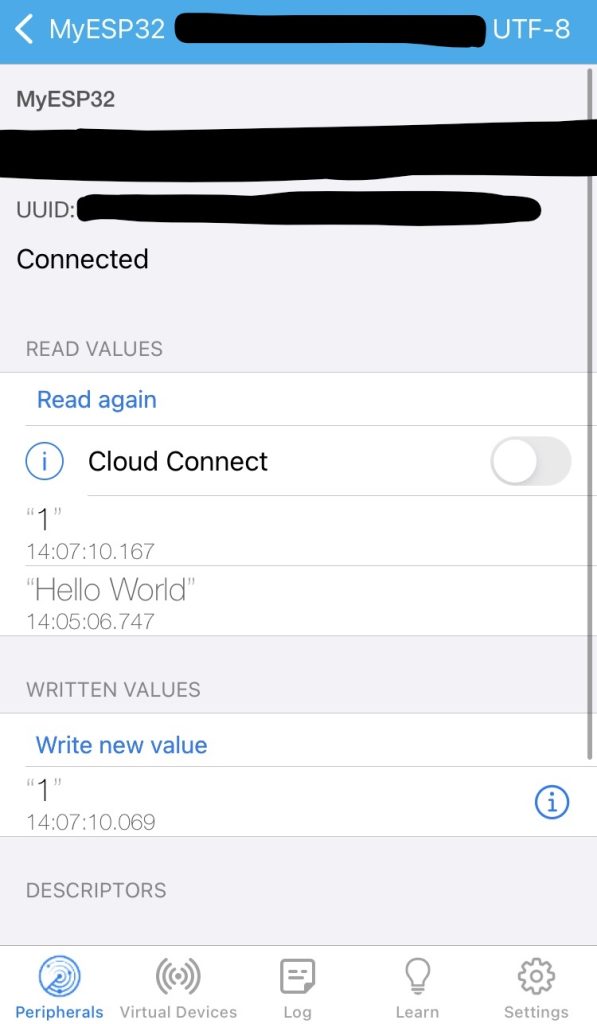
▼You can send data from Write new value. You can change the data format by selecting Hex, which is written in the upper right corner.
▼Screen of selection. In this case, data will be sent in UTF-8.

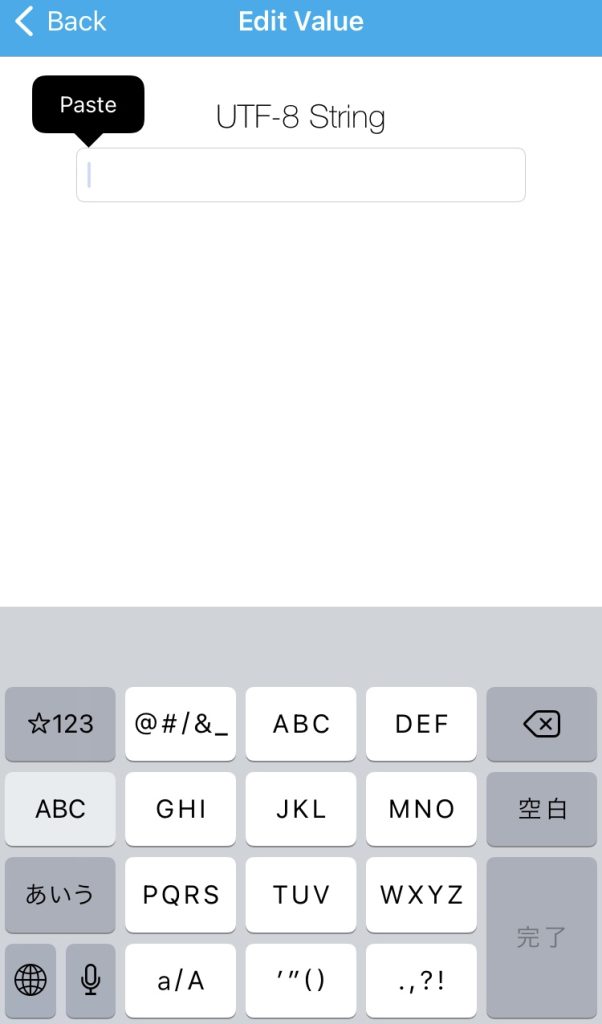
▼Now I can send the data. You can use Serial.read in the Arduino IDE to get the value and branch the program.
How it works
▼Here is a video of the operation from an iPhone. I should have used a motor with a higher rotation speed. It takes a lot of time to input data.
Sample Programs
▼Still a simple program that can only check voltage and control full color LED dimming via Bluetooth.
▼Here is the program including motor control. It is still under adjustment and is messy.
Finally
I used Light Blue to control it this time, but there are other apps that support Bluetooth, and there are other ways to control it via WiFi. I would like to use the Node-RED MCU dashboard to operate it.
The ESP32C3 is really useful, I can use WiFi and Bluetooth, and it's my favorite microcontroller because it's kind of minimal. I am concerned that it gets pretty hot during operation, but so far it has been working fine.

