Trying Out Lithium Iron Phosphate Batteries Part 1 (LiTime 12V 12Ah LiFePO4)
Introduction
In this post, I purchased a Lithium Iron Phosphate (LiFePO4) battery and created custom connectors to make it ready for use. In robot competitions, LiPo (Lithium Polymer) batteries are commonly used, and I often hear stories about them—some scary, like batteries swelling up or the insulation melting due to wiring mistakes. While looking for a safer alternative, lead-acid batteries and LiFePO4 batteries came up as candidates.
▼I had never heard of LiFePO4 batteries before, so I did some research.
My impression was that LiFePO4 batteries are smaller than lead-acid batteries and, while having a lower energy density than LiPo batteries, they seem much safer to use. I’m planning to install one in a robot I am currently designing.
▼Previous articles:
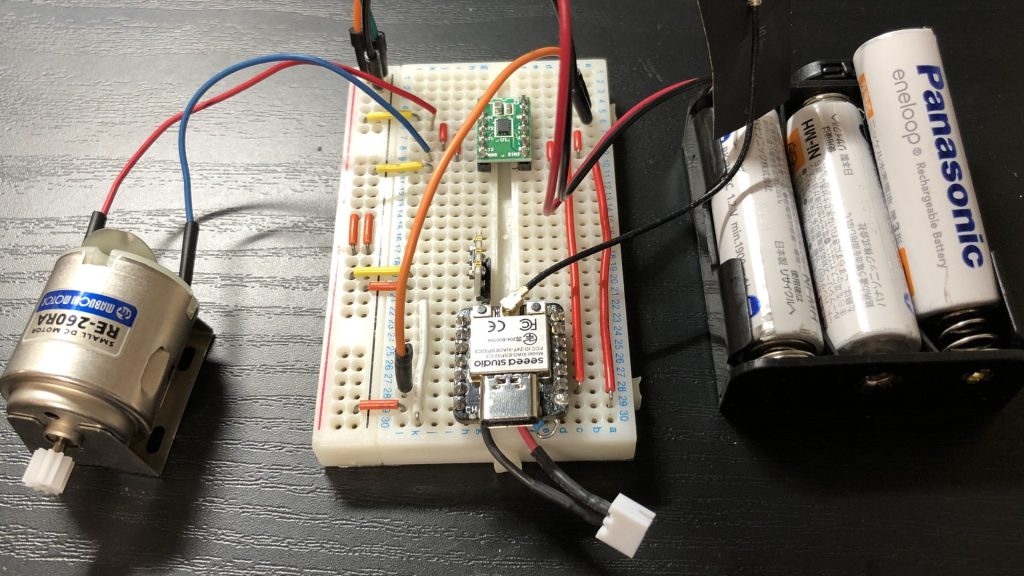
Controlling Motors Using a Motor Driver Part 2 (DRV8835)
Info This article is translated from Japanese to English. Introduction In this post, I tried using the DRV8835 motor driver. The control method is different fr…
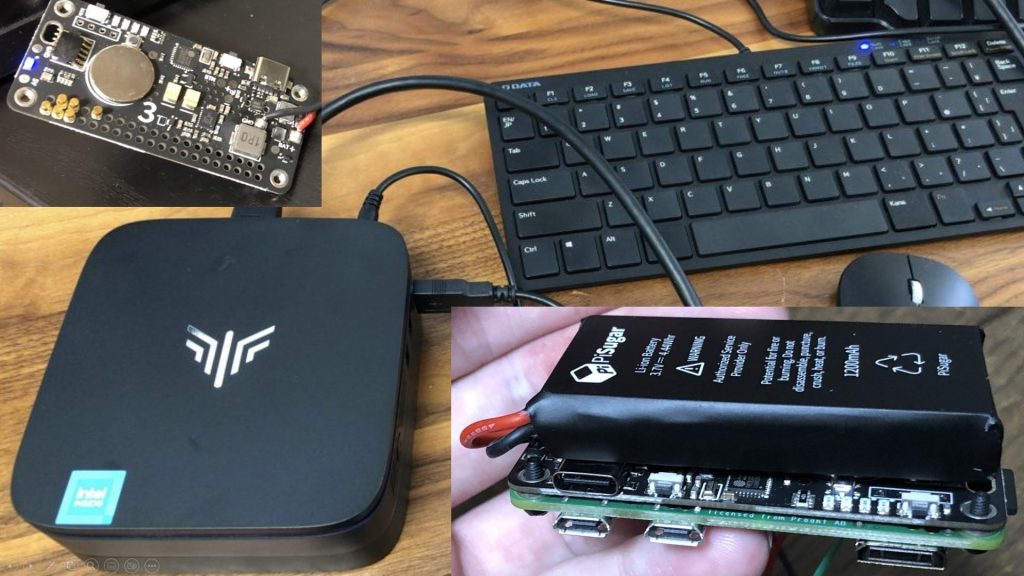
Shopping: Mini PC and PiSugar 3
Info This article is translated from Japanese to English. Introduction A little while ago, during the Amazon Prime Day sale, I bought a mini PC that was signif…
Purchasing the Battery and Peripherals
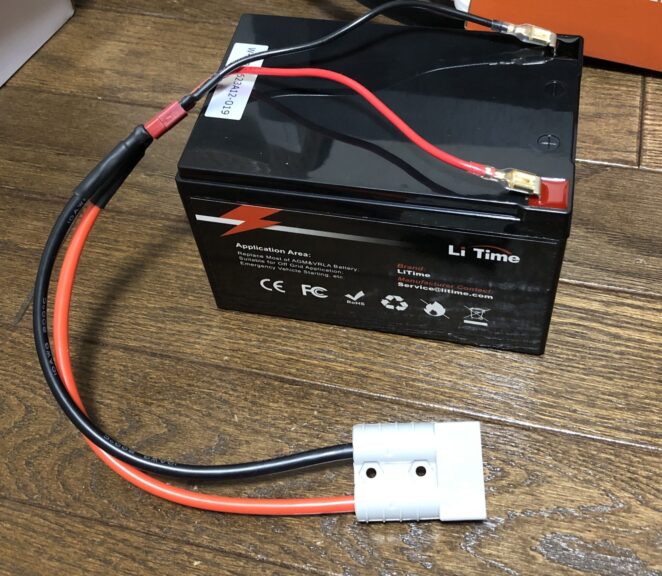
▼The battery I purchased:

Since I plan to mount it on a robot, I chose the most compact model among the 12V LiFePO4 batteries sold by LiTime. I decided to go with LiTime because they seem to handle battery recycling themselves. I’ve always struggled with how to dispose of LiPo batteries, so this time I researched disposal options before making a choice.
▼Recycling information can be found here:
https://jp.litime.com/pages/pages-recycling
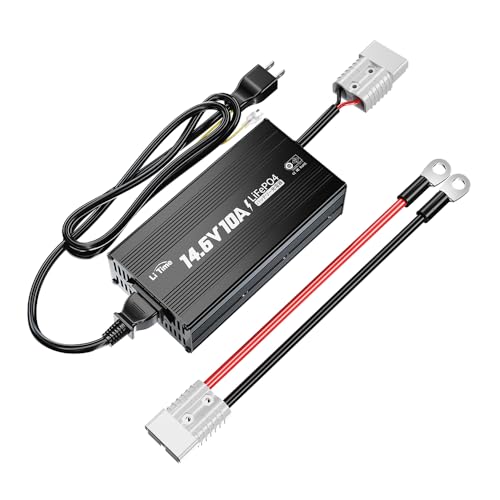
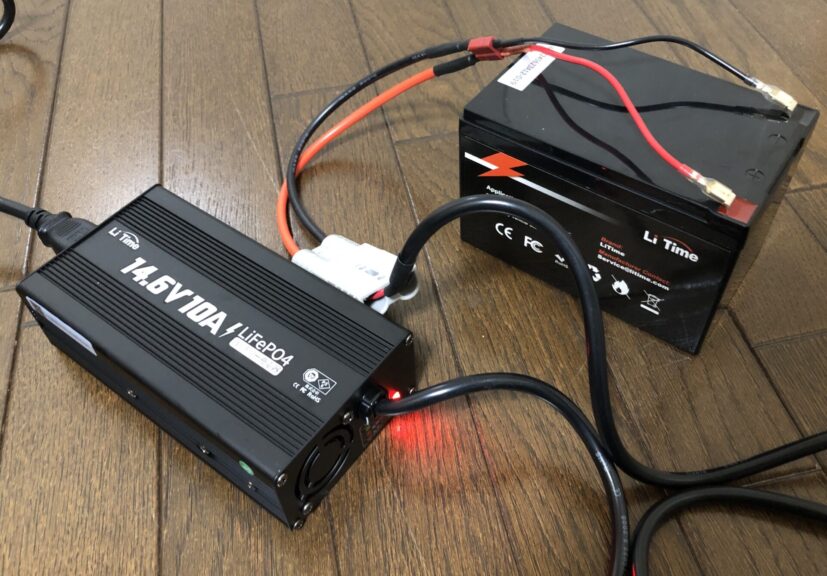
I also purchased a LiTime charger, but the connectors were quite large, presumably to allow for charging higher-capacity batteries as well.
▼I purchased this charger.
▼Detailed information regarding 12V chargers can be found here:
https://jp.litime.com/blogs/news/procedure-for-using-a-lifepo4-charger
The voltage levels are also mentioned: 13.33V represents 100%, while 13V is around 25%.
Note that the charging current is higher than the recommended value for this specific battery, so the battery life might be slightly shorter compared to slow charging. Chargers with lower current values were available from other companies, but reviews mentioned they get hot or are noisy. Regarding noise, the one I bought sounds louder than a 3D printer fan while charging.
Since the charger's connectors were too large to use as-is, I bought parts to create a charging terminal.
▼These spade terminals fit the battery perfectly.
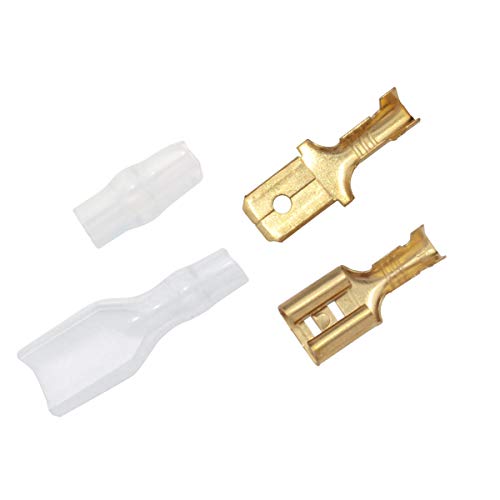
To make future connections easier, I decided to use T-type (Dean's) connectors, which I also use for LiPo batteries.
▼The rated current is listed as 40A.
https://akizukidenshi.com/catalog/g/g113420
https://akizukidenshi.com/catalog/g/g113434

Since I want to prioritize safety, I plan to include a fuse when mounting it on the robot. I expect it to blow long before 40A is reached.
Creating the Connectors
I wanted to crimp the spade terminals, but my usual tools were designed for small terminals and didn't support this size.
▼I usually work with XH, PH, and QI connectors, so small-terminal tools were sufficient.

Since the wire gauge was thicker this time, I rushed to Kohnan (a local hardware store) to buy new tools.
▼I purchased this.

There were several types of crimping tools, but since I already use Fujiya wire strippers, I bought a tool from the same brand.
▼I believe I also bought this at Kohnan.

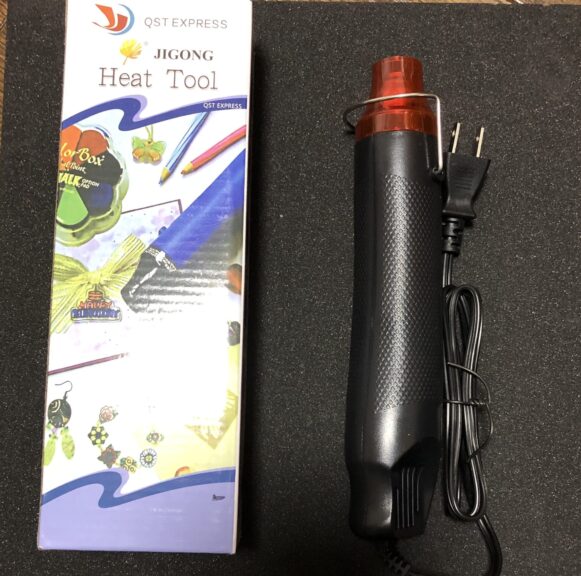
I also bought a heat gun because I realized I hadn't been shrinking my heat-shrink tubing properly.
▼It’s compact and works well.

I tried shrinking some tubes that weren't fully shrunk before.
▼They shrunk tightly, resulting in a clean finish.

▼For the cable, I bought 16AWG heat-resistant vinyl insulated wire.


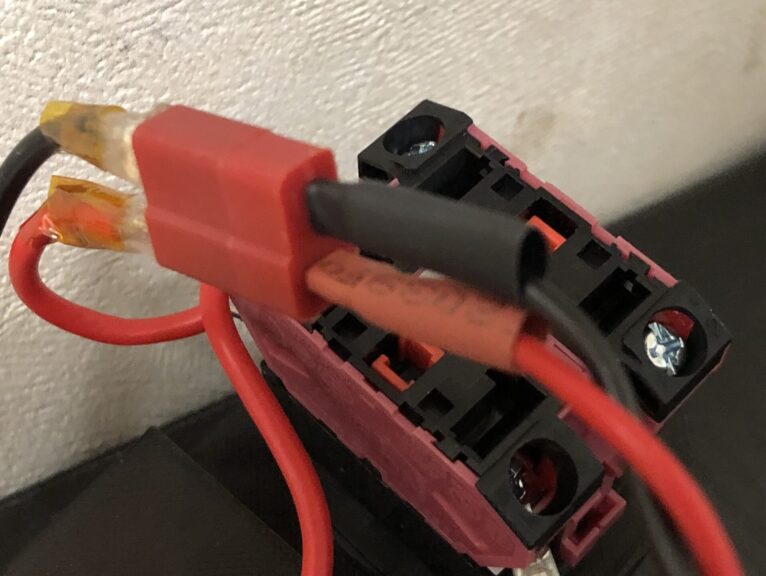
▼Here is the finished cable. The spade terminals are inserted so firmly that they don't budge.
Testing the Charge
When I first measured the voltage with a multimeter, it was 13.16V, indicating it was about 50% charged. I’ll try charging it using the custom connectors and the charger.
▼I use this multimeter. It’s slim and very portable.

I connected it using the custom cable.
▼It made a clicking sound like a relay and started charging.
▼After a while, it reached full charge.
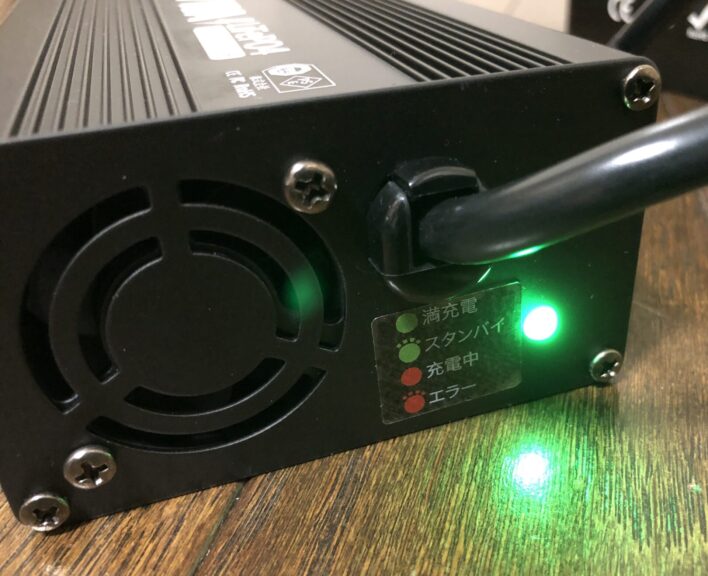
At that point, the voltage was 13.7V. Checking the battery the next day, the voltage was 13.36V, and it dropped to 13.24V after running a motor.
▼It seems natural for the voltage to be high immediately after charging and then settle down.
https://www.dalybms.com/news/why-does-voltage-drop-occur-after-full-charge
Finally
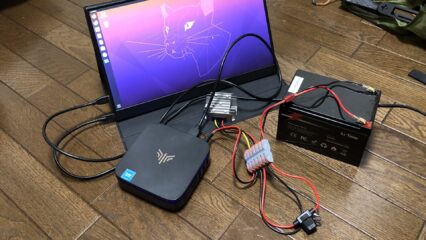
I’ve confirmed that this battery can fit into the mobile robot I’m developing, so next, I’m going to test if it can actually drive. I'm a bit concerned about whether the motors have enough torque.
▼This is how it’s mounted. I’ve placed some rubber padding to absorb shocks from the chassis.