Trying Out XIAO ESP32S3 Sense Part 1 (Camera)
Introduction
In this post, I tried out the XIAO ESP32S3 Sense. It is a tiny microcontroller from the XIAO series that allows you to attach a camera, SD card, and microphone via an expansion connector. It’s impressive how they managed to fit so much into such a small form factor.
Camera modules often have a reputation for getting quite hot. When I tried streaming with ArduCAM previously, the chip heated up, and the operation became sluggish. However, the S3 Sense feels more stable in comparison.
▼Detailed verification can be found in this article:
https://tamanegi.digick.jp/computer-embedded/mcuboa/xiaos3/
▼I’m considering mounting a camera on the RumiCar-C3 I’ve been designing lately. The pin compatibility within the XIAO series is very convenient.
https://protopedia.net/prototype/5030
▼I also used this board when testing MQTT communication and HID functions:
MQTT Communication with ESP32 (XIAO ESP32S3, Node-RED, HID Keyboard)
Info This article is translated from Japanese to English. Introduction In this post, I tried using MQTT communication with the XIAO ESP32S3. I have used MQTT w…
Overview
▼The sales page for XIAO ESP32S3 Sense is here.
https://akizukidenshi.com/catalog/g/g118079
Seeed Studio XIAO ESP32S3 Sense — スイッチサイエンス
Seeed Studio XIAO ESP32S3にカメラモジュールを搭載したモデルで、カメラ、デジタルマイク、mSDカードスロットを備えています


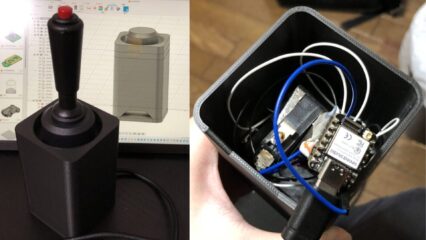
▼There is a version of the camera with an extended cable. I currently have one on order from DigiKey.
https://www.digikey.jp/ja/products/detail/seeed-technology-co.,-ltd/114993115/21277047
▼Official Getting Started guide:
https://wiki.seeedstudio.com/xiao_esp32s3_getting_started/
I also bought a round display, but I’ll save that for another day.
▼Getting Started for the round display:
I noticed it has a slot for a coin cell battery; apparently, it’s for the RTC (Real-Time Clock).
https://wiki.seeedstudio.com/get_start_round_display/


At the bottom of the Getting Started page, they provide 3D models, which is very helpful.
▼I also mentioned this in my Prusa MK4 article. It uses snap-fits that click right into place.

Trying Out the Prusa MK4 (3D Printer)
Info This article is translated from Japanese to English. Introduction I finally bought my long-awaited 3D printer! The Prusa MK4!I had heard about Prusa from …

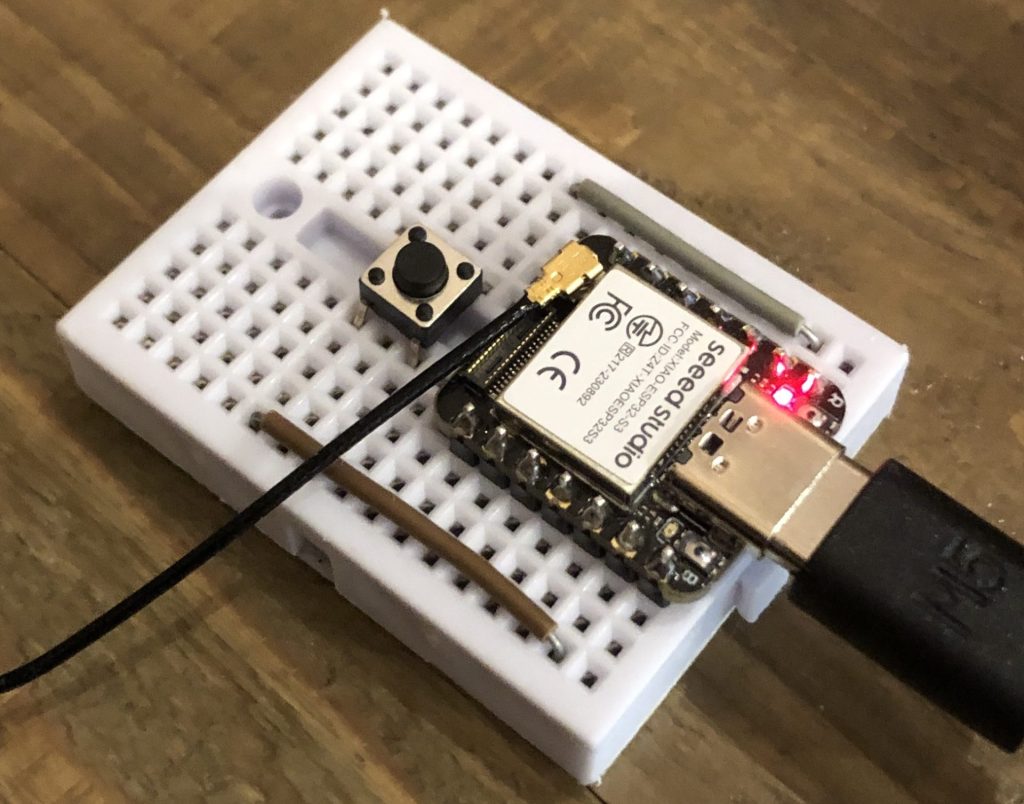
The microSD card doesn't plug in very deeply, so there’s a risk it might break if too much force is applied.
▼The "Applications" section of the Getting Started guide has some interesting samples. One seems to use Google Cloud services and ChatGPT.
https://wiki.seeedstudio.com/xiao_esp32s3_speech2chatgpt/
Precautions for Uploading Programs
If the port is not recognized, try powering it on while holding the BOOT button. This is a common method for ESP-based boards. Personally, I find it easiest to hold both the RESET and BOOT buttons, then release RESET first, followed by BOOT.
▼Mentioned here as well:
Sometimes the port is recognized without this procedure. It’s a bit inconvenient because you can't reach the buttons while the expansion board is attached, meaning you have to remove it. But that’s the price of miniaturization…
Trying the Sample Programs
▼GitHub Repository:
https://github.com/limengdu/SeeedStudio-XIAO-ESP32S3-Sense-camera/tree/main
You can download the programs via Code -> Download ZIP. Please note that in addition to the .ino file, you need the header files like camera_pins.h. Simply copying and pasting the .ino code won't compile.
Taking Photos and Saving to an SD Card
▼Testing "take_photos":
https://github.com/limengdu/SeeedStudio-XIAO-ESP32S3-Sense-camera/tree/main/take_photos
By default, the shooting interval is set to one minute, and photos are saved to the SD card.
I tried shooting at 1-second intervals this time. It didn't feel like it was getting too hot.
▼Sample photos. The ambient brightness and focal length might need some adjustment.


▼The image blurs if the camera is moving. It’s much more stable when stationary.


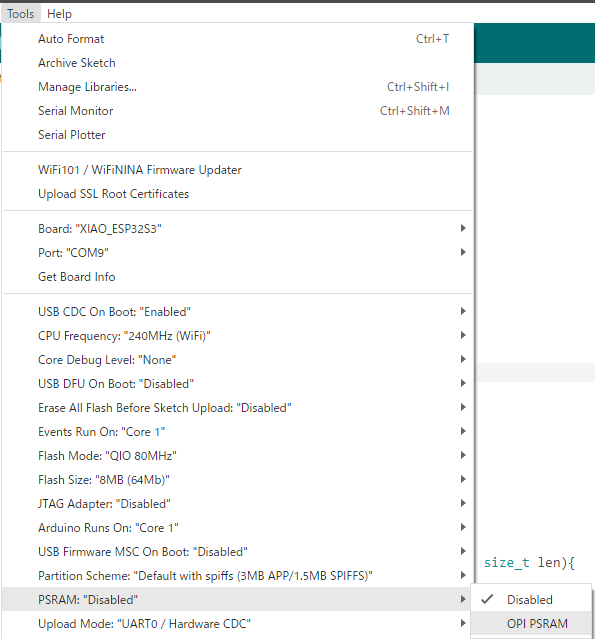
I changed the image quality in the program to UXGA (1600×1200). This is likely the highest quality, but I encountered the following error when trying to shoot:
"Camera init failed with error 0xffffffff"
Camera init failed with error 0xffffffff
The program branches based on whether PSRAM is enabled, so I was able to run it after enabling PSRAM.
▼You can change this under Tools -> PSRAM in the Arduino IDE.
▼To be honest, it doesn't look that much different.


▼For comparison, here is a photo taken with my iPhone 8.


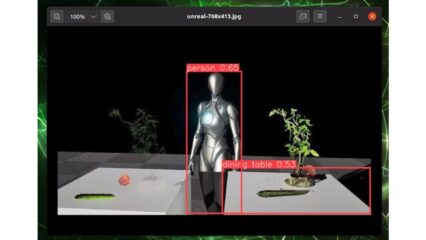
Starting a Web Server to View Footage on a PC
▼Testing "CameraWebServer":
https://github.com/limengdu/SeeedStudio-XIAO-ESP32S3-Sense-camera/tree/main/CameraWebServer
Configure your WiFi SSID and password. The address will be displayed on the serial monitor; access it via your PC's browser.
▼Viewing in a browser. The buttons in the bottom left allow you to take a photo or start streaming.
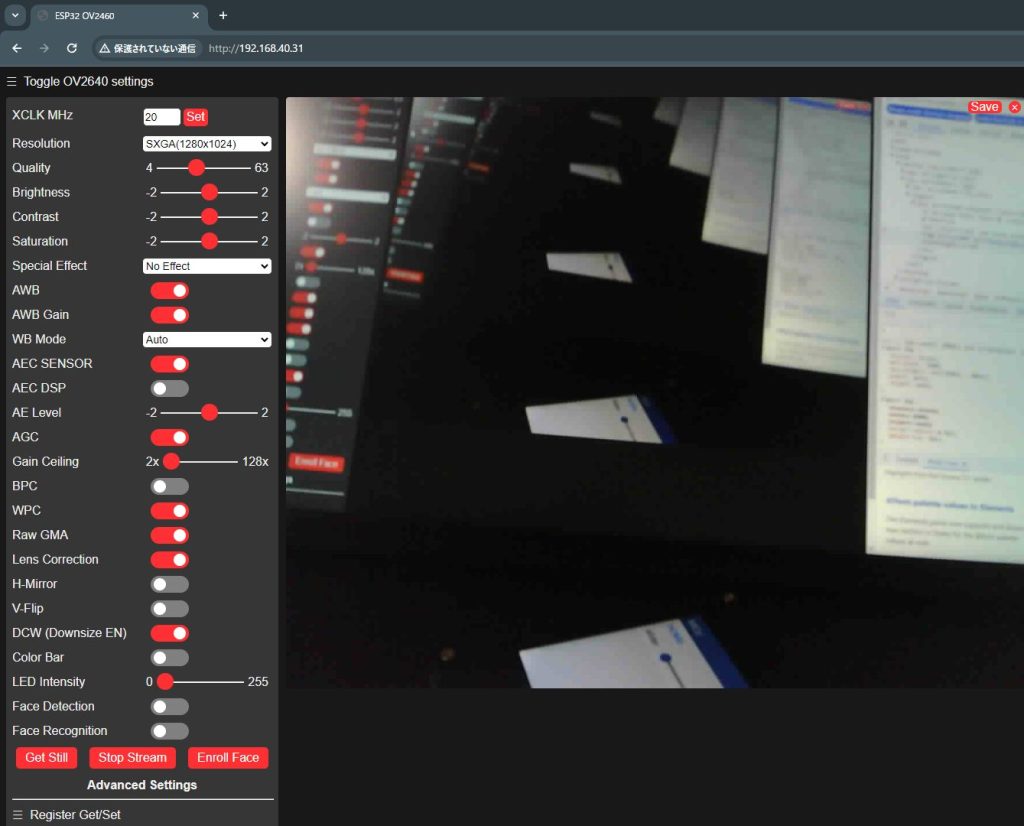
The settings are quite detailed. You can switch to grayscale or change the image quality. I'm not entirely sure what the other settings do... If the quality is set too high, the processing becomes heavy, and the stream occasionally stutters. Note that "Face Detection" and "Face Recognition" cannot be executed if the resolution is too high; an error occurs, likely because the processing load is too extreme.
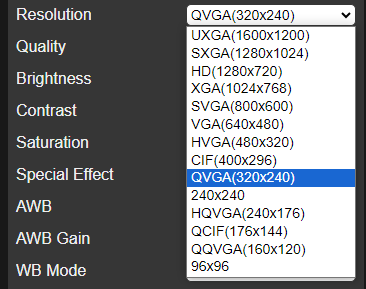
▼There are many options for resolution.
▼Clicking the "Save" button allows you to save the image to your PC.
Finally
Now that I have a feel for how the camera works, I’m ready to mount it on a robot. I’d like to perform further image processing on the PC side using the stream obtained from the web server.
Since there’s also a microphone, I’d like to retrieve audio files via WiFi as well. I wonder if it will operate stably when powered by a LiPo battery.