Trying Out Unreal Engine 5 Part 11 (Pixel Streaming)
Introduction
In this post, I tried streaming a game screen using the Pixel Streaming plugin for Unreal Engine (UE). This allows you to display the game screen in a browser on any device connected to the same network. I believe that once communication is established, it will be possible to integrate it with Python or Node-RED.
The environment used for this experiment is Windows 11 and UE 5.4.
▼Previous articles:
Trying Out Unreal Engine 5 Part 10 (Scaniverse & Importing Point Cloud Data)
Info This article is translated from Japanese to English. Introduction In this post, I tried importing 3D scan data created with the "Scaniverse" app on an iPh…
Object Detection with YOLO Part 2 (Python, Node-RED)
Info This article is translated from Japanese to English. Introduction In this post, I tried running YOLO using Python.When I tried YOLO in my previous article…
Reference Materials
I followed the steps outlined in the official documentation: "Getting Started with Pixel Streaming in Unreal Engine." Note: I have omitted the touch interface settings for this specific experiment.
▼Getting Started with Pixel Streaming:
▼Pixel Streaming Reference:
https://dev.epicgames.com/documentation/ja-jp/unreal-engine/unreal-engine-pixel-streaming-reference
Packaging the Project
First, add the plugin.
▼Prerequisite: Node.js is required. If you haven't installed it, please do so.
https://nodejs.org/en/download/package-manager
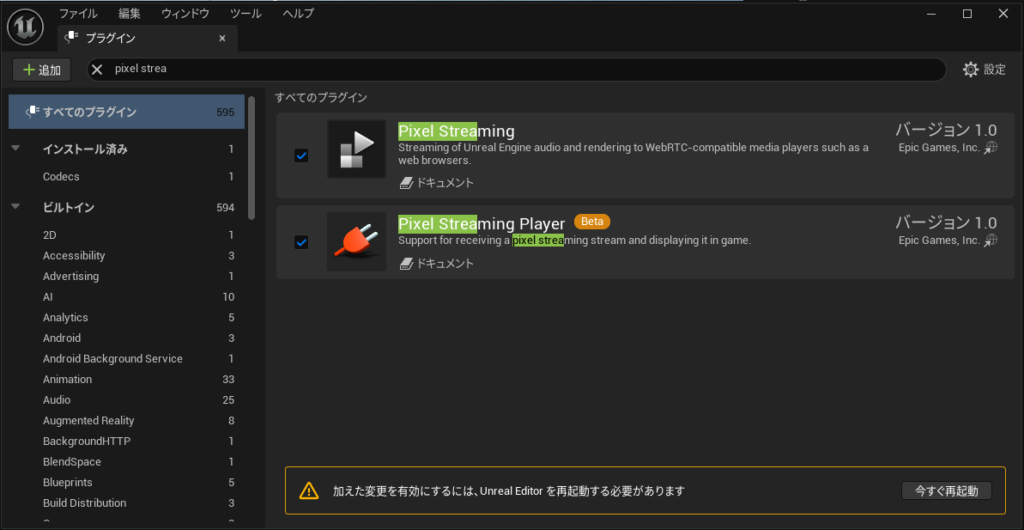
▼Go to Edit -> Plugins and add "Pixel Streaming." I also added "Pixel Streaming Player."
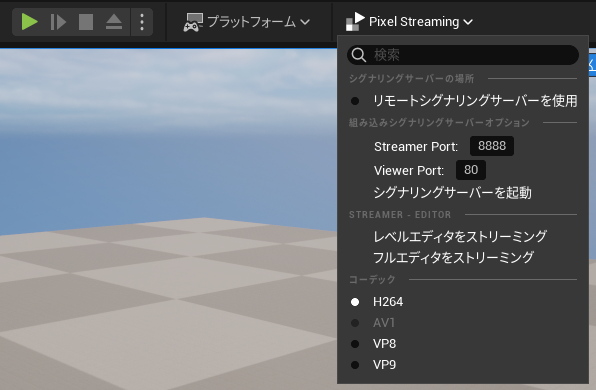
After restarting with the plugin added, a "Pixel Streaming" tab appeared next to the Platforms tab.
▼I will test this later.
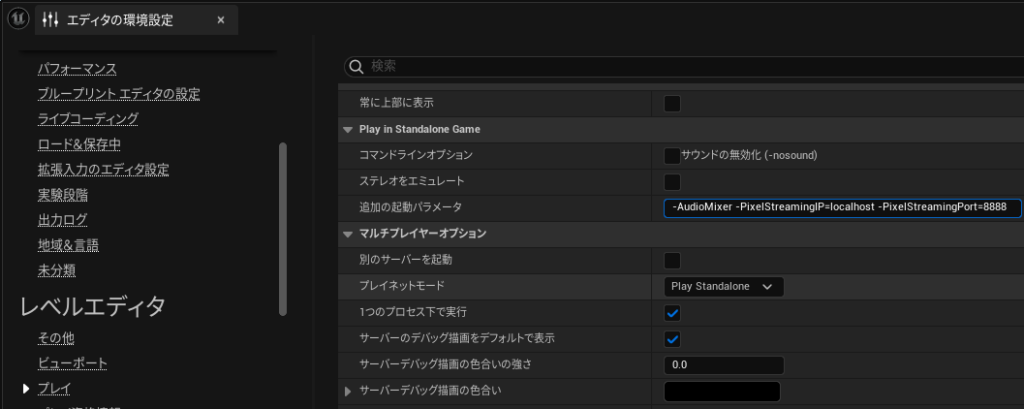
Go to Edit -> Editor Preferences and in the "Additional Launch Parameters" field, add the following:
-AudioMixer -PixelStreamingIP=localhost -PixelStreamingPort=8888
▼It should look like this:
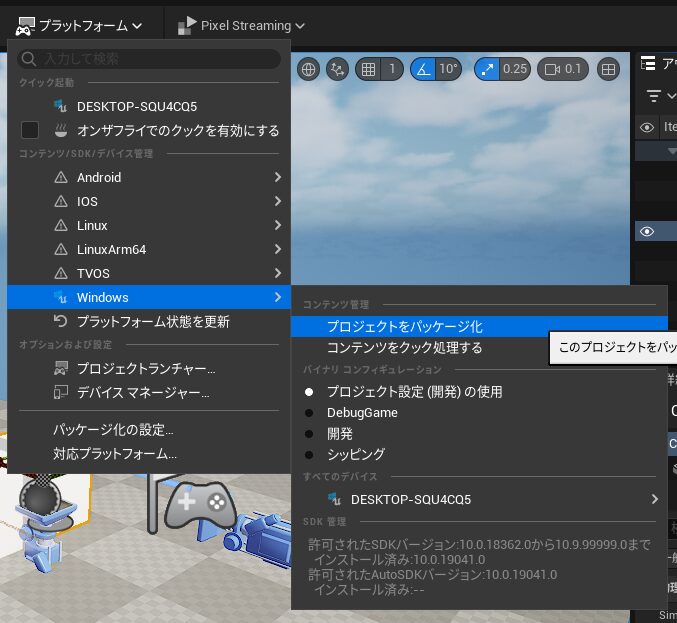
Once your level is ready, package the project. Since I am on Windows, I packaged it for Windows.
▼Select Platforms -> Windows -> Package Project and choose a destination folder.
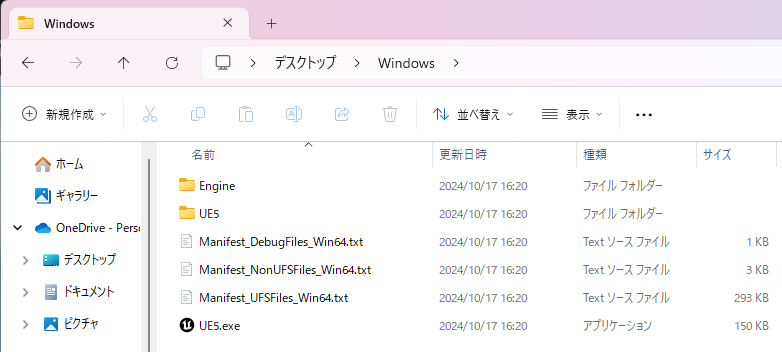
A "Windows" folder was created in the selected directory.
▼It contains the executable file.
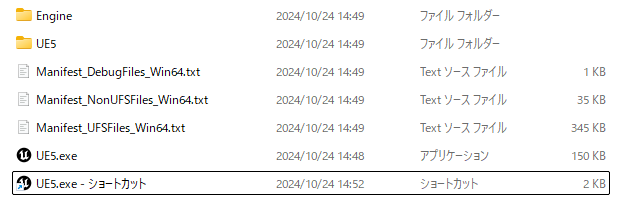
▼Hold the Alt key and drag-and-drop the .exe file to create a shortcut.
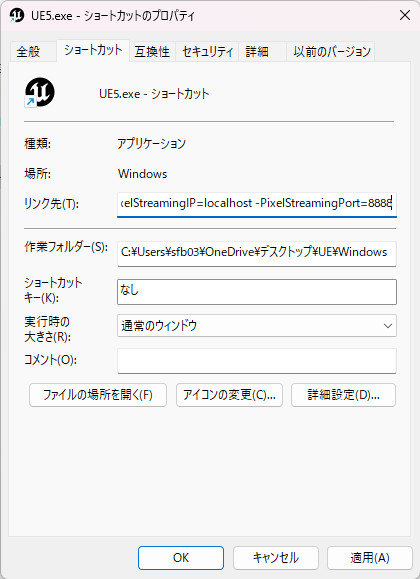
Right-click the created shortcut and edit its Properties. In the "Target" field, add a space after the .exe path and paste the following line:
-AudioMixer -PixelStreamingIP=localhost -PixelStreamingPort=8888▼It should look like this:
Double-clicking this shortcut should launch the game.
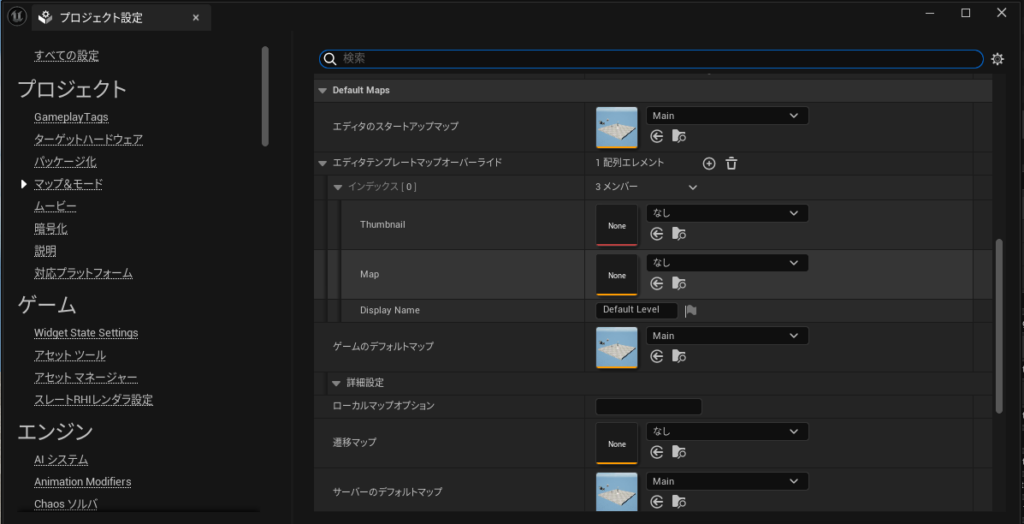
▼In my case, I initially encountered an error where it couldn't find a map at /Game/BlankDefault/Levels/Blank_Empty/.

▼To fix this, go to Edit -> Project Settings -> Project -> Maps & Modes, and explicitly set the "Editor Startup Map" and "Game Default Map."
After setting these, the game launched successfully.
▼It displayed in full screen. You can press the Windows key to bring up the taskbar and exit the game.
It seems necessary to implement a dedicated "Exit" button or key.
Note: If you add -RenderOffScreen to the shortcut target, the game will run in headless mode without displaying a window. You can also run these commands directly via the Command Prompt.
Launching the Signalling Web Server
The frontend and web server elements for Pixel Streaming have been separated into a package called PixelStreamingInfrastructure. We need this to start the server.
▼GitHub Repository:
▼If Git is installed, you can clone it with:
git clone --branch UE5.4 https://github.com/EpicGamesExt/PixelStreamingInfrastructure.gitI recommend using "GitHub Desktop" for a GUI-based experience.
▼Introduction to Git/GitHub:
GitHubを利用したチームでの開発:導入編
ここではチームで開発を進めていくために利用する、GitHubとGitHub Desktopの導入についてまとめています。 現在チームでの開発に試験的に導入しているので、改善点が…

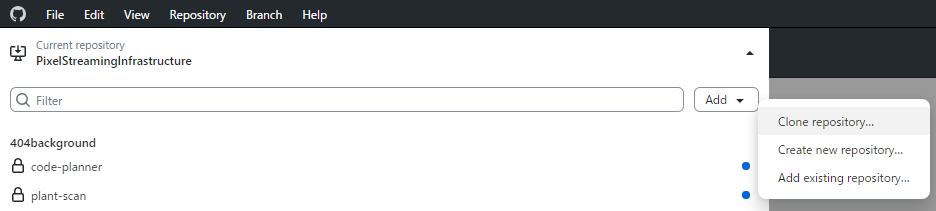
▼In GitHub Desktop, select the URL and destination to clone.
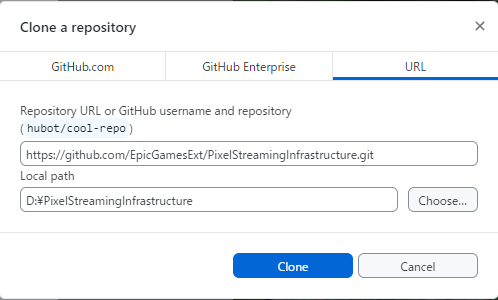
The "Current branch" might be set to master. Since branches are divided by UE versions, I switched to UE5.4.
▼Choose the branch that matches your environment.
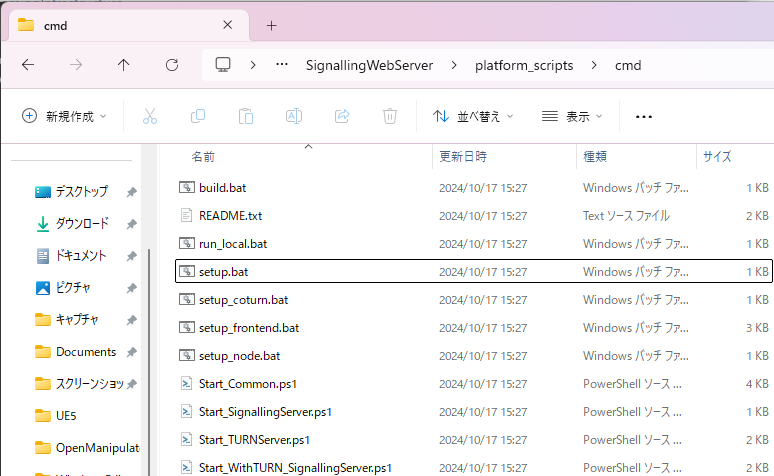
The reference site suggested running SignallingWebServer\platform_scripts\cmd\setup.ps1, but that file did not exist. Instead, the GitHub README instructed to run setup.bat in the same folder.
▼Run setup.bat by double-clicking it.
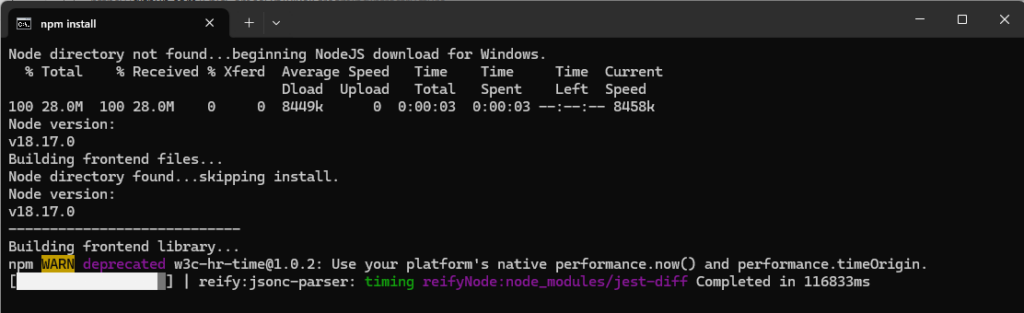
▼The installation will begin.
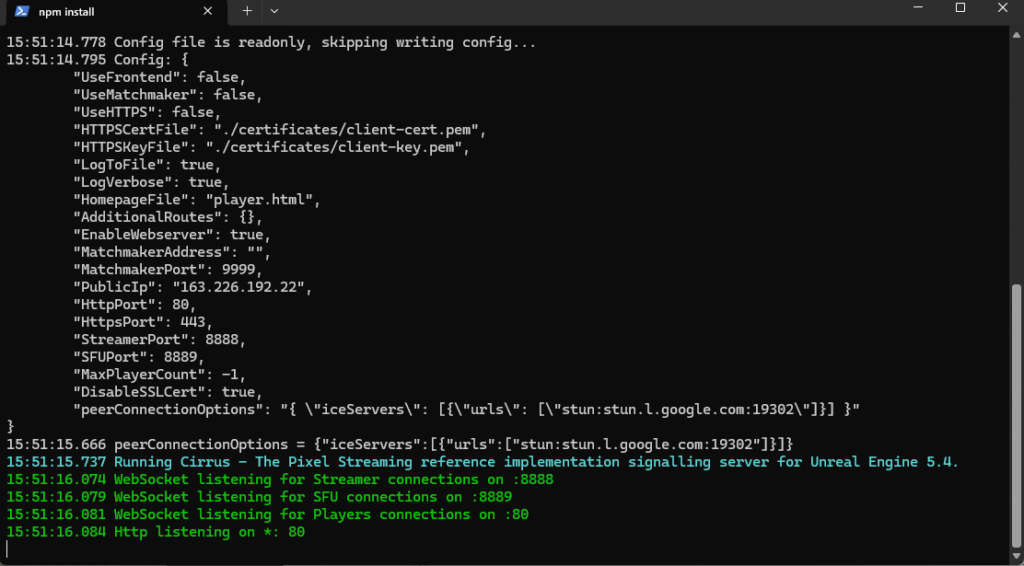
After that, run SignallingWebServer\platform_scripts\cmd\Start_SignallingServer.ps1.
While .bat files run on double-click, .ps1 (PowerShell) files do not by default. Right-click the file and select "Run with PowerShell."
▼The server starts up like this:
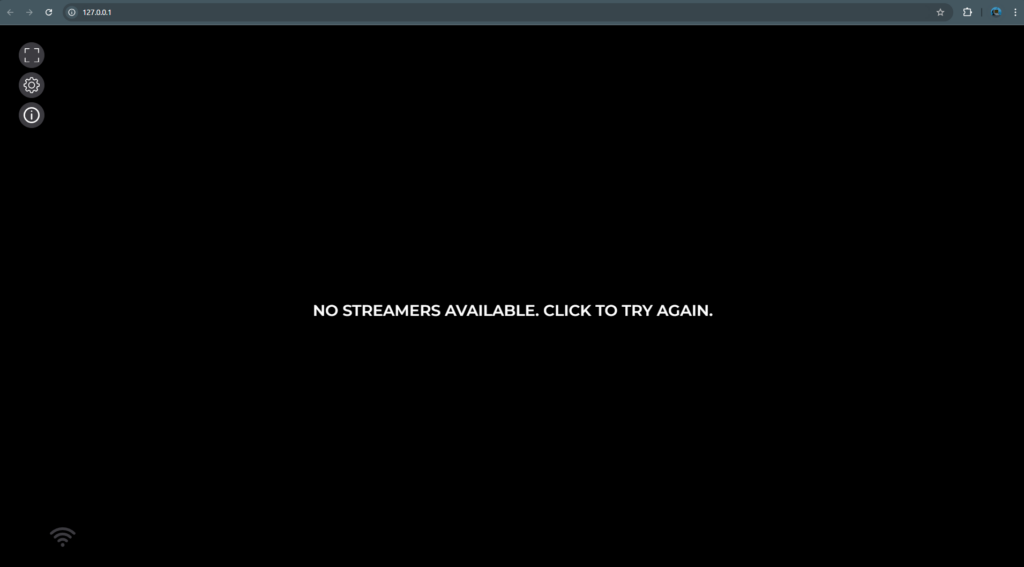
▼If you access http://127.0.0.1 at this point, the page will appear. However, since the game isn't running yet, the stream won't be visible.
Now, launch the game shortcut created earlier.
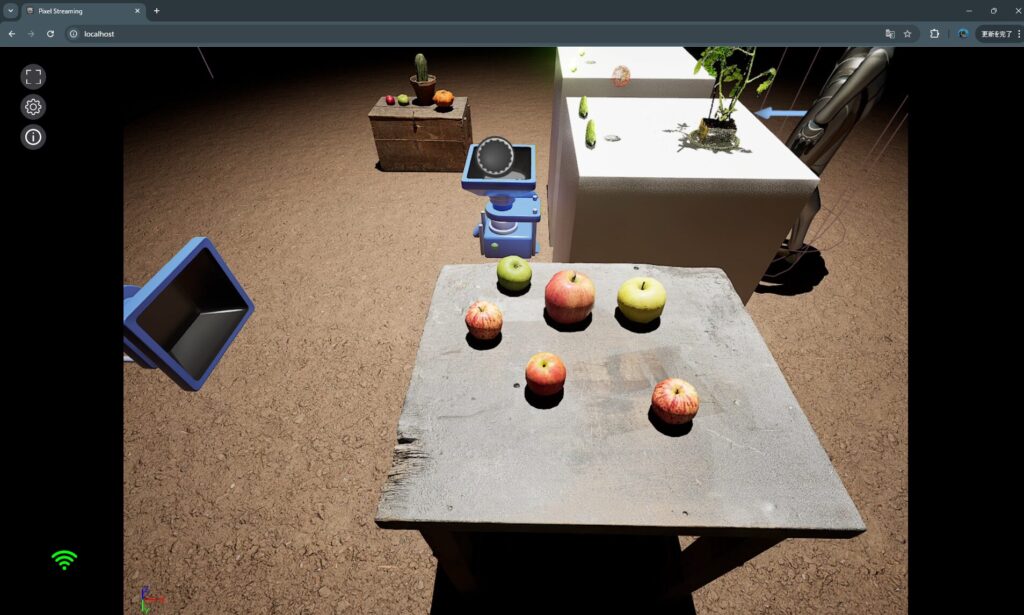
▼The game screen appeared in the browser!

Accessing from Other Devices
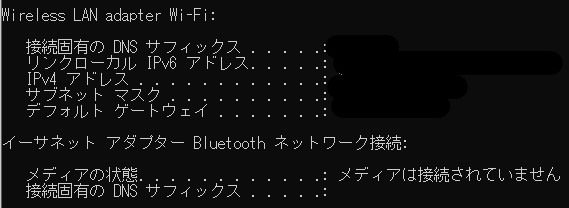
For devices connected to the same LAN (Wi-Fi), you can view the game by entering the IP address of the PC running the game. Find your IP address by typing ipconfig in the Command Prompt.
▼Check the IPv4 address for your Wi-Fi.
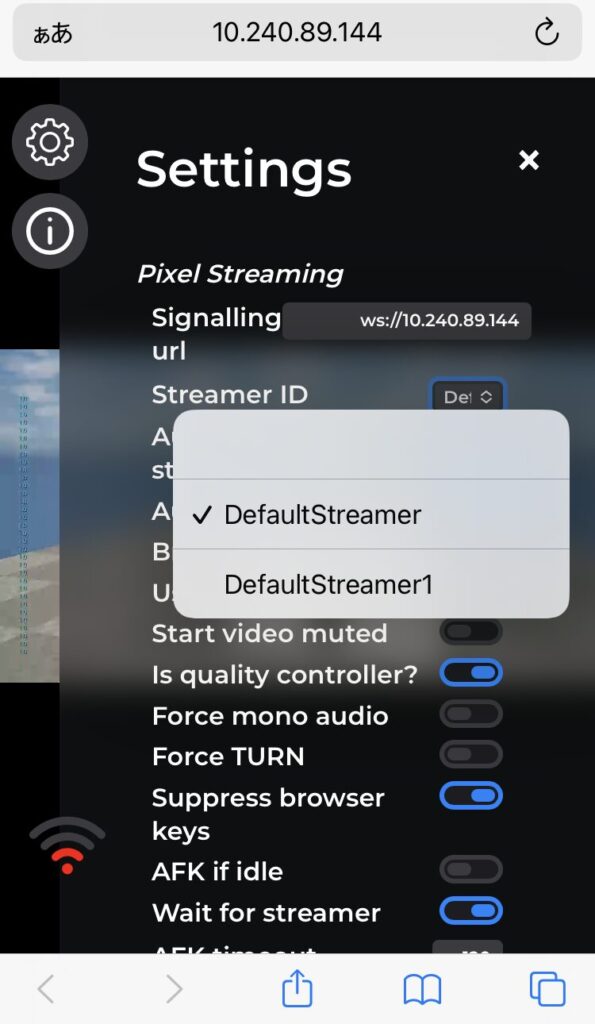
Access http:// from a browser on your other device.
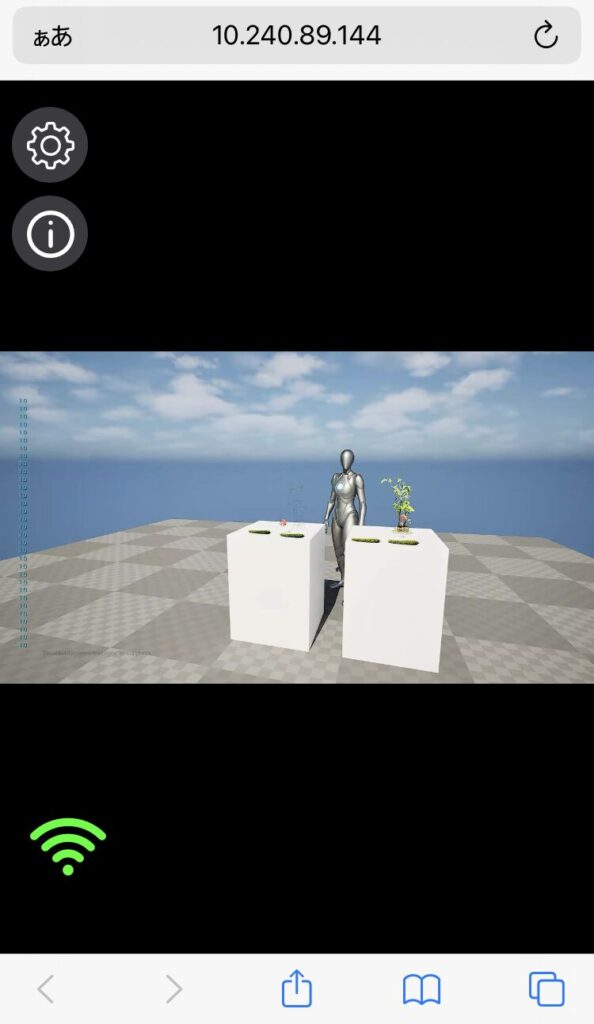
▼I was able to access it from my smartphone.
▼Depending on your network, there might be significant lag, but the game screen is displayed.
Streaming the Editor Screen
▼I tried the "Pixel Streaming" tab that appeared when I added the plugin.
By selecting "Start Signalling Server" and then choosing "Stream Level Editor" or "Stream Full Editor," I was able to stream the screen directly. I could access it via a browser on the same PC.
▼With "Level Editor," the game viewport appeared.
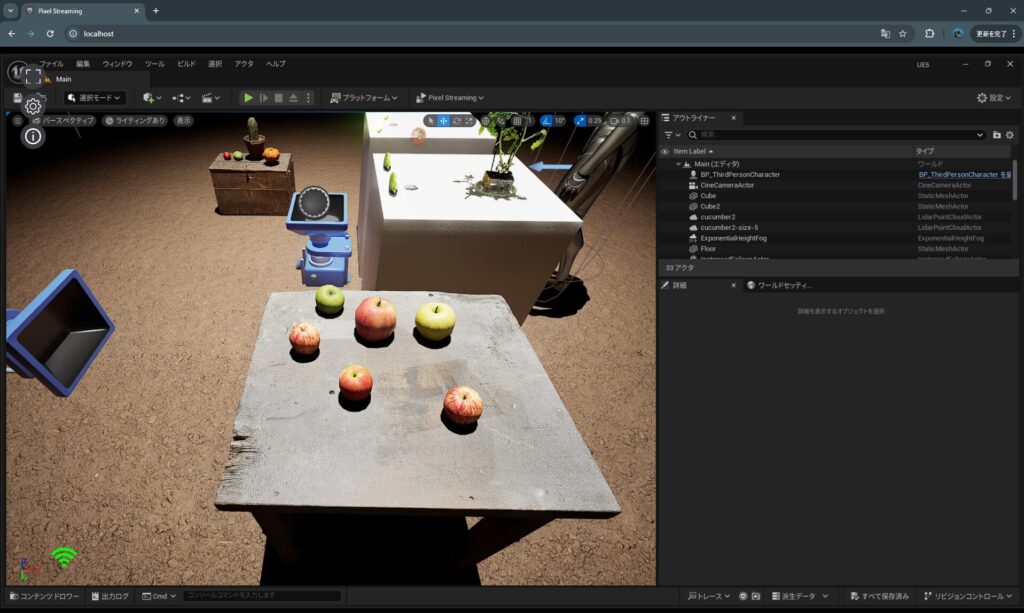
▼With "Full Editor," the entire editing interface was streamed.
▼There is some lag, but you can actually edit the level through the browser.

However, I couldn't access this mode from other devices initially. If I find a solution, I will update this post.
Finally
Later, I was able to capture the game screen on a separate PC used for image processing while the main PC ran UE. I encountered some STUN server errors during that process, which suggests I might need to run other .ps1 files (like Start_TURNServer.ps1) when starting the server. I did manage to resolve this on the Python side for now.
▼I'm curious about the other scripts like Start_TURNServer.ps1.
▼Information about STUN and TURN servers can be found here. I intend to read through it thoroughly when I have more time.