Developing Nodes for Node-RED Part 4 (dualshock4 Node)
Introduction
In this post, I developed the "dualshock4" node, which enables communication between Node-RED and the PS4 controller (DUALSHOCK 4). For about two years, I have been using DUALSHOCK 4 with ESP32 to operate robots. I believe that enabling communication with Node-RED will further expand the possibilities for various projects.
▼The node developed this time is published on the Node-RED Flow Library:
https://flows.nodered.org/node/@background404/node-red-contrib-python-dualshock4
▼Previous articles:
ESP32を使って、PS4コントローラとBluetooth接続する
はじめに 今回はESP32を使って、PS4のコントローラとのBluetooth接続をしました。ロボコンで使っているところを見たことがあります。最近はSwitchのコントローラで操作…

Creating Nodes for Node-RED MCU Part 3 (Serial Node)
Info This article is translated from Japanese to English. Introduction In this post, I created a Serial node for Node-RED MCU. While the debugger tool already …
Implementation Strategy
In a previous article, I used Python's pygame library to communicate with the DUALSHOCK 4. I decided to use pygame again for this node.
▼For details on communicating with DUALSHOCK 4 using Python, please refer to this article:
Communicating with DUALSHOCK 4 via Python (Node-RED)
Info This article is translated from Japanese to English. Introduction In this post, I tried communicating with a PS4 controller (DUALSHOCK 4) using Python. By…
Similar to my "python-venv" node, this node creates a Python virtual environment (venv) during installation. At that time, pygame is also installed via pip.
▼I wrote about the mechanism and development history of the python-venv node on Qiita (Japanese):
https://qiita.com/background/items/d2e05e8d85427761a609
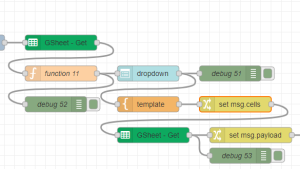
When I was using the generic venv node for communication, I had to manually extract values for each input property.
▼This required a massive number of nodes.
To reduce the number of nodes required, I designed this node to have separate output pins for each controller input. To make it intuitive, I used labels that display the input name (e.g., "cross button") when you hover the mouse over an output pin.
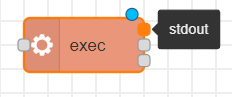
▼For example, the exec node displays labels like "stdout" or "stderr."
During implementation, I wanted to dynamically show only the necessary output pins, but it turns out that labels cannot be assigned dynamically in Node-RED.
▼The documentation on node development states that labels are not generated dynamically.
https://nodered.jp/docs/creating-nodes/appearance
Therefore, I decided to implement two separate nodes: one with multiple output pins and another with a single output object.
Developing the Node
I developed this while consulting ChatGPT, but it seemed ChatGPT wasn't very familiar with the specifics of Node-RED node development—likely due to a lack of public training data on this niche topic.
▼I referred to the official documentation for development:
https://nodered.jp/docs/creating-nodes
▼The source code is available on GitHub:
https://github.com/404background/node-red-contrib-python-dualshock4
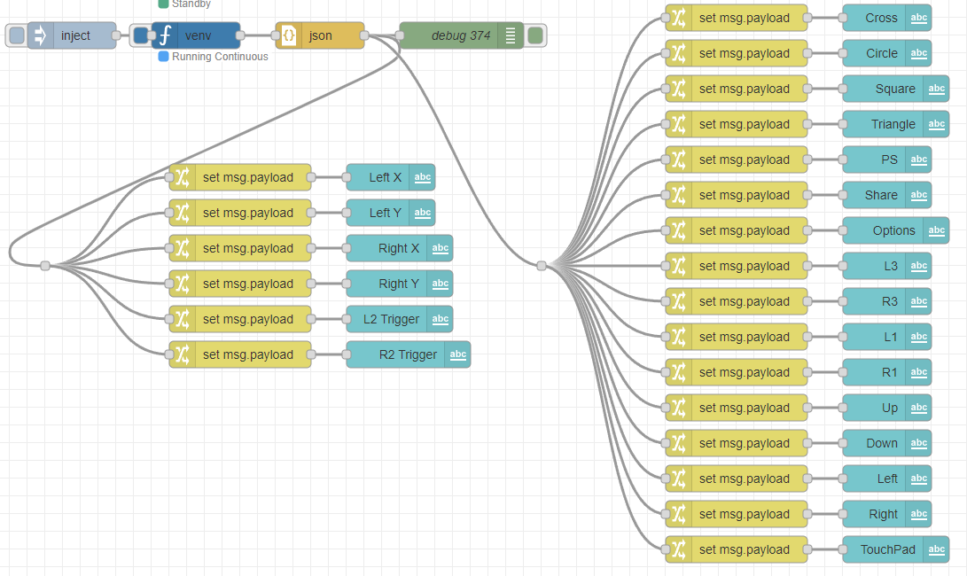
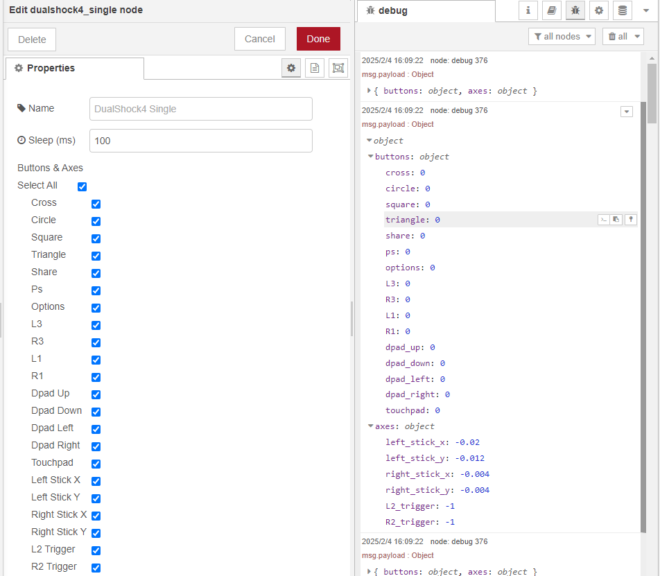
I developed a node with a single output.
▼It can be used like this:

▼Looking at the received data, properties are separated for each controller input.
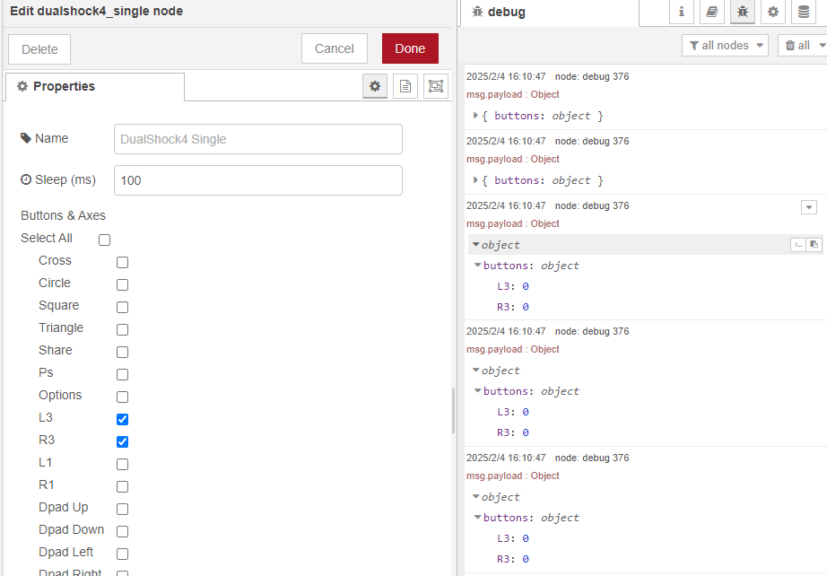
▼For example, if only "L3" and "R3" are selected, only those values are output.
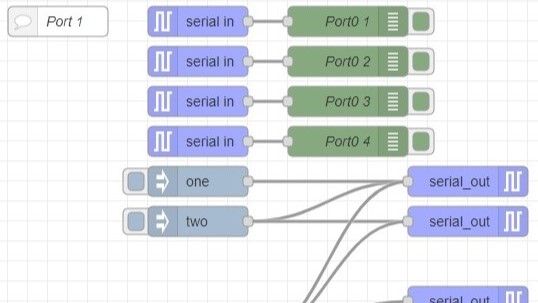
I also developed a node where inputs are separated by output pins.
▼This allows you to connect dashboard nodes directly.
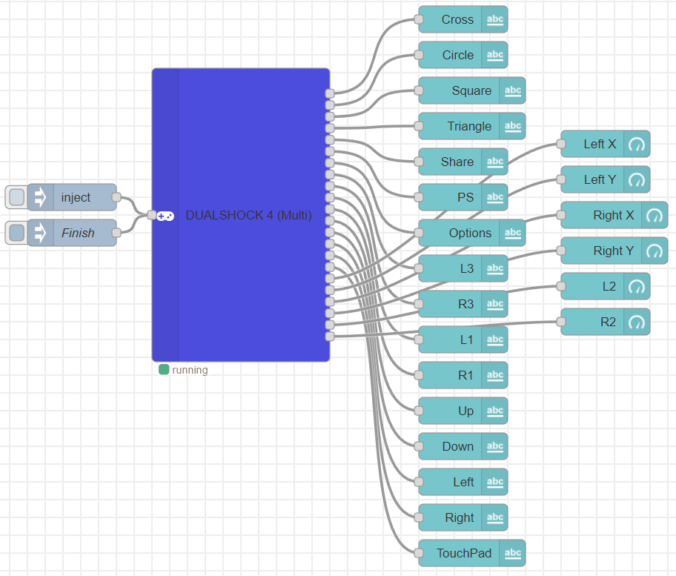
▼Hovering the mouse displays the button name.
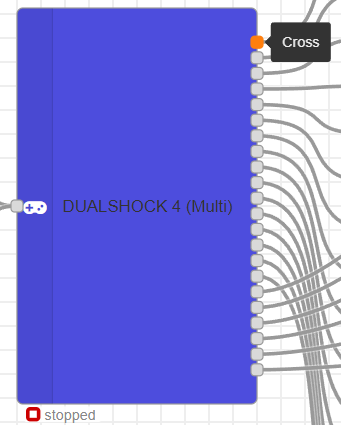
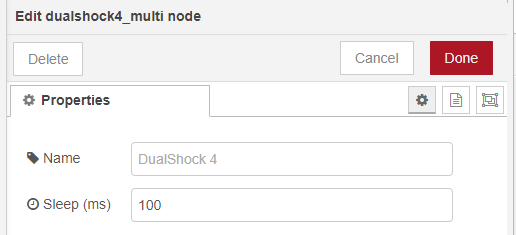
▼For this version, you can configure the acquisition interval.
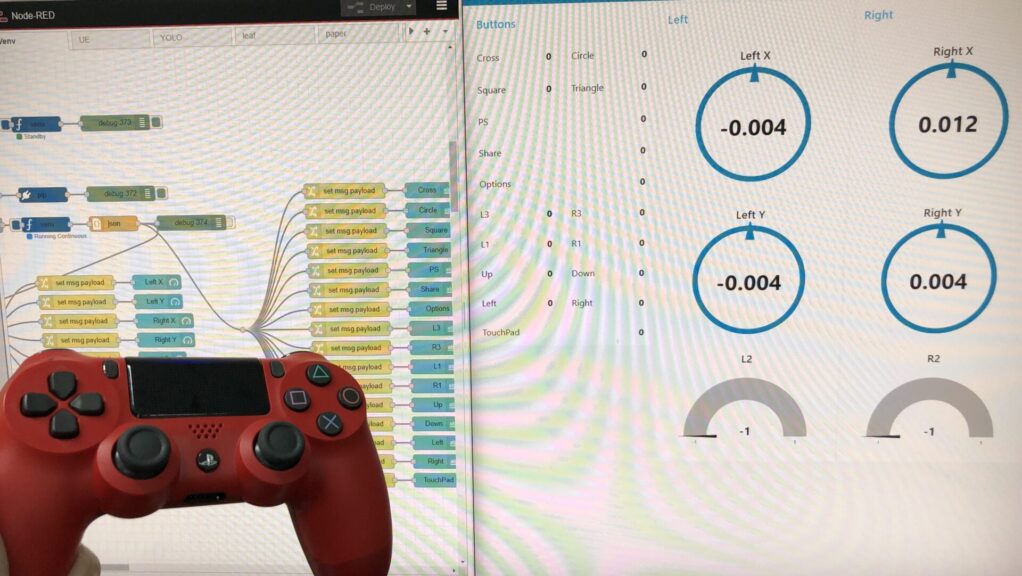
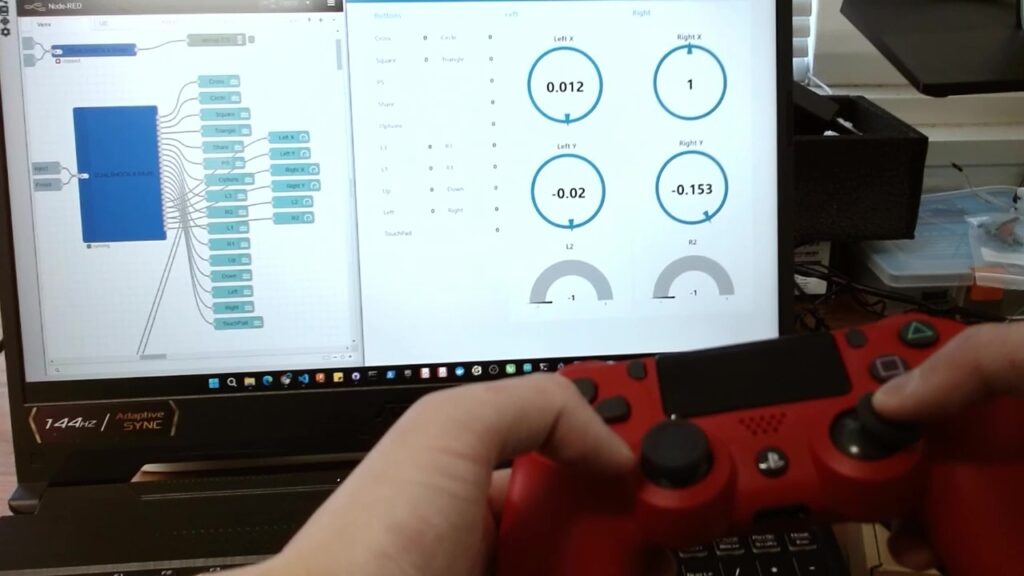
Verification
I verified the operation by looking at the dashboard screen in real-time.
▼The response is fast and feels great.
▼Communication successful!
Finally
I was surprised to find very few nodes for DUALSHOCK 4 communication, but I was able to develop this by leveraging my experience with the python-venv node.
In the middle of the project, I realized that it is also possible to communicate with DUALSHOCK 4 using Node.js directly. This approach might be easier as it skips the Python setup entirely.
▼I found a package on npm when searching for "dualshock":
https://www.npmjs.com/package/dualshock-controller
▼There was also a sample flow for communicating via a function node. I’d like to try this out as well.
https://flows.nodered.org/flow/8d8e3e3e20bf2e70dee0bcf1b2a2b31a