3D Printing a QR Code (Adding it to a model meshed with GS2Mesh)
Introduction
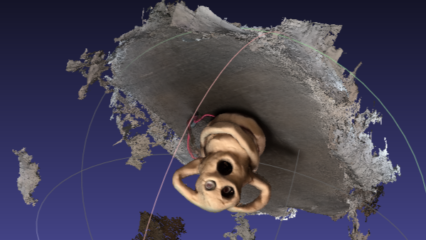
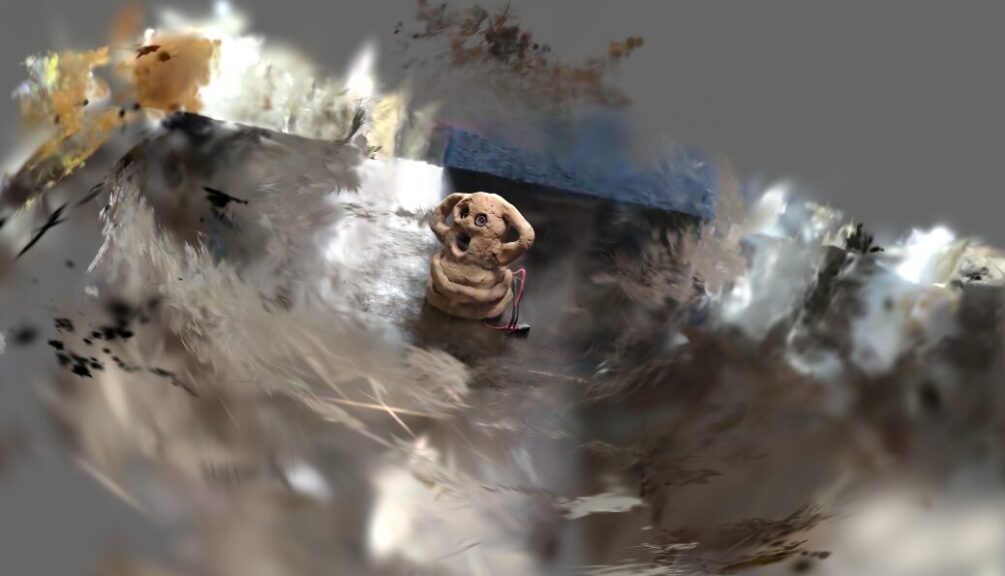
In this post, I tried adding a QR code to the Haniwa 3D model I previously output using GS2Mesh.
I have a few acquaintances who 3D print QR codes, and I was always surprised at how accurately they could be output. Since my Haniwa model happened to have a flat base, I decided to try adding a QR code to it.
▼I’ve been making Haniwa models like this one.
▼Previous articles are here:
Trying Out 3D Gaussian Splatting Part 4 (3D Printing Models Meshed with GS2Mesh)
Info This article is translated from Japanese to English. Introduction In my previous article, I used GS2Mesh to create a mesh model from a video.▼This is the …
Trying Out 3D Gaussian Splatting Part 5 (GS2Mesh Environment Setup, WSL2 Ubuntu 22.04)
Info This article is translated from Japanese to English. Introduction In this post, I rebuilt the GS2Mesh environment from scratch.In my previous articles, I …

Repairing the Model in Fusion 360
I previously used Blender to adjust the models output by GS2Mesh, but for adding the QR code, I used Fusion 360, which I’m more accustomed to.
▼I am using a gaming laptop purchased for around 100,000 yen, running Windows 11.
Shopping: New Laptop and SSD Expansion (ASUS TUF Gaming A15)
Info This article is translated from Japanese to English. Introduction In this post, I’ll be talking about replacing my PC after my previous one broke down. I …


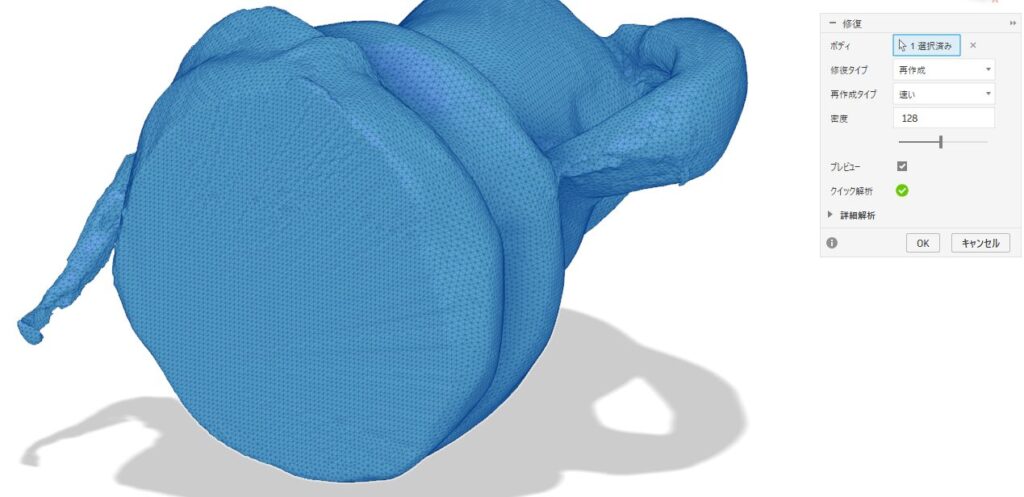
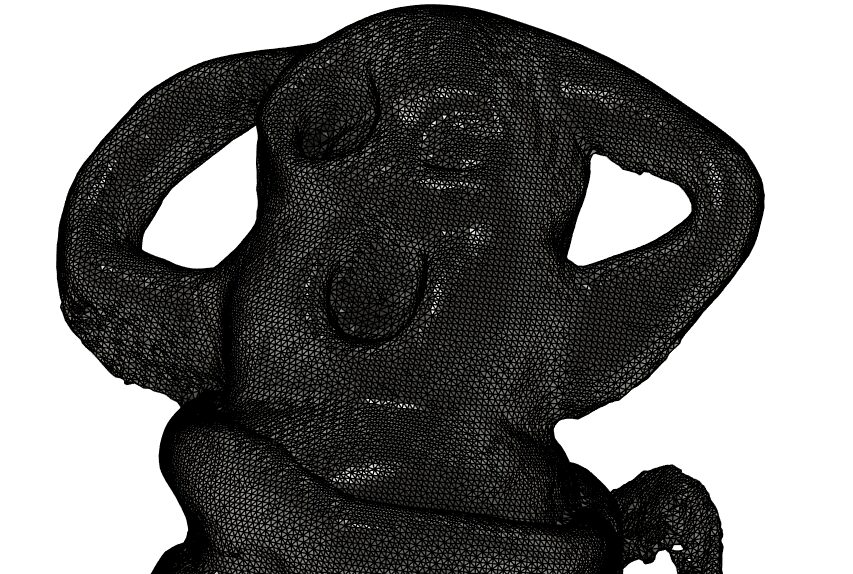
▼This is what it looked like when I first added the model. There are hollow parts and missing sections.
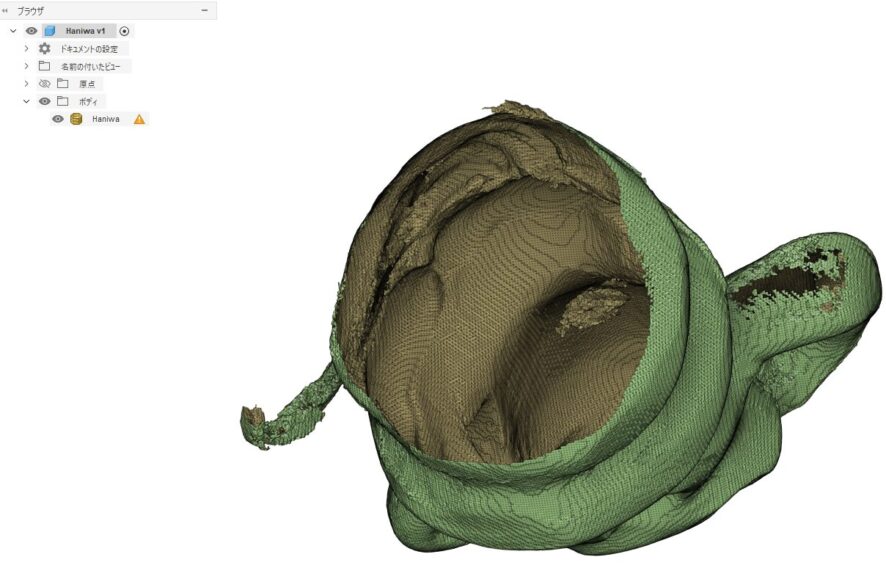
▼An error appears stating that the mesh is not closed.
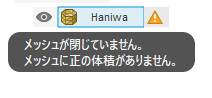
First, I need to resolve this warning. Clicking the yellow triangle icon opens the repair tool.
▼You can change the repair type.
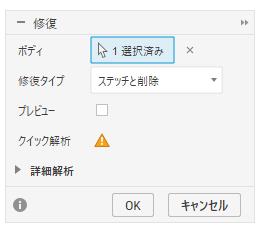
I tested several repair types to see how the preview would look.
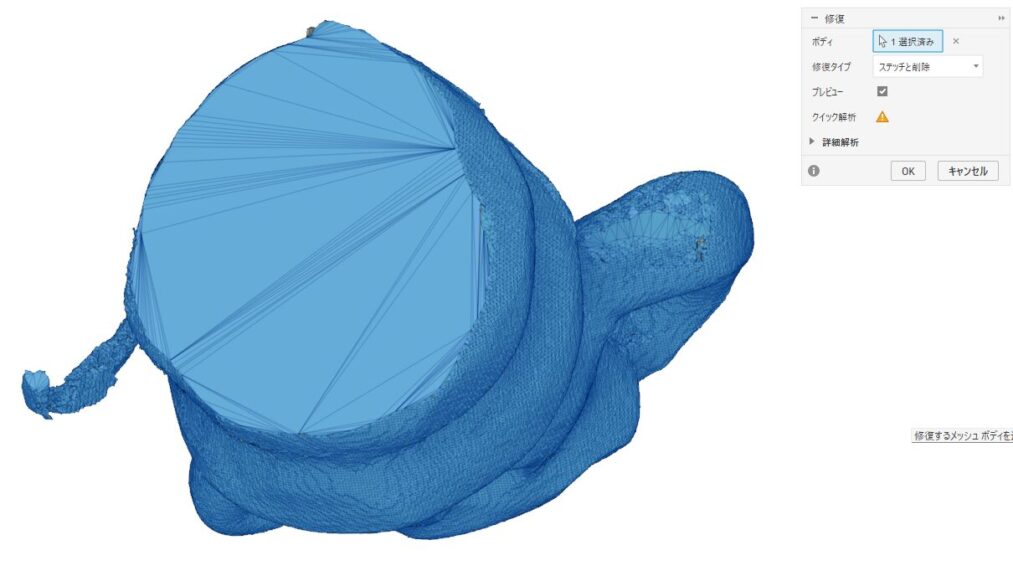
▼Here is "Stitch and Remove."
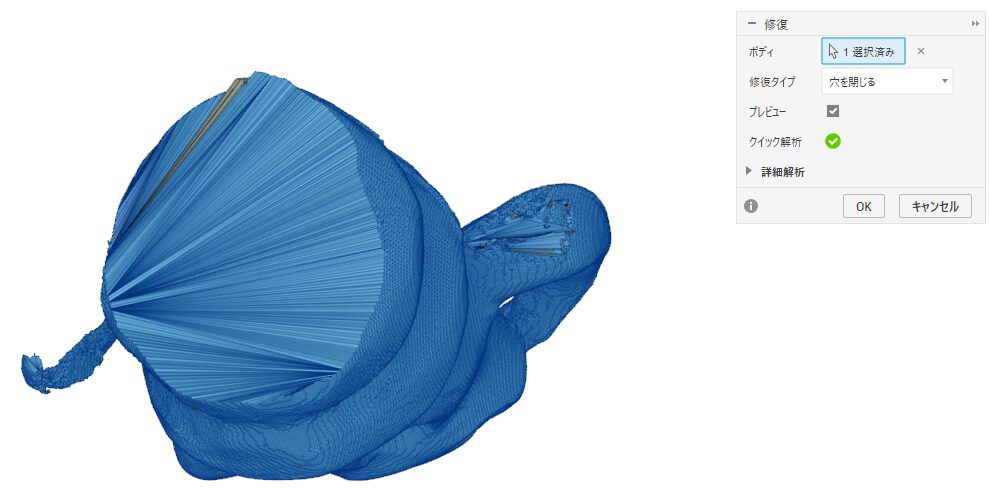
▼Here is "Close Holes." It looks like there are a lot of meshes on the bottom.
▼Here is "Wrap."

▼"Rebuild" seemed to produce the cleanest model.
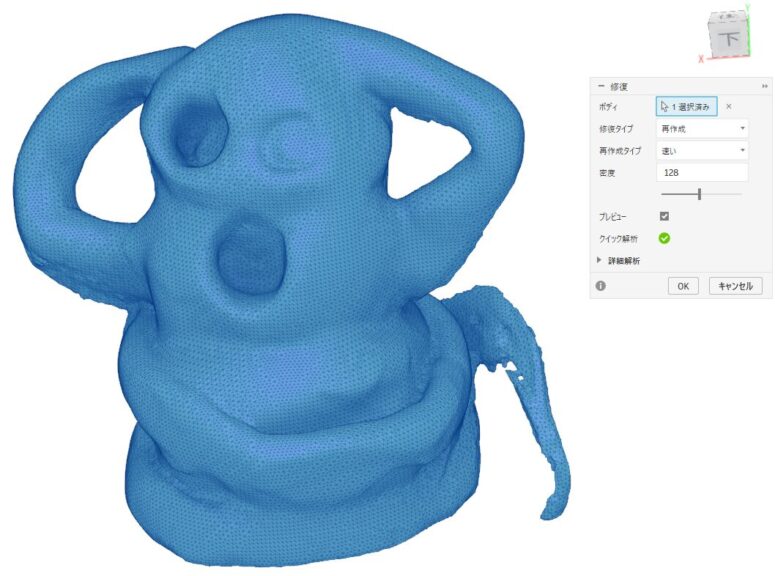
I went ahead with the "Rebuild" option.
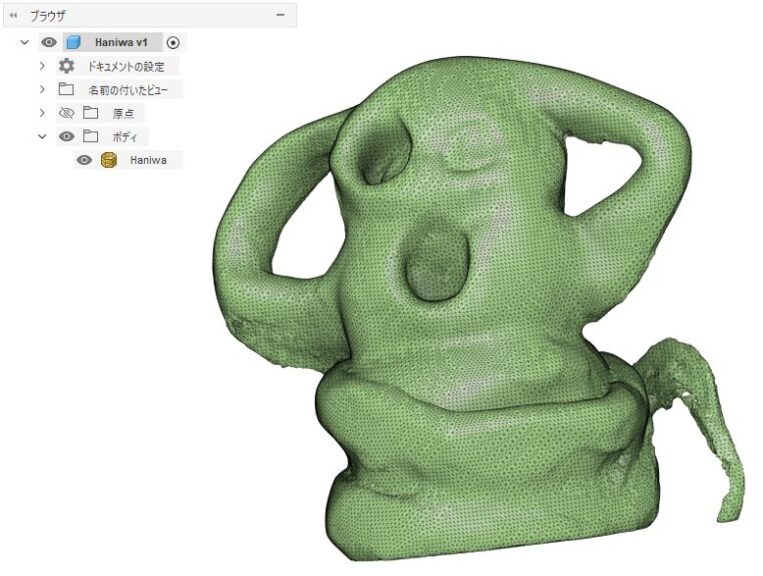
▼The mesh is now closed.
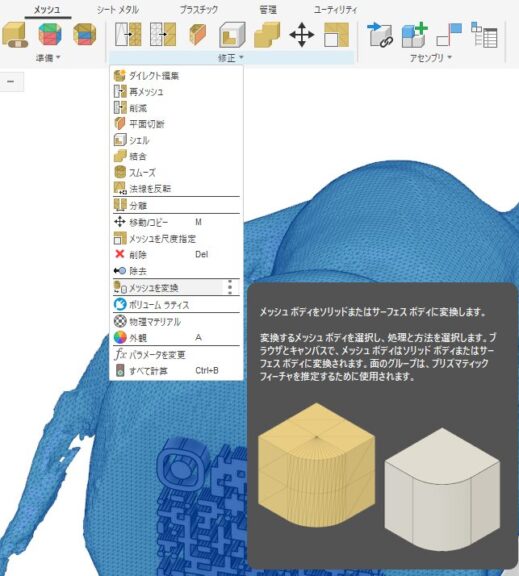
Next, I converted the mesh into a solid body.
▼I converted the mesh using the "Convert Mesh" tool in the Mesh tab.
▼It has been converted into a solid.
Adding the QR Code
I prepared a summary page for 3D Gaussian Splatting related articles, so I’ll generate a QR code for that page.
▼This is the page:
3D Gaussian Splatting
This page collects information related to 3D Gaussian Splatting. Related Articles ▼The original video for Haniwa is here.
▼I generated the QR code on the following page:
https://qr.c-cloud.co.jp/tools/generator/design
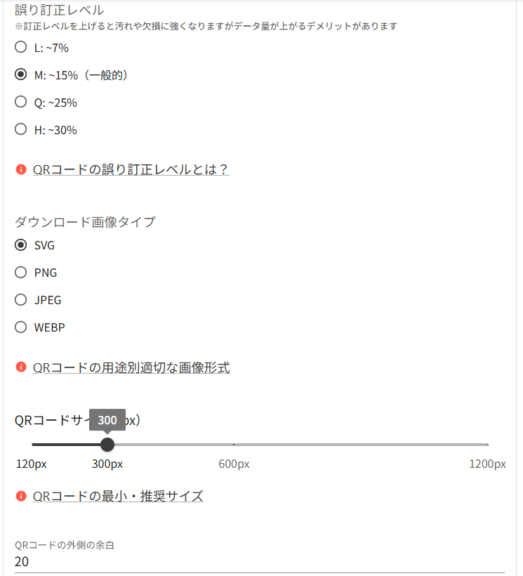
▼You can change various parameters.
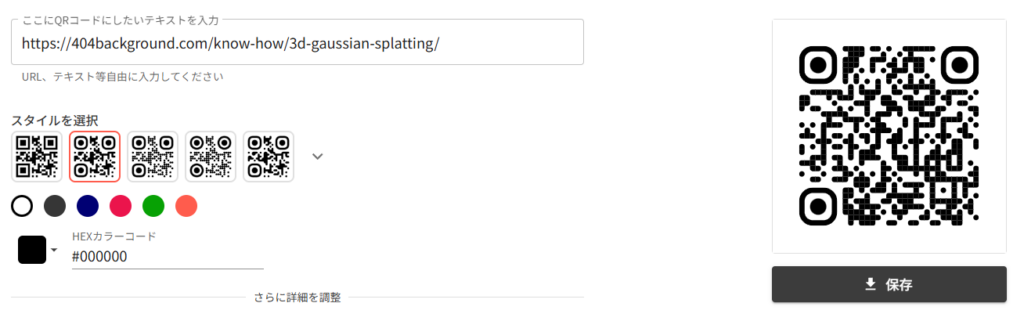
▼I learned for the first time that there are parameters like the Error Correction Level.
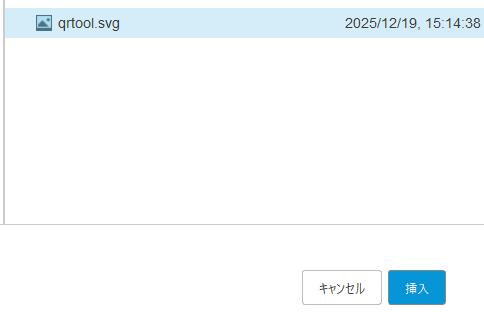
I exported it as an .svg file and imported it into Fusion 360.
▼It can be found under the "Insert" menu on the Home tab.

▼I selected the plane where I wanted to add the QR code as a sketch.
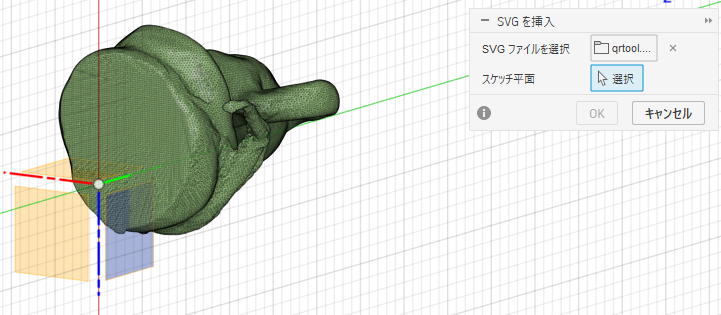
▼However, it turned out to be completely different from the QR code I just generated.

Since the original QR code couldn't be correctly imported via the .svg file, I output a .png file from the site, converted that to an .svg file, and then imported it into Fusion 360.
▼I used this page for the conversion:
https://www.freeconvert.com/ja/png-to-svg
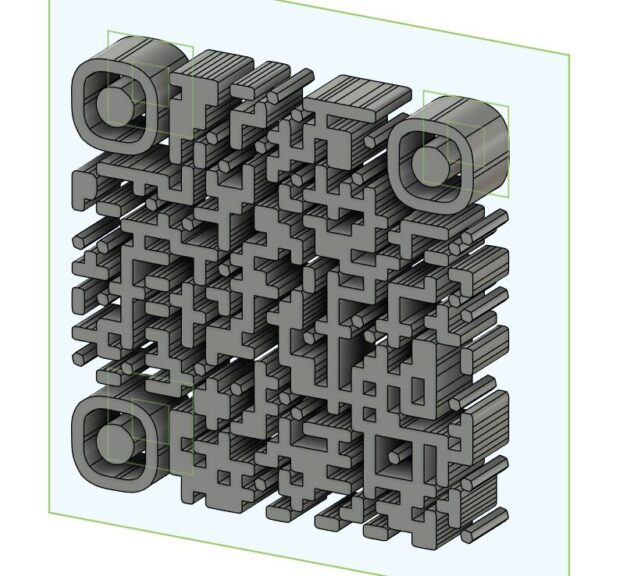
▼The QR code was successfully imported as a sketch.

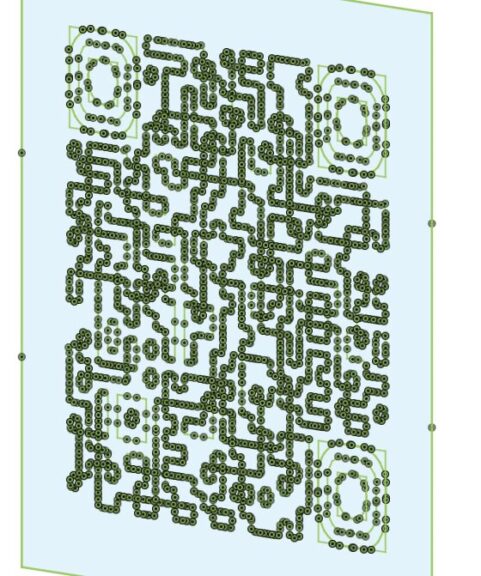
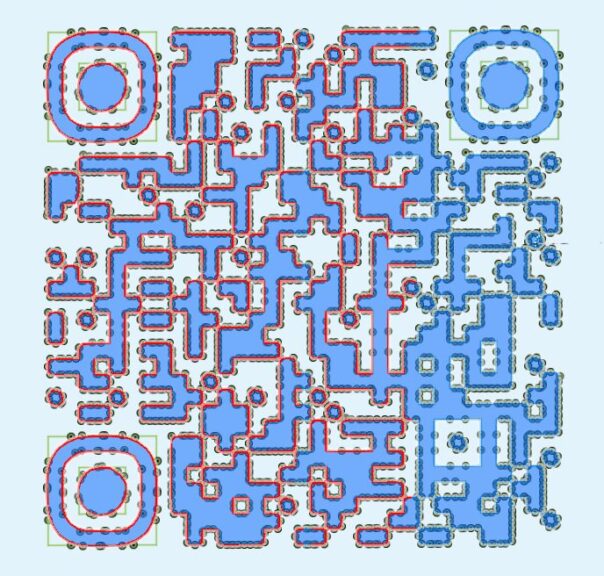
In this state, I could select parts of it just like a normal sketch.
▼I was able to extrude it using the Extrude tool.
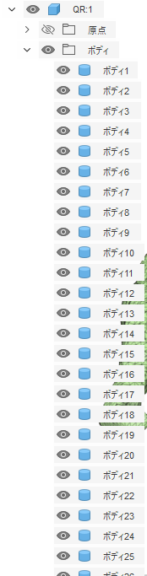
▼Since the number of bodies increased and became difficult to manage, I grouped them into a single component.
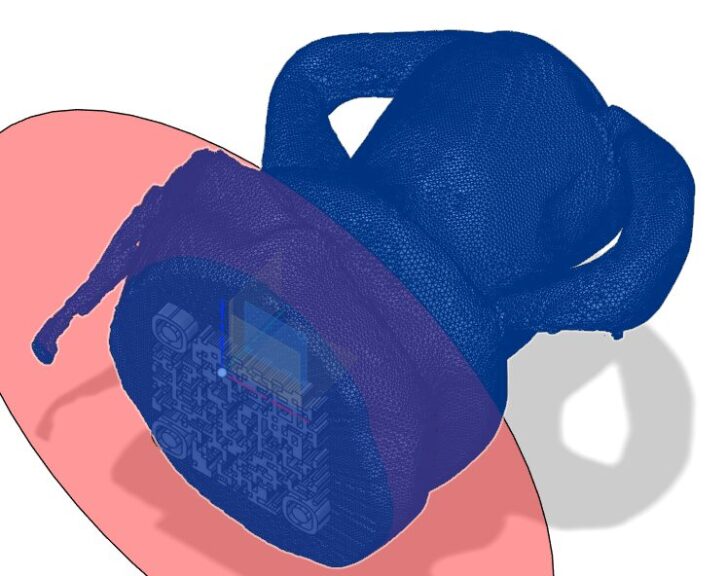
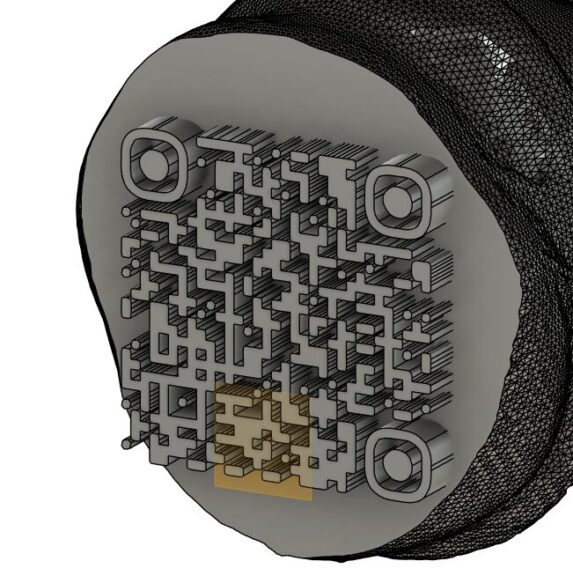
I adjusted the positions of the QR code and the Haniwa, then added an offset plane and split the model to ensure the base was flat.
▼After splitting, I projected the shape of the bottom edge onto a sketch plane, applied an offset, and extruded it.
PrusaSlicer Settings
▼I am using the Prusa MK4 3D printer.
Trying Out the Prusa MK4 (3D Printer)
Info This article is translated from Japanese to English. Introduction I finally bought my long-awaited 3D printer! The Prusa MK4!I had heard about Prusa from …

▼The Prusa MK 4 seems to be out of stock, but the MK4S appears to be available.

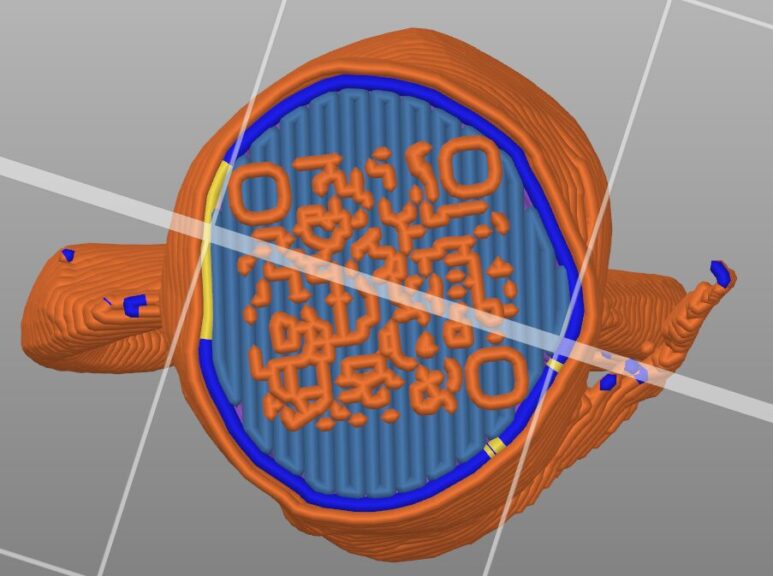
For this print, I set it up to change colors between the QR code layer and the Haniwa layer.
▼Information on color changes in PrusaSlicer can be found here:
https://help.prusa3d.com/article/color-change_1687
▼By clicking the "+" button on the right-side scroll bar at the layer where you want to change colors, you can set the printer to switch filaments from that point.
▼The original size was too small and the QR code likely would have blurred, so I scaled it up.
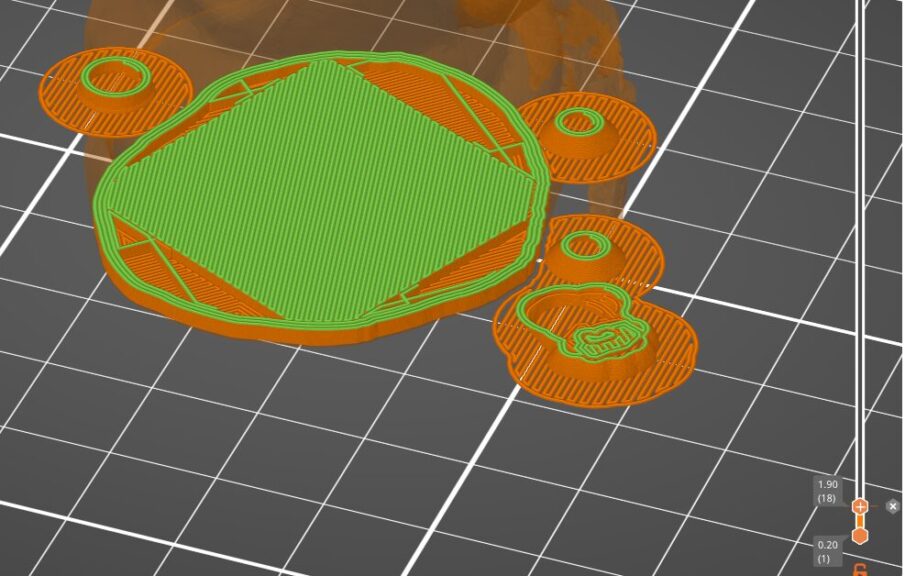
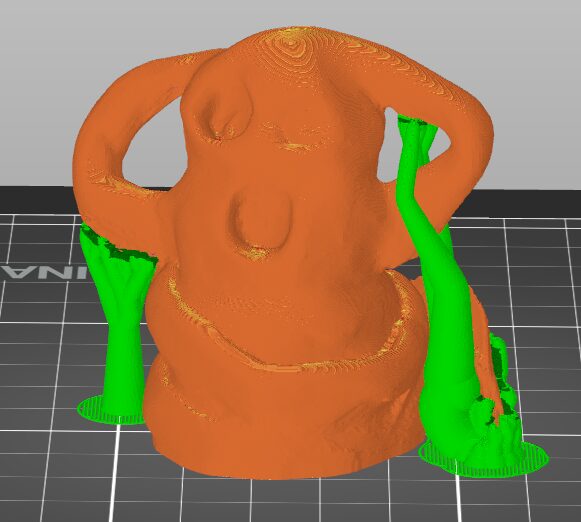
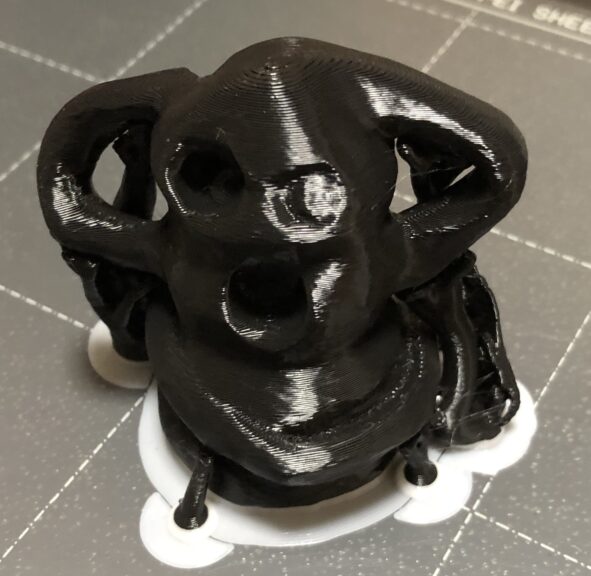
▼Tree-style supports seemed like a good choice.
3D Printing the Output
For the filament, I used some leftover white and black PLA Plus.


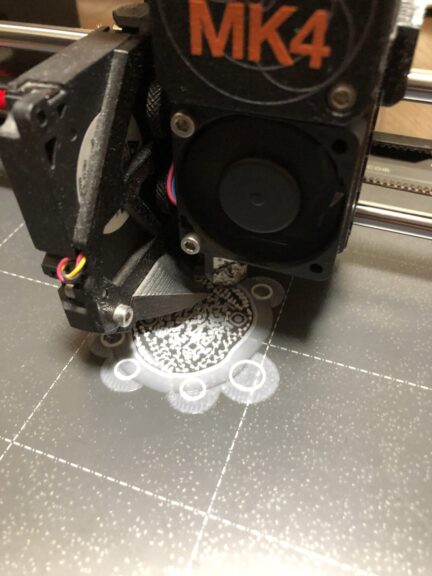
First, I tried printing with the coarsest setting, "0.2mm SPEED," with white for the lower layers and black for the upper layers.
The output pauses at the designated color-change layer, allowing you to swap the filament.
▼It changes to black halfway through.
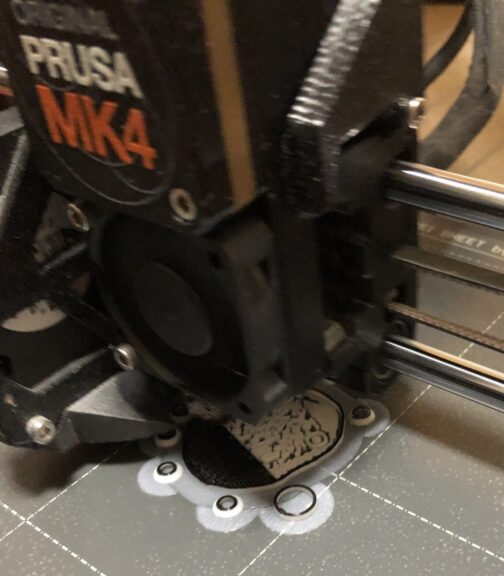
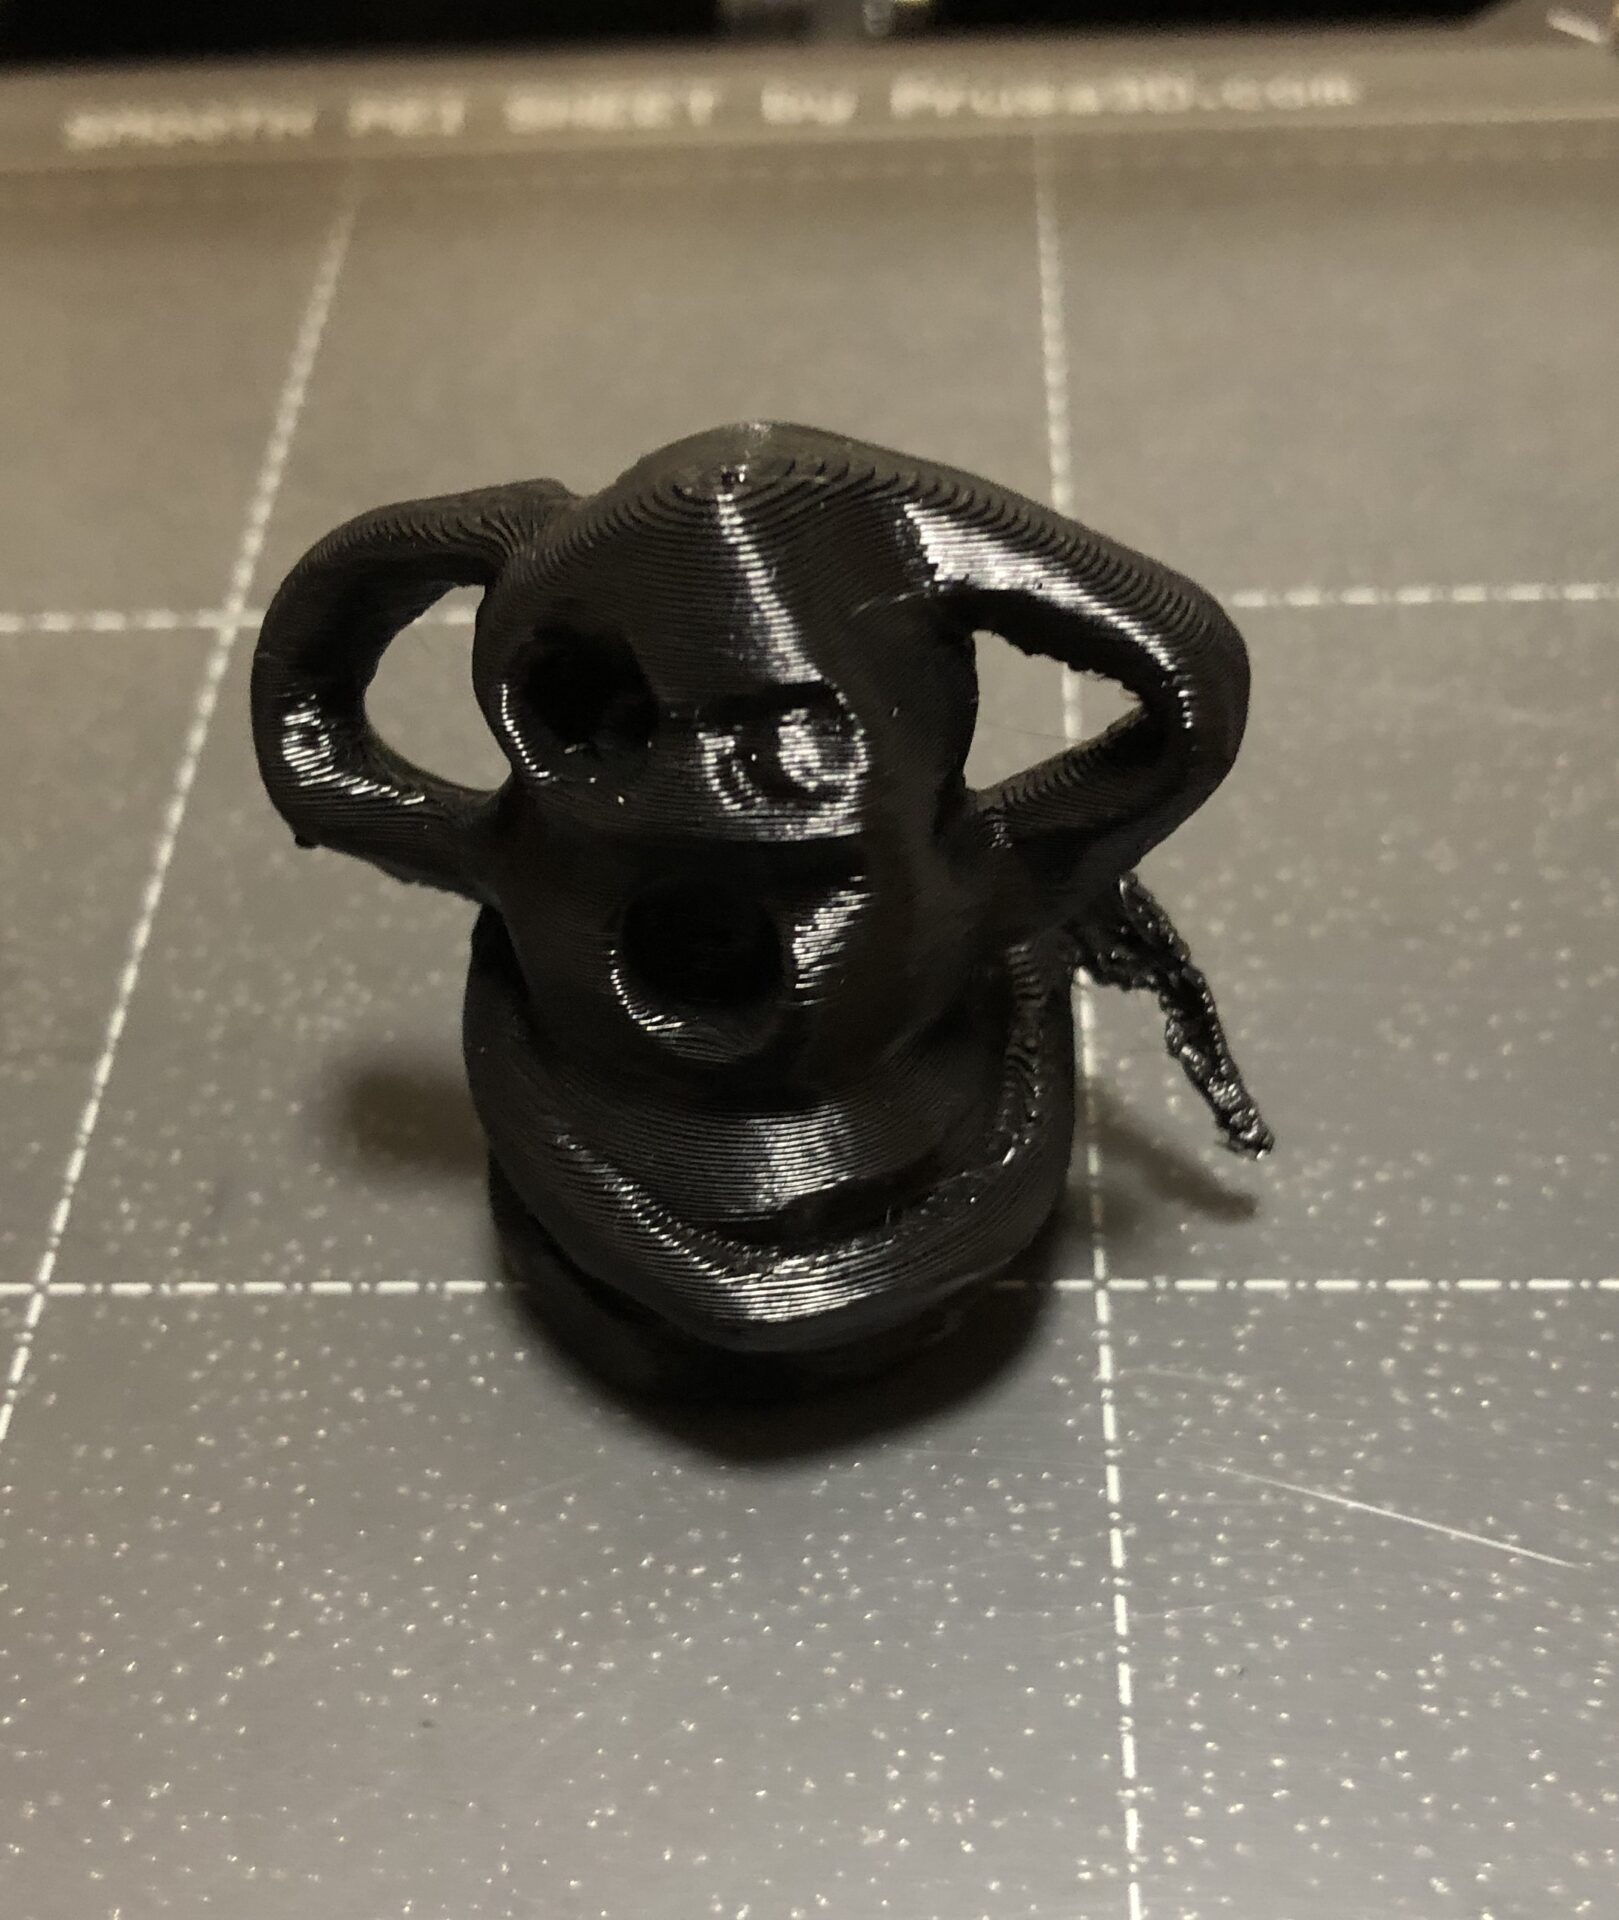
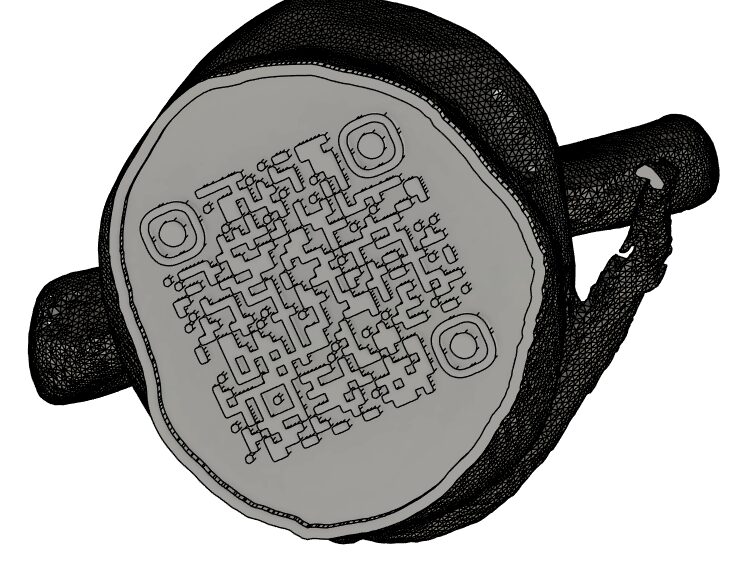
▼This is the final result.

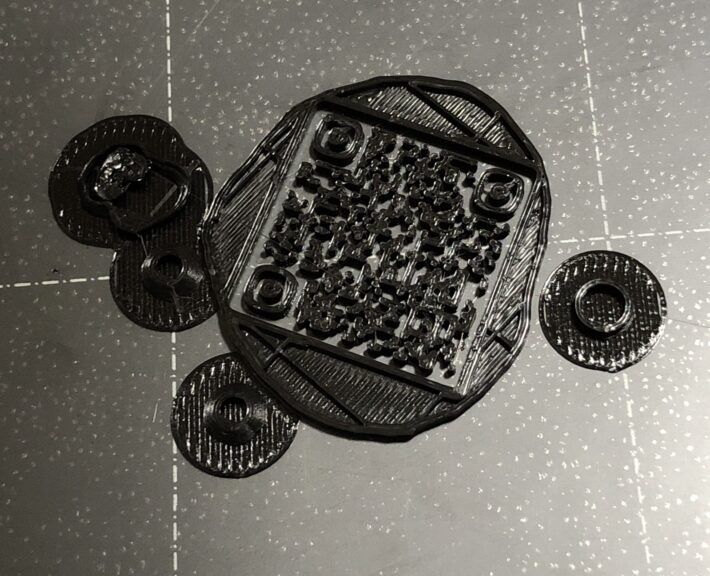
▼The QR code part was too coarse, and the camera couldn't read it.
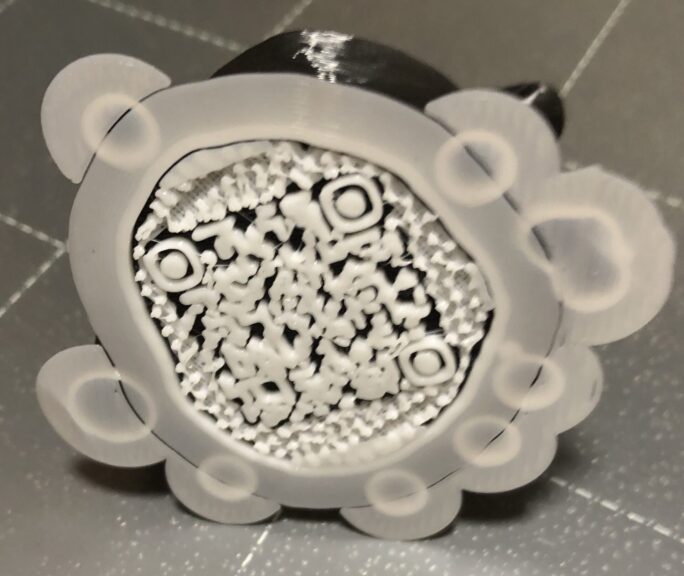
For the second attempt, I adjusted the settings so the QR code area would bridge without supports, setting only "Enforced Supports." I printed this using the finest setting, "0.1mm FAST DETAIL."
▼The state when swapping the filament. Looking good.
▼This is the finished product.
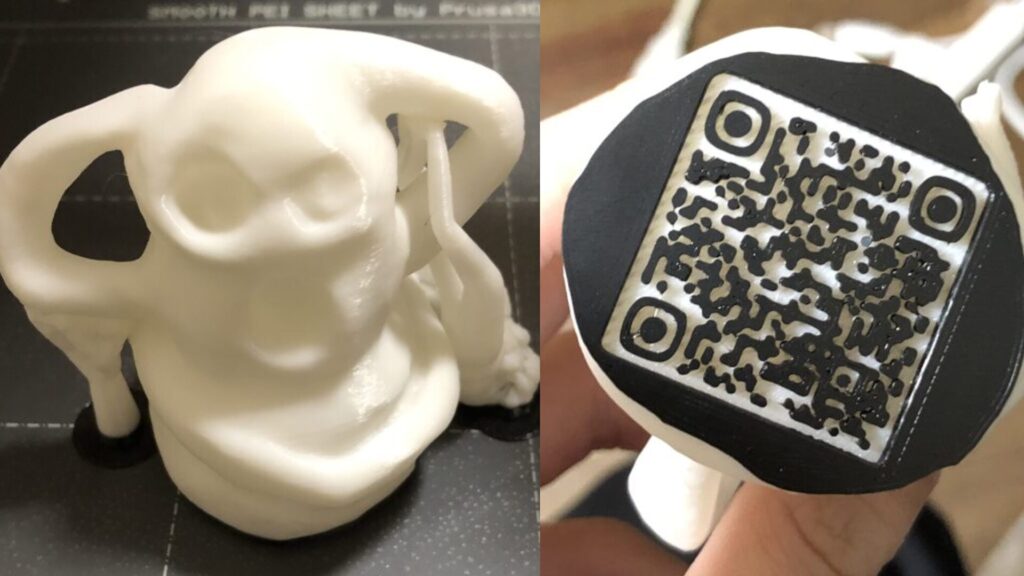
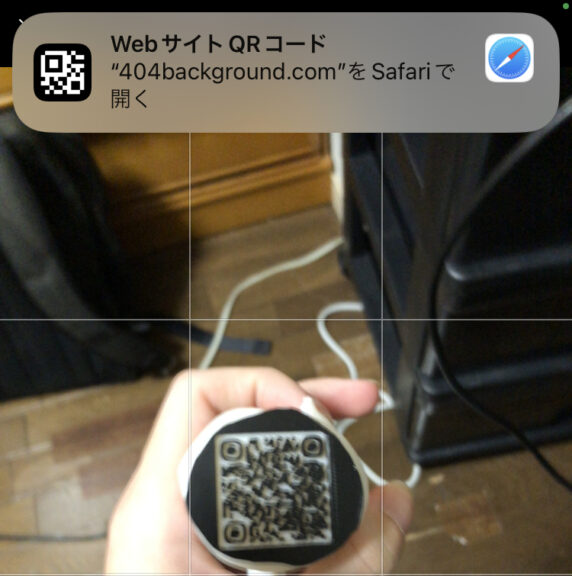
▼I was actually able to scan it with my smartphone camera!
Finally
I was worried because some of the filament had been left out for about a year and might have absorbed moisture, but it printed without any major issues.
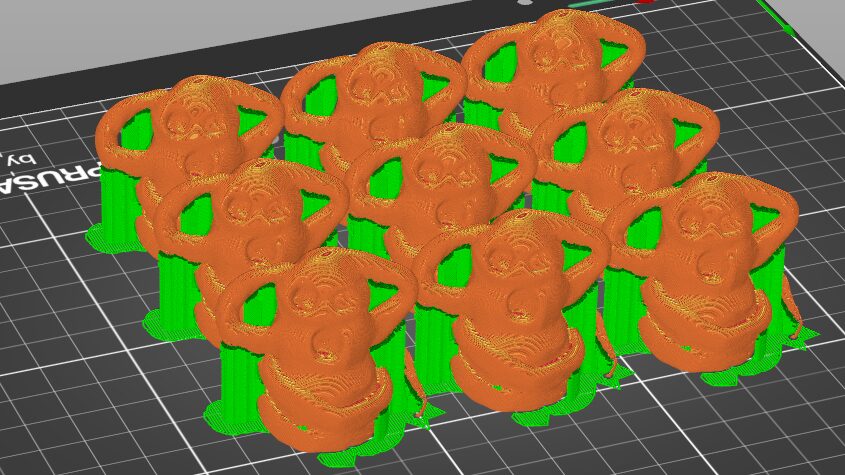
After several adjustments, I was able to print with "0.15mm SPEED" settings, using a single wall and no supports. This reduced the printing time from 2 hours per piece to just 1 hour.
I'm thinking of mass-producing these Haniwa figures to give away as presents at events. I can see myself using this method to combine other figures with QR codes in the future.