Using WSL2 Part 5 (Installing Multiple Instances of the Same Distribution, Ubuntu 22.04)
Introduction
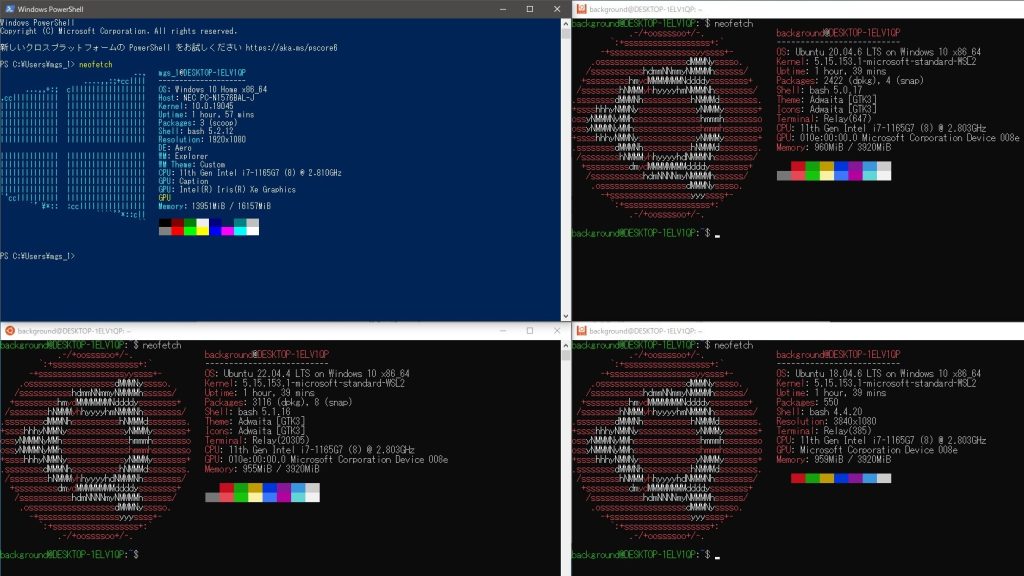
In this post, I installed a second instance of the same Ubuntu version on WSL2.
I didn't want to mess up my original Ubuntu 22.04 environment on WSL2, so I was looking for a way to install it separately. When working with AI software, I often run into trouble with conflicting dependencies for CUDA or Conda. I want to be able to switch between entire Ubuntu environments to avoid these issues.
▼I am using a gaming laptop purchased for around 100,000 yen, running Windows 11.
Shopping: New Laptop and SSD Expansion (ASUS TUF Gaming A15)
Info This article is translated from Japanese to English. Introduction In this post, I’ll be talking about replacing my PC after my previous one broke down. I …


▼Previous articles are here:
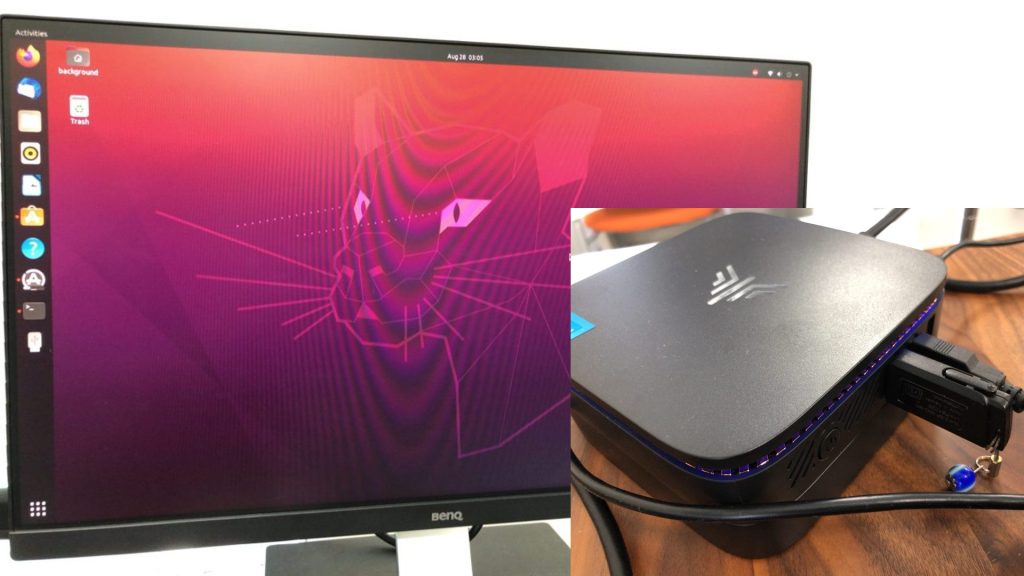
Installing Ubuntu on a Mini PC via USB Drive (Rufus)
Info This article is translated from Japanese to English. Introduction In this post, I tried installing Ubuntu on a mini PC using a USB drive.I knew this was p…
Trying Out WSL2 Part 3 (Ubuntu 20.04, ROS Noetic, Open Manipulator)
Info This article is translated from Japanese to English. Introduction In this post, I tried installing ROS on Ubuntu 20.04 within WSL2.The environment I built…
Importing the Distribution
Initially, I tried to install Ubuntu 20.04.
▼There are Ubuntu 20.04 images on the following page:
https://cloud-images.ubuntu.com/releases/focal/release
However, the images on this page are not specifically for WSL, so I couldn't install them. My attempt failed.
▼I tried installing "ubuntu-20.04-server-cloudimg-amd64.tar.gz."

▼The subsequent steps failed.

A WSL-specific image file is required.
▼Navigating to the parent directory reveals a list, and the "wsl" folder was there.
https://cloud-images.ubuntu.com
Only Ubuntu 22.04 and later versions were available.
▼This time, I downloaded from the following link:
https://cloud-images.ubuntu.com/wsl/jammy/current
▼I downloaded "ubuntu-jammy-wsl-amd64-ubuntu22.04lts.rootfs.tar.gz."

Now, I'll import the downloaded file.
▼WSL2 commands are listed on this page:
https://learn.microsoft.com/ja-jp/windows/wsl/use-custom-distro#import-the-tar-file-into-wsl
Launch PowerShell with administrator privileges and import using the following command format:
wsl.exe --import <Distro> <InstallLocation> <FileName> [Options]In my environment, I executed it as follows. Note that although it's Ubuntu 22.04, I named it "Ubuntu2004_GS" by mistake due to a leftover from a previous test. I'll change the name later.
mkdir W:\Ubuntu2004_GS
wsl --import Ubuntu2004_GS "W:\Ubuntu2004_GS" "C:\Users\mgs_1\Downloads\ubuntu-jammy-wsl-amd64-ubuntu22.04lts.rootfs.tar.gz"
▼It was imported without any issues.

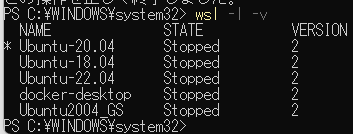
You can check if it has been added with the following command:
wsl -l -v▼It has been added as "Ubuntu2004_GS."
You can activate the environment with the following command:
wsl -d Ubuntu2004_GS▼I was logged in as root.

At this point, the username and password setup screen did not launch, and it seemed I was logged in as root by default.
If you fail, you can delete the files and unregister it to try the installation again.
wsl --unregister Ubuntu2004_GS▼Previously, I also unregistered and then reinstalled in a similar way.
Trying Out WSL2 Part 1 (Ubuntu 22.04, Node-RED, and Memory Limits)
Info This article is translated from Japanese to English. Introduction In this post, I set up a WSL (Windows Subsystem for Linux) environment, which allows you…
Launching the Terminal
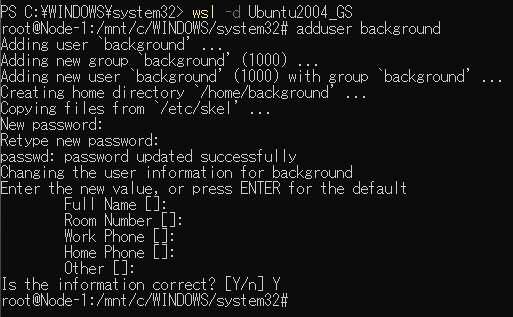
I was logged in as root earlier, but I want to register a user so I can log in properly. After activating the Ubuntu environment, I executed the following commands:
adduser <username>
usermod -aG sudo <username>
▼I was also prompted to enter a password.
▼I confirmed that a folder with the registered username exists in the /home directory.

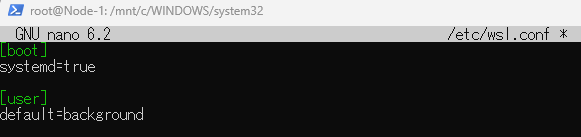
I edited /etc/wsl.conf to set the default user.
sudo nano /etc/wsl.conf▼I added "default=" under the [user] section.
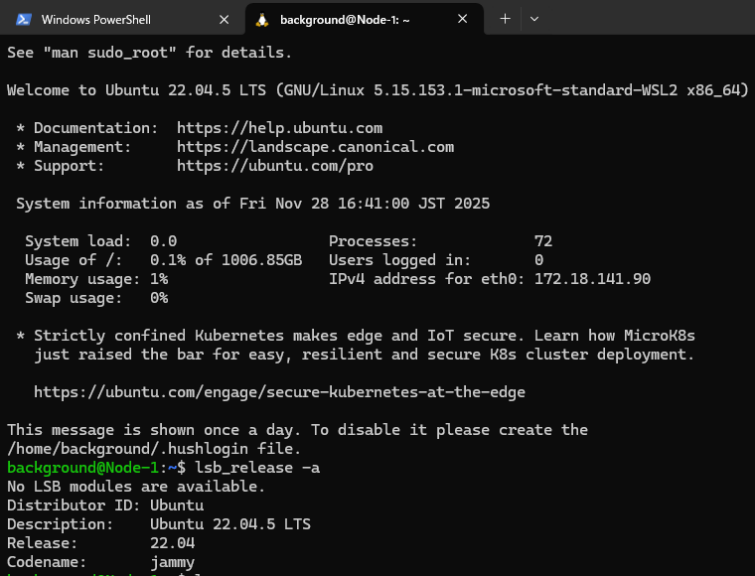
After this, I reopened PowerShell and reactivated the Ubuntu environment, and it logged me in as the registered user.
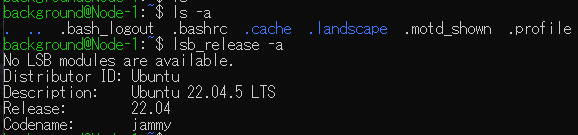
▼The directory was set to the Windows one, but executing the "cd" command without arguments moved me to the user's home directory.

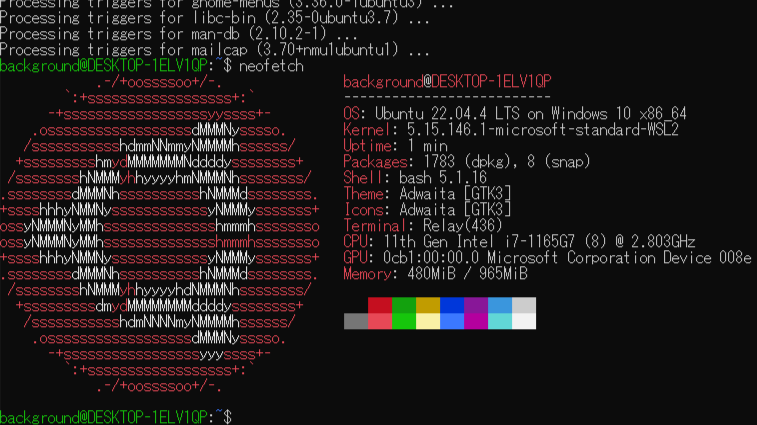
▼It is indeed Ubuntu 22.04.
Creating a Copy and Renaming
Embarrassingly, I had named it "Ubuntu2004" even though it was Ubuntu 22.04, so I changed it. I handled this by exporting the current environment with a WSL2 command and importing it under a different name.
First, I exported the tar file with the following command:
wsl --export Ubuntu2004_GS ubuntu2004_gs.tar▼It executed without any issues.

▼A tar file was created in the execution directory.

Now, import it with the following command:
wsl --import Ubuntu2204_GS W:\Ubuntu2204_GS ubuntu2004_gs.tar▼It was also added to the list.

▼It launched properly as Ubuntu 22.04.
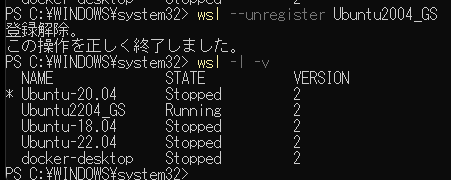
I unregistered and deleted the environment with the incorrect name.
wsl --unregister Ubuntu2004_GS▼The contents of the folder were also empty.
Creating a Shortcut
Normally, if you press the Windows Start button, there's an application ready to launch the Ubuntu terminal.
▼It looks like this.

I couldn't find one this time, so I created a shortcut on the desktop.
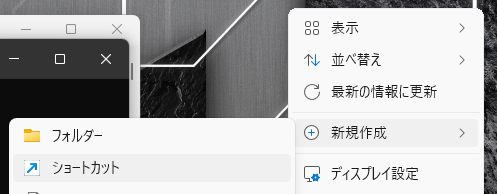
▼Right-clicking on the desktop shows "Shortcut" under the "New" menu.
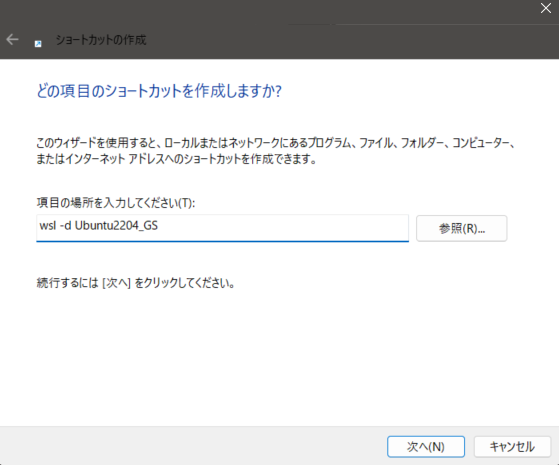
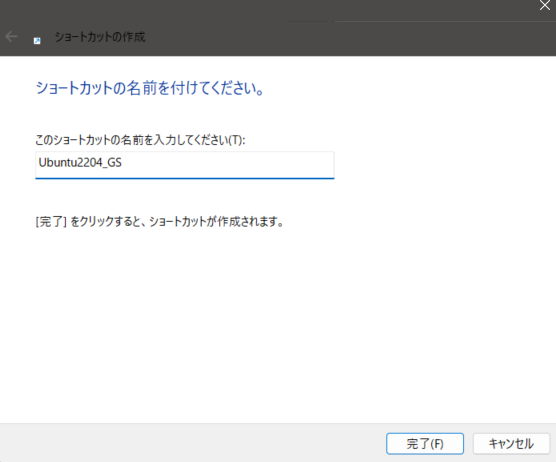
▼Create the shortcut based on the command used to activate the Ubuntu environment.
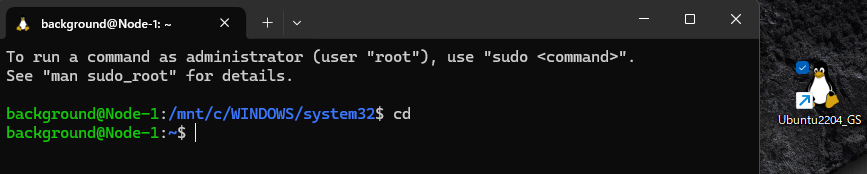
▼The shortcut has been added! Double-clicking it opens the terminal in a logged-in state.
Note that it was also added to the terminal's dropdown menu, so you can enter the terminal from there as well.
▼Selecting it started me in the user directory.

Finally
Up until now, I had only used one instance of each Ubuntu version, but now I can build and use multiple environments.
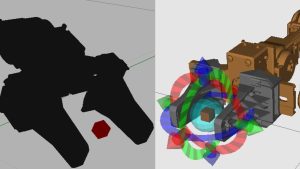
I'm planning to use another PC to build the 3D Gaussian Splatting environment I've been testing recently, following this verification.
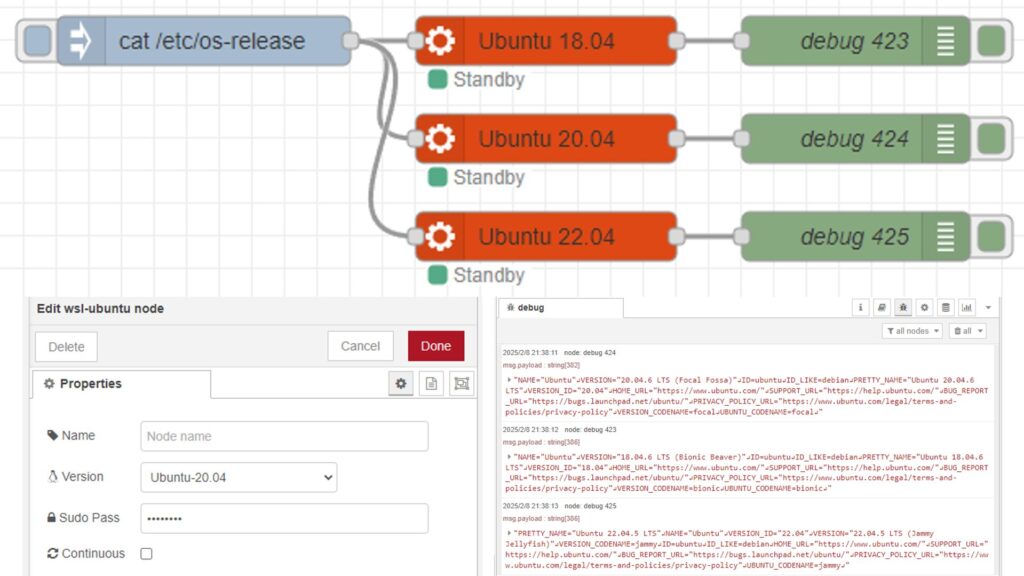
▼I've also been developing a rather niche Node-RED node that uses WSL2 to execute commands in the Ubuntu environment, and I think I can improve it into a node that can switch between different environments.
Node-REDのノードを開発してみる その5(wsl-ubuntuノード)
はじめに 今回はNode-REDでWSLのUbuntu環境を起動してコマンドを実行できる、wsl-ubuntuノードを開発してみました。 私はROSを起動するのにWSLのUbuntu環境を利用して…