Trying Out Jetson Nano (Peripherals and Remote Desktop Connection)
Introduction
I got my hands on a Jetson Nano a while ago, so this time I’m preparing it for robot development. There were quite a few things I had to purchase additionally.
I’m still not used to operating via the CLI (Command Line Interface) at all. Once I get the hang of it, I plan to summarize the commands somewhere.
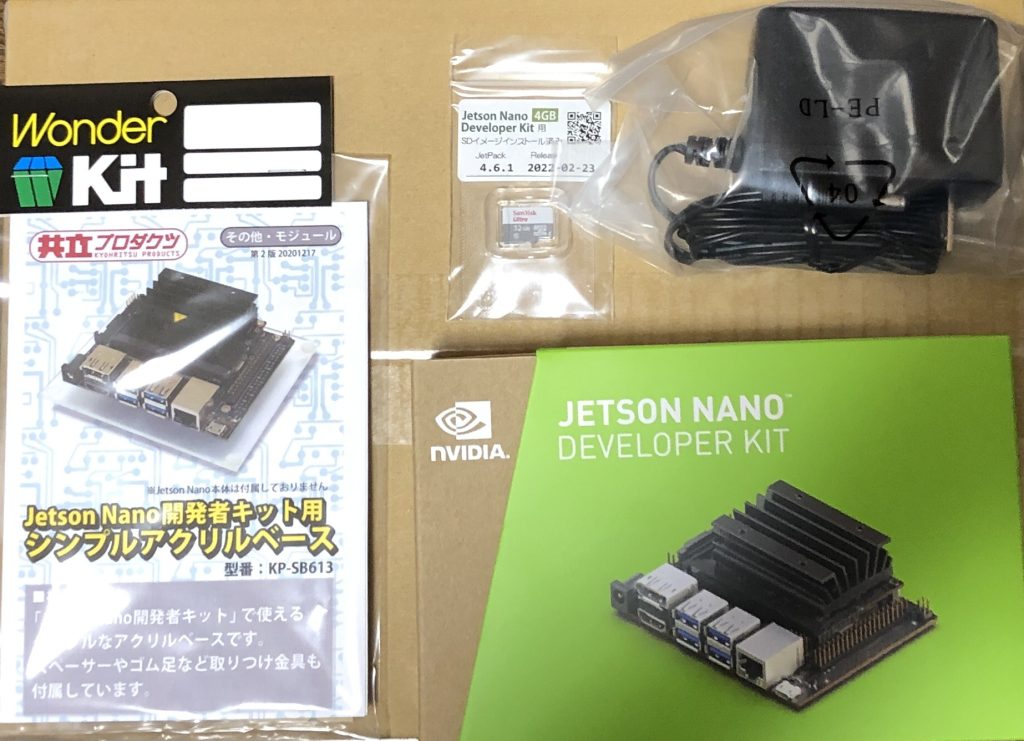
▼The Jetson Nano I obtained
▼Previous articles are here:
ちょっと買い物:共立エレショップ2023福袋
はじめに 新年明けましておめでとうございます。今年もよろしくお願いします。 今回は福袋です。共立エレショップさんのJetson Nano福袋とお試し自作オーディオ福袋を…
▼Useful Websites for Setting Up the Jetson Nano
はじめてみよう!NVIDIA Jetson nano まずは知識と最初の起動! | FABSHOP.JP -デジタルでものづくり! ファブショップ !
▼Official Getting Started Guide
Getting Started With Jetson Nano Developer Kit | NVIDIA Developer
▼The latest edition of a highly useful book. As with Raspberry Pi, books published several years ago may not cover OS or library updates, so I strongly recommend gathering the most current information possible.

OS Image Acquisition
The Jetson Nano is a development board that requires an OS to be installed. You use it by inserting an SD card with the OS flashed onto it. It’s the same as with a Raspberry Pi, where you install the OS using the Raspberry Pi Imager.
In my case, the "lucky bag" (Fukubukuro) I bought previously already had an SD card with the OS installed, so I used that as is.
▼The Jetson Download Center is here:
Jetson Download Center | NVIDIA Developer
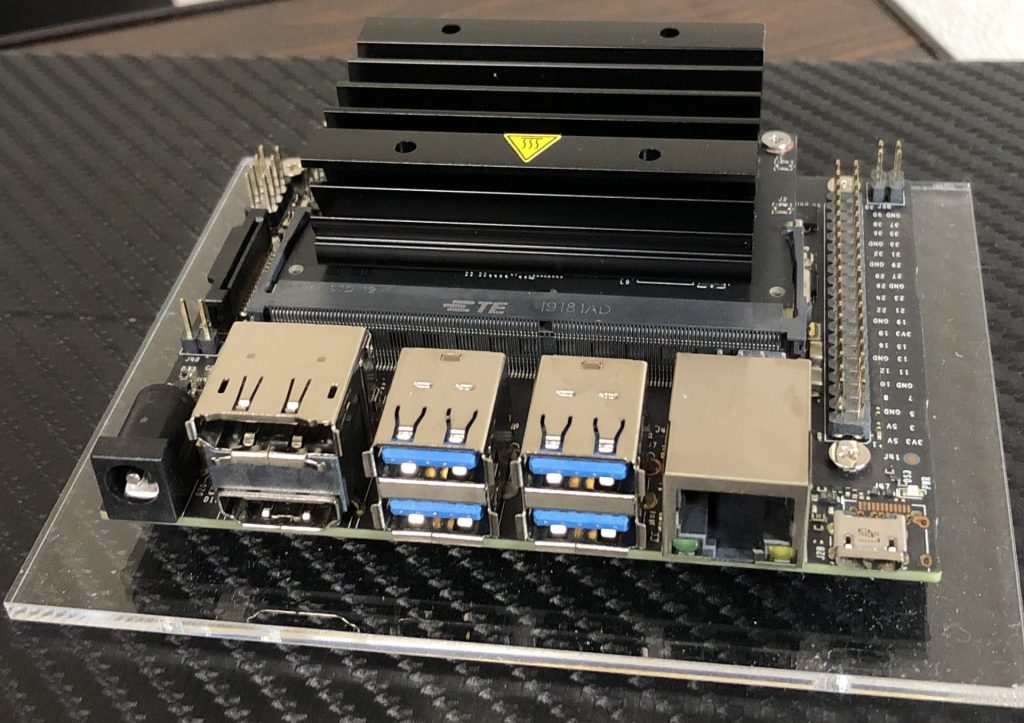
Peripherals
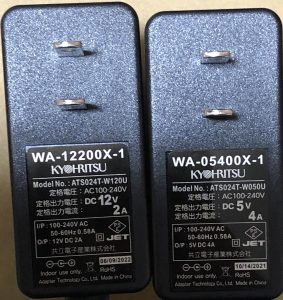
As I mentioned in the previous article, the Jetson Nano is compatible with a 5V 4A AC adapter. Be careful not to confuse it with common 12V AC adapters; they look almost identical.
▼The AC adapter from the lucky bag. The one on the right is 5V 4A.
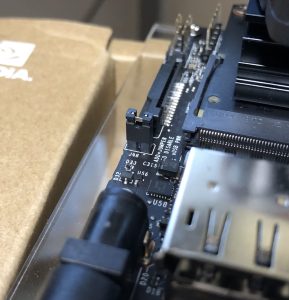
One thing that’s easy to overlook is that when powering via the AC adapter, you need to short the J48 pins. You’ll need a component like a jumper pin.
▼Jumper pins sold at Akizuki Denshi:
https://akizukidenshi.com/catalog/g/gP-03687/
▼It looks like this:
I noticed this when I tried to install libraries after booting, but the Jetson Nano cannot connect to Wi-Fi out of the box. It simply lacks the components for it. I’ve become so used to Wi-Fi being everywhere that I just assumed it would connect automatically…
Considering current consumption, perhaps it’s better that it's detachable? Since you can also connect via Ethernet to a router, it makes sense that it isn't standard equipment. This time, I bought a USB Wi-Fi dongle that works just by plugging it in.
▼USB Wi-Fi LAN Adapter

Also, while the Raspberry Pi has an earphone jack, the Jetson Nano does not. I was looking into voice recognition, and it seems using a USB microphone is the quickest way. I bought a cheap one for now.
▼USB Microphone. My impression is that the casing is a bit tight, making it slightly difficult to plug in and out.

Additionally, I’m using a wired keyboard and mouse for input. I believe wired connections are more reliable than Bluetooth and likely consume less current.
▼The keyboard I use seems to be out of stock now, but it is a compact, tenkeyless, slim model.

▼Wired Mouse

I also bought a cooling fan for heat dissipation. It seems you can control the fan speed automatically.
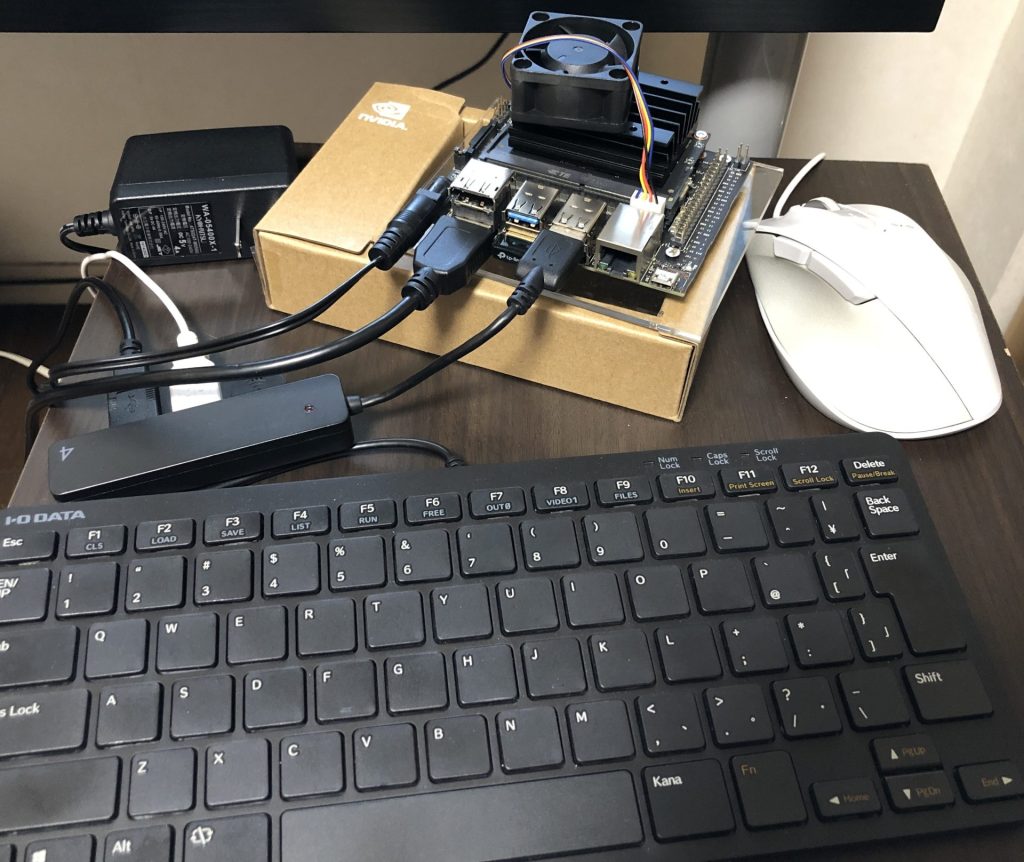
▼This is what it looks like once the peripherals are ready. It worked fine even through a USB hub.
▼This is the screen upon booting:

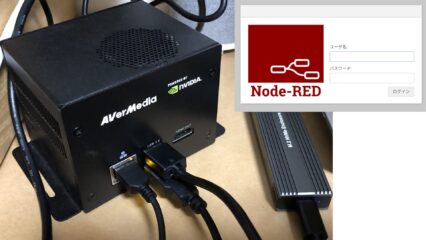
Setting Up Remote Desktop Connection
Considering that the Jetson Nano will be built into a robot, it would be more convenient to operate it remotely without connecting a keyboard or mouse directly. So, I tried setting up a remote desktop.
This time, I connected from a Windows 10 PC to a lightweight desktop environment called Xfce on the Jetson Nano.
- Finding the IP Address
- You can find it with the "ip a" command.
The "wlan0" section contains the settings for Wi-Fi.
- Installing and Configuring Necessary Packages
- Enter the following commands in the terminal:
sudo apt install xrdp
sudo apt install xfce4 xfce4-goodies
echo xfce4-session > ~/.xsession- Connecting from Windows 10
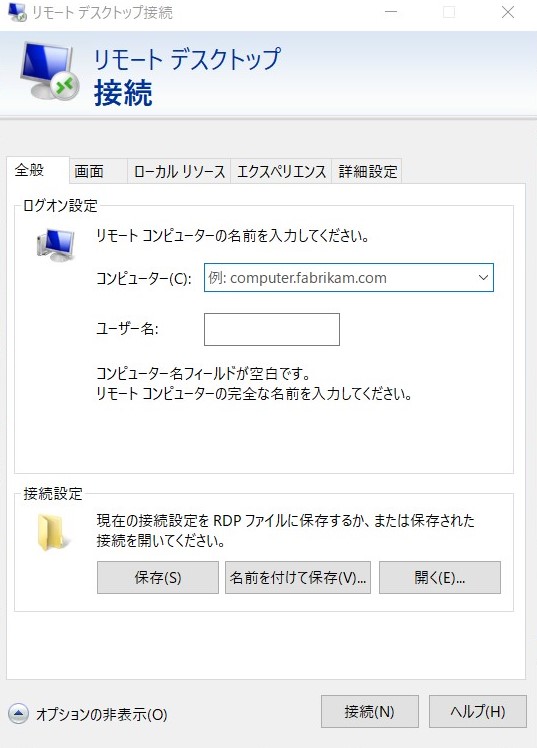
- Search for "Remote Desktop Connection" in Windows.
Enter the Jetson Nano's IP address in the "Computer" field and connect.
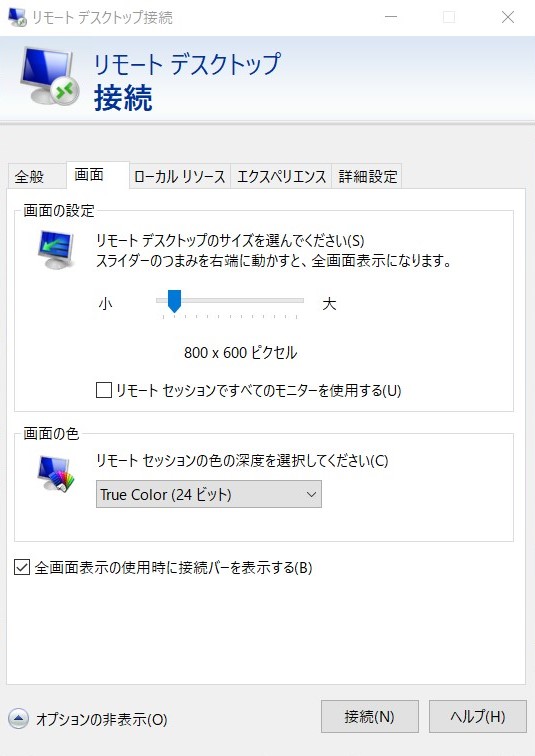
▼The Remote Desktop Connection screen. If you save it with a name, you can connect instantly just by opening the file.
▼When the screen size was large, the processing was extremely heavy. In my case, it became smooth at 800 x 600 pixels.
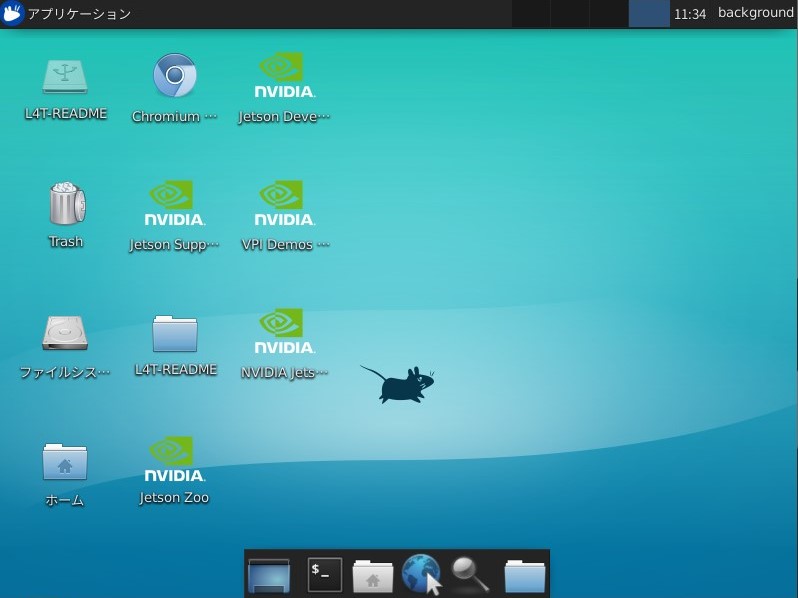
▼The Remote Desktop screen:
By the way, the command "sudo" means "execute with administrative privileges." Apparently, it stands for "superuser do." When you run something with sudo, you will usually be prompted for a password by default.
If you want to revert the settings after the Remote Desktop setup
I enabled the remote desktop, but in the end, I decided to go back to using a monitor directly because the processing is faster. Another reason was that I couldn't run heavy processing samples through the remote connection.
▼Checking the boot mode. "graphical.target" means GUI login, and "multi-user.target" means CLI login.
systemctl get-default▼To start the GUI from a CLI login:
systemctl start gdm3▼To revert to GUI login as the default:
▼To set CLI login as the default:
sudo systemctl set-default multi-user.targetFinally
Now that the basic initial settings are finished, I’ve been trying out voice recognition, image recognition, and deep reinforcement learning, but I’m getting held back quite a bit by errors. Most of the time, it's a "missing library" issue. I’m also making mistakes because I’m not used to the CLI, but I intend to keep going while researching as I go.