Annotation with CVAT (YOLO v8, Object Detection)
Introduction
In this post, I tried performing annotation using CVAT (Computer Vision Annotation Tool).
By annotating images and training them with YOLO, you can enable object detection. I’m planning to use this for image processing in robotics.
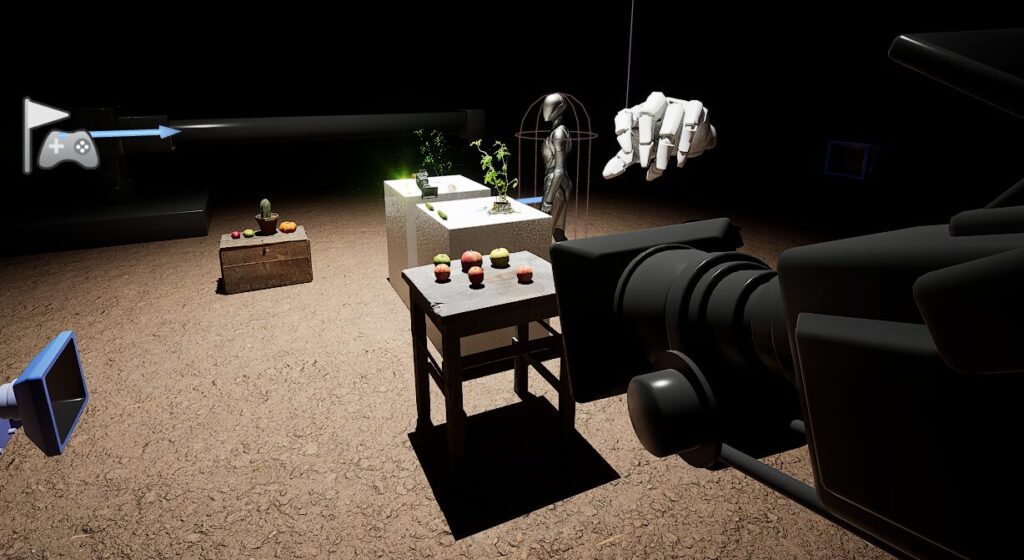
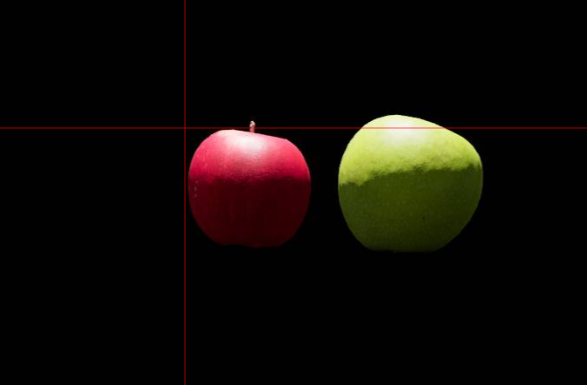
The detection targets for this project are Megascans apples captured in Unreal Engine 5. Although the subjects differ, I am also working on object detection for my research.
▼Capturing in Unreal Engine 5 is performed as described in this article:
Unreal Engine 5を使ってみる その12(Screenshot )
はじめに 今回はUnreal Engine 5(UE5)のスクリーンショットを試してみました。 シミュレーション内で撮影することで、YOLOのデータセットを作成できそうだなと考えて…
▼Previous articles are here:
Unreal Engine 5を使ってみる その10(Scaniverse、点群データの取り込み)
はじめに 今回はiPhone 15 ProでScaniverseというアプリを使って3Dスキャンしたデータを、Unreal Engine 5(UE5)に取り込んでみました。 データを取り込むにあたって…
Object Detection with YOLO Part 3 (Integration with ROS, WSL2 Ubuntu 18.04)
Info This article is translated from Japanese to English. Introduction In this post, I tried integrating YOLO with ROS on Ubuntu 18.04 via WSL2.This setup is c…

Related Information
There are various annotation tools available, and I often see LabelImg or LabelStudio mentioned in research papers.
▼LabelImg is here. It has become a Public Archive and is now part of LabelStudio.
https://github.com/HumanSignal/labelImg
▼LabelStudio is here:
This time, I’m using CVAT. It allows for team collaboration, and while using it, I found several features convenient for annotation.
▼CVAT is here:
▼For example, when enclosing an object with a rectangle, a crosshair appears at the mouse position. Having this display makes a huge difference.
▼Although I won't cover it here, when I performed annotation for semantic segmentation, the OpenCV assistance was very helpful.
Setting Up the Environment
I set up the environment on my usual laptop.
▼I am using a gaming laptop purchased for around 100,000 yen, running Windows 11.
Shopping: New Laptop and SSD Expansion (ASUS TUF Gaming A15)
Info This article is translated from Japanese to English. Introduction In this post, I’ll be talking about replacing my PC after my previous one broke down. I …


▼I proceeded by referring to the following page:
https://docs.cvat.ai/docs/administration/basics/installation/#windows-10
First, install the necessary software.
▼Docker Desktop is here:
▼Git is here:
For this setup, I am installing and running Ubuntu 22.04 via WSL2. Open PowerShell with administrator privileges and run the following command:
wsl.exe --install Ubuntu-22.04▼I have also written about installing Ubuntu 22.04 on WSL2 here. It can get complicated if you are reinstalling.
WSL2を使ってみる その1(Ubuntu 22.04、Node-RED、メモリ制限)
はじめに 今回はWindows環境でLinuxディストリビューションをインストールできる、WSL(Windows Subsystem for Linux)の環境を構築してみました。 最近オープンソー…
After the installation is complete, configure Docker Desktop.
▼Select Settings.

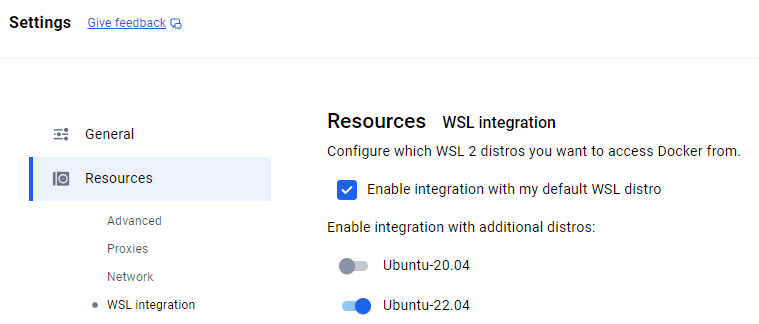
▼Under Resources, there is a WSL integration section; enable it for Ubuntu-22.04.
Then, select Apply & restart.
Launch the Ubuntu 22.04 terminal and install CVAT. I executed the following commands in order:
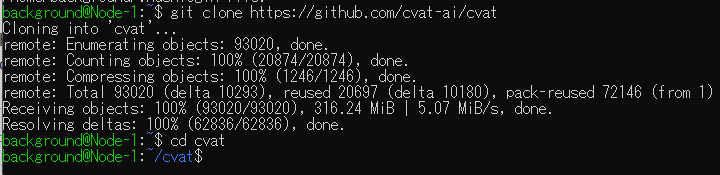
git clone https://github.com/cvat-ai/cvat
cd cvat
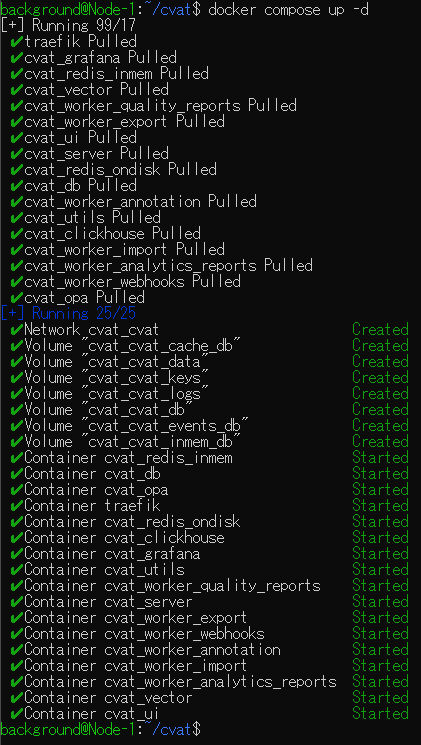
docker compose up -d
sudo docker exec -it cvat_server bash -ic 'python3 ~/manage.py createsuperuser'▼Cloned the repository and moved into the cvat directory.
▼Executed docker compose. This process took some time.
▼After running the final command, I was asked for a username and password. You will need these to log in to CVAT later.

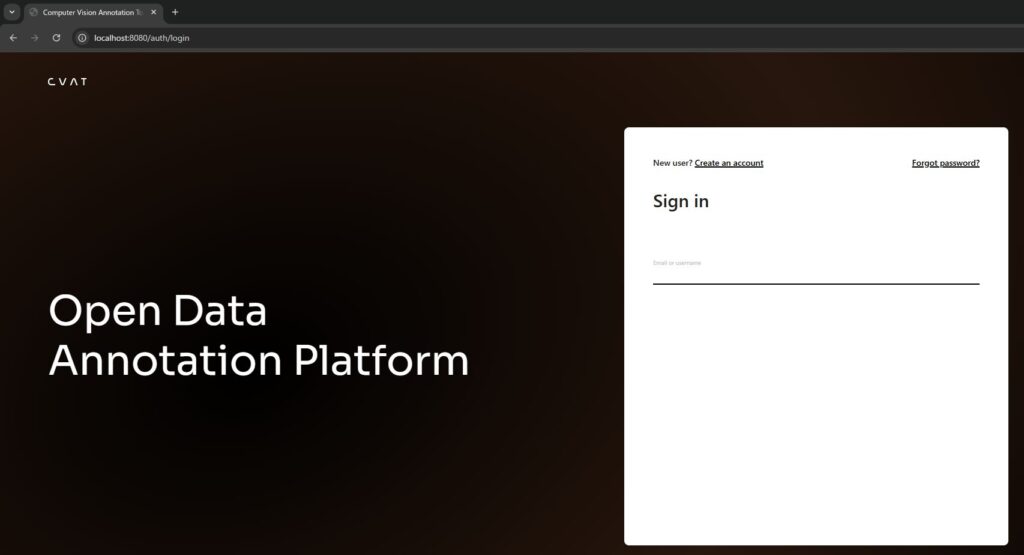
Access http://localhost:8080 in your browser.
▼The CVAT screen appeared.
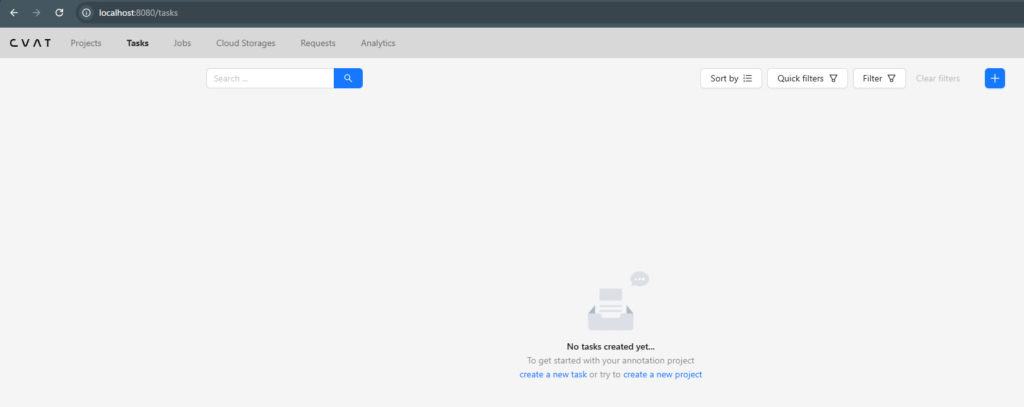
▼After logging in, it transitioned to the screen for selecting Projects and Tasks.
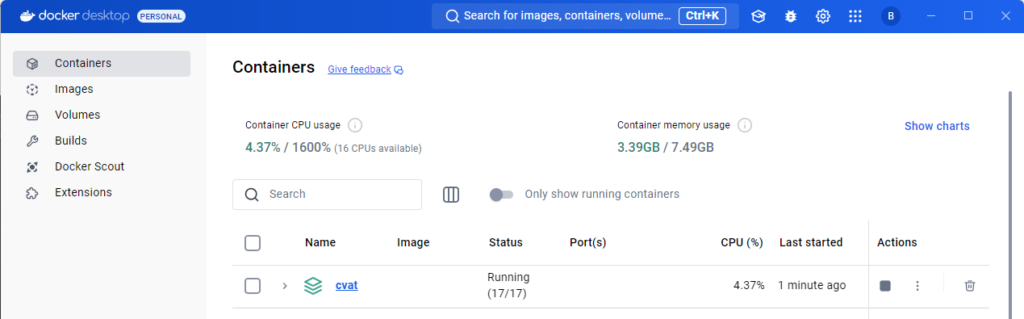
Sometimes I couldn't access it even after restarting the PC and launching Docker Desktop. I had to restart CVAT within Docker Desktop.
▼You can restart it by stopping it once using the square Actions icon.
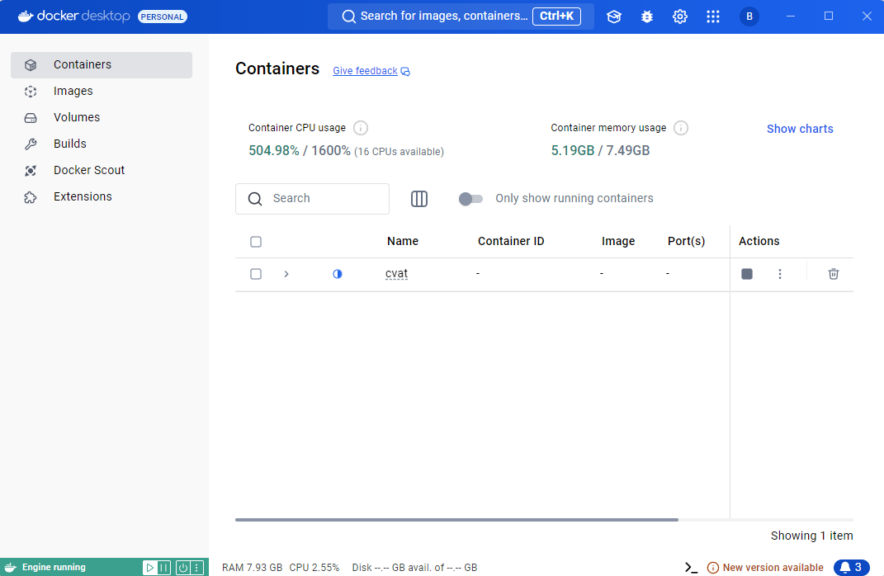
▼When running normally, the status shows as Running.
Performing Annotation
Creating Projects and Tasks
Before annotating, you need to create a project and a task.
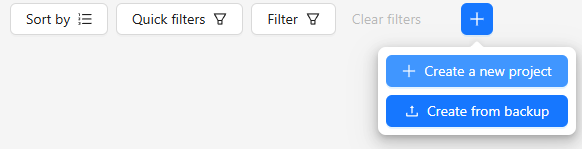
First, create a project.
▼Select Create a new project.
▼Enter the project name.
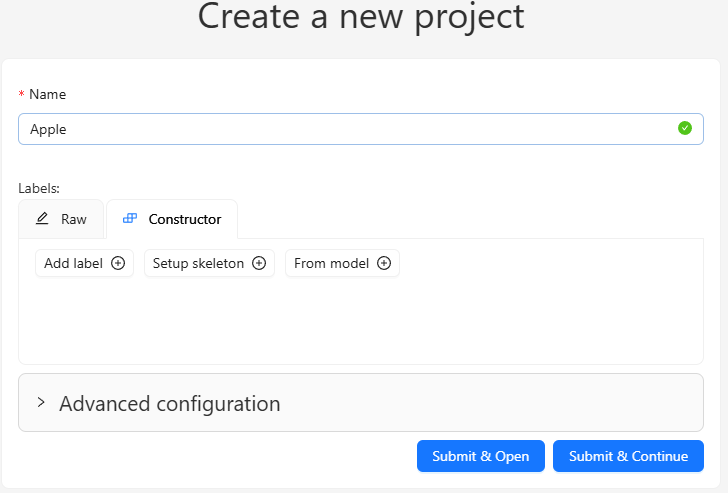
Set the types of objects you want to detect in the Constructor.
▼I added RED and GREEN.

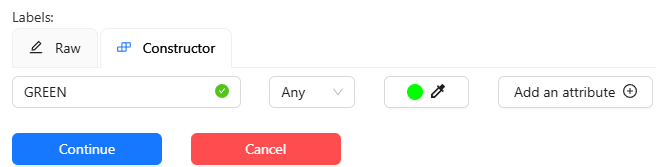
Select Submit & Open to finish the configuration.
▼The project screen opened.
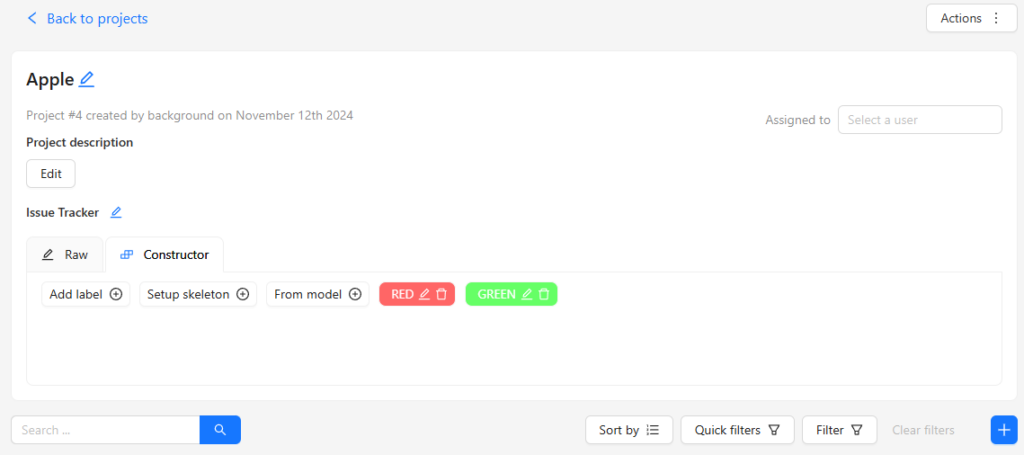
Next, add a task.
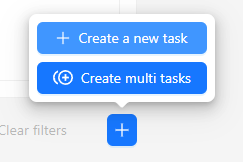
▼Select the plus mark button in the project.
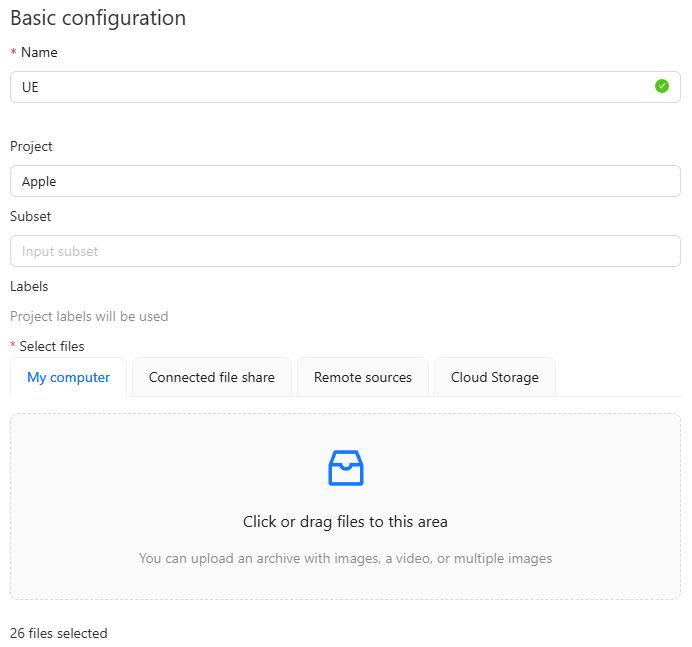
▼The task configuration screen appeared.

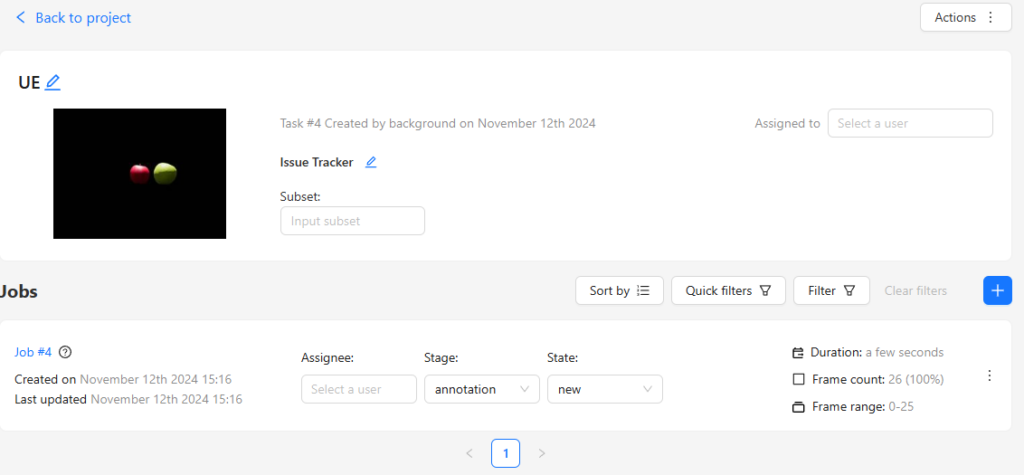
▼I named it UE. Images are not displayed when uploaded, but the count is shown.
▼After creation, it is added as a Job.
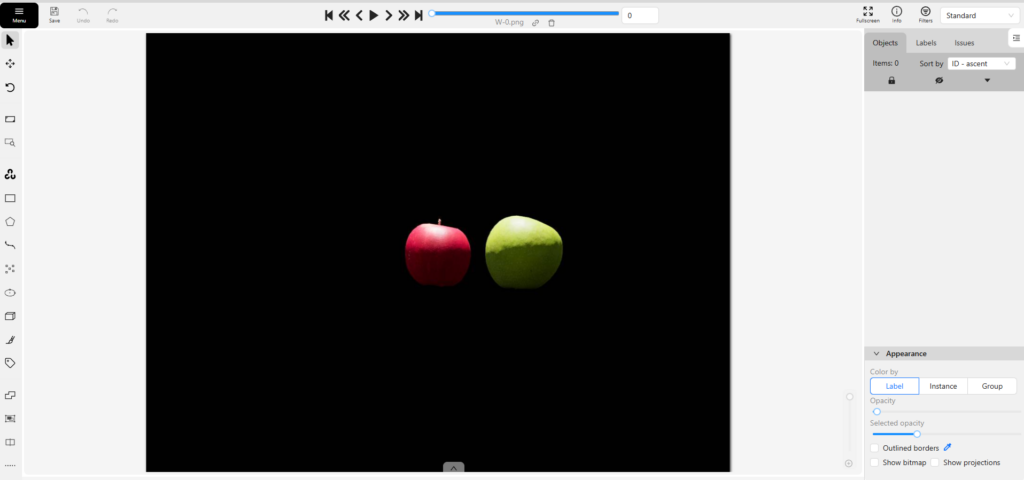
Annotating
Selecting a Job opens the annotation screen.
▼It appeared as follows:
Tools for annotation are provided on the left side. Since I want to perform object detection, I created rectangular bounding boxes.
▼Select the label and then select Shape.
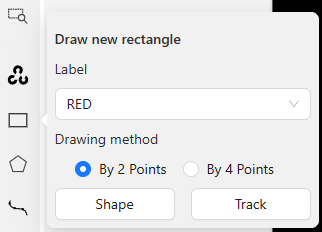
A crosshair appears when you bring the mouse over the image.
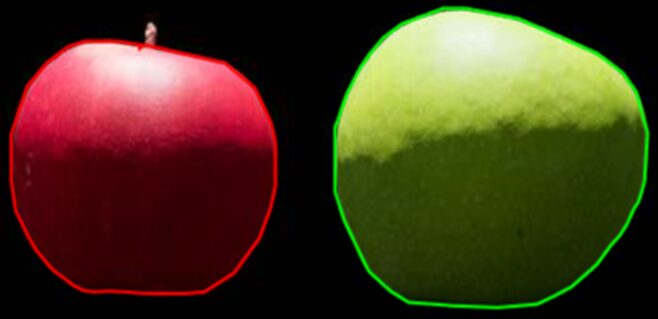
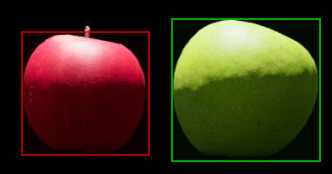
▼Click at the position to enclose the object.
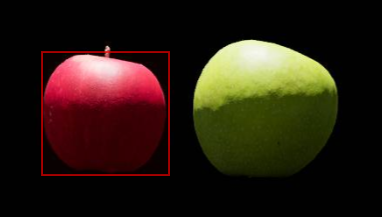
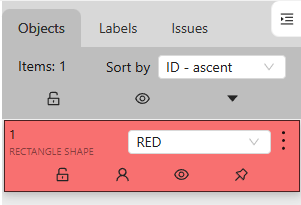
▼The object was added as RED.
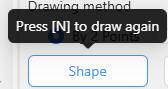
▼To annotate continuously, you can press N on the keyboard to draw again.
▼I also enclosed the GREEN ones.
▼To move to the next image, press F on the keyboard or select the arrow.

Once you get used to these keyboard operations, you can perform annotation very quickly.
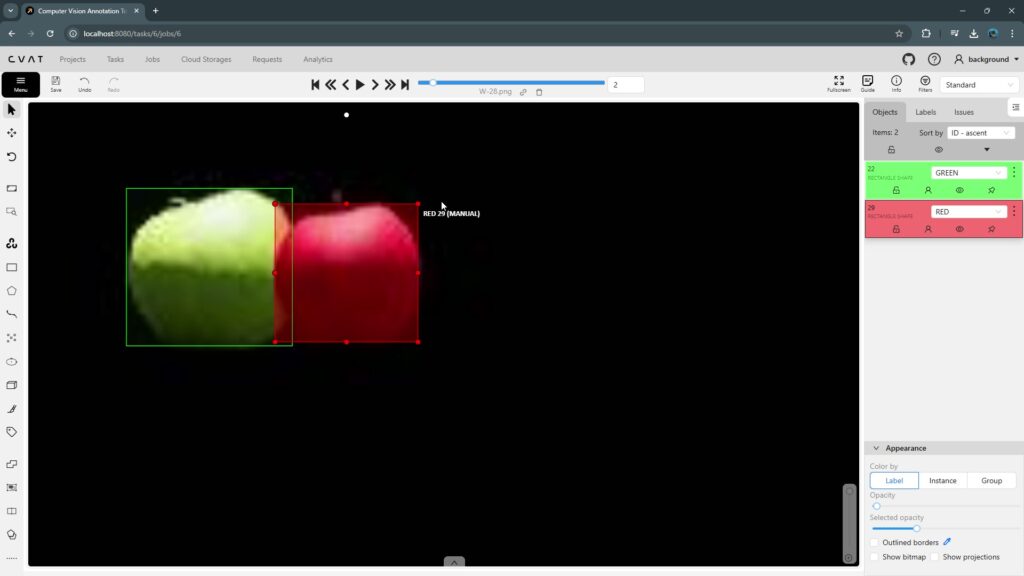
▼Here is what the actual annotation process looks like:
▼I was able to enclose them as follows:
Once annotation is finished, export it as a dataset.
▼Return to the Tasks screen and select Export task dataset from Actions.

▼You can choose the dataset format.
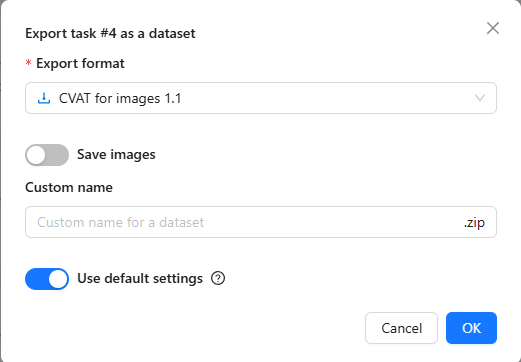
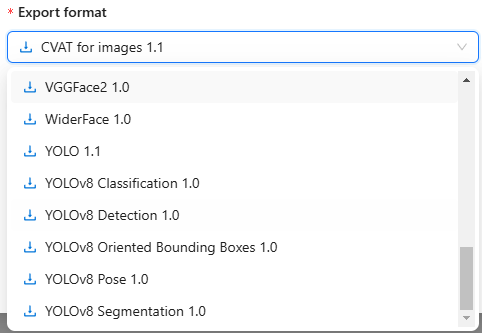
I kept Save images turned on. I set the format to YOLOv8 Detection 1.0.
▼YOLOv8 Pose and Segmentation formats are also available.
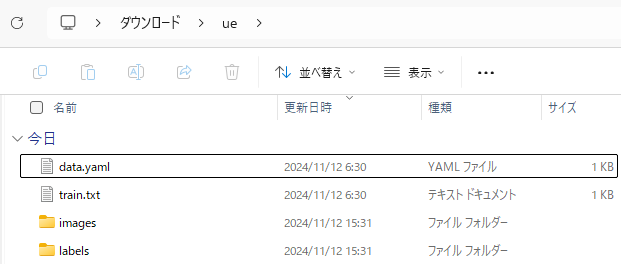
▼After the export process is finished, you can download the dataset from the Requests column.

▼The dataset was successfully downloaded.
Next, I tried training with YOLO using the ultralytics package, but I encountered the following error:
▼An error stating that train and val are required.
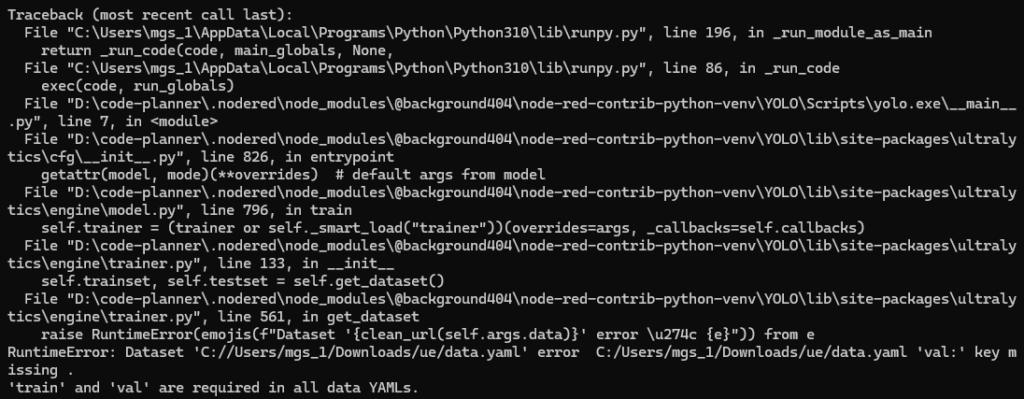
The data format output by CVAT does not originally include a val folder and does not seem compatible with YOLO training as-is.
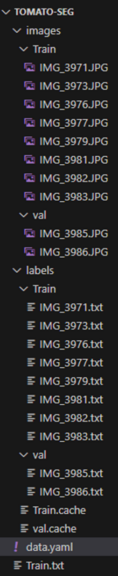
This time, I manually moved the data into train and val folders with an 8:2 ratio. Of course, it is also possible to handle this with Python by passing the dataset path.
▼Change the structure as follows:
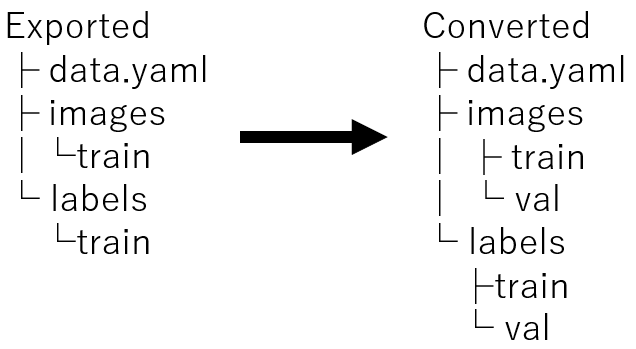
▼Although it's a different dataset, the structure looks like this:
I set up data.yaml in the following format. Please change the absolute paths according to your environment.
names:
  0: RED
  1: GREEN
train: <absolute path of images/train folder>
val: <absolute path of images/val folder>
The following format also worked for training:
names:
  0: RED
  1: GREEN
path: <absolute path of dataset>
train: images/train
val: images/val
Training with YOLO
Perform training using YOLO's Train mode. Please ensure the ultralytics package is installed via pip beforehand.
▼The page regarding Train in Ultralytics YOLO is here:
https://docs.ultralytics.com/modes/train
To train, simply run the following command. Specify the absolute path of the data.yaml file inside the dataset you just exported.
yolo detect train data=<absolute path of data.yaml> model=yolov8n.ptTraining takes time if the dataset has many images or if you use a model with many parameters.
Using my PC's CPU, a Ryzen 7, it took about an hour with yolov8n for 100 images, and about twice that for yolov8s.
After training, the terminal will display the folder where the output results are saved. By default, the trained data is placed in the runs/detect folder of the execution directory.
▼I will use best.pt later.

Testing Object Detection
I tested if I could detect objects on the PC screen using a USB camera.
▼For the method, please refer to the article on running YOLO with Python.
Object Detection with YOLO Part 2 (Python, Node-RED)
Info This article is translated from Japanese to English. Introduction In this post, I tried running YOLO using Python.When I tried YOLO in my previous article…

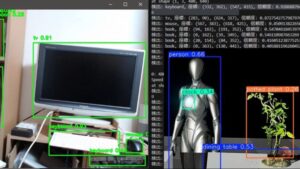
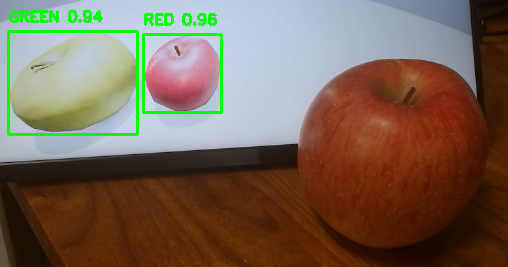
▼The UE5 screen. There are many false detections.
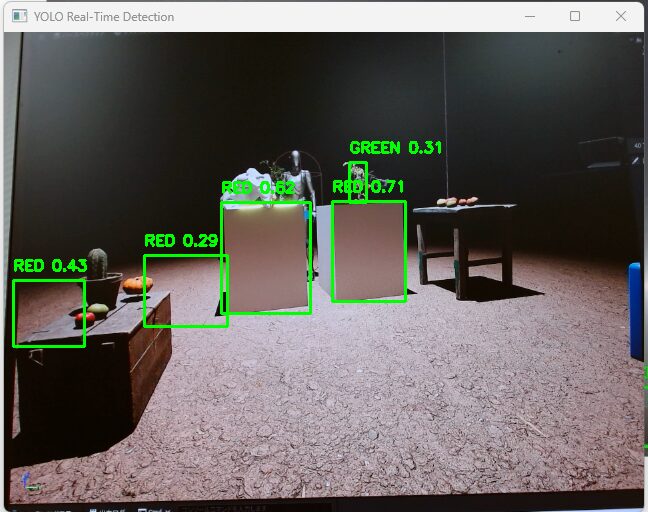
▼The accuracy is low, but it is detecting.
▼A PC icon was falsely detected.

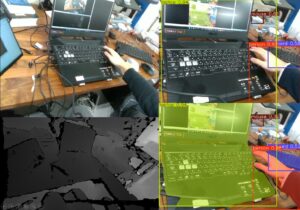
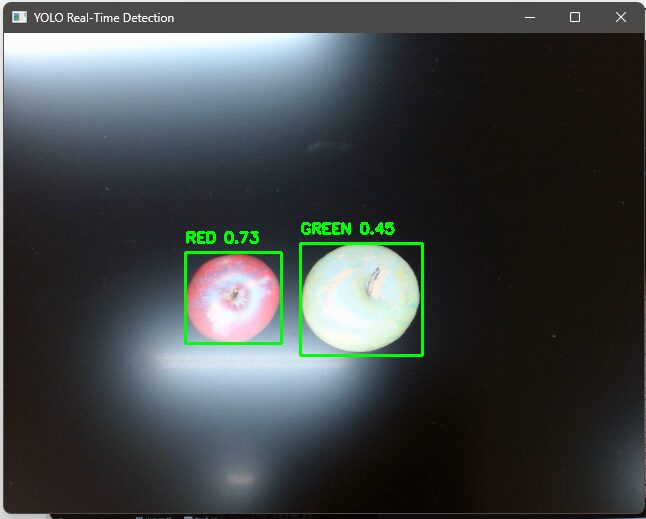
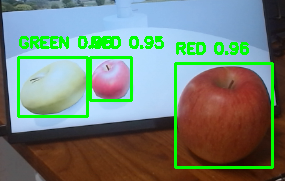
▼I was also able to detect a real apple. However, when the distance changed, it sometimes failed to detect. It might be too large.
Finally
As long as you can perform the annotation, training with YOLO was easy. It seems applicable to object detection via robot cameras as well.
I want to try a configuration where a small computer like a microcontroller captures the image and communicates with a server that handles the image processing.
▼By the way, when combined with Pixel Streaming in Unreal Engine 5, you can perform object detection with YOLO on the game screen.
Unreal Engine 5を使ってみる その11(Pixel Streaming )
はじめに 今回はUnreal Engine(UE)のPixel Streamingプラグインを利用して、ゲーム画面をストリーミングしてみました。 同じネットワークに接続している端末で、ブラ…
▼I also touched on this briefly in an article I wrote on Qiita at the end of last year.
https://qiita.com/background/items/c0d5b0a744fdd2365fd1