Trying Out the Prusa MK4 (3D Printer)
Introduction
I finally bought my long-awaited 3D printer! The Prusa MK4!
I had heard about Prusa from an acquaintance, and I got to see the actual machine at Maker Faire Kyoto 2023. After that, the 3D printer in our clubroom stopped working during a hackathon, which pushed me to buy one for my personal use.
There were options for a kit or a semi-assembled version, but I chose the kit because I wanted to understand the internal structure. Since it wasn't out in Japan yet, I ordered it from the Czech Republic, and it took about two months to arrive. I wonder if it will be released in Japan soon?
▼The sales page is here. I can't believe it wasn't 7-8 days, but 7-8 weeks…
https://www.prusa3d.com/product/original-prusa-mk4-2/
▼The MK4 seems to be out of stock now, but the MK4S is available on Amazon! That should arrive much faster.

▼Here is the article from the Maker Faire. I received a lot of test filaments.
Maker Faire Kyoto 2023に行ってきました!
はじめに 4月29、30日には「Maker Faire Kyoto 2023」がありました。世界的な展示会です。今回はそのMakerにはじめて行ってきましたというお話です。 私は知り合いの…
Building the Printer
I didn't film the entire assembly process, but I’ll give a brief overview. It took about two days of working on it during weekdays.
▼Original Prusa MK4 kit assembly guide:
https://help.prusa3d.com/category/original-prusa-mk4-kit-assembly_1967
▼Download firmware and manuals here:
https://help.prusa3d.com/ja/tag/mk4
▼The box when it arrived. It came with HARIBO! The assembly manual even had breaks called "HARIBO Time!"

▼Familiar electronic parts are used: stepping motors, fans, ESP, etc.


▼Here is the completed state. (The fan next to the nozzle was open, so I took the photo again later.)


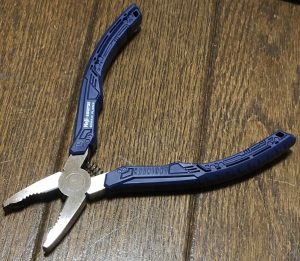
▼By the way, I stripped a screw hole during assembly, so I hurriedly bought a pair of "Nejisaurus" (Engineer PZ-58). They really grip the screws well.

Test Printing
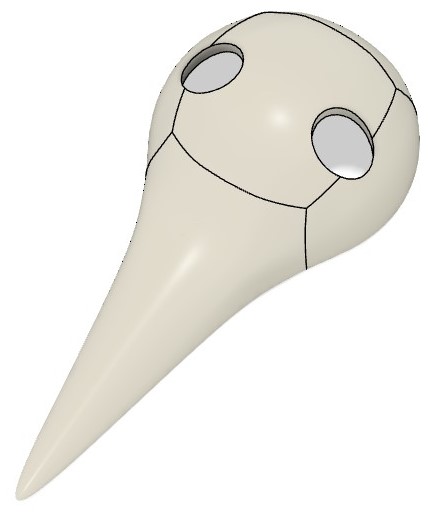
I prepared data that looks like a mask of an Angel from Evangelion and tried printing it. I used Prusa Slicer to convert it into gcode.
▼Prusa Slicer is here:
https://www.prusa3d.com/page/prusaslicer_424/
▼I printed this data created in Fusion 360.
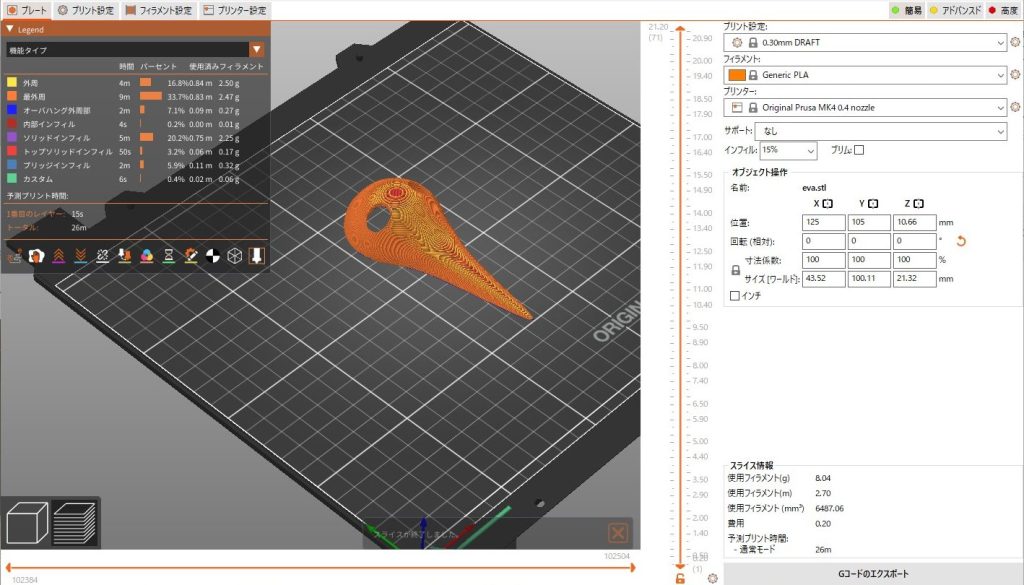
▼The Prusa Slicer screen looks like this.
▼First, I printed it with supports. Coincidentally, it fits my Haniwa figure perfectly.


Actually running the machine, I was surprised by the automatic leveling. It seems the X and Y axes are determined by moving the stepping motors, while the Z axis uses a load cell to detect the nozzle's position when it touches the plate.
With the 3D printer I used before, I had to turn screws and adjust the level using limit switches. That task was very tedious, so this is much more comfortable to use.
▼Here is a video of the printing process. I believe I used the 0.2mm Quality setting.
I tried later and found I could print curved surfaces even without supports. I also received advice that changing the layering direction makes the surface finish even cleaner. I’ll try that next time.
When I was ventilating the room, the wind was strong and cold, which caused the tip of the print to peel off the plate. You really have to be careful with the surrounding environment.
When researching 3D printers, some people worry about the noise, but it didn't bother me at all. My impression is that the dishwasher or vacuum cleaner at home is much louder.
Printing Data Found Online
I printed some data I found on Thingiverse and the Prusa community.
*I have checked the licenses, but please let me know if there are any issues.
▼Thingiverse:
Thingiverse - Digital Designs for Physical Objects
▼Prusa Community:
3DBenchy
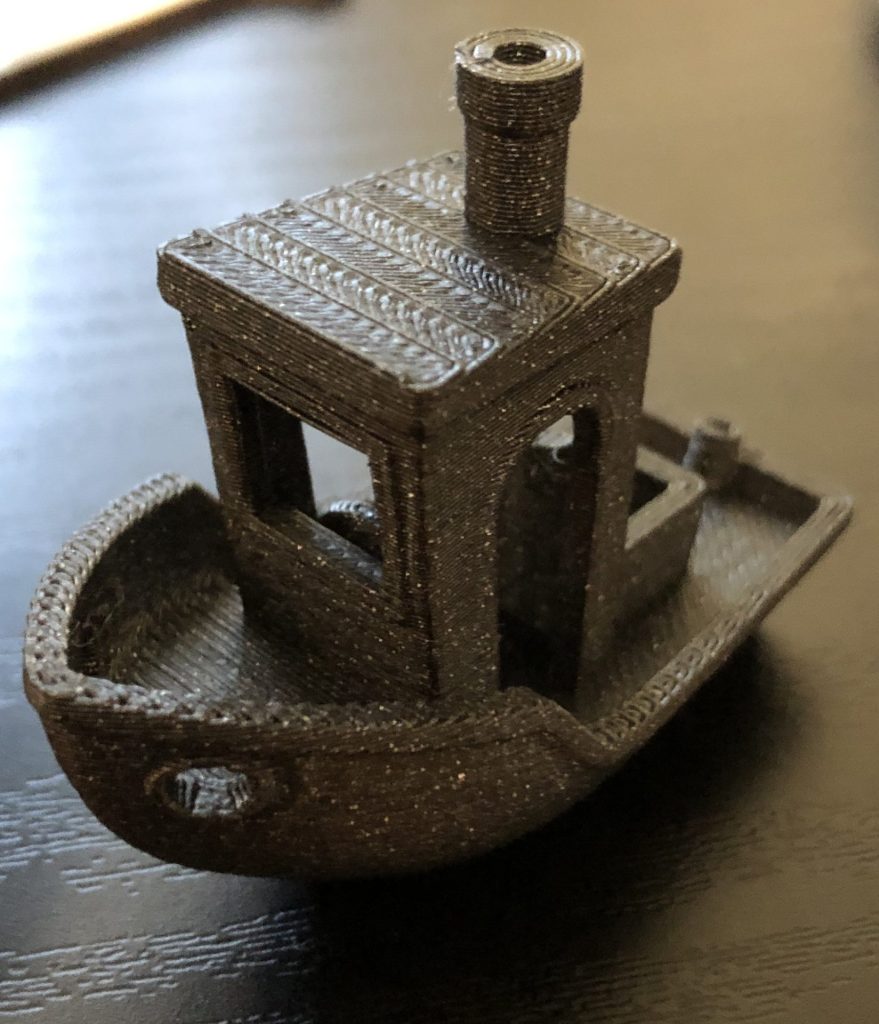
There is a famous model called "3DBenchy" used for comparing the accuracy and speed of various 3D printers.
▼Overview here:
Why is 3DBenchy such a popular 3D model to 3D print? – #3DBenchy
▼Data here:
CreativeTools (https://www.thingiverse.com/thing:763622)
▼Here is the result. It took about 43 minutes on the coarsest setting. It looks quite clean.
Hinges
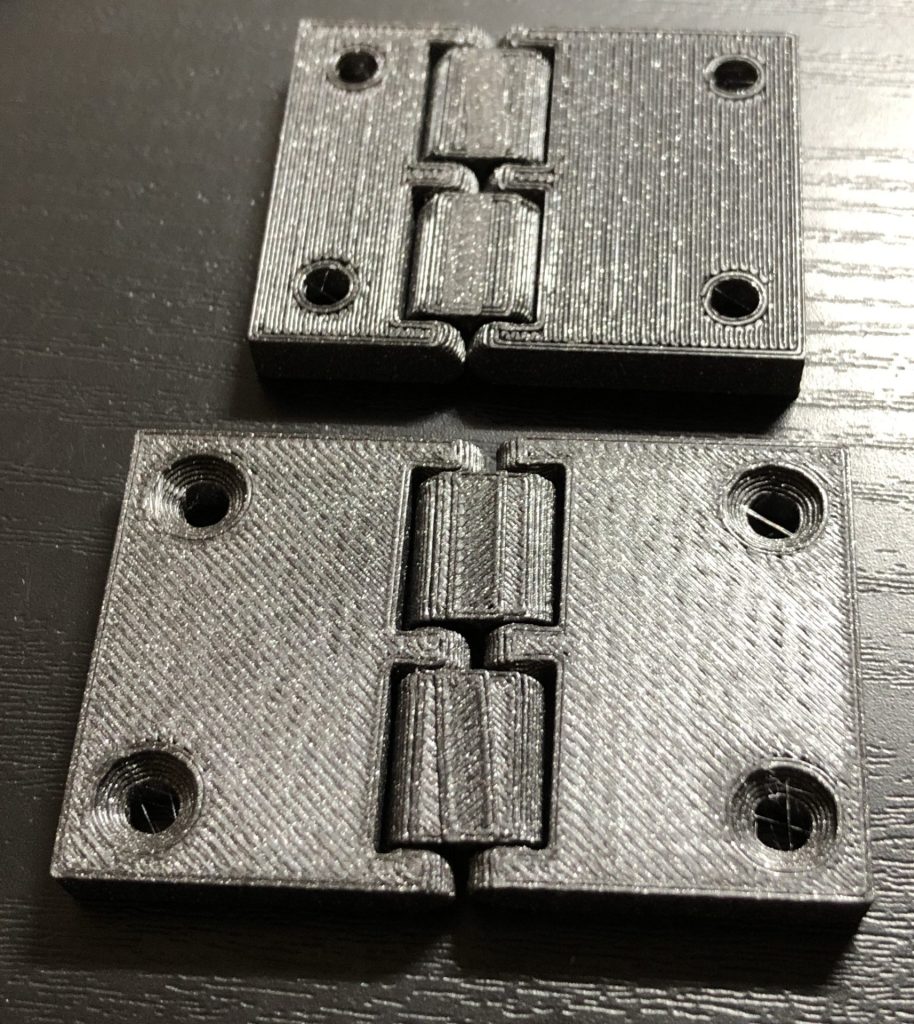
I heard there was hinge data if you search for "hinge," so I tried printing it.
▼This is the data. It's printed with the parts already connected. Interesting design.
pjnovas (https://www.thingiverse.com/thing:1881492)
Snap-fits
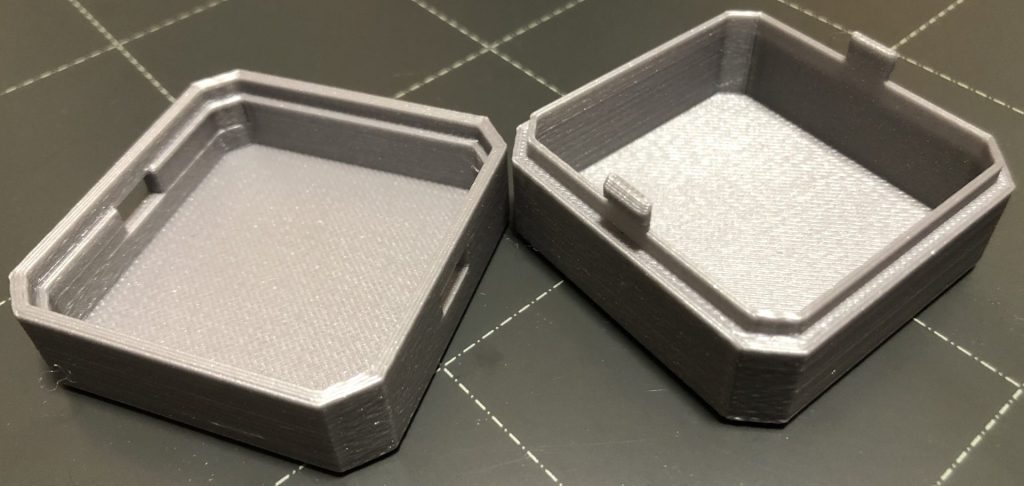
▼A box with snap-fits. It clicks into place perfectly.
3DMakerNoob (https://www.printables.com/model/143337-simple-snap-fit-box/files)
Case data for Seeed-style microcontrollers is publicly available. They also use snap-fits and are perfectly designed for small microcontrollers. This is very helpful for reference.
▼Data is near the bottom of these pages:
https://wiki.seeedstudio.com/xiao_esp32s3_getting_started/
https://www.seeedstudio.com/Seeed-Studio-Round-Display-for-XIAO-p-5638.html

▼I’m also designing a case for Spresense using snap-fits. Sometimes the tabs are too thin and break. I'm currently refining it through multiple iterations.


Ball Joints
▼Octopus legs. They can be connected together.
Solid_Alexei (https://www.thingiverse.com/thing:1571732)
Gears
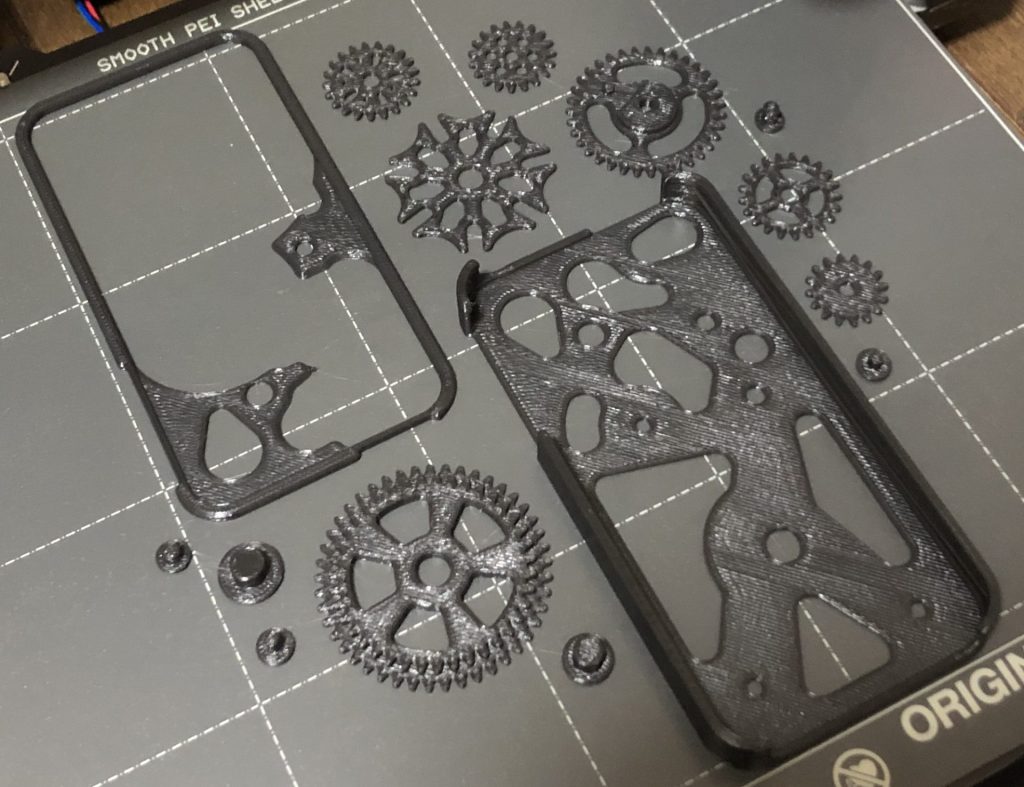
▼A spinning gear set that fits inside a phone case shape. It even has a Geneva drive mechanism.
QuentinT (https://www.thingiverse.com/thing:65810)
Figures
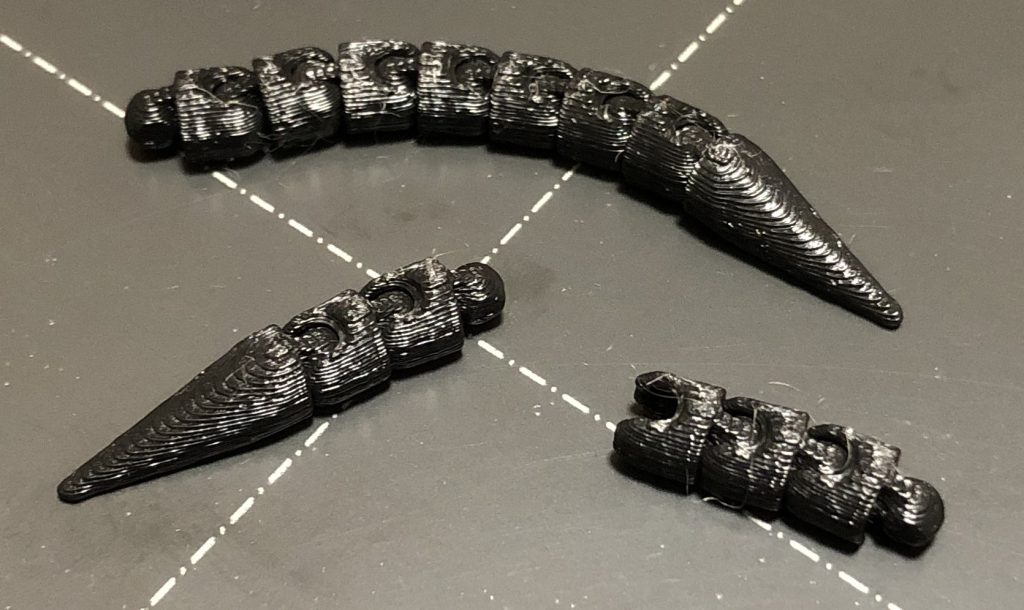
▼Basilisk. I printed this without supports in the orientation shown in the photo, so naturally, the face didn't turn out well. This was entirely my mistake, but the scales came out beautifully.
miniShev (https://www.thingiverse.com/thing:6206639)
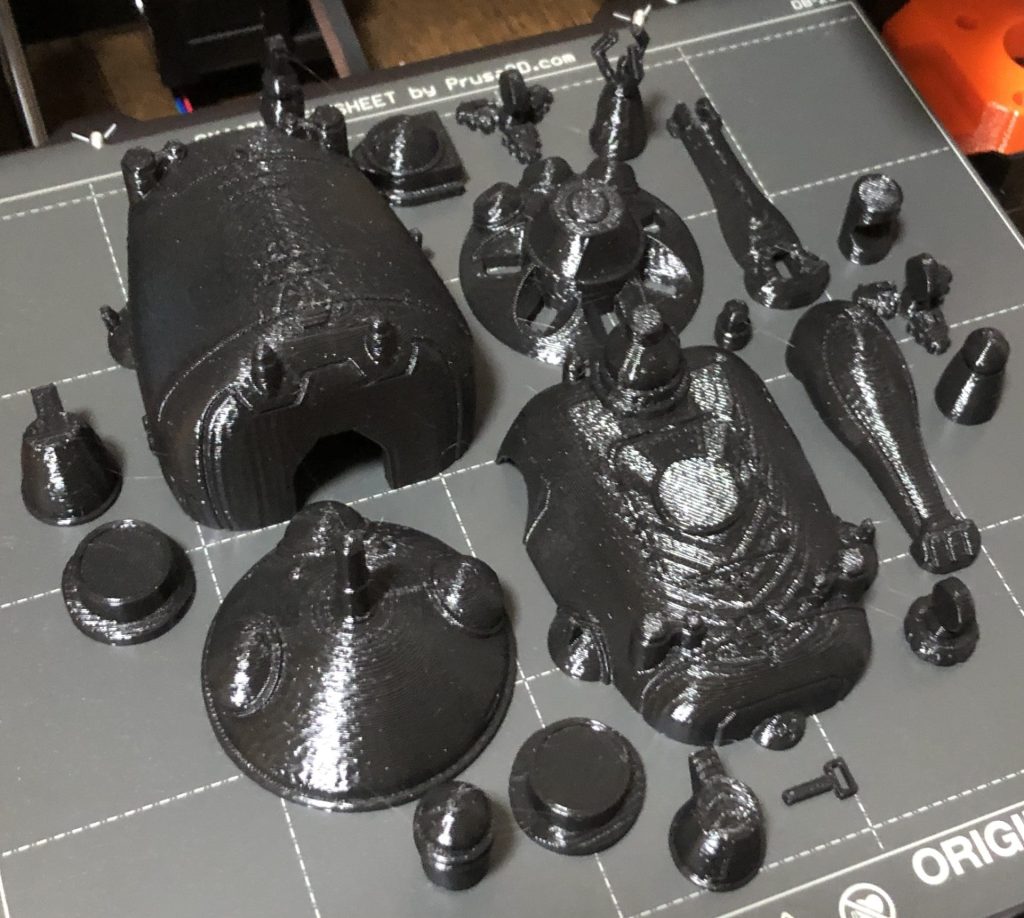
▼Tachikoma. Some parts are missing in the photo, but it can be assembled.
paranoid_android (https://www.thingiverse.com/thing:2182467)
Maintenance Tools
▼Information about printer maintenance can be found on the Prusa page.
When I asked other 3D printer users about nozzle cleaning, they recommended a wire brush—specifically a brass one. I recall seeing wire brushes used to remove rust during a factory tour.
I’m not an expert on 3D printers, so I’m not sure what’s optimal, but I’m going to try it out.
▼MonotaRO's page also has information on hand brushes.
https://www.monotaro.com/note/productinfo/bristles/
▼This page explains brass wire brushes in detail. It says they can't remove stubborn rust or dirt, but since I don't want to damage the nozzle, it might be just right.
https://meetsmore.com/services/water-clogging/media/102328
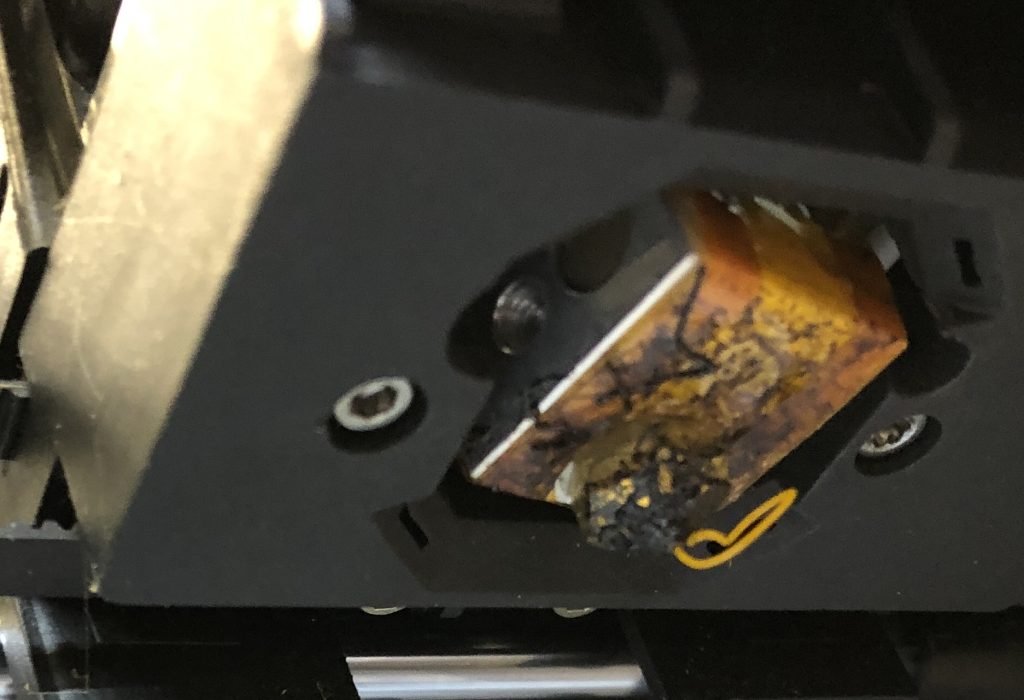
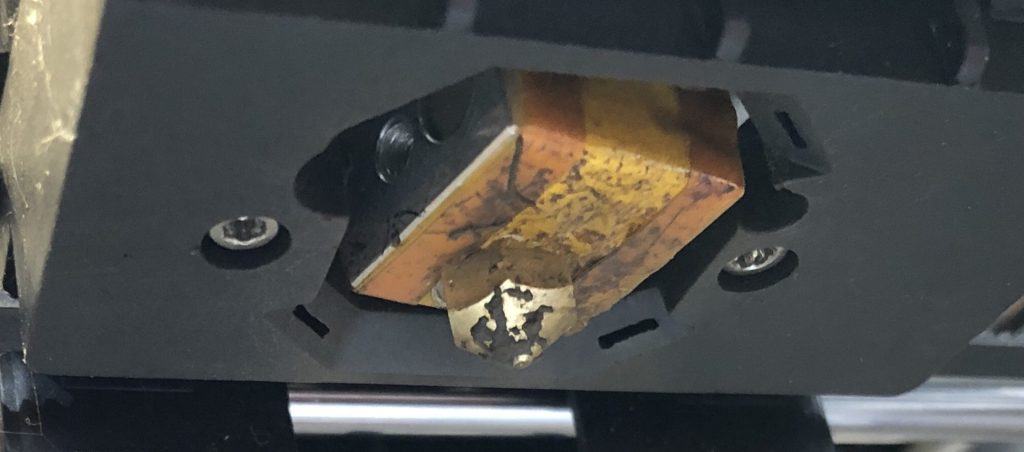
▼Here is a photo of a 3D printer nozzle that hadn't been maintained for years after cleaning. The burnt-on residue didn't come off, but the tip is clean. It was so bad that black smudges were appearing on the prints…
Finally
Since the 3D printer arrived, I've been spending every day working on prototypes. I just load the data and let it run automatically; meanwhile, I work on the next design, load the data, and repeat.
Until now, I used to cut acrylic sheets by hand or with a laser cutter, so my designs were two-dimensional. I want to get used to three-dimensional design using the 3D printer.
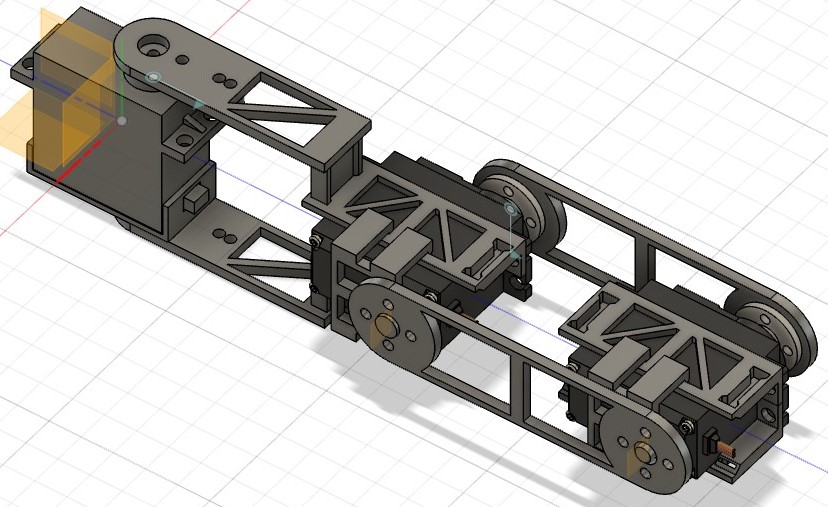
▼Designing a robot tail.