Trying Out 3D Gaussian Splatting Part 4 (3D Printing Models Meshed with GS2Mesh)
Introduction
In my previous article, I used GS2Mesh to create a mesh model from a video.
▼This is the article:
Trying Out 3D Gaussian Splatting Part 3 (GS2Mesh Environment Setup and Mesh Model Creation, WSL2 Ubuntu 20.04)
Info This article is translated from Japanese to English. Introduction In this post, I tried creating a mesh model using GS2Mesh.This technology builds upon 3D…
In this post, I’ll be talking about 3D printing the generated 3D model. While there isn't much specific talk about 3D Gaussian Splatting itself here, being able to 3D print a model generated from just a video could be very useful. For my research, I'm interested in creating physical models of plants.
▼I am using a gaming laptop purchased for around 100,000 yen, running Windows 11.
Shopping: New Laptop and SSD Expansion (ASUS TUF Gaming A15)
Info This article is translated from Japanese to English. Introduction In this post, I’ll be talking about replacing my PC after my previous one broke down. I …


▼Previous articles are here:
Trying Out Luma AI’s GENIE (Generating 3D Models with Generative AI and 3D Printing the Results)
Info This article is translated from Japanese to English. Introduction In this post, I tried generating 3D models using the AI tool GENIE. I found a very helpf…
Trying Out 3D Gaussian Splatting Part 2 (Reconstructing 3D Models from Image and Video Data, WSL2 Ubuntu 20.04)
Info This article is translated from Japanese to English. Introduction In this post, I tried reconstructing 3D models using 3D Gaussian Splatting (3DGS) from i…
Fixing the Model
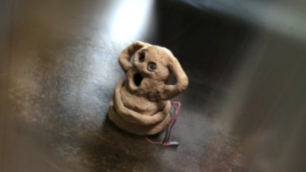
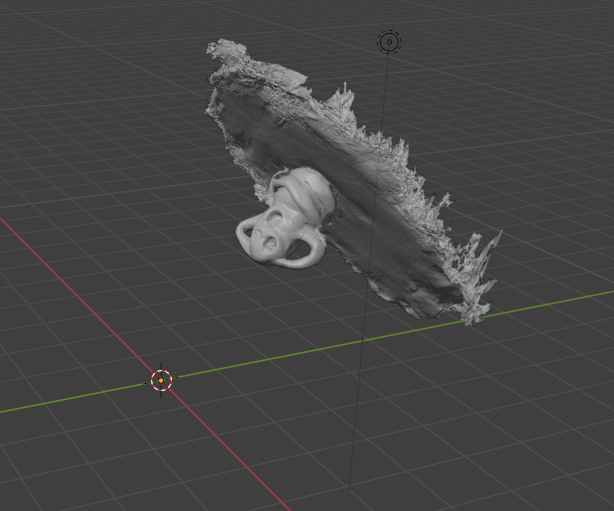
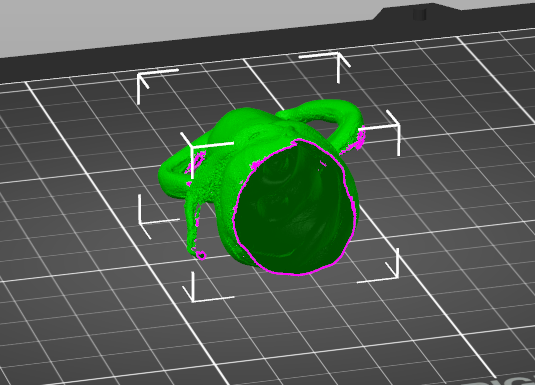
The Haniwa 3D model generated last time included the table it was sitting on as part of the mesh data.
First, I needed to remove those unnecessary parts using Blender.
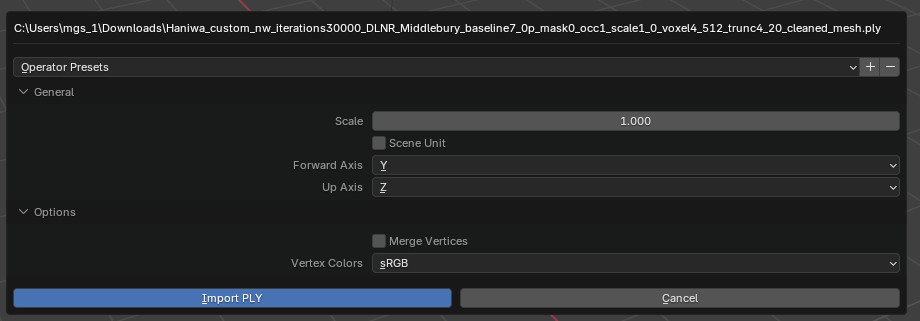
▼I imported the .ply file into Blender with default settings.
▼It was imported at an angle.
I rotated it so the table mesh was roughly horizontal and deleted the unwanted sections.
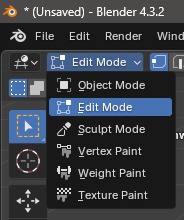
▼I deleted the selected areas in Edit Mode.
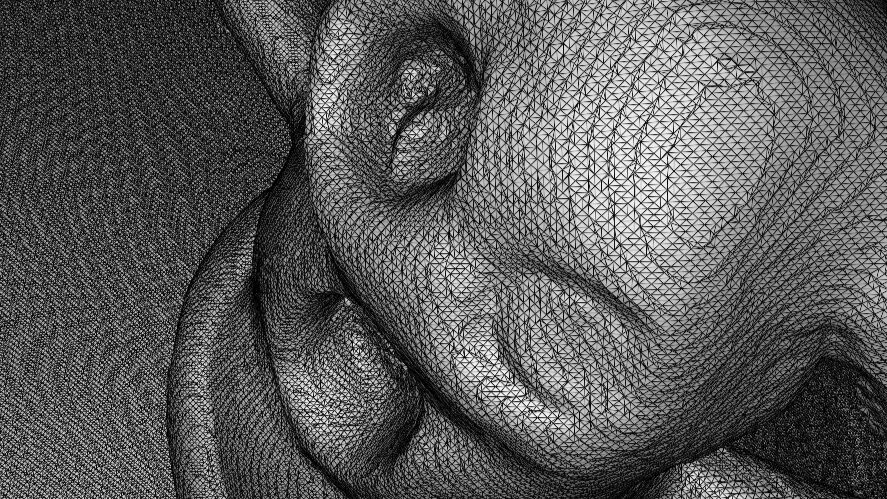
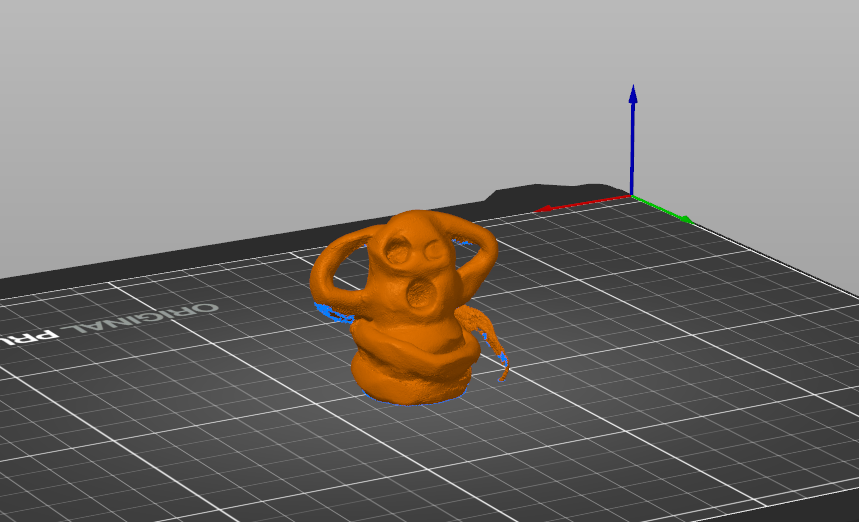
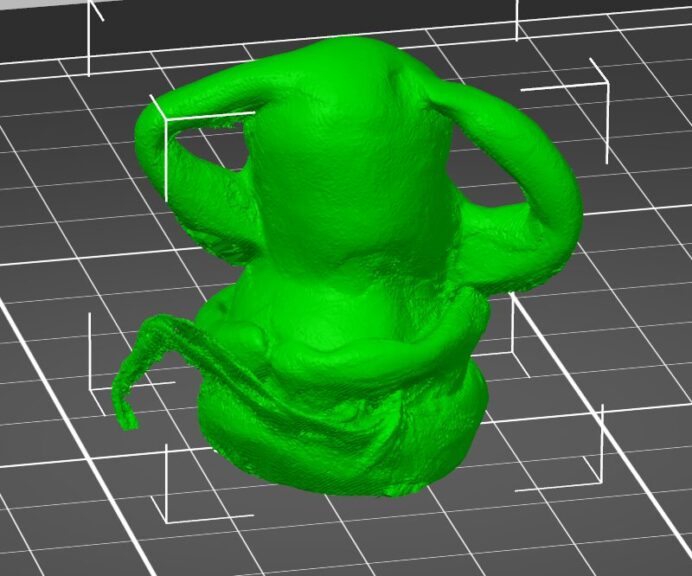
▼This is what the data looked like after cleaning.
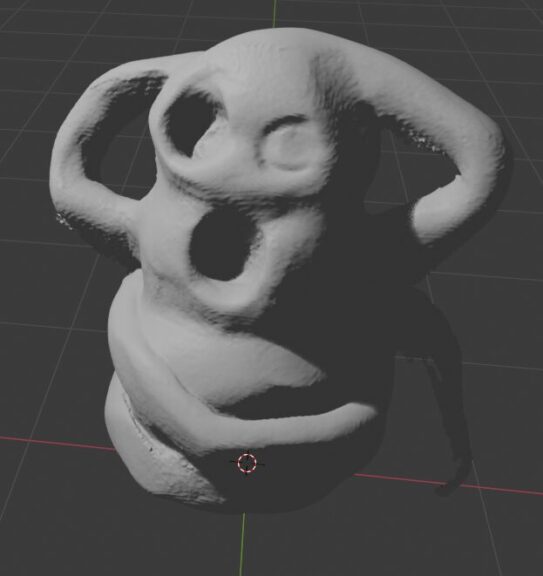
Since I planned to 3D print it, I made sure to cut the bottom so it was perfectly flat. Areas where the boundary between the Haniwa and the table was ambiguous could result in rough prints, so I slightly trimmed the base of the Haniwa itself during the deletion. Considering this editing step, it seems wise to place objects on a distinct pedestal when filming the video.
I then exported the model from Blender as an .obj file.
3D Printing the Output
I used the edited data to start the 3D printing process.
▼I am using the Prusa MK4 3D printer.
Trying Out the Prusa MK4 (3D Printer)
Info This article is translated from Japanese to English. Introduction I finally bought my long-awaited 3D printer! The Prusa MK4!I had heard about Prusa from …

▼The Prusa MK 4 seems to be out of stock, but the MK4S appears to be available.

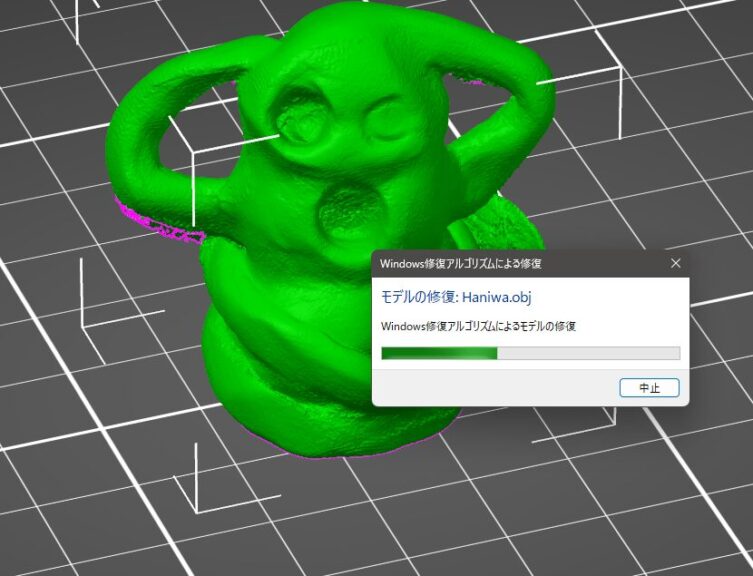
For the slicer, I used PrusaSlicer and imported the .obj file.
▼The model was imported like this:
There were some missing parts in the mesh, such as areas that were originally hollow. By right-clicking the model name and running the "Repair" function, these gaps were interpolated.
▼The repair algorithm was executed.
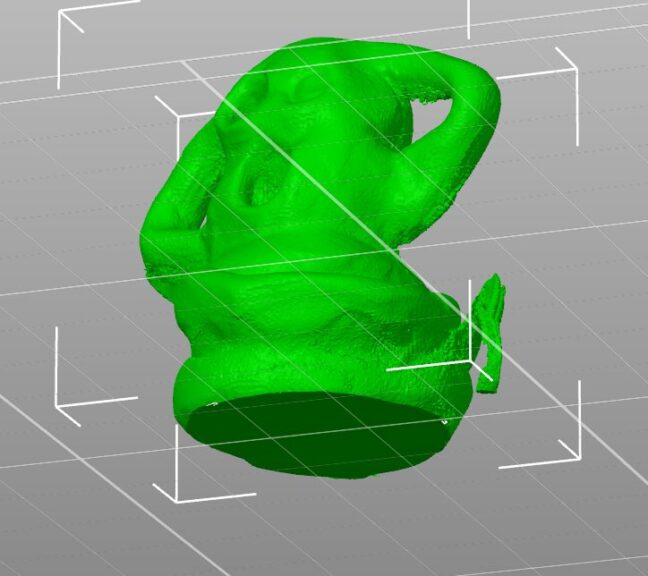
▼The previously hollow parts are now filled.
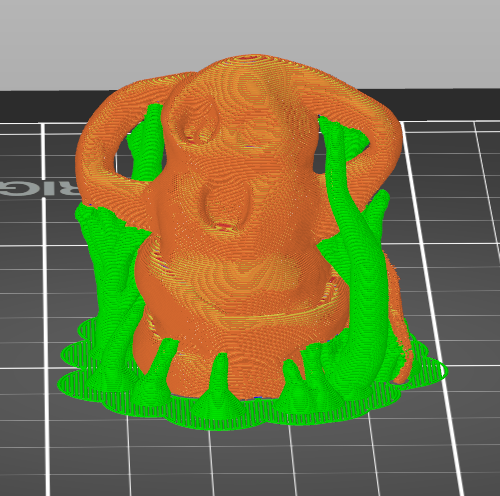
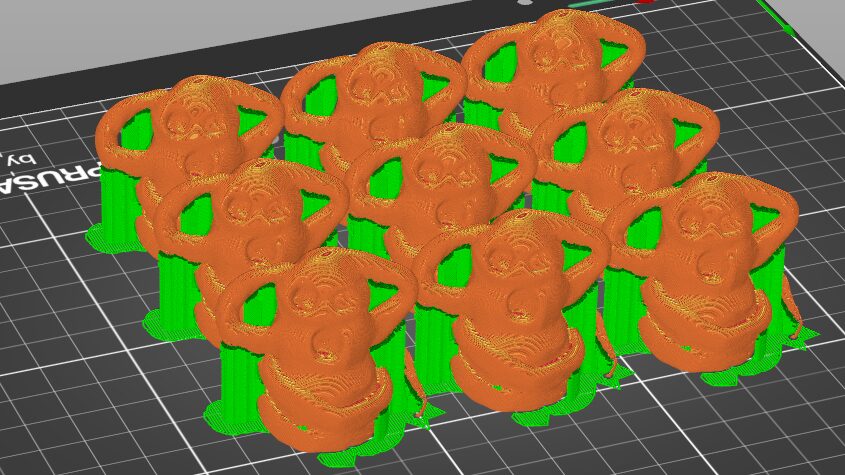
For supports, I decided to try the "organic" (tree-like) support settings this time.
▼Using the coarsest settings, the print time was about 40 minutes per piece.
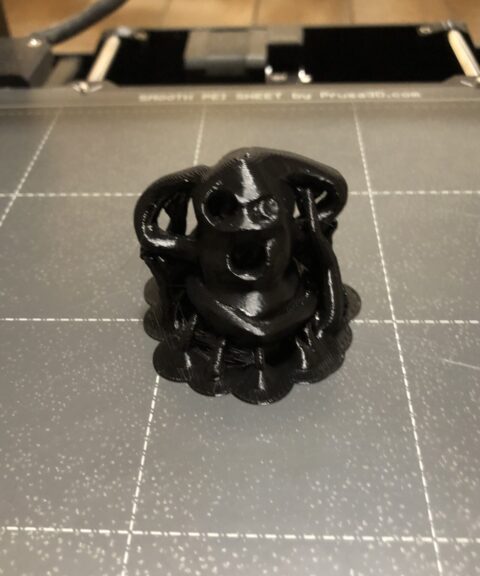
I proceeded with the actual 3D printing.
▼This is what it looked like with the supports still attached.
▼And here it is after removing the supports.
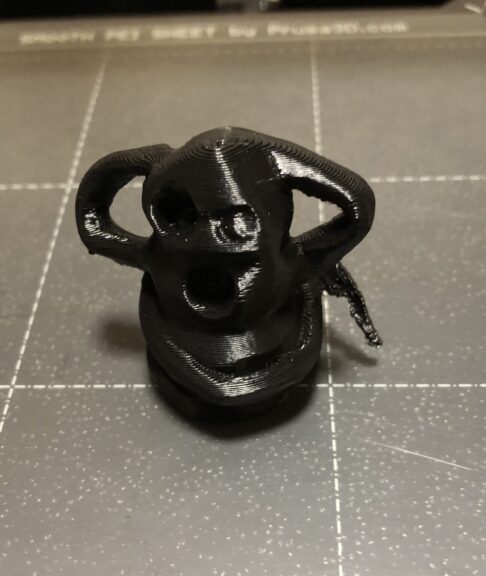
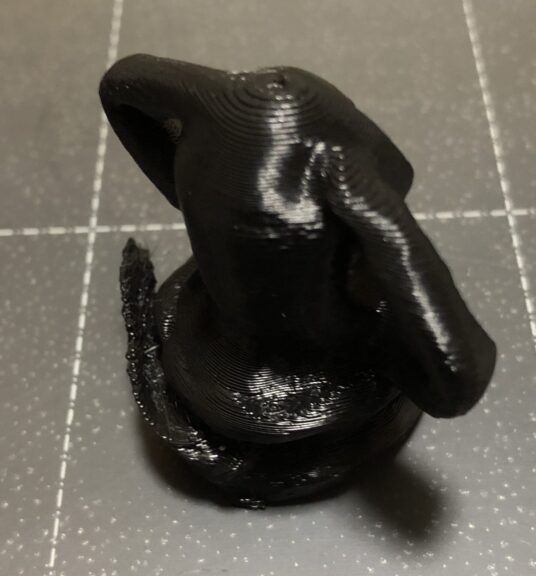
When I imported it into the slicer, a message appeared regarding unit differences, and indeed, the physical result is smaller than the original object. I’ll need to adjust the scale for future prints.
▼I also printed several more to give away to children. I was able to print about 9 of them at once.
Finally
I can now 3D print 3D models generated from video footage. While some parts remain a bit rough, the general shape is captured well. If high precision is required, a dedicated 3D scanner would still be the way to go. However, it's impressive that this level of detail can be achieved just from a video without using laser scanning.
I look forward to filming more videos and turning them into 3D models.