Using nRF52840 Part 1 (Seeed Studio XIAO nRF52840 Sense)
Introduction
This time, I tried using the Seeed Studio XIAO nRF52840, a compact microcontroller equipped with BLE, an accelerometer, and a microphone. Recently, I’ve been a big fan of Seeed Studio’s small microcontroller boards.
Seeed Studio XIAO nRF52840 Sense — スイッチサイエンス
Nordic製nRF52840を搭載した超小型、省電力なBluetooth開発ボードです。 小型アンテナ、充電制御回路の他に6軸IMUの他にパルス密度変調のマイクを搭載しています。


What I want to do with this board is to build a small self-balancing robot. Since the board includes an accelerometer, it might be possible to make it work. For now, I’m just experimenting.
Notes When Uploading Programs
The nRF52840 has a few things to keep in mind when writing programs to it. I strongly recommend reading the following blogs first.
▼ These blogs explain the key points clearly.
Seeed XIAO BLE nRF52840を試す - 滴了庵日録
1. Seeed XIAO BLE nRF52840とは 2. Arduino開発環境 2.1 ボードの追加 2.2 ライブラリの追加 2.3 (捕捉) ボードとライブラリについて 3. Lチカ 3.1 オンボードのLED 3.2 …
XIAO nRF52840 のVBUS判定 - 滴了庵日録
Seeed Studio XIAO nRF52840 (以下、XIAO nRF) で、USBが接続されているか (VBUSが給電されているか) を判定する方法を調査した。 何がしたいか? XIAO nRFにはLiPoバッテ…

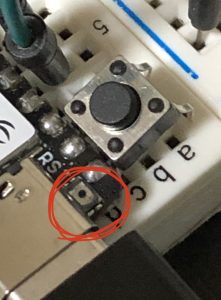
If the serial port isn’t recognized, press the reset button twice!
At first, mine was recognized, but later it stopped showing up, and I was quite confused until I found those blog posts. I honestly thought I had broken it and was about to buy another one.
So if your board isn’t detected when uploading a program, try pressing the reset button.
▼ By the way, the reset button is extremely small. It’s obvious when you place it next to a regular tact switch.
▼ Seeed Studio’s official Getting Started guide is here:
https://wiki.seeedstudio.com/XIAO_BLE/
First Test: LED Blink
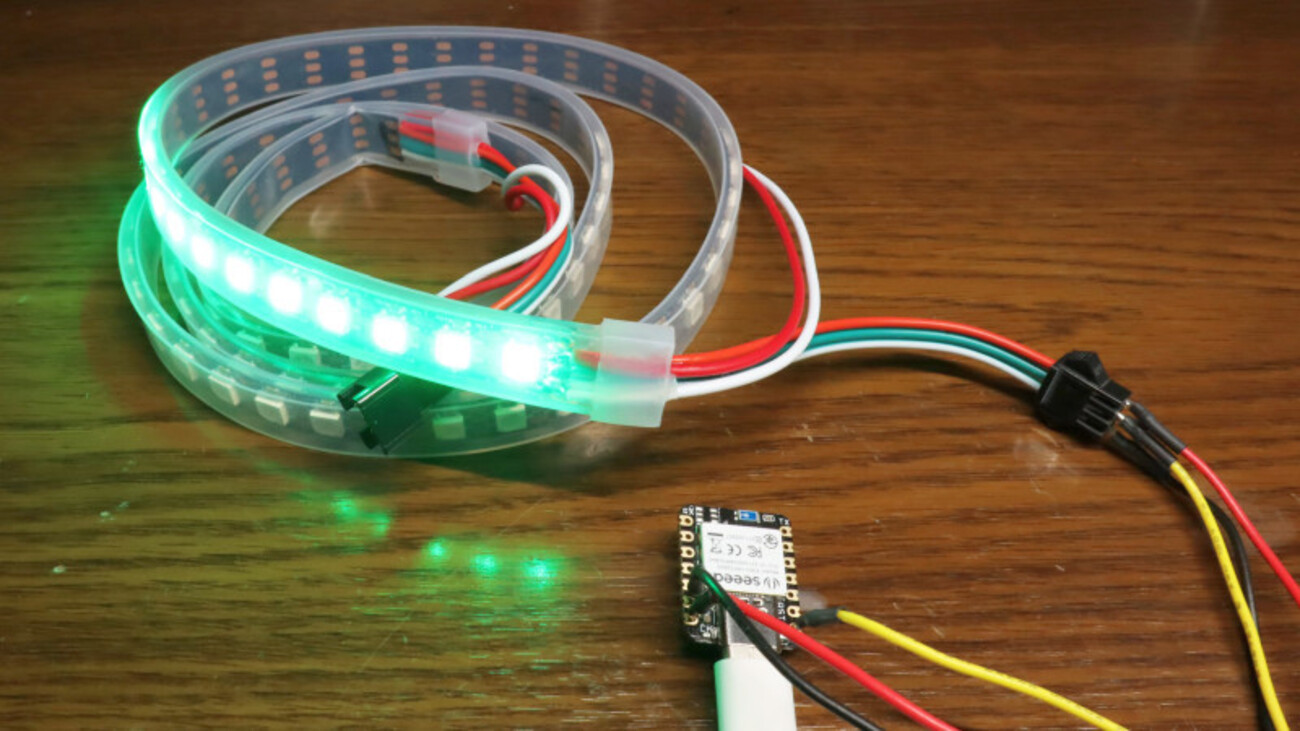
Even though it’s a small board, it comes with a built-in RGB LED, which is useful for checking the device’s status.
Interestingly, it lights up when set to LOW and turns off when set to HIGH. Normally, we’d expect the opposite—HIGH for ON and LOW for OFF.
▼ Here’s the program. The LED lights up in the order of red, green, blue, and white.
▼ Here’s how it looks when running:
What I Built
Taking advantage of the XIAO’s small form factor, I aimed to build a compact box that:
- fits neatly in a small enclosure,
- can connect to various modules,
- and ideally, could even function as a self-balancing robot.
That last part might have been a bit ambitious. Still, I made sure it could control servo motors.
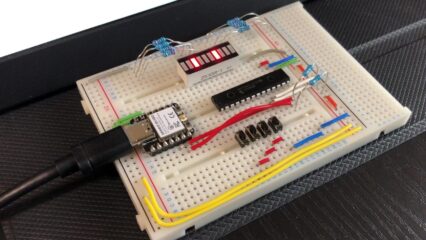
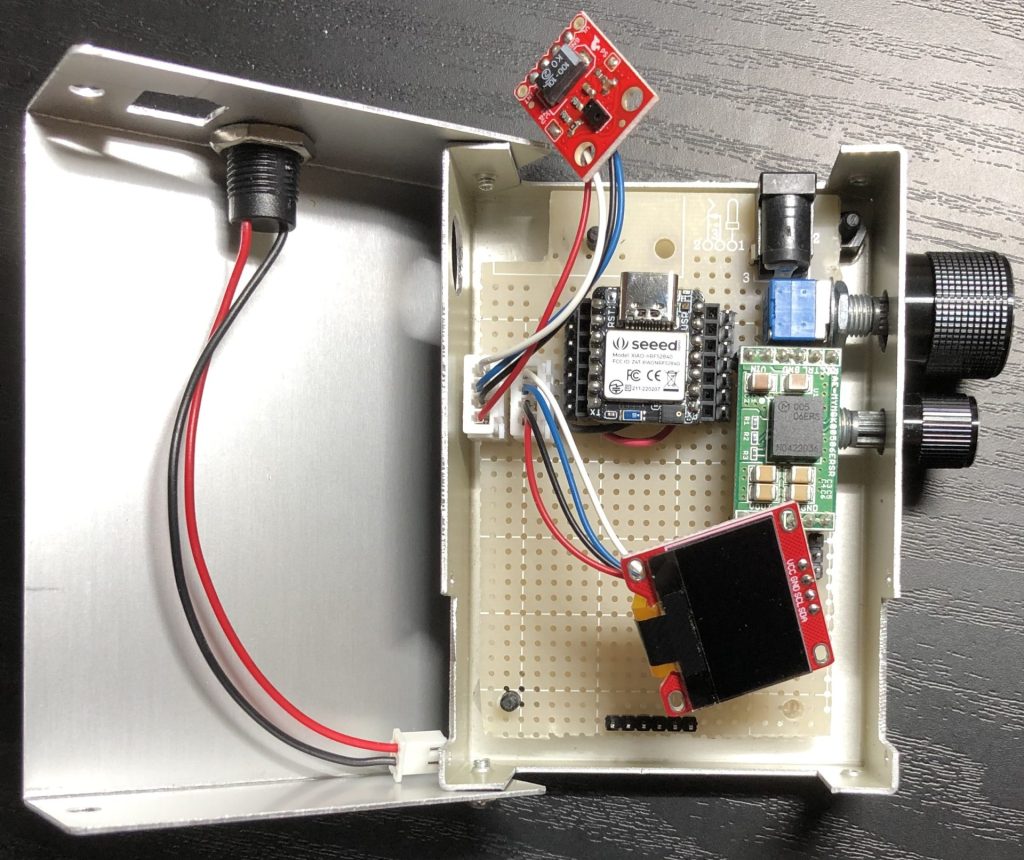
▼ Here’s the assembled version in its box. The USB Type-C power port is really convenient.


I found a nice aluminum knob like the ones used on audio equipment and decided to attach it—it gives it a classy look.
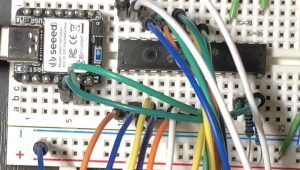
▼ I added several I2C ports so that I can connect different sensors and modules. In the photo, I plugged in a gesture sensor and a full-color display, both using I2C.
I wrote a simple program based on the “Knob” example for servos, which lets you control up to four servo motors by turning the knob.
Note that the Servo.h library for the nRF52840 is different from the one used for regular Arduino boards. You may get a compile error unless you install the correct library for the nRF52840 and remove the standard Arduino Servo library. After I did that, the upload worked fine.
▼ Here’s the program.
▼ Here’s a video of it in action. The servo motors are controlled by turning the knob.
Conclusion
This time, I only tried a simple program, but there are many other examples available. I’d also like to try using the onboard accelerometer in the future.
I’ve used other XIAO boards like the ESP32C3, but those don’t have an onboard RGB LED, so I had to add one to my custom PCBs. With the nRF52840, that’s no longer necessary.
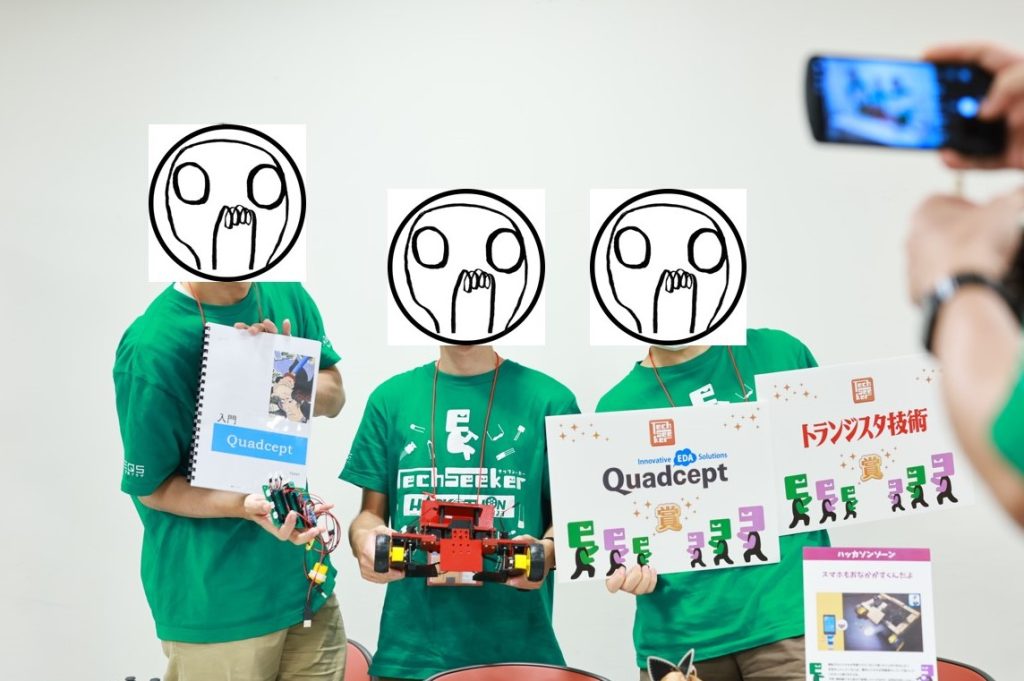
I actually used the box I built during the TechSeeker Hackathon. It was convenient to test servo motors—just plug them in and turn the knob. Especially in short-term development like hackathons, being able to quickly prototype is very helpful.
▼ Here’s the article from that hackathon:
TechSeeker Hackathonに参加しました!
はじめに 今回は、TechSeeker Hackathonに参加しましたというお話です。 Hackathon(ハッカソン)とは、HackとMarathonを合わせた造語です。短期間で製作に取り組み、…