Controlling Motors Using a Motor Driver Part 2 (DRV8835)
Introduction
In this post, I tried using the DRV8835 motor driver. The control method is different from the TB6612FNG that I usually use, and the board size is even smaller.
The DRV8835 was used in the circuit boards for RumiCar, an autonomous driving algorithm development project I was previously involved with as an exhibition assistant. I’m planning to build a RumiCar myself.
▼The RumiCar repository is here:
https://github.com/RumiCar-group/RumiCar
▼Previous articles are here:
Control Motors with Motor Driver Part 1 (TB6612FNG)
Introduction In this article, I introduce the TB6612FNG, a dual motor driver. I have used it a lot for small robots in the past, but this is an introduction …
ちょっと振り返り:いろいろ参加しました(MFT2023、ハッカソン、執筆など)
はじめに 今回は最近あちこちのイベントに参加していたことの振り返りです。9月を過ぎたあたりから、イベントがものすごく増えたような印象があります。この記事を書い…

Building the Circuit
▼The product page for the DRV8835 is here:
https://akizukidenshi.com/catalog/g/gK-09848/
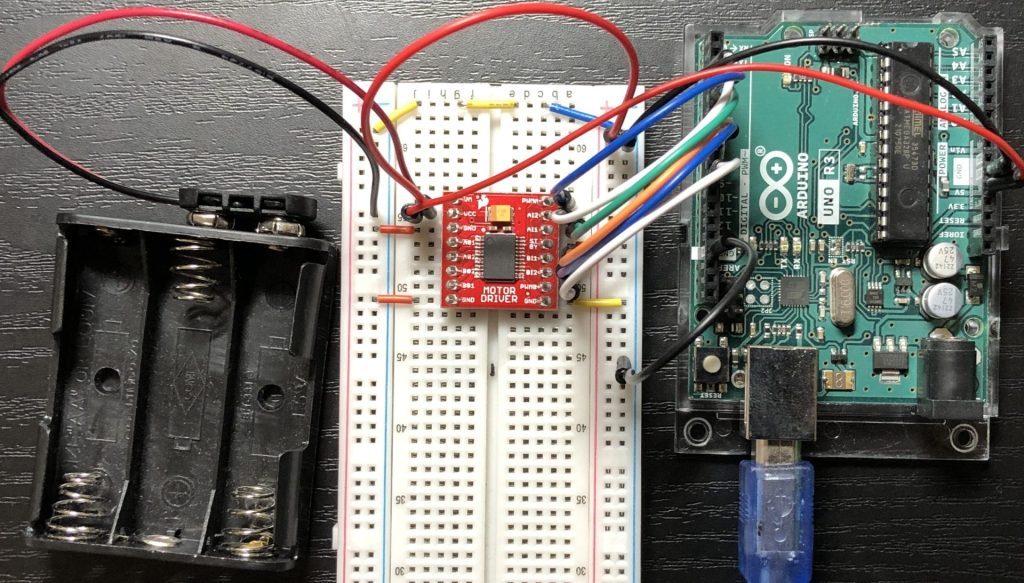
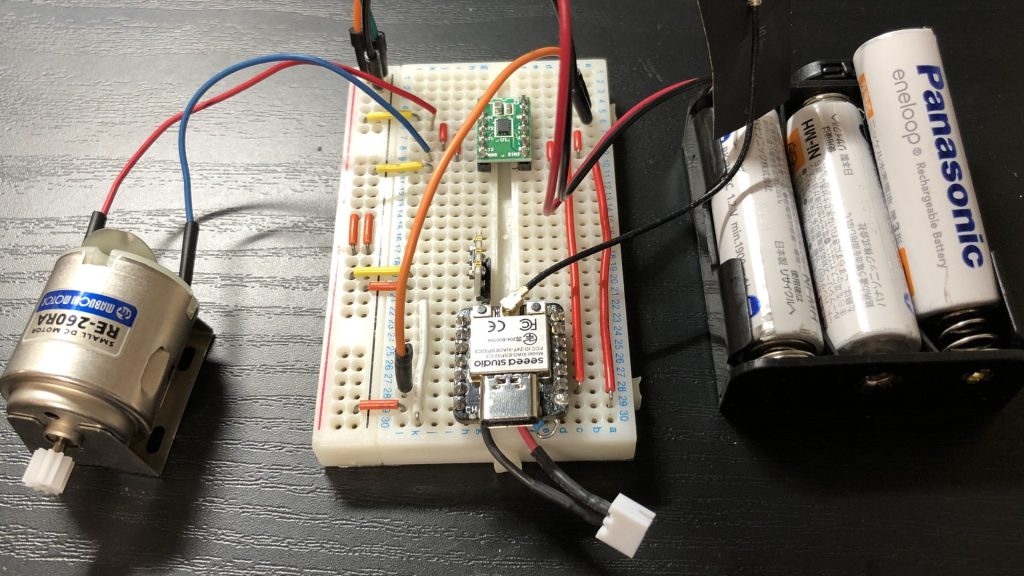
The driver has an "IN/IN mode" and a "PHASE/ENABLE mode," and I decided to use the IN/IN mode this time. For the motor power supply, I used three AA batteries in series.
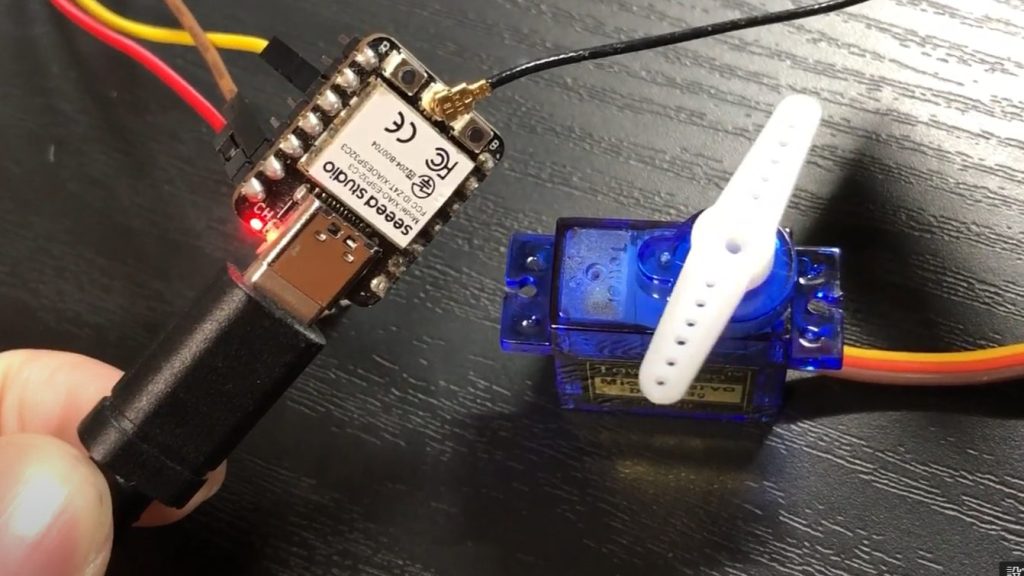
I used the XIAO ESP32C3 as the microcontroller. Since I wanted to power the microcontroller from the batteries as well, I used a buck-boost DC/DC converter with a 5V output. Please note that this converter cannot handle enough current to drive the motors directly.
▼The product page for the XIAO ESP32C3 is here:
https://akizukidenshi.com/catalog/g/g117454
Seeed Studio XIAO ESP32C3 — スイッチサイエンス
Bluetooth Low EnergyとWi-Fiを搭載した小型マイコンボードです。IoTや携帯するアプリケーションに最適です。工事設計認証を取得しています。


▼I used this motor:

▼I use Eneloop batteries.

▼The product page for the DC/DC converter is here:
https://akizukidenshi.com/catalog/g/gK-15775/
▼Here is the circuit diagram:

▼The actual circuit:
Writing the Program
The truth table found in manuals is often written with simple 0s and 1s, but in practice, some of those inputs should be PWM signals. This allows for speed control.
▼This datasheet provides more details:
https://www.pololu.com/product/2135/
I used the analogWrite function for the PWM output.
▼As mentioned in a previous article, the XIAO ESP32C3 supports the analogWrite function.
XIAO ESP32C3を使ってみる その2(analogWrite関数、サーボモーター)
はじめに 今回はXIAO ESP32C3で、analogWrite関数とサーボモーターの制御を試してみました。 サーボモーターについては、既存のライブラリが使えませんでした。そこで…
▼I created a program that executes the patterns from the datasheet in sequence.
▼You can see it in action here:
Finally
I successfully controlled the motor using the DRV8835. With the TB6612FNG, a total of three pins were required: two for direction and one for speed. The DRV8835, however, allows you to control both speed and direction with just two pins.
Since I was able to control it with the XIAO ESP32C3, I should be able to keep the final circuit board quite compact. RumiCar uses distance sensors to avoid collisions, so I plan to continue my verification with those sensors next.