Creating Node for Node-RED MCU Part 1 (LINE Notify)
Introduction
In a previous article, I introduced information related to Node-RED that I used during the hackathon. Since then, I have been experimenting with various ways to use the Node-RED MCU, which can write flows created in Node-RED to a microcontroller.
The Node-RED MCU cannot use any of the nodes already available in Node-RED. Only supported nodes can be used, but if you need new nodes, you can create them. So this time, I tried to create a node.
I created a node for LINE Notify. The code is also published on GitHub.
▼The code is here.
https://github.com/404background/node-red-mcu-line-notify
▼The page about Creating Nodes is here.
https://nodered.org/docs/creating-nodes
▼Previous articles are here.
Connecting microcontrollers with SNS and email with Node-RED
Introduction This is a technical summary of the two days of production at "Heroes League Hybrid Hackathon". It was a short time, but I tried to make it possi…
Node-RED MCUの環境を構築する(ESP-IDF v5.1.1対応版、Raspberry Pi)
はじめに Moddable SDKがv4.2にアップデートされたことにより、Node-RED MCUの環境が大きく変化しています。特にESP-IDF v5に対応したことで、ESP-IDF v4のままだとエラ…
▼See also my work at Protopedia.
https://protopedia.net/prototype/4716
▼Here is a short introduction to Node-RED and Node-RED MCU.
書籍紹介:『はじめてのNode-RED』/『はじめてのNode-RED MCU Edition』 - 趣味的ロボット研究所
Node-REDとは 一言でいうと、Node-REDはプログラミングが簡単にできるツールです。ビジュアルプログラミングの一種で、視覚的にわかりやすくなっています。▼百聞は一見に…

Add sample node
※In this article, I run it in a Raspberry Pi environment. The user name is pi, but you may change it as appropriate.
▼I use Raspberry Pi 400.

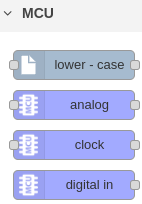
The node-red-mcu repository has a lower-case node in the examples folder. This is a sample for creating a node. The lower-case is also used as a sample when creating nodes for Node-RED.
When installing a node in the local environment, use the following command.
 cd .node-red
 sudo npm install <path of the package>
In this case, the package path was “node_modules/@ralphwetzel/node-red-mcu-plugin/node-red-mcu/examples/lower-case”. It is long, so use tab completion.
▼It was also described in the section “Testing a node module locally.”
https://nodered.jp/docs/creating-nodes/packaging
▼It is added to the MCU tab. You can convert strings from uppercase to lowercase.
Create your own node
As mentioned at the beginning of this article, information is compiled on Node-RED's “Creating Nodes” page.
▼The page of "Creating Nodes".
https://nodered.jp/docs/creating-nodes/
I created a node for LINE Notify.
▼LINE Notify API Document is here.
https://notify-bot.line.me/doc/ja/
The four main files needed are as follows: lower-case folder for reference.
- package.json:Indicate where the .js file is located.
- manifest.json:This is needed for inclusion when building the node for Node-RED MCU.
- .html:Describes the settings for displaying on Node-RED.
- .js:Describes the process in the node.
Difference between creating nodes for Node-RED and Node-RED MCU.
There are some differences in creating nodes for Node-RED and Node-RED MCU.
About credentials handling
In nodes for Node-RED, any credentials, such as passwords, are handled as credentials. This is not included when exporting flows so that flows can be shared securely.
As a result, it is also not included when building with the Node-RED MCU. If you want to store credentials on the microcontroller, you must treat it as a property other than credentials. Please be careful when handling credentials, for example, when sharing a flow with a third person.
There are workarounds for storing credentials in https communication, but I think it is easier to handle them as something other than credentials.
▼That was discussed here. Currently the workaround is to merge flows_cred_mcu.json into flows.js.
Credentials in configuration nodes · Issue #28 · ralphwetzel/node-red-mcu-plugin · GitHub
About manifest.json
You must include the manifest.json path in node-red-mcu/node_types.json so that the node is included when building. The lower-case node is helpful for this. You can edit it later when you install the node.
Note that if manifest.json is not properly configured, you will get an error that manifest.json is not found when building.
Install your own node
Install the repository created on GitHub on the Desktop of the Raspberry Pi.
You can also publish and install to a public npm repository, but I use Git/GitHub, which is what I usually use when developing.
▼GitHub repository is here.
https://github.com/404background/node-red-mcu-line-notify
Install the repository on the Desktop with the following command.
 cd Desktop
 git clone https://github.com/404background/node-red-mcu-line-notify.git
Install the package with the npm command.
 cd ..
 cd .node-red
 sudo npm install /home/pi/Desktop/node-red-mcu-line-notify
Also, as with the lower-case node, you will need to add the manifest.json path to the node_types.json. Edit the file with the nano command.
 cd node_modules/@ralphwetzel/node-red-mcu-plugin/node-red-mcu
 sudo nano node_types.json
In this case, it is on the Desktop, so add the following line; I think it will be easier to understand if you add it under lower-case.
"mcu_linenotify": "/home/pi/node-red-mcu-line-notify/manifest.json",
After writing, press Ctrl + s to save and Ctrl + x to exit. Restart Node-RED just to be sure.
sudo systemctl restart nodered.service
▼Added to the MCU tab.

Using LINE Notify Node
▼An access token is required to use LINE Notify, so please go to the following page to get one.
https://notify-bot.line.me/ja/
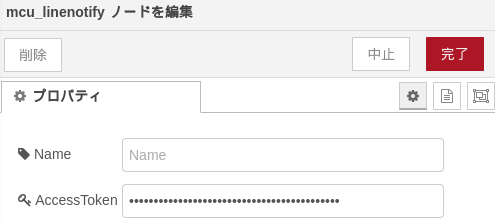
▼The contents of the LINE Notify node look like this. Set the access token.
It is used with the http request node, but a CA certificate must be set up for https communication. Which certificate is required is shown in the error statement when you run it.
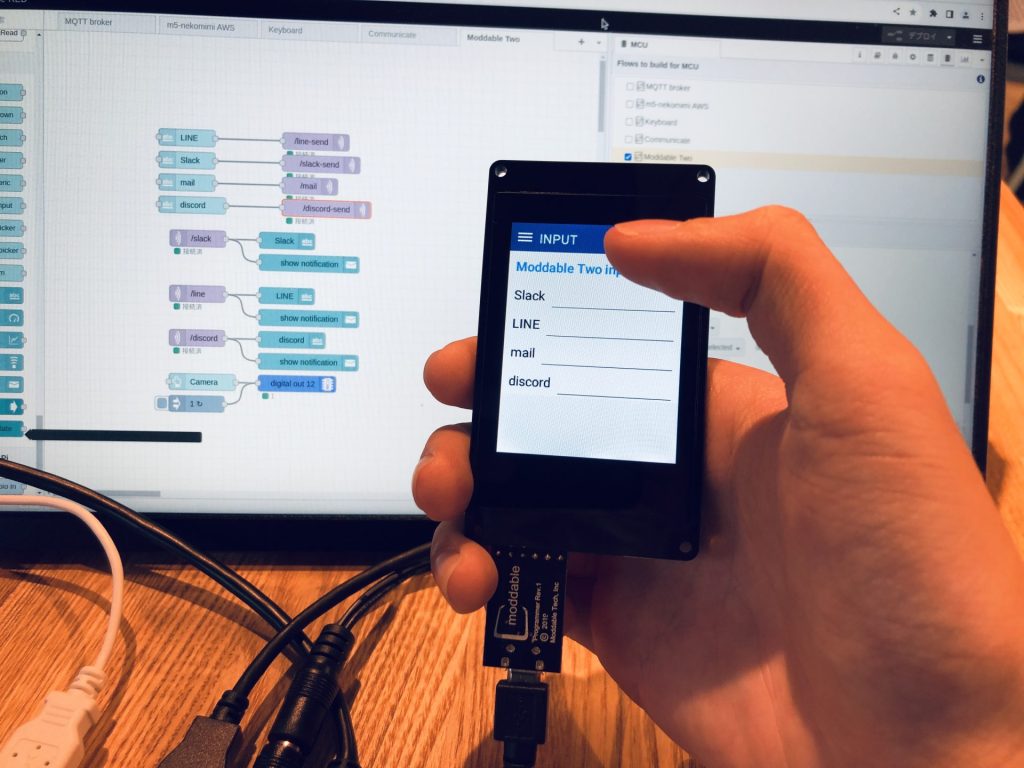
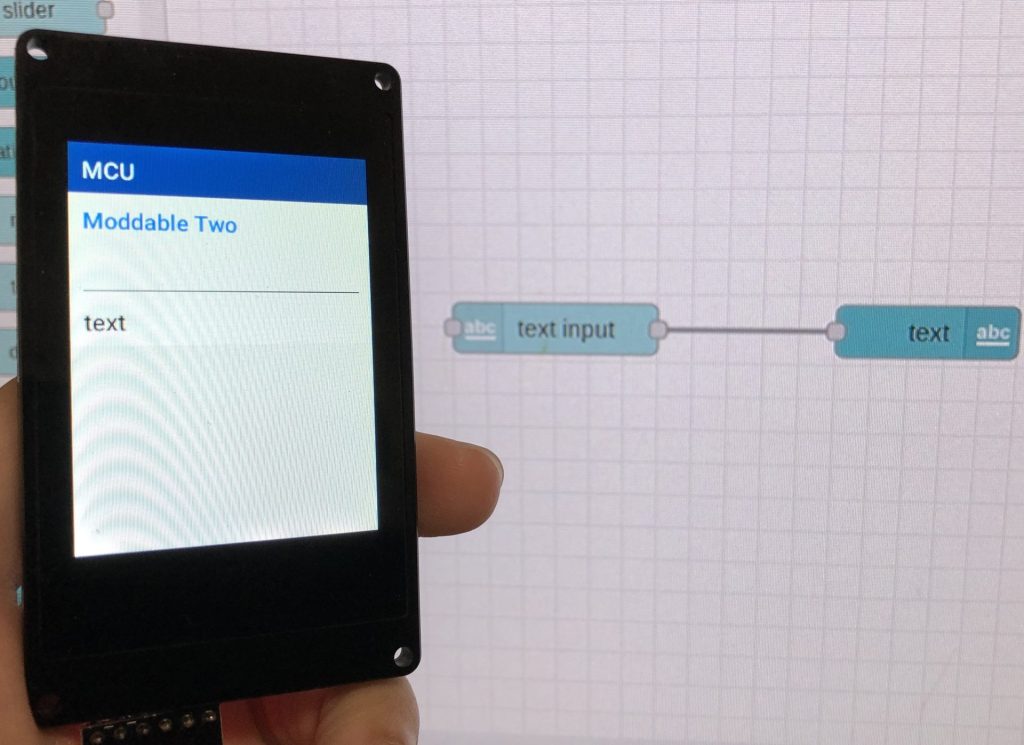
Let's execute the following flow first.
- text input node:Accept text input
- mcu_linenotify node:Set up an access token for LINE Notify.
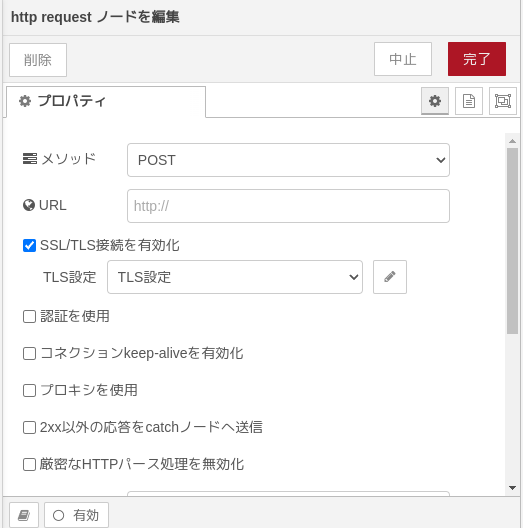
- http request node:The method should be POST and SSL/TLS connection should be enabled.
▼Here is the flow.

▼The contents of the http request node look like this.
▼In my case, I got the following error.
/home/pi/moddable/modules/files/resource/Resource.c (44) # Break: Resource not found: ca215.der!
In this case, it says “ca215.der” is required, but set “ca215.pem”.
▼Upload the file from the CA certificate field of the http request node.
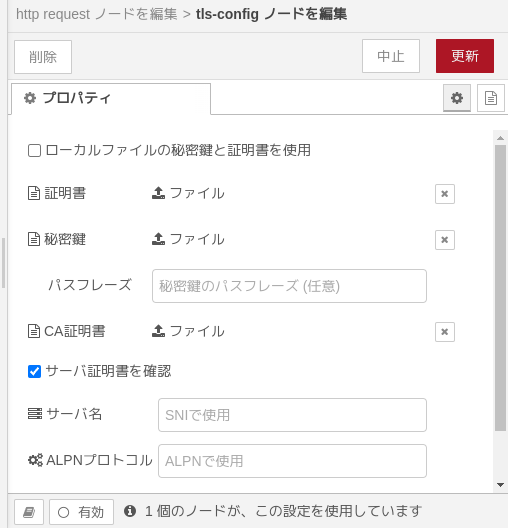
You can find .pem files in /home/pi/moddable/modules/crypt/data-pem. Select one of them.
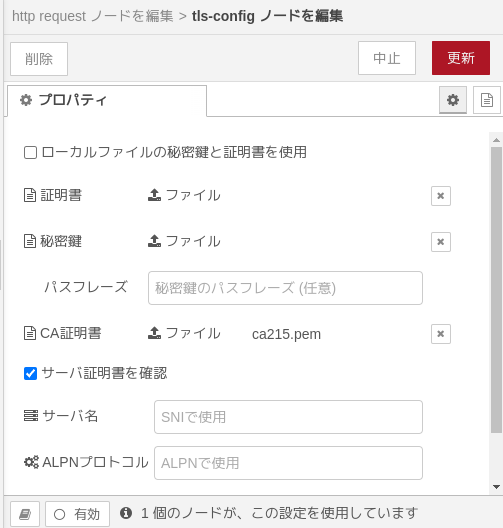
▼After setting it up, it looks like this
If you Build again with this, I think you will be able to send it.
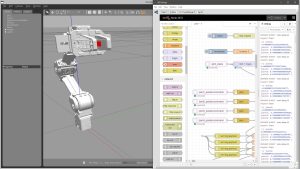
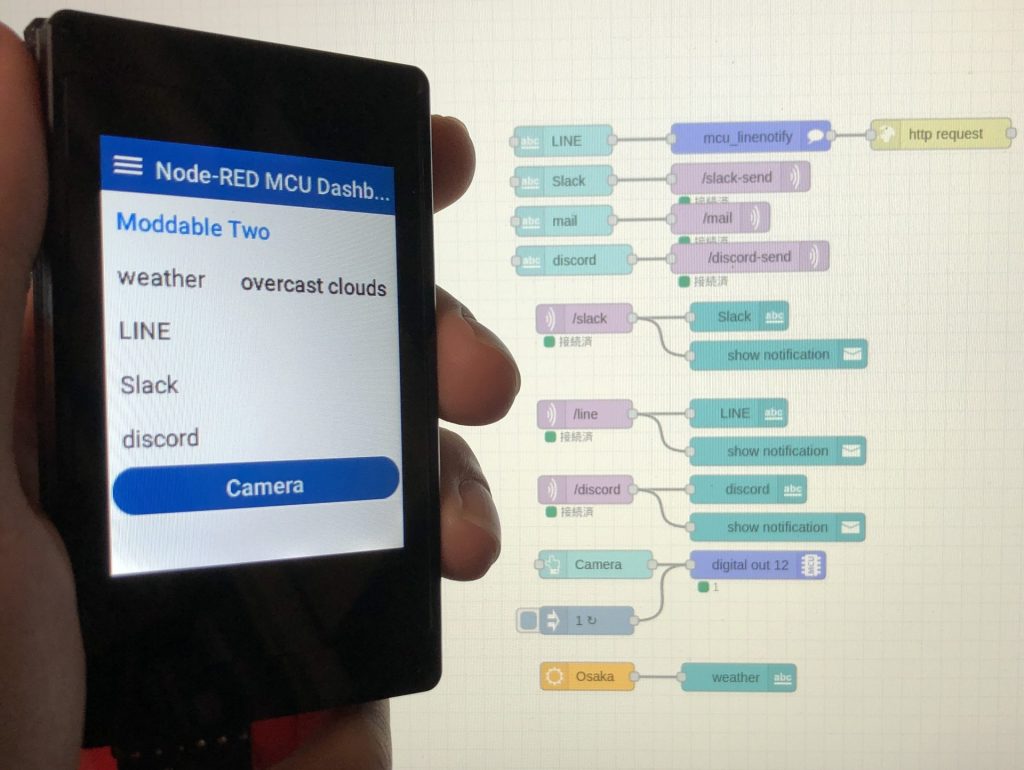
▼If I add it to my hakkason creation, it looks like this.
Finally
Even though I am creating a node, this time I am only processing messages. I would also like to be able to read programs on the Moddable side and be able to handle microcontrollers. I am thinking of having a node for keyboards using HID functionality.