Image Recognition via Python Part 2 (NDLOCR)
Introduction
In this post, I experimented with text recognition in images using NDLOCR. I discovered NDLOCR through an article on Qiita. Since it is a library provided by the National Diet Library (NDL) of Japan, I decided to try it out, hoping that its recognition accuracy for Japanese might be superior to EasyOCR, which I tested previously.
▼It was introduced in the following article (Japanese):
https://qiita.com/yanosen_jp/items/9d3852c29c80dbb952f2
▼The ndl-lab GitHub organization has various datasets available for training:
https://github.com/orgs/ndl-lab/repositories
▼Previous articles:
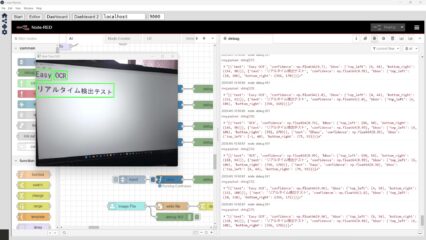
Image Recognition via Python Part 1 (EasyOCR and Node-RED)
Info This article is translated from Japanese to English. Introduction In this post, I experimented with text recognition in images using EasyOCR.There are var…

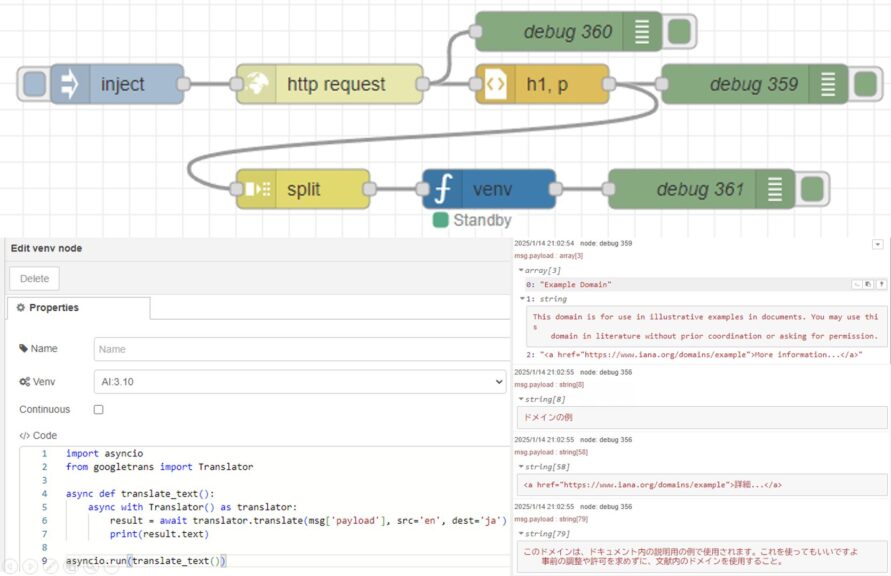
Translating Text with Python (Googletrans, Node-RED)
Info This article is translated from Japanese to English. Introduction In this post, I tried out translation using Googletrans in Python.Although I haven't wri…
Environment Setup
The PC used in the Qiita article seemed to have a high-spec configuration with large memory capacity, but my PC is more modest.
▼I am using a gaming laptop purchased for around 100,000 yen, running Windows 11.
Shopping: New Laptop and SSD Expansion (ASUS TUF Gaming A15)
Info This article is translated from Japanese to English. Introduction In this post, I’ll be talking about replacing my PC after my previous one broke down. I …


▼I set up the environment by referring to the following GitHub repository:
https://github.com/ndl-lab/ndlocr_cli
First, clone the repository with the following command:
git clone --recursive https://github.com/ndl-lab/ndlocr_cliA Docker environment is also required.
▼Windows Docker Desktop download page:
https://docs.docker.com/desktop/setup/install/windows-install
▼I also use Docker Desktop for annotation with CVAT:
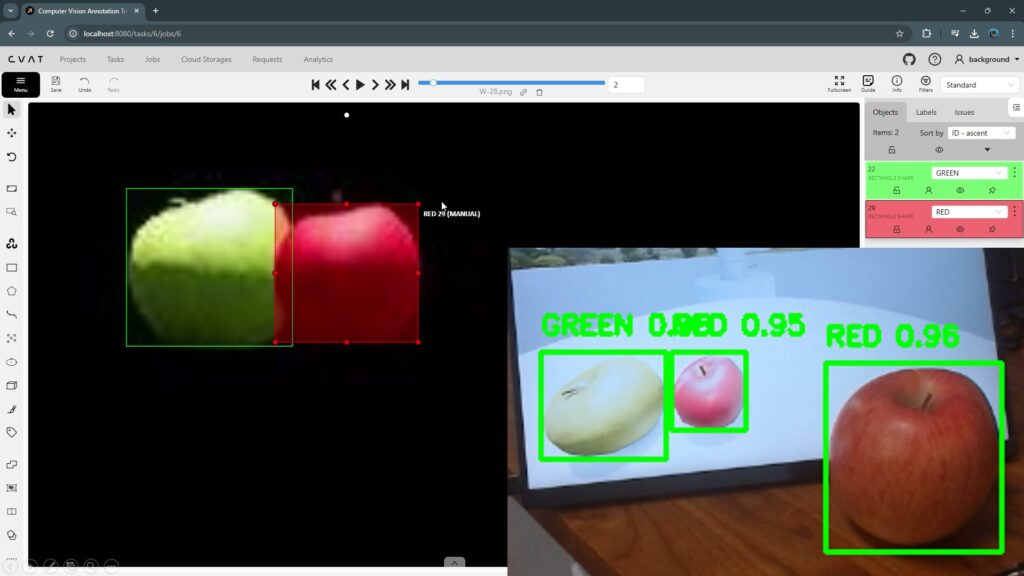
Annotation with CVAT (YOLO v8, Object Detection)
Info This article is translated from Japanese to English. Introduction In this post, I tried performing annotation using CVAT (Computer Vision Annotation Tool)…
Keep Docker Desktop running. Although the documentation mentions a method for mounting directories containing images to be processed, I will not use that this time. I will add the image files later.
After navigating to the cloned folder, I executed dockerbuild.bat.
cd ndlocr_cli
docker\dockerbuild.bat
▼The build process started.

▼An error appeared during the first attempt, but it proceeded without issues when I ran it again.


Start the Docker container with the following command:
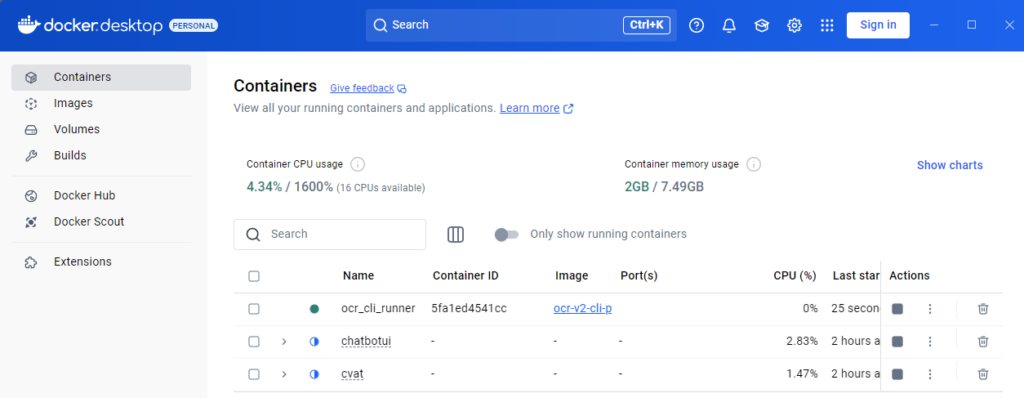
docker\run_docker.bat▼It has been added to Docker Desktop.
Log in to the Docker container with the following command:
docker exec -it ocr_cli_runner bash▼Successfully logged in.

Running Inference
First, I added an image file to the Docker environment. I used an image file from the EasyOCR examples folder.
In my case, I used the docker cp command as follows:
docker cp "D:\code-planner\pyenv-ndlocr\ndlocr_cli\japanese.jpg" ocr_cli_runner:/root/ocr_cli▼After running docker cp in the Windows environment, I ran the ls command in the container and confirmed the image file was added.


Now, execute inference on the added image file. Basically, the command is structured as follows:
python main.py infer input_data_dir output_dir -s sThis time, I specified a single image file instead of a directory. I designated the input image file, the output folder, and the detection options for the image.
python main.py infer japanese.jpg /root/ocr_cli/output -s f▼The process was extremely slow during the first run, so I stopped it and restarted.
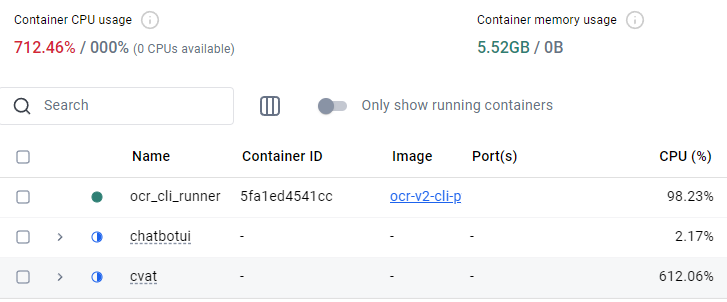
.
▼I stopped other containers and re-executed from dockerbuild.bat. After that, it ran without any problems.
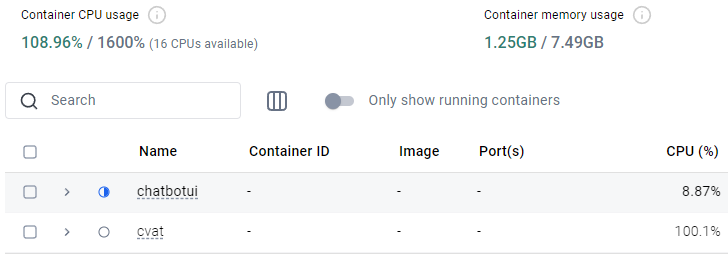
The processing took about one minute.
▼The results are saved in the output folder after processing.

I copied this output folder back to the Windows environment using docker cp.
docker cp ocr_cli_runner:/root/ocr_cli/output D:\code-planner\pyenv-ndlocr\ndlocr_cli▼I was able to check the detection results.
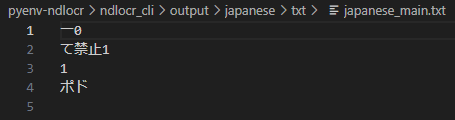
In the case of EasyOCR, it detected text like "No Littering" (ポイ捨て禁止), but NDLOCR failed to detect those this time.
Since this is a library from the National Diet Library, I figured it might have higher recognition accuracy for documents. I decided to test it on a document image.
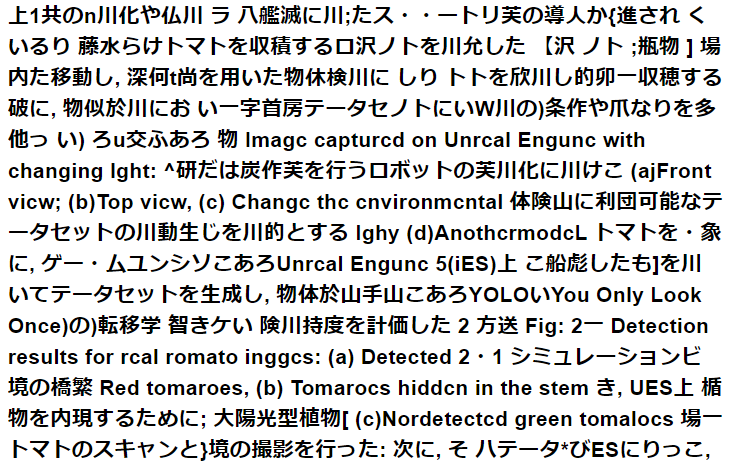
The target was a photo of a printed abstract I wrote for an academic conference.
▼Although there are some errors here and there, it managed to detect most of it.
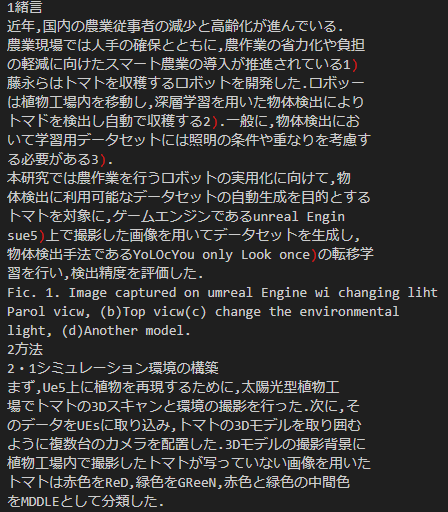
Since it can detect text to this extent, it might be possible to correct the minor errors using a local LLM by taking context into account.
▼I tried detecting with EasyOCR as well, but it could hardly recognize anything.
Finally
The results showed that NDLOCR has higher detection accuracy for Japanese documents compared to EasyOCR. I believe this is due to the differences in the training data.
My impression is that NDLOCR is quite heavy for my PC to process, whereas EasyOCR is lightweight, although it slows down as the amount of text increases. It’s a trade-off between recognition accuracy and speed.
My PC has 16GB of RAM, and since it seems upgradable, I am considering increasing it.