Trying Out Unreal Engine 5 Part 12 (Screenshot)
Introduction
In this post, I experimented with taking screenshots in Unreal Engine 5 (UE5).
I am thinking of using these in-simulation captures to create datasets for YOLO. It feels like I can finally leverage the graphical processing power of UE5 for this purpose.
▼Previous articles:
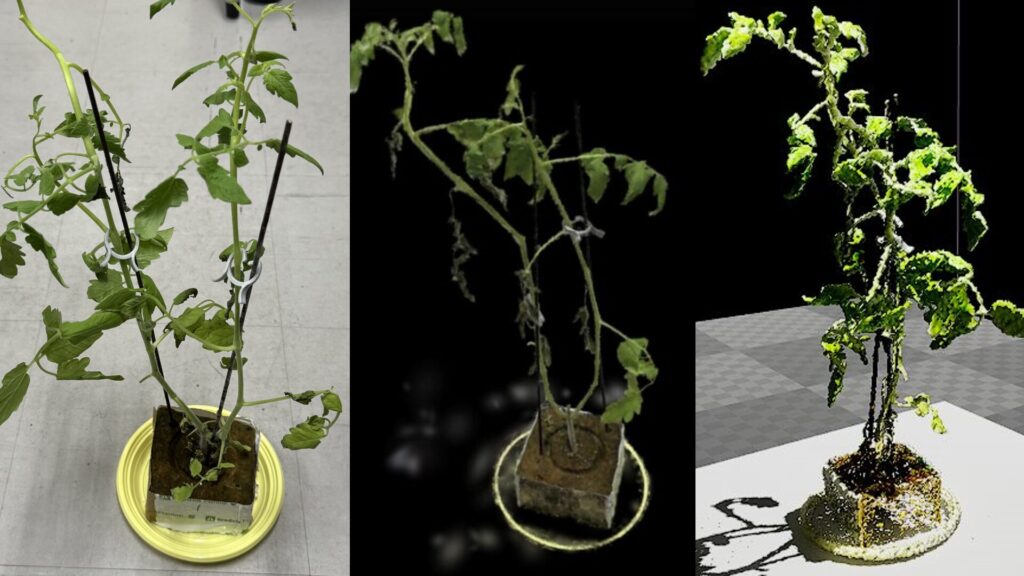
Trying Out Unreal Engine 5 Part 10 (Scaniverse & Importing Point Cloud Data)
Info This article is translated from Japanese to English. Introduction In this post, I tried importing 3D scan data created with the "Scaniverse" app on an iPh…
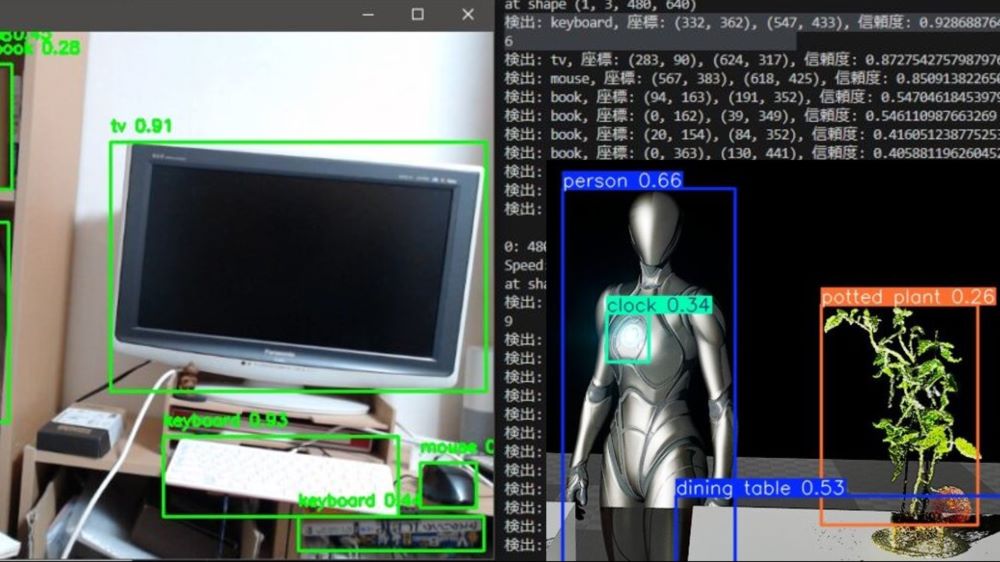
Object Detection with YOLO Part 2 (Python, Node-RED)
Info This article is translated from Japanese to English. Introduction In this post, I tried running YOLO using Python.When I tried YOLO in my previous article…
Trying Out Screenshots
Screenshots in the Editor
While my main goal was to take screenshots during gameplay, I found out it’s also possible within the editor, so I gave it a try.
▼Documentation regarding editor screenshots can be found here:
https://dev.epicgames.com/documentation/en-us/unreal-engine/taking-screenshots-in-unreal-engine
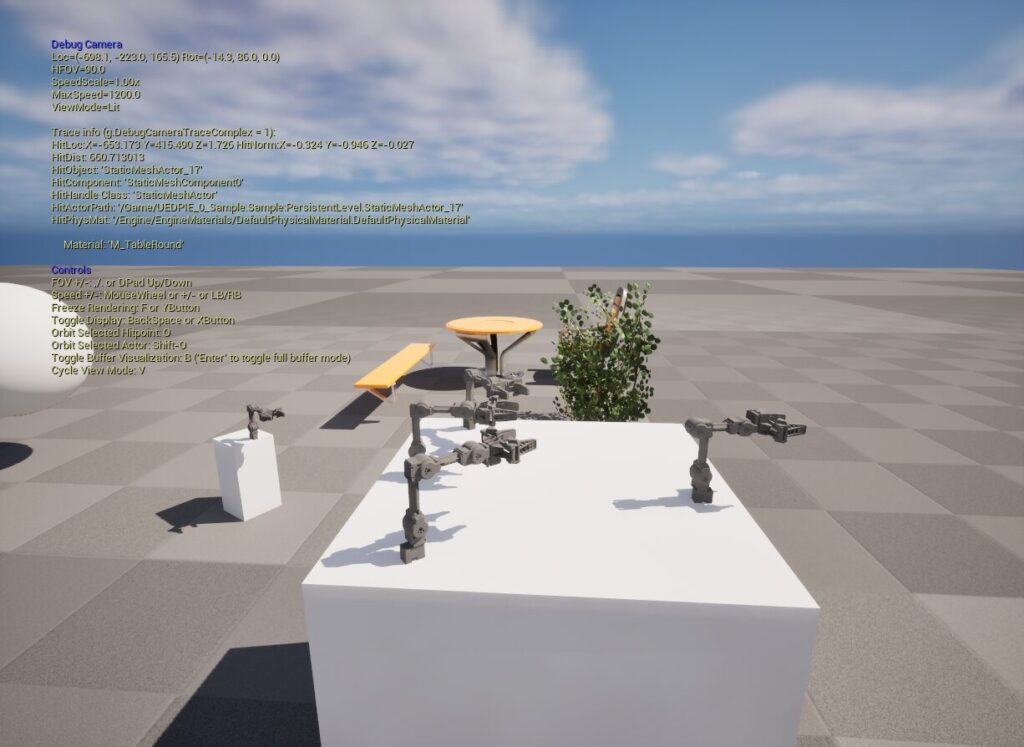
▼You can select "High Resolution Screenshot" from the menu on the left side of the editor viewport.
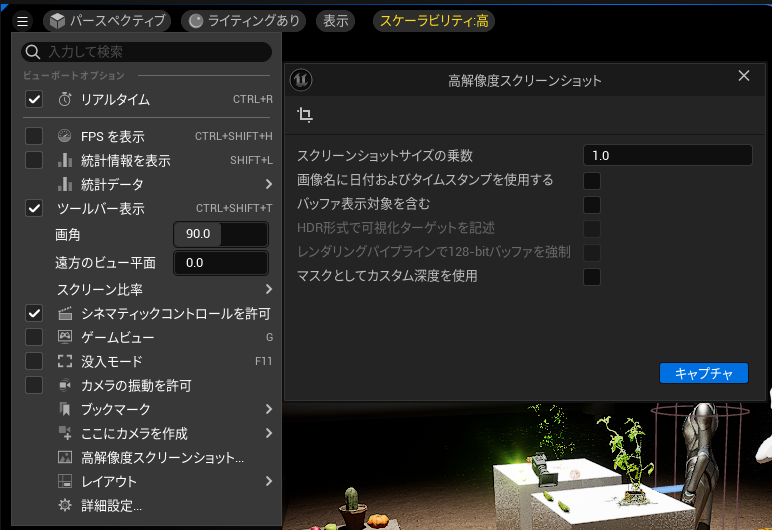
▼Here is an actual capture:

Taking Screenshots from the Player’s Perspective
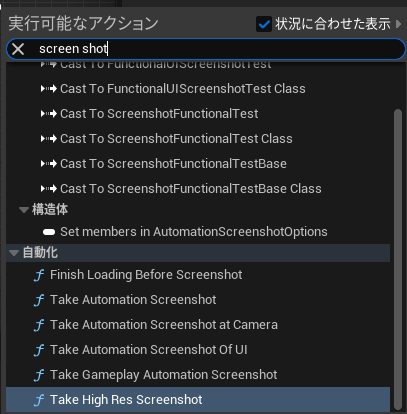
I searched for "screen shot" in the Blueprint editor and found several options.
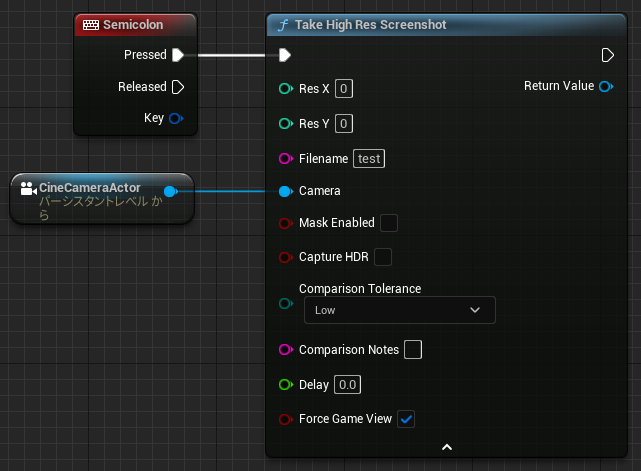
▼The one I used this time is Take High Res Screenshot.
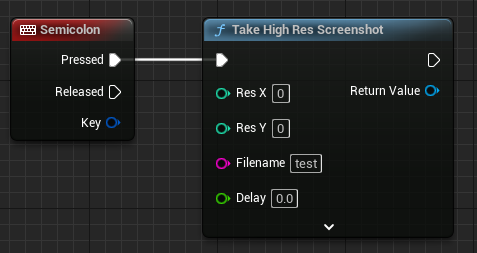
I set up the Level Blueprint to execute the screenshot when a specific key is pressed.
▼I configured it so that pressing the semicolon key saves the file with the name "test."
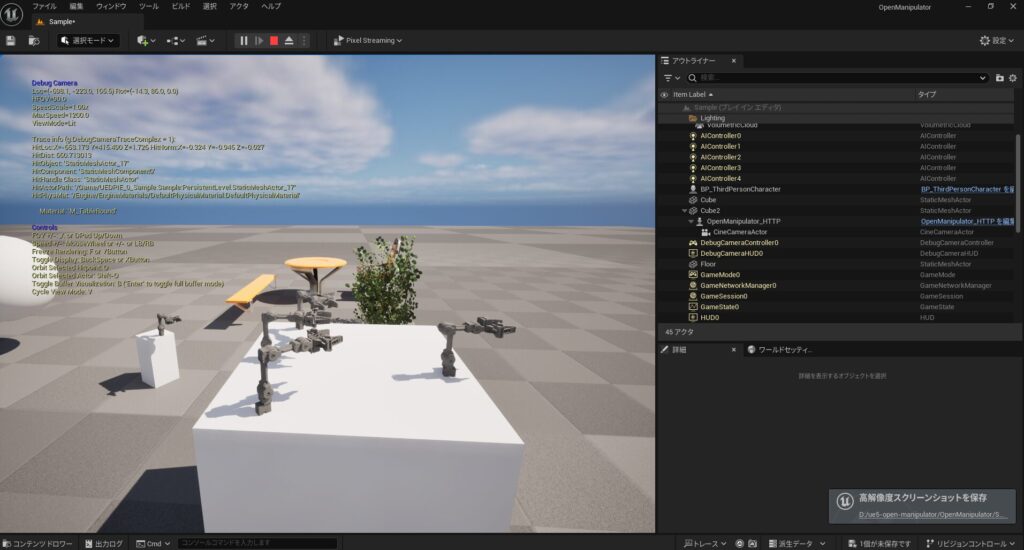
I started the play mode and pressed the key.
▼The file save location is displayed in the bottom-right corner.
▼The image was saved in the Saved/Screenshots/WindowsEditor folder, located in the same directory as the UE5 .uproject file.
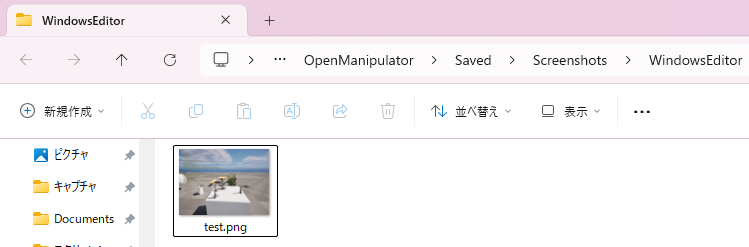
▼Here is the actual image:
Taking Screenshots via a Camera in the Scene
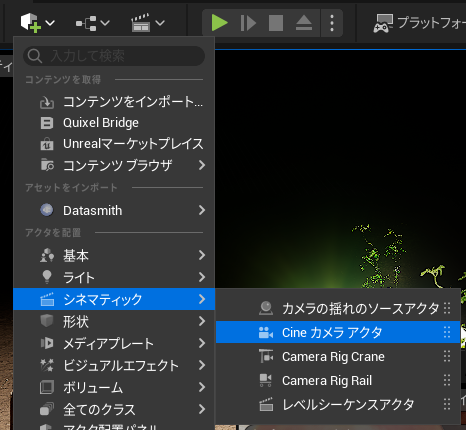
I added a Cine Camera Actor to the scene and tried to capture from that camera's perspective.
▼By clicking the cube icon, you can find it under the "Cinematic" category. "Rig Crane" seems to be for simulating crane-like movements.
▼I placed it in a position where the apple is visible.
Although the Take High Res Screenshot node has a "Camera" pin, connecting the scene camera to it did not work as expected.
▼In this state, the screenshot was still taken from the player's perspective.
While researching, I found someone on the forums who used it in combination with Set View Target with Blend.
▼Link to the forum:
https://forums.unrealengine.com/t/high-res-screenshot-through-camera/146352/4
▼Interestingly, "Set View Target with Blend" was also mentioned in a NASA report. It seems the actual capture there is triggered via commands.
Preparation of Papers for AIAA Journals
Although it differs slightly from the forum's flow, I added Set View Target with Blend to test it.
▼I set the "Target" to the Player Controller and the "New View Target" to the camera in the level.
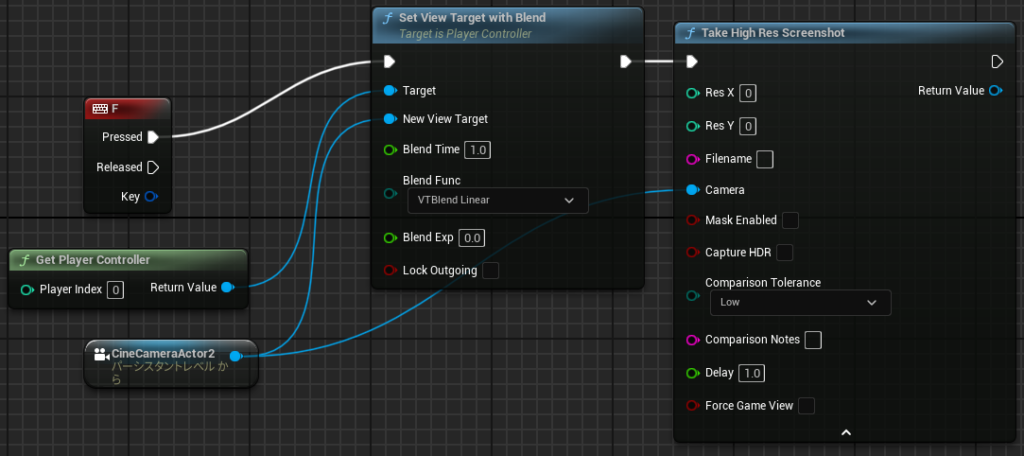
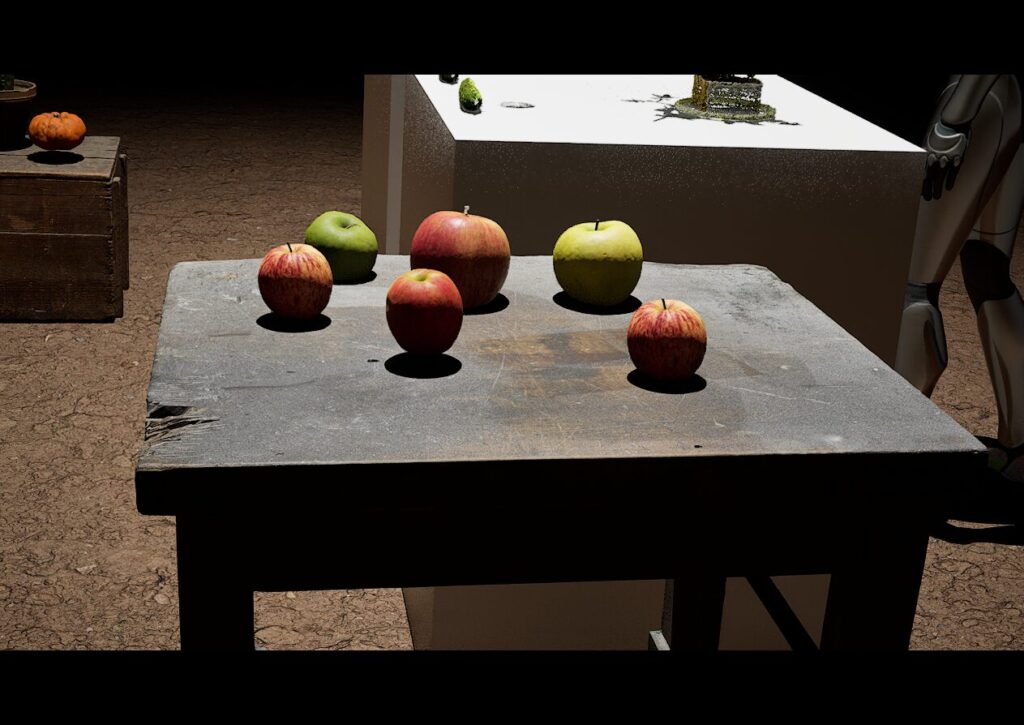
With this, I was able to capture from the camera's perspective. By changing the "Blend Time," the view transitions smoothly to the new perspective.
▼The captured screenshot looks like this:
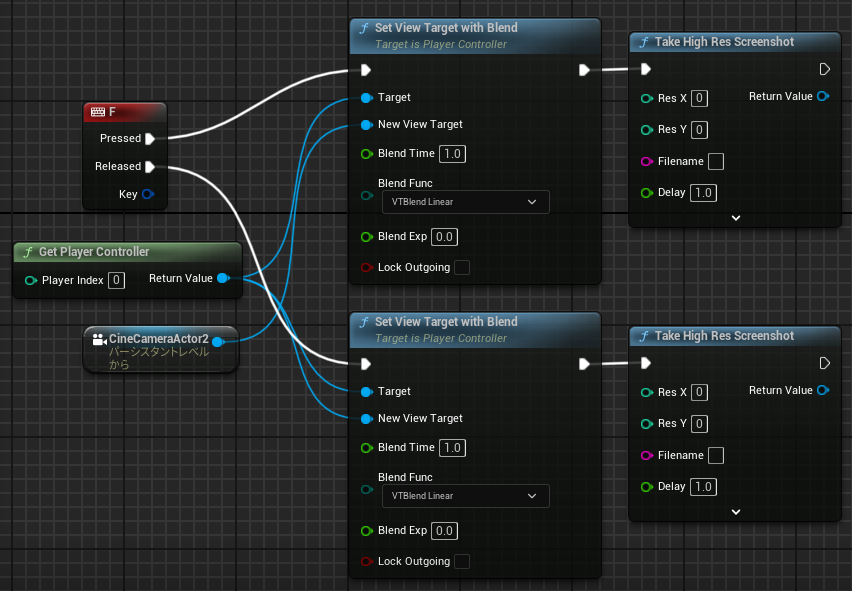
Since this setup leaves the view stuck on the camera, I modified it to return to the player’s perspective when the key is released.
▼I set the "New View Target" after the Released pin to Get Player Controller.
I tested the operation.
▼The view moves from the player's perspective to the camera's perspective over 1 second.
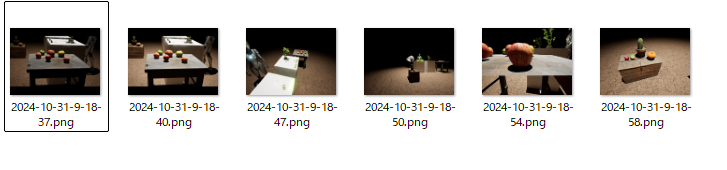
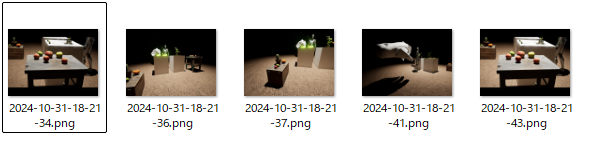
▼Based on the movements in the video, screenshots like these were captured:


Using Timestamps for File Names
If I use the same file name, only one image will be saved (overwritten), so I changed the file name to reflect the current time.
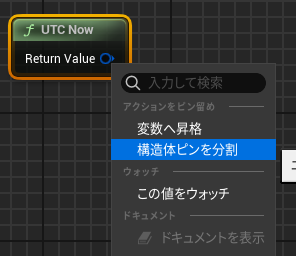
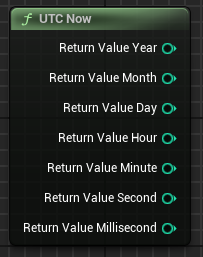
I found a node called UTC Now to represent the current time.
▼By right-clicking the pin, you can "split" it. It is divided into Year, Month, Day, Hour, Minute, and Second, making it very easy to handle.
I put these values into an array using Make Array and joined them into a string using Join String Array.
▼The nodes look like this:
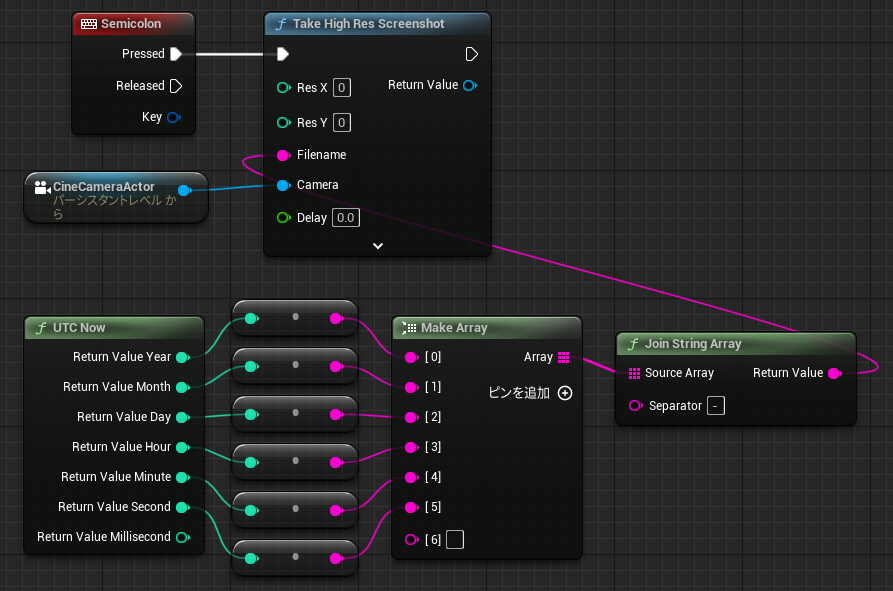
▼Note: If you leave the "Separator" in Join String Array as the default, it will be space-separated.
The "Separator" already contains a space, so delete it if it's unnecessary.
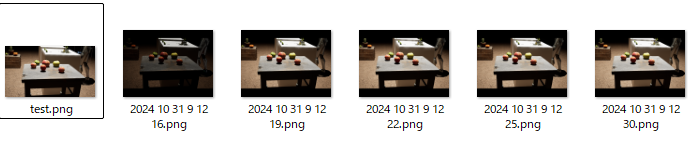
▼I noticed the file names looked odd—they contained spaces and hyphens.

▼Now they are saved correctly with hyphen separators.
UTC stands for Coordinated Universal Time and is not Japan Standard Time (JST). Since there is a 9-hour difference, I added that offset.
▼I added an Add operator node.

▼Now it saves using Japan Standard Time.
Adjusting Camera Parameters
Looking at the CineCameraActor, I found various lens and focus settings to adjust.
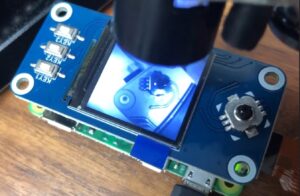
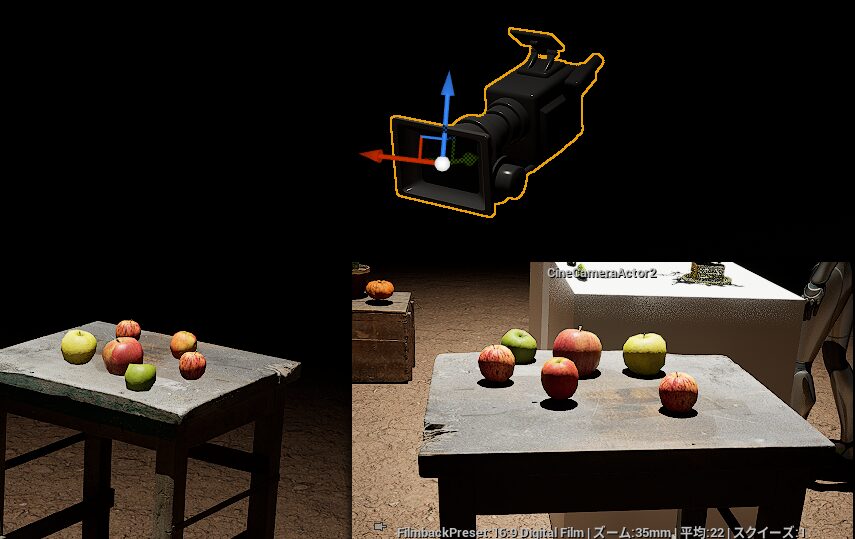
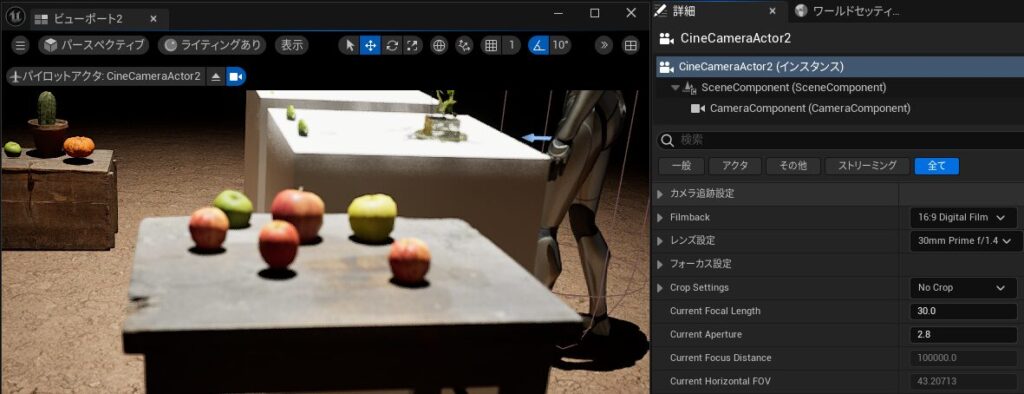
I was bothered by the blurriness, but adjusting the Current Aperture made the image much clearer.
▼With the default values, it's blurry like this:
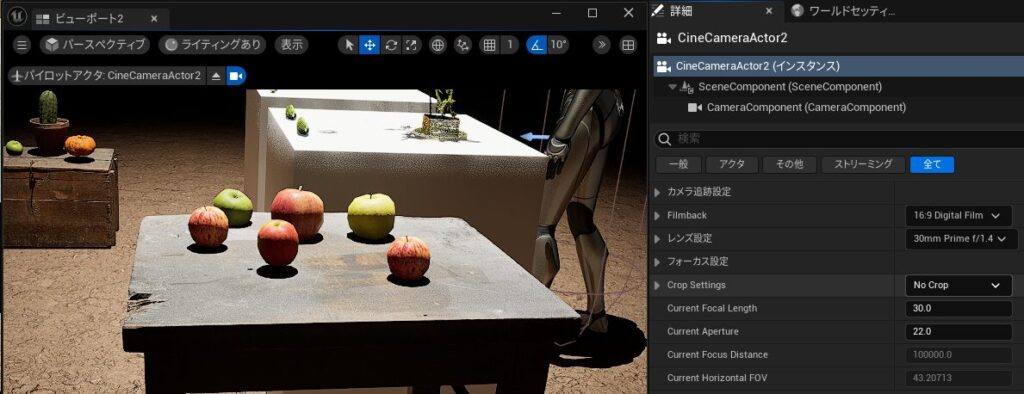
▼Setting the Current Aperture to 22 makes it sharp.
I also experimented with other adjustments:
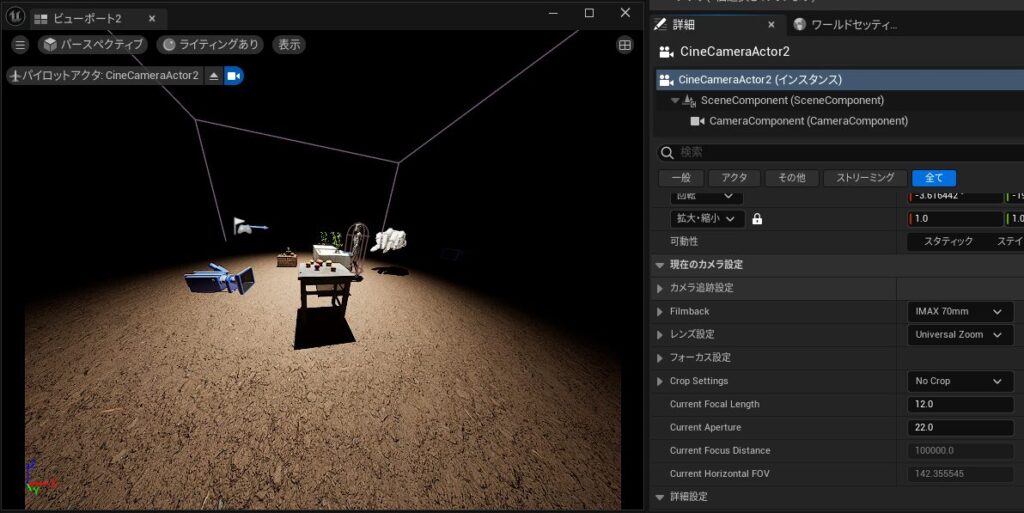
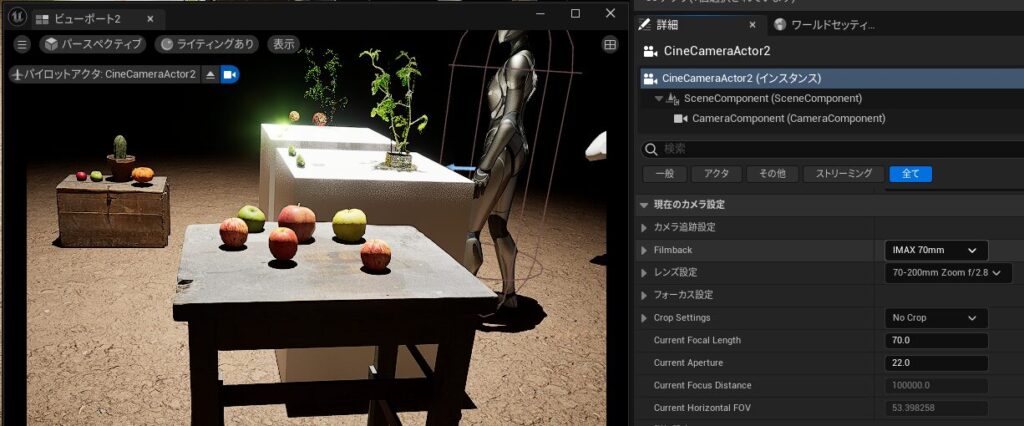
▼Changing the Filmback to IMAX 70mm looks like this:
▼Setting the lens to 70-200mm Zoom f/2.8 results in this (zoomed in):
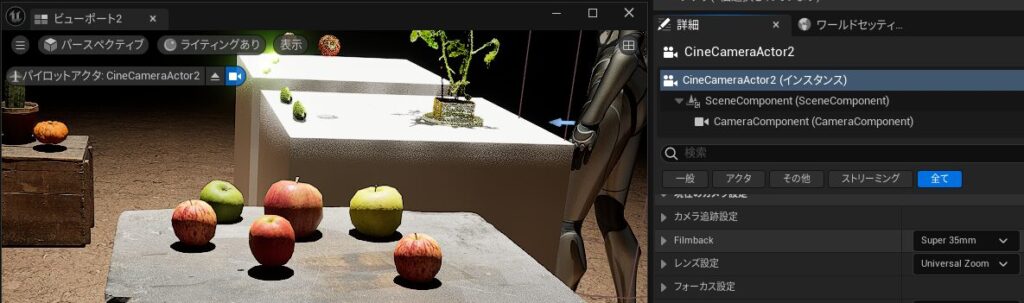
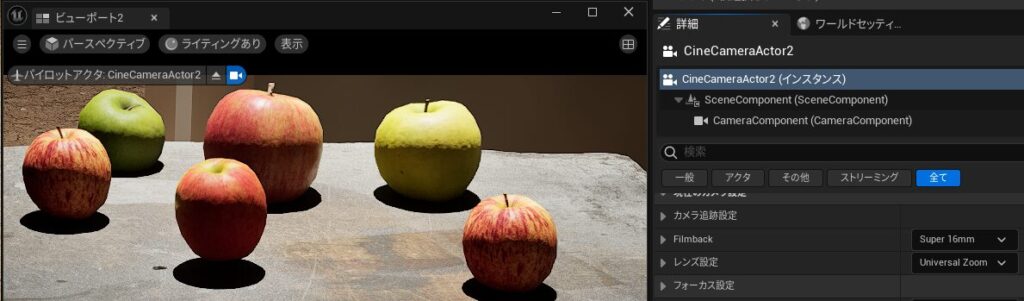
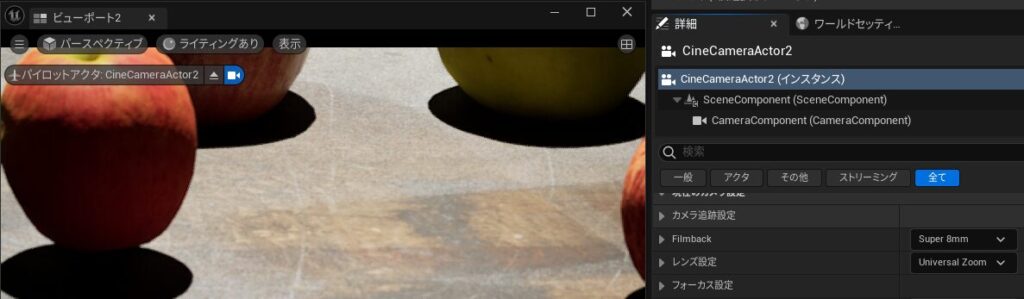
▼Reducing the Filmback size from Super 35mm makes it appear closer.
Finally
Now that I’ve confirmed I can take screenshots and save them to files, I’m planning to use Node-RED to retrieve those images and use them with other programs.
While I’ve learned how to adjust camera parameters, I am not an expert on those settings, so I’ll need to do more research.
I'm also curious about how the Camera Rig Crane and Camera Rig Rail (found in the Cinematic menu) behave for capturing. I intend to look into their usage next.
▼It seems they can be used within the Sequencer.
https://zenn.dev/tw_trainingcamp/articles/cdabc57a1e2992