Trying Out Raspberry Pi Zero 2 Part 2 (Camera, Thonny, and Node-RED)
Introduction
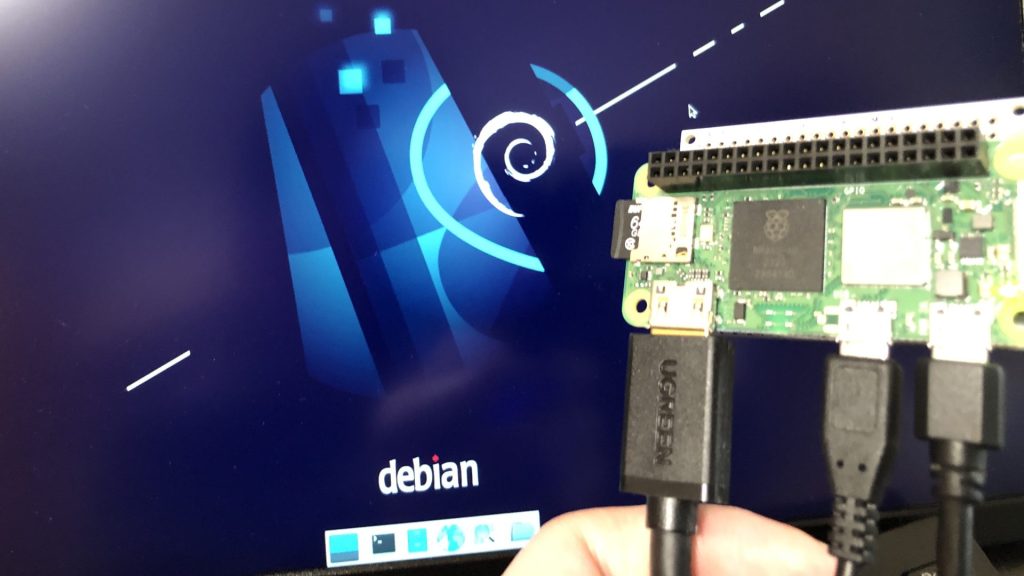
In this post, I attached a camera to the Raspberry Pi Zero 2. I remember struggling with this in the past while following older books, often encountering errors when entering commands to take a photo. However, this time everything worked smoothly. I am now running Node-RED on the Zero 2 and accessing the editor from a separate PC. This has made the workflow much more comfortable, as opening a browser directly on the Zero 2 can be quite slow.
▼Previous article:
Trying Out Raspberry Pi Zero 2 Part 1 (Xfce, Vivaldi, and Node-RED)
Info This article is translated from Japanese to English. Introduction In this post, I tried using the Raspberry Pi Zero 2. I picked one up at Maker Faire Toky…

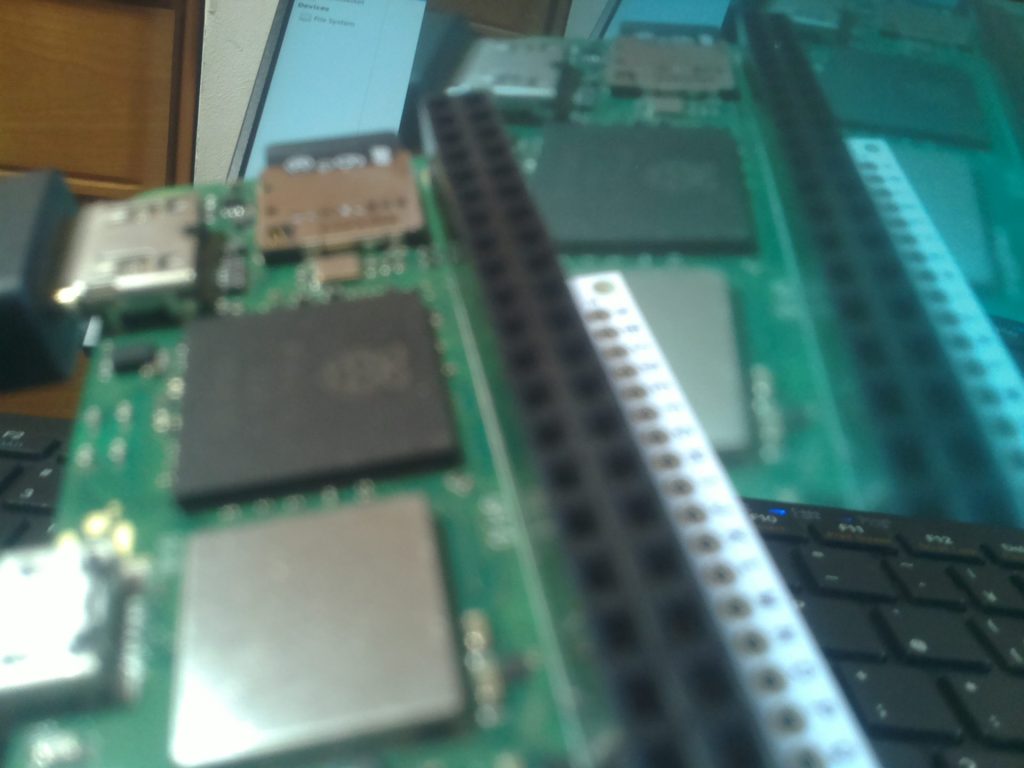
Attaching a Heatsink
I'm not entirely sure how much of an effect it has, but I decided to attach a heatsink.
▼I purchased this one:

▼Attach it:
Camera Setup and Shooting
Camera Types
I purchased two types of cameras.
▼The first is a miniature camera.

I also bought a night-vision (IR) camera. It's easy to keep adding items to the cart just to reach the free shipping threshold...
▼The night-vision camera I purchased:
https://www.digikey.jp/ja/products/detail/seeed-technology-co-ltd/114992264/12396940
▼Seeed Studio product page:
▼I think this camera is same type.

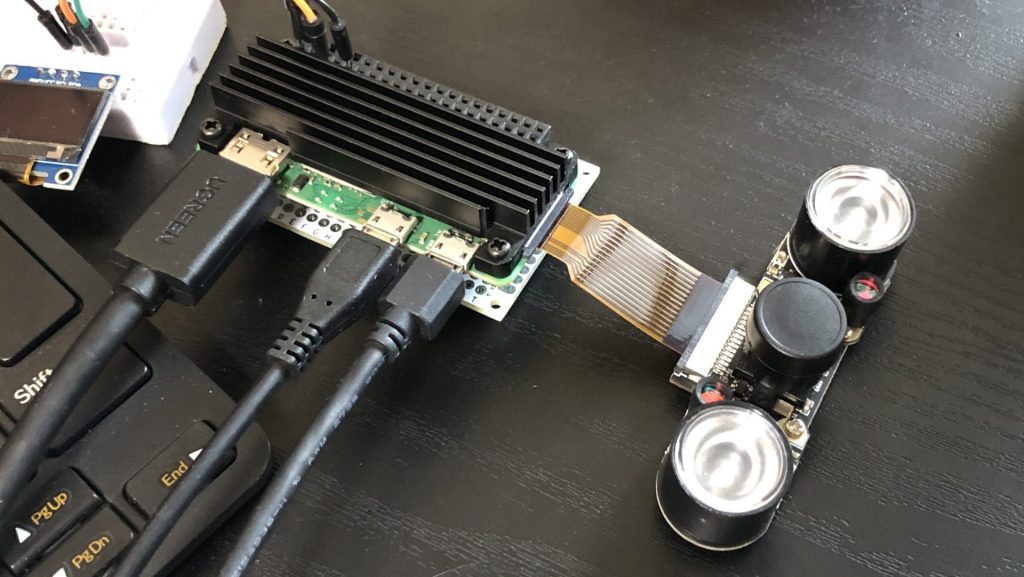
The Raspberry Pi Zero series has a narrower camera connector than standard models. To use these cameras, a specific adapter cable is required.
▼I purchased this cable, but it's quite short and a bit difficult to attach:
短めのRaspberry Pi Zero用カメラケーブル — スイッチサイエンス
短めのRaspberry Pi Zero用カメラケーブルです。長さは38 mm、Raspberry Pi公式のRaspberry Pi Zero用ケースに付属しているものと同じ長さです。

▼Longer cables are also available.

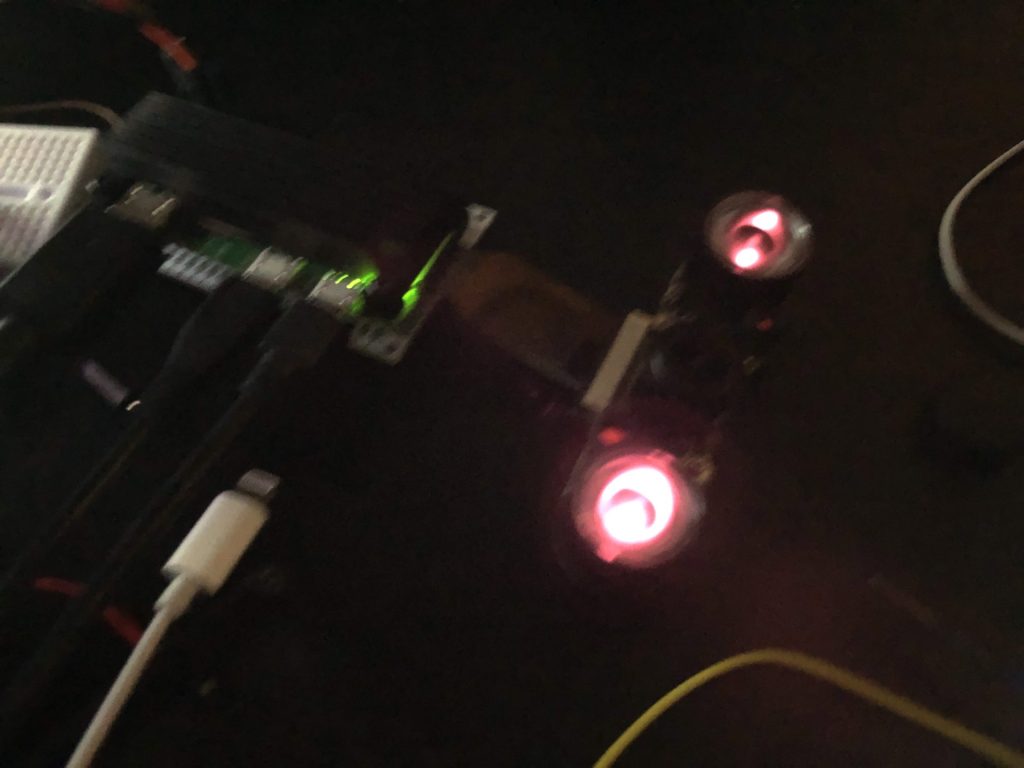
▼When I dimmed the lights and took a photo of the camera itself using my smartphone, I could see the two infrared LEDs glowing red.
Enabling the Camera
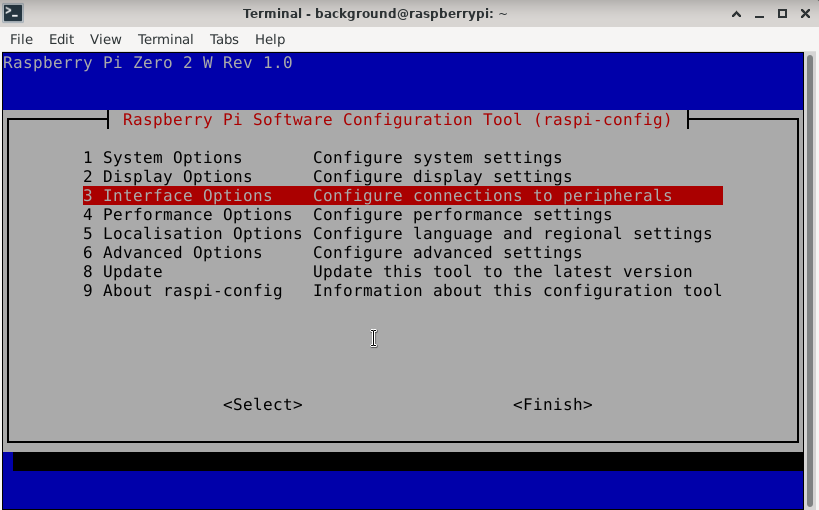
In the standard Raspberry Pi OS desktop environment, there is a configuration GUI to enable I2C, SPI, and Serial ports. However, since I installed a different desktop environment in my previous post, I don't have that menu. Instead, I enabled the camera via the command line.
▼I referred to this article:
https://rb-station.com/blogs/article/raspberry-pi-i2c-activation
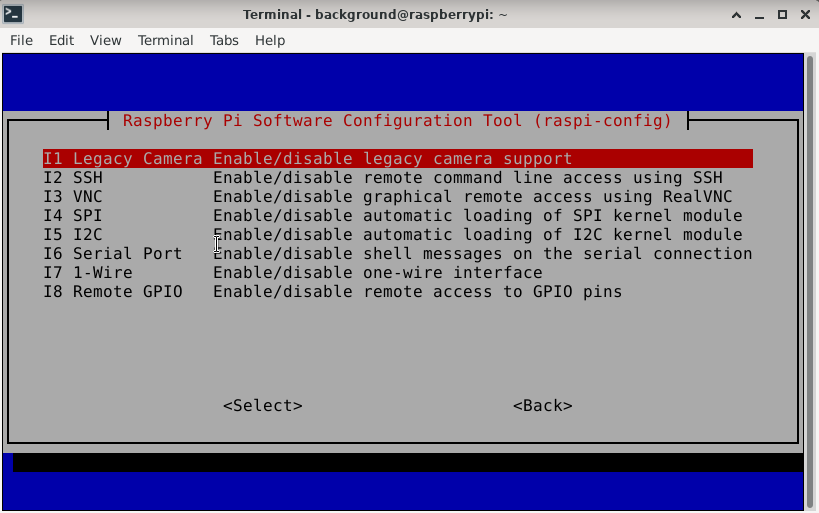
The raspi-config command brings up the software configuration tool.
▼Run it with sudo if root privileges are required:

▼Select Interface Options.
▼Choose the Legacy Camera option and enable it.
Shooting via Command Line
The official "Getting Started" page explains how to use the camera. You can capture photos and videos using raspistill and raspivid.
▼Official Guide:
https://projects.raspberrypi.org/en/projects/getting-started-with-picamera/0
▼Use the following command to take a photo:
raspistill -o nodered.jpg
▼Detailed documentation on commands can be found here:
https://www.raspberrypi.org/app/uploads/2013/07/RaspiCam-Documentation.pdf
▼This article was also helpful.
https://igarashi-systems.com/sample/translation/raspberry-pi/usage/raspistill.html
▼I captured a photo of a Haniwa (clay figure) using the miniature camera.

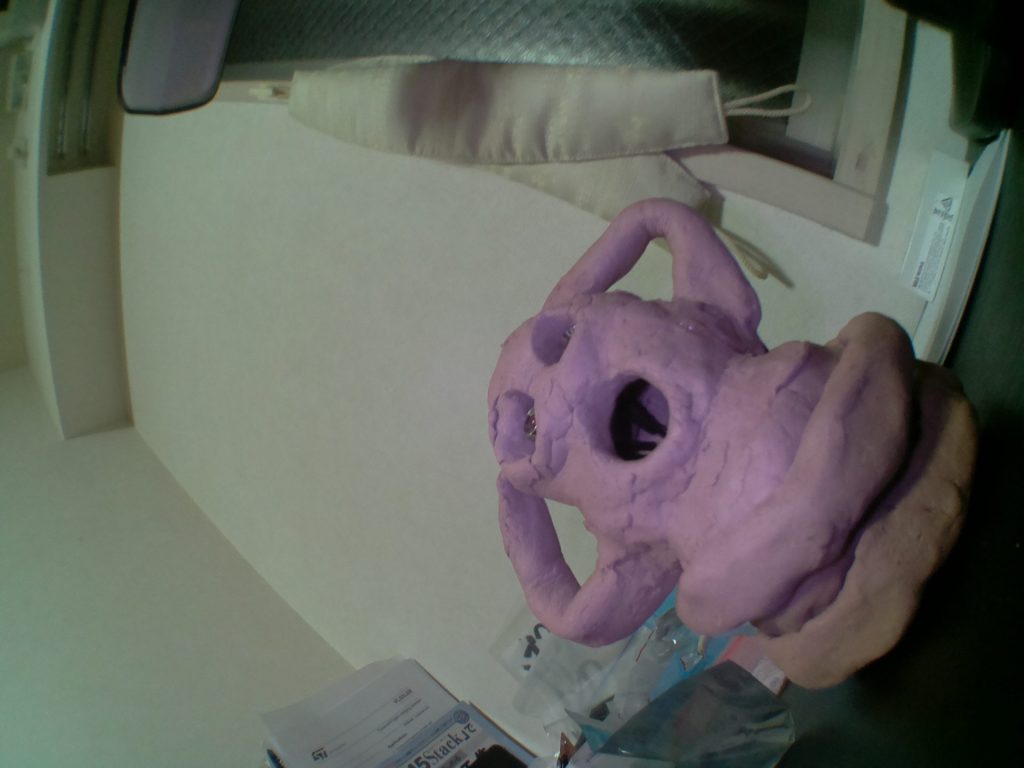
I also tested the night-vision camera.
▼Here is a photo taken in a bright room. It has a slight purple tint.
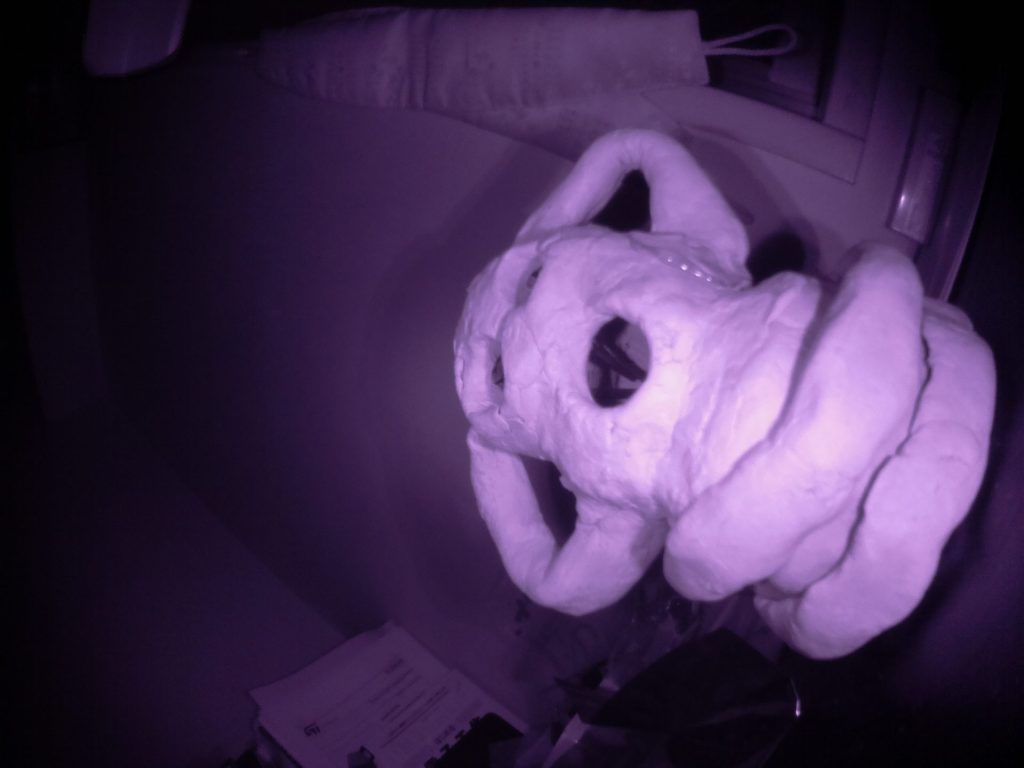
▼And here is a photo taken in a dark room. It looks a bit like a horror movie…
Shooting via Python Program
I also tried the Python method described on the official "Getting Started" page.
▼Official Guide (Python):
https://projects.raspberrypi.org/en/projects/getting-started-with-picamera/4
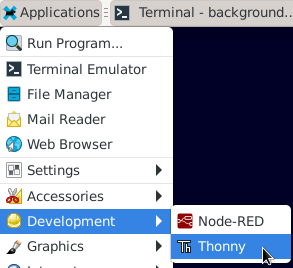
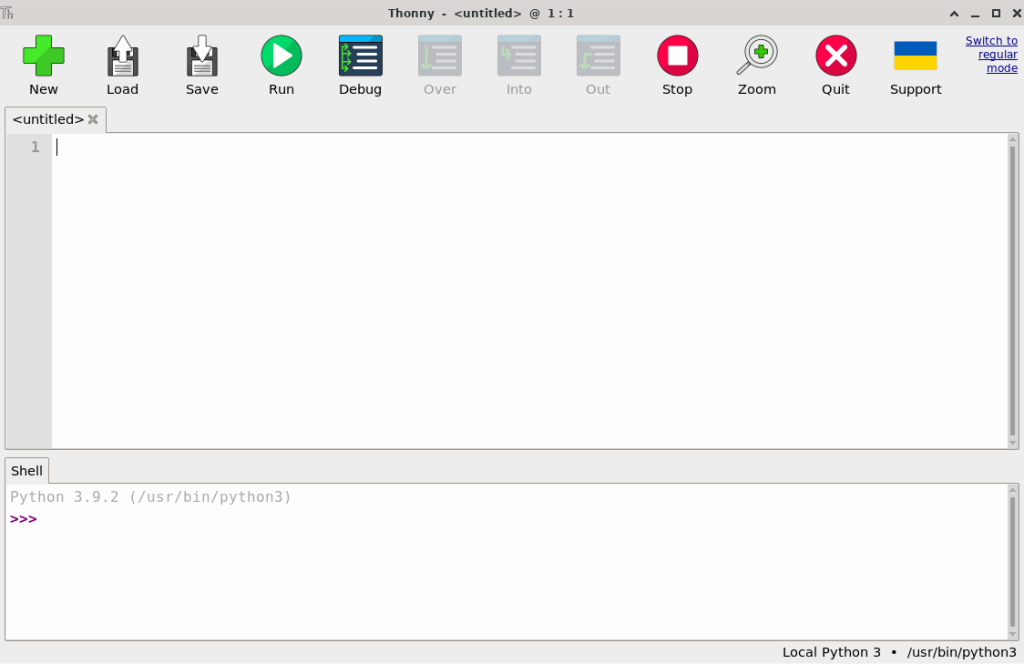
Since I didn't have a text editor installed in my desktop environment, I installed Thonny, which is tailored for Python.
▼Thonny homepage:
▼Installation command:
sudo apt install thonny
▼Thonny was added under the Development menu.
▼Successfully launched!
▼Here is a simplified version of the program. (Replace with your actual username):
import picamera

camera = picamera.PiCamera()
camera.resolution = (800, 600)
camera.start_preview()
camera.capture('/home/<username>/python.jpg')
camera.stop_preview()
▼Capture successful!
Operating Raspberry Pi Zero 2 via Node-RED
Running Node-RED on Startup
As mentioned in my Node-RED MCU articles, you can set Node-RED to launch automatically when the Raspberry Pi boots.
▼Instructions under "Running on boot":
https://nodered.jp/docs/getting-started/raspberrypi
▼To enable auto-start:
sudo systemctl enable nodered.service
▼To disable auto-start:
sudo systemctl disable nodered.service
▼Previous article:
xs-devでRaspberry PiにNode-RED MCUの環境を構築する
はじめに 今回はRaspberry PiにNode-RED MCUの環境を構築してみました。 少し前に発売された書籍での方法とは違って、xs-devを使っています。構築が楽になるそうです…
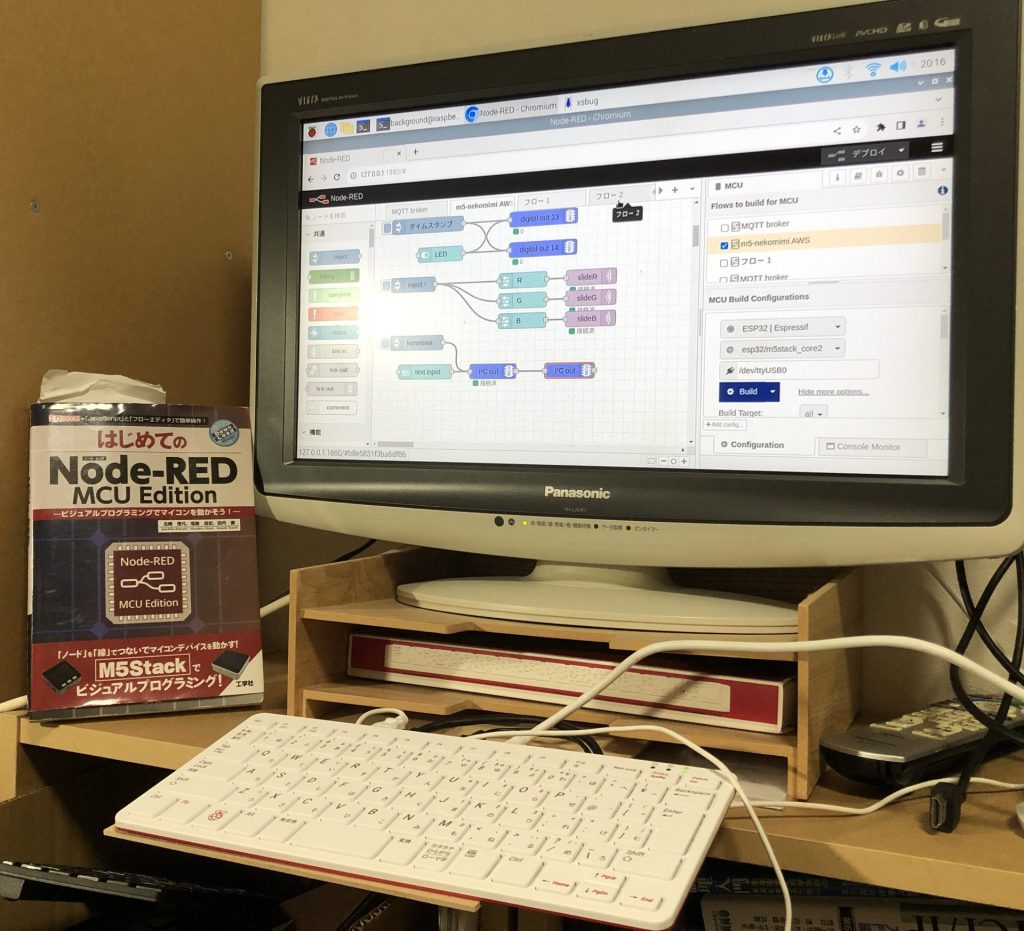
Accessing the Editor from Another Device
I access the Node-RED instance running on the Raspberry Pi Zero 2 from my Windows PC. Combined with the auto-start setting, I can simply power on the Zero 2 and access it remotely.
The URL is http://:1880.
▼Instructions under "Opening the editor":
https://nodered.jp/docs/getting-started/raspberrypi
▼Check the IP address with:
hostname -I
or:
ip a
Reboot and Shutdown
While you can use the exec node to run reboot or shutdown commands, I found a dedicated node for this.
▼I also used the exec node in a previous article.
Using Node-RED Part 1 (exec node, Execute Python programs)
Introduction In this article, I used exec node of Node-RED. This is a node that can execute commands. I started using Node-RED MCU first, so I have not use…
▼I installed this node:
https://flows.nodered.org/node/node-red-contrib-rpi-shutdown
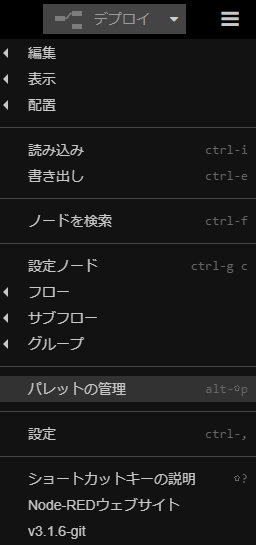
▼You can add nodes via "Manage palette" in the right-side menu.
▼By using inject nodes, you can trigger a reboot or shutdown.

▼Looking at the source code, it's a simple node that uses child_process to execute commands when a message arrives.
https://github.com/pokiiio/node-red-contrib-rpi-shutdown/tree/master
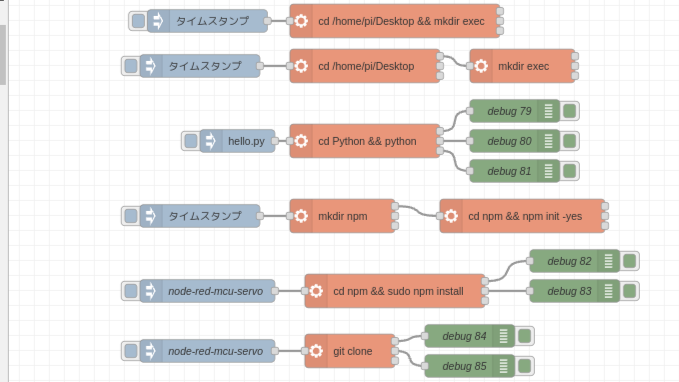
Checking Files in a Folder
I used the exec node to run the ls command (or dir).
▼Flow to check files in the "Pictures" folder:

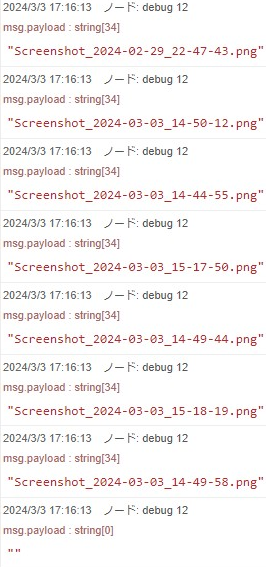
▼The debug node shows that the output is separated by spaces or newlines.

▼I used a split node to divide the string by those characters.

▼It is split into separate files.
Capturing and Sending Images
Since the exec node can run commands, it can also trigger a photo capture.
▼Flow to execute the raspistill command:

I then set up a flow to send the captured photo to another Node-RED instance running on my Windows PC via HTTP.
The Node-RED Cookbook has a flow for serving local files.
▼Reference:
https://cookbook.nodered.jp/http/serve-a-local-file
When sending/receiving images, I use the "Binary Buffer" format.
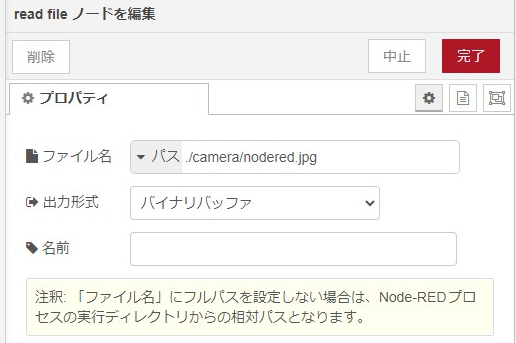
On the Raspberry Pi Zero 2 side, I used http in/out nodes and a read file node.
▼Flow on the Zero 2 side:

In this flow, accessing http://:1880/picture downloads the image.
▼The output format is a binary buffer.
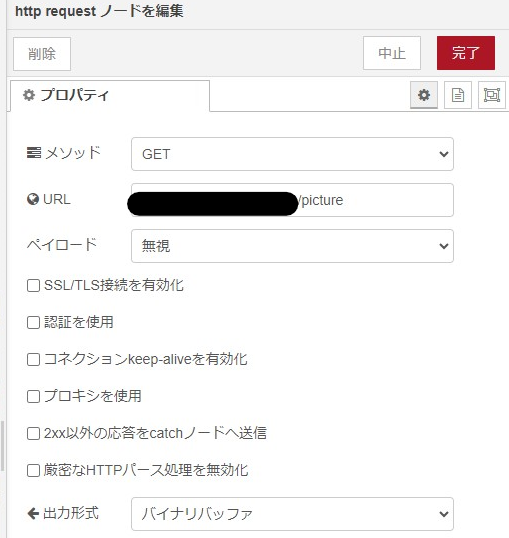
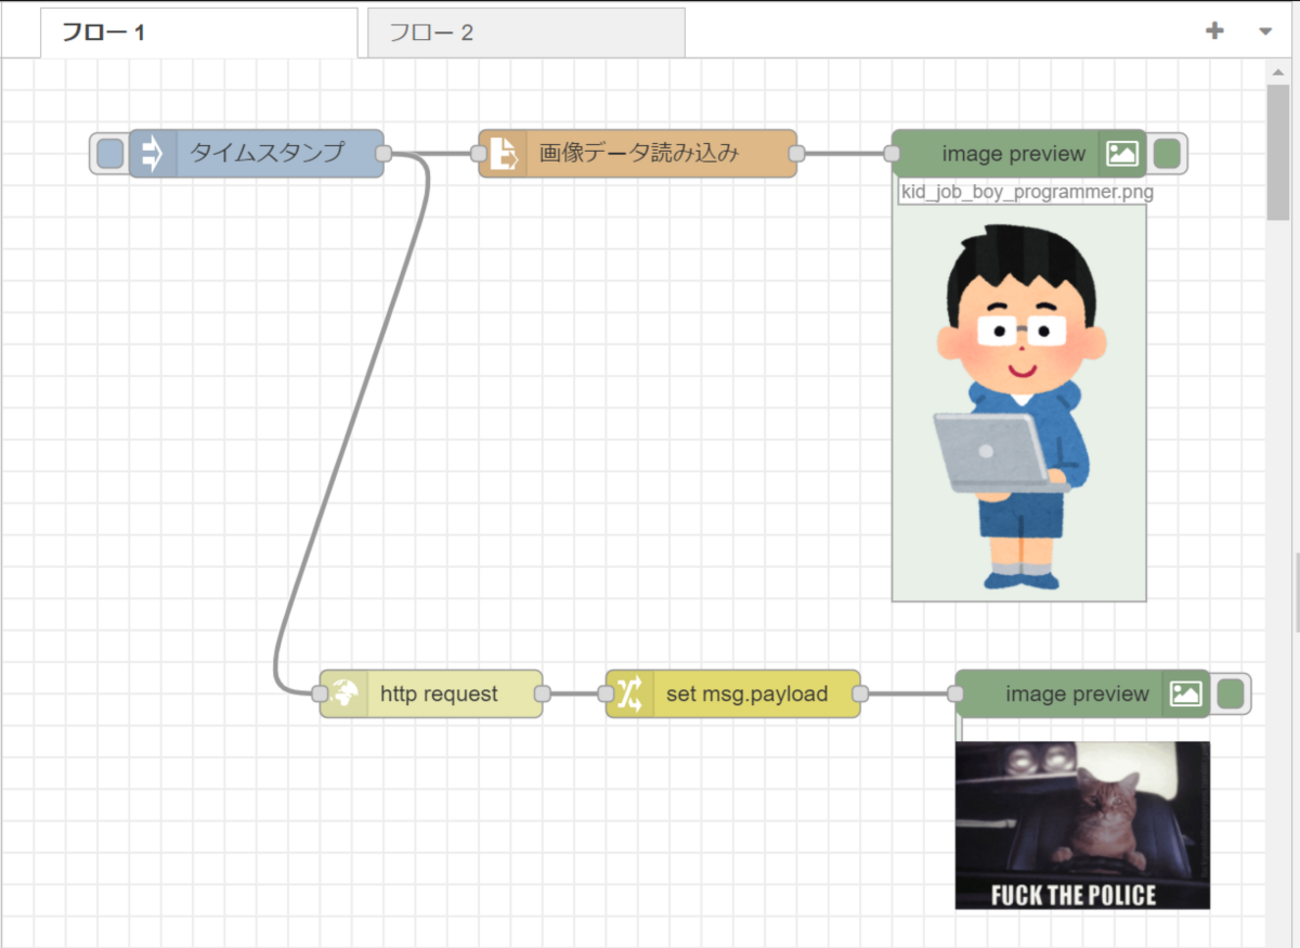
On the Windows side, I used http request and write file nodes.
▼Flow on the Windows side. Transfer successful!
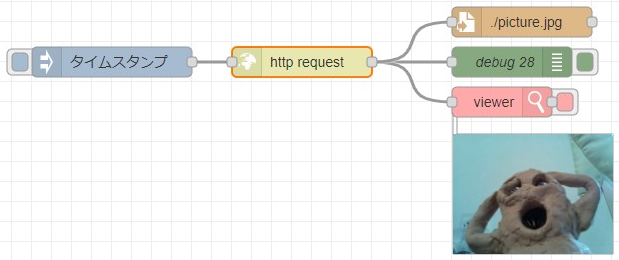
▼I specified the URL and set the output format to a binary buffer.
I installed an image handling node to display the picture directly in the flow.
▼node-red-contrib-image-tools node:
https://flows.nodered.org/node/node-red-contrib-image-tools?utm_source=pocket_mylist
▼It was introduced in this article.
Node-REDのフロー上に画像を表示する方法 - uepon日々の備忘録
先日のエントリでNode-REDで生成した画像をデバッグ用途でフロー上に表示するという処理を使用しました。 今回はその部分を取り出して説明するとともに、もう一つの表示方…
Finally
Looking back, this post ended up focusing a lot on Node-RED. By integrating this Raspberry Pi Zero 2 into a portable device, it’s almost like carrying Node-RED around with you.
While being able to access Node-RED via an IP address is convenient, it also means commands can be executed freely, which is a security risk. Implementing measures like password protection for logins will be necessary.
The camera was easy to use, and since it’s simple to swap out, I look forward to trying various other types of cameras!