Shopping: Mini PC and PiSugar 3
Introduction
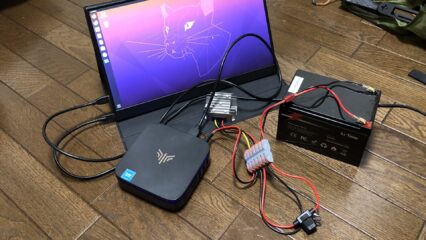
A little while ago, during the Amazon Prime Day sale, I bought a mini PC that was significantly discounted, along with a PiSugar 3. I once controlled a robot by installing Ubuntu 18 on a mini PC and setting up a ROS environment. Since you need to connect an external monitor, mouse, and keyboard, it’s not ideal for all situations, but for mounting it on a robot, being able to detach those peripherals makes it perfectly compact. The Raspberry Pi is also compact, but with its price rising, there are cases where a mini PC might actually be cheaper and more convenient. I’m not an expert on PCs, but I was particularly interested in the fact that the SSD can be replaced.
▼The mini PC I bought was around 17,000 yen after applying a coupon to the listed price.

I bought the PiSugar 3 because I wanted to be able to run Node-RED anywhere using a Raspberry Pi Zero. I’m thinking of turning it into a wearable device.
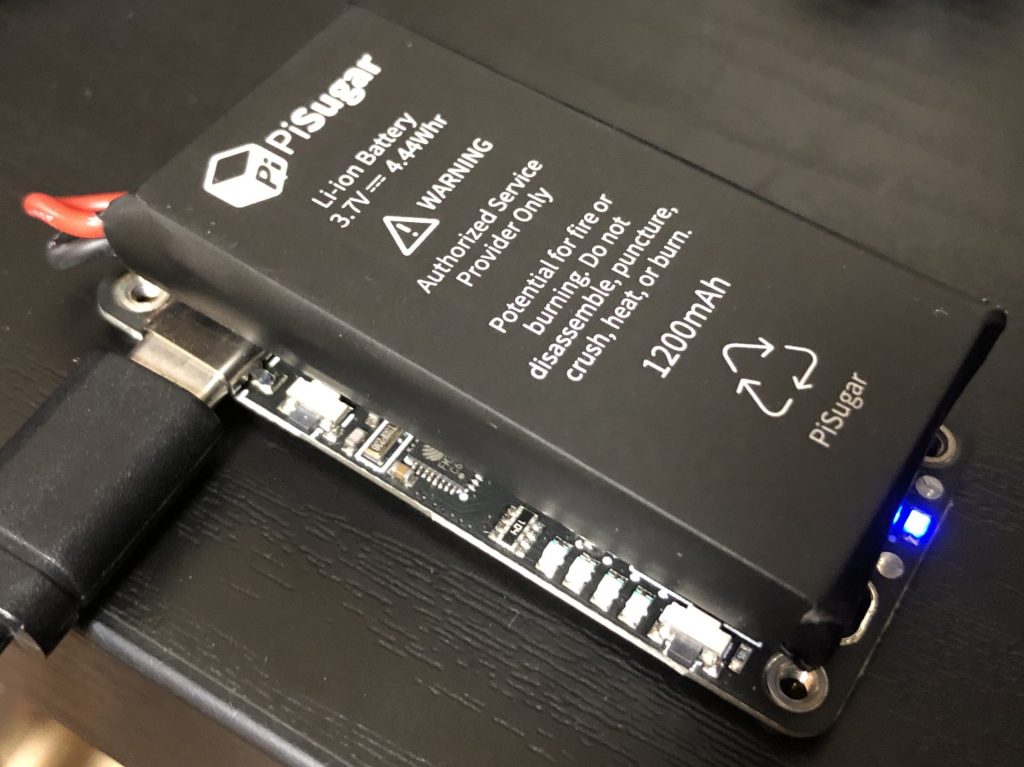
▼This is the PiSugar 3. For some reason, I couldn't find a link with a preview image, but it looks exactly like the PiSugar 2.

▼There are also models with larger capacities available for the Raspberry Pi 3.


▼Previous articles:
Raspberry Pi Zero 2を使ってみる その1(Xfce、Vivaldi、Node-RED)
はじめに 今回はRaspberry Pi Zero 2を使ってみました。Maker Faire Tokyo 2023にて会場で販売されていたので購入してみました。 一度Raspberry Pi OSのデスクトップ…
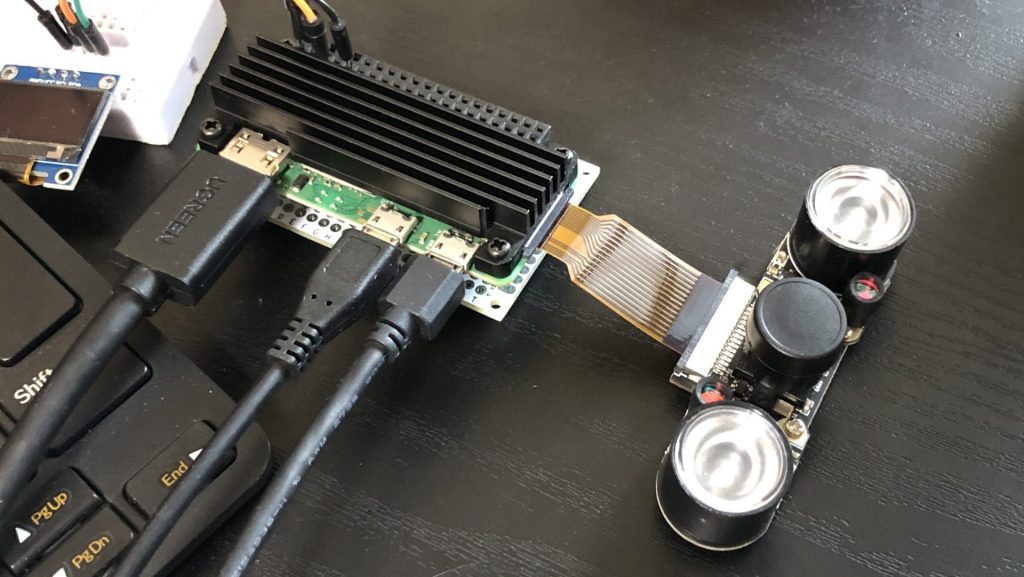
Raspberry Pi Zero 2を使ってみる その2(カメラ、Thonny、Node-RED)
はじめに 今回はRaspberry Pi Zero 2にカメラを取り付けてみました。 少し古い書籍を読みながら試していたときは、コマンドを入力してもエラーが出て撮影できないこと…
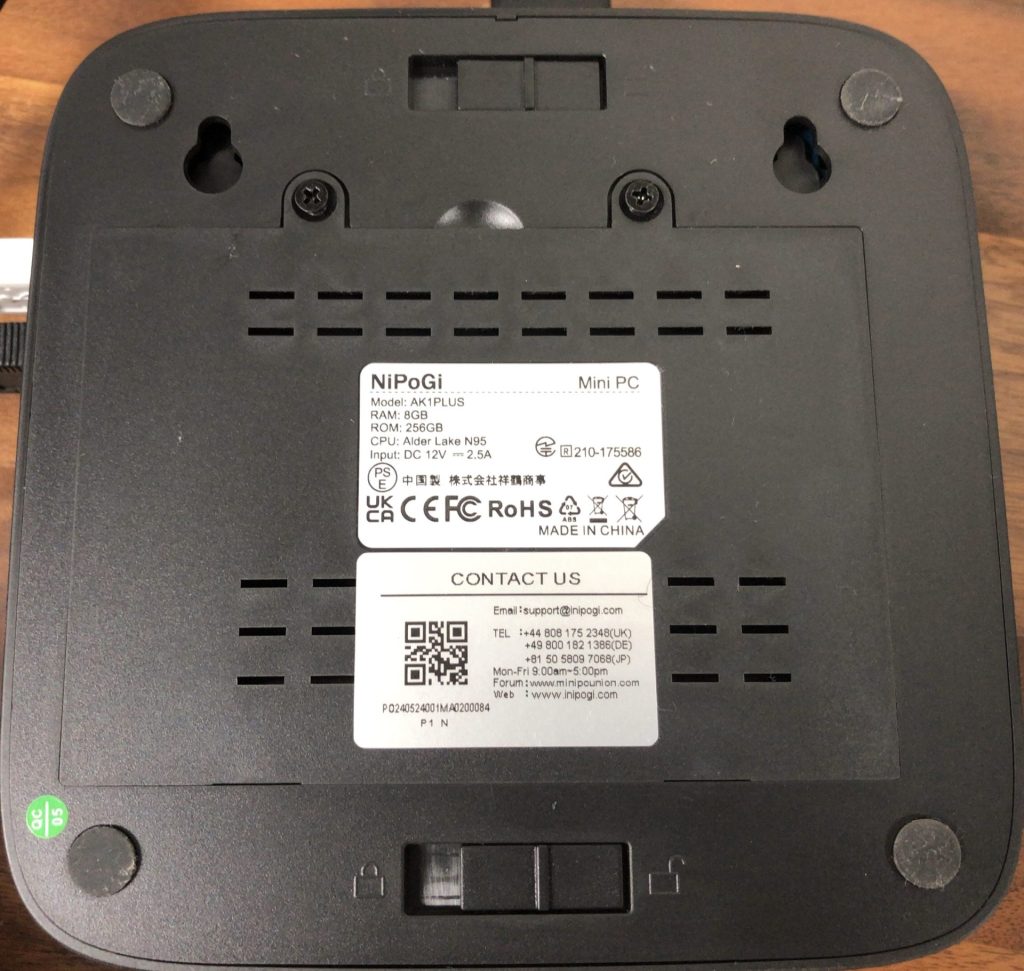
About the Mini PC
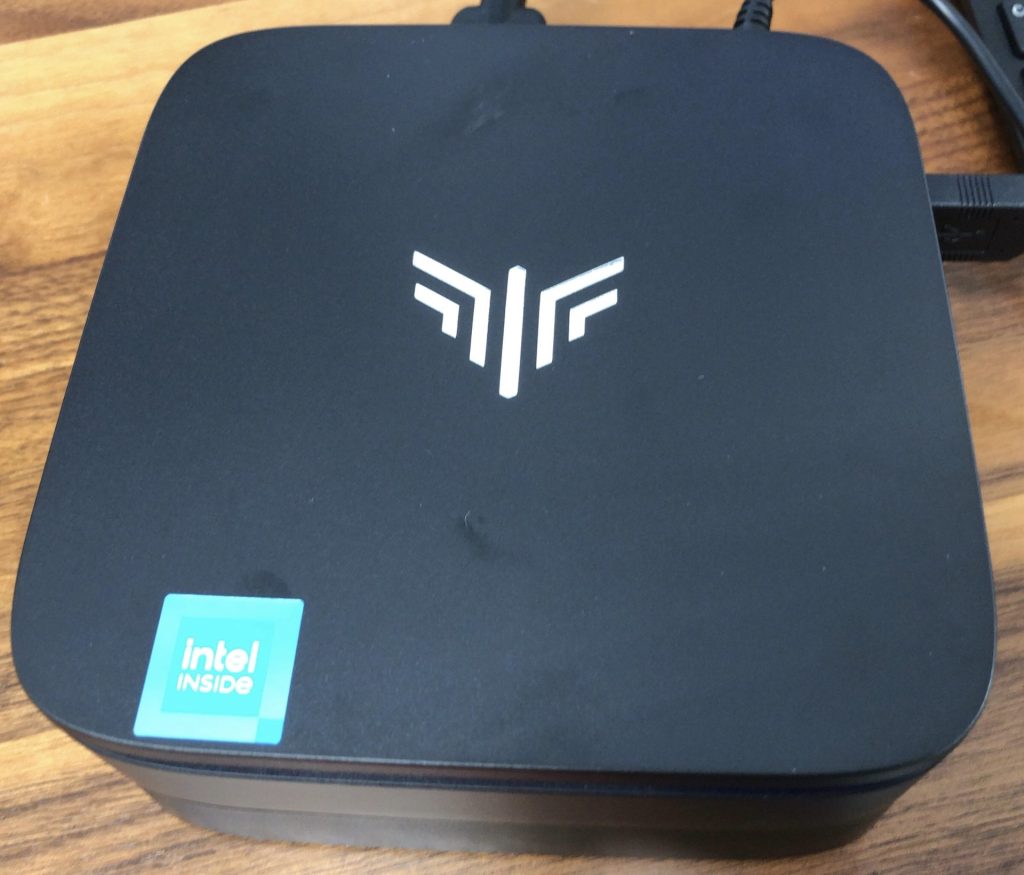
Unboxing
▼The exterior looks like this.
▼Removing the screws at the bottom reveals a connector for an SSD.
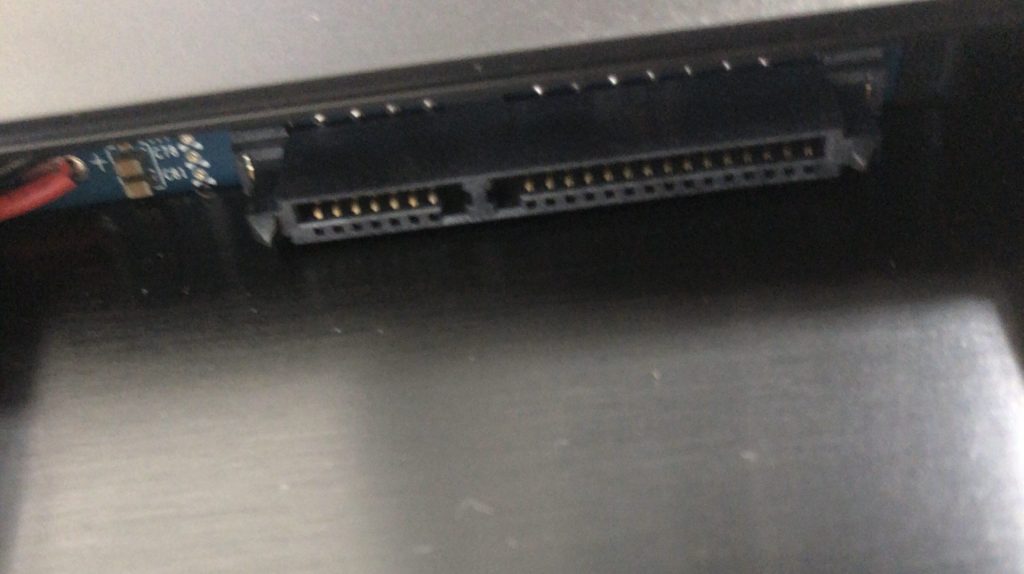
The manual didn't specify how to add an SSD or what type is supported. I plan to buy one that looks like it fits and try it out.
▼After releasing the sliding lock on the bottom and pulling it apart, it was connected via a Type-C connector.
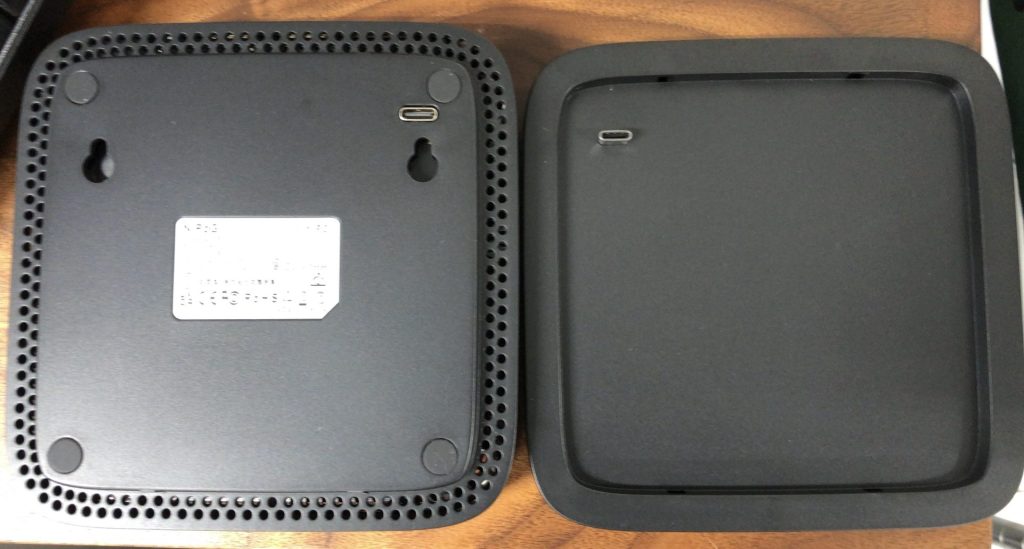
If you aren't adding an SSD, it seems the bottom part can be removed to make it even more compact.
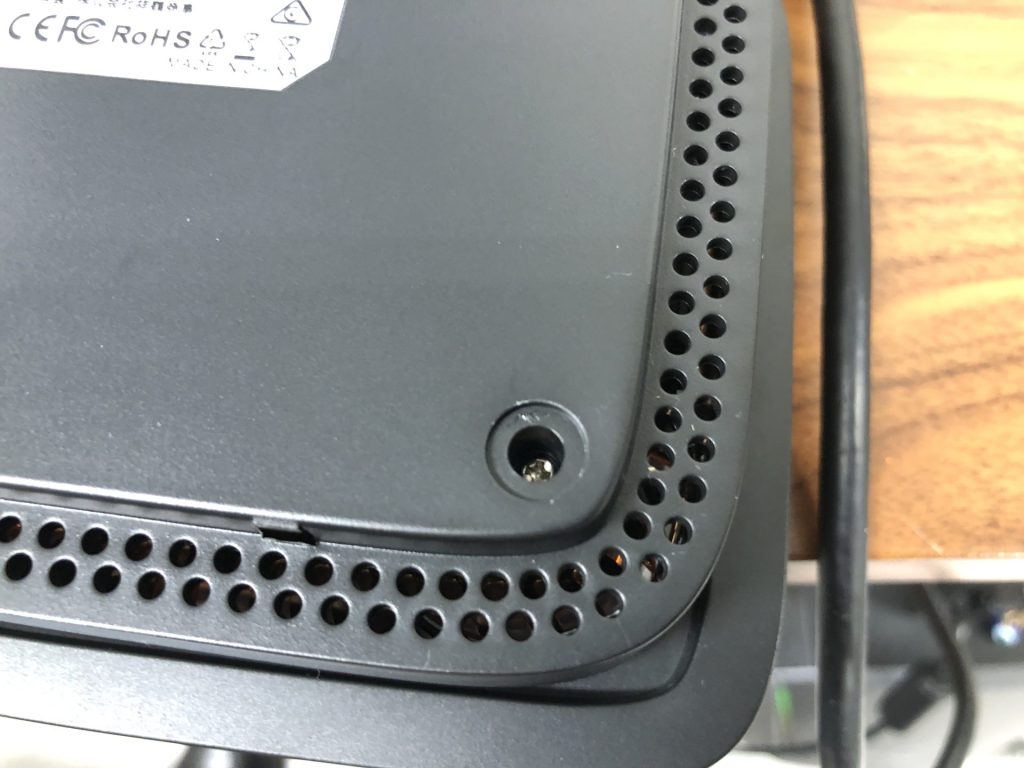
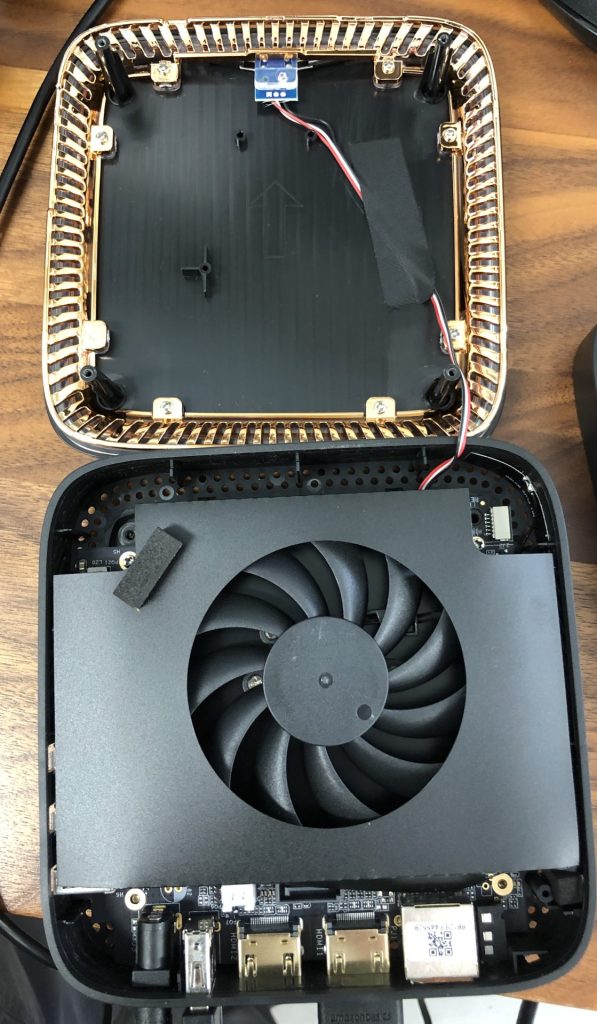
While researching, I found out there are screws hidden under the anti-slip rubber feet.
▼Indeed, there are screws.
▼Removing the screws and opening it up looks like this. I was afraid of breaking it, so I didn't touch it any further.
Booting Up
I connected a keyboard, mouse, and display to start it up.
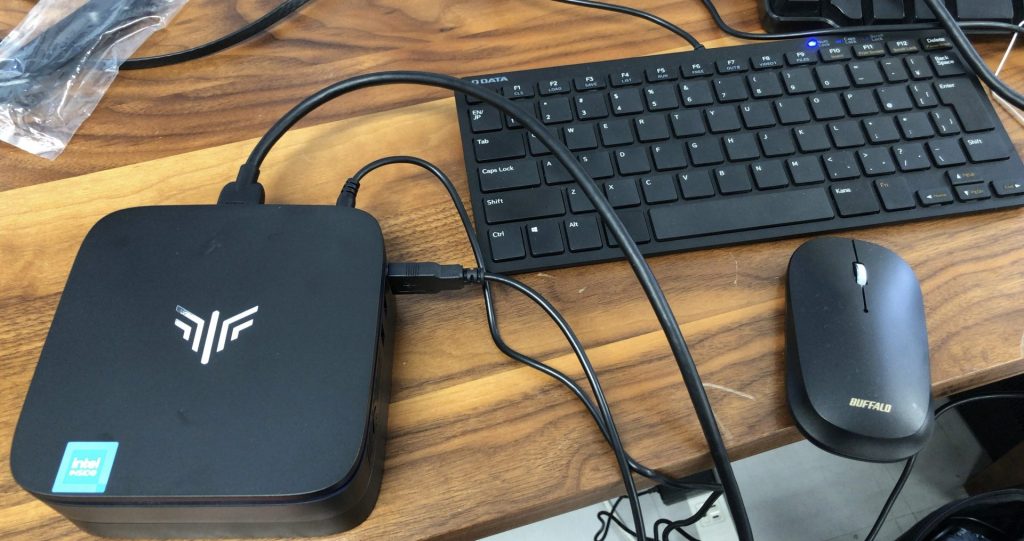


▼The specific keyboard I use seems to be discontinued, but it's a compact, thin, tenkeyless model similar to this one.

▼There are plenty of ports available.
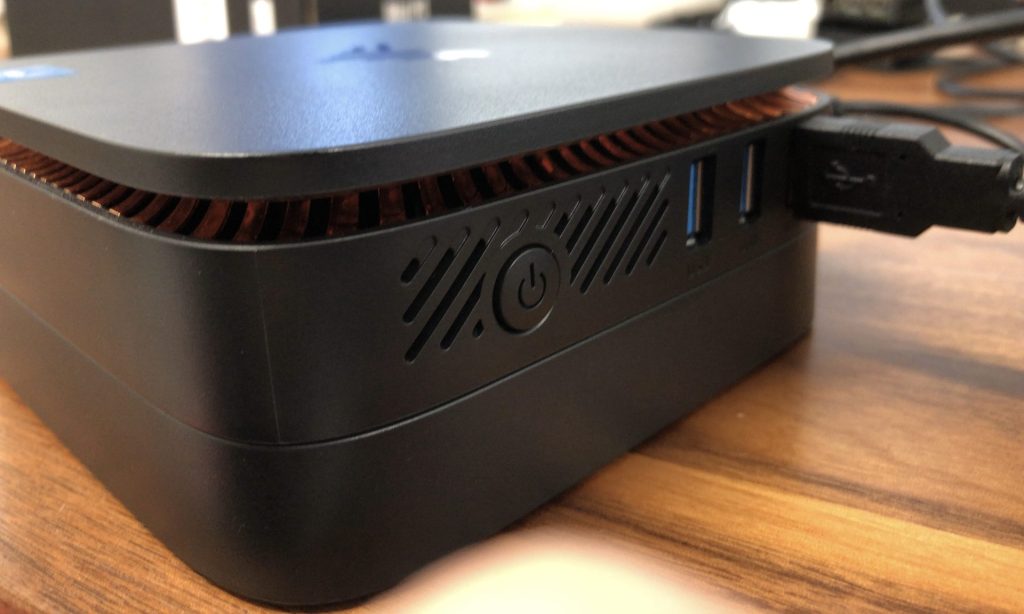
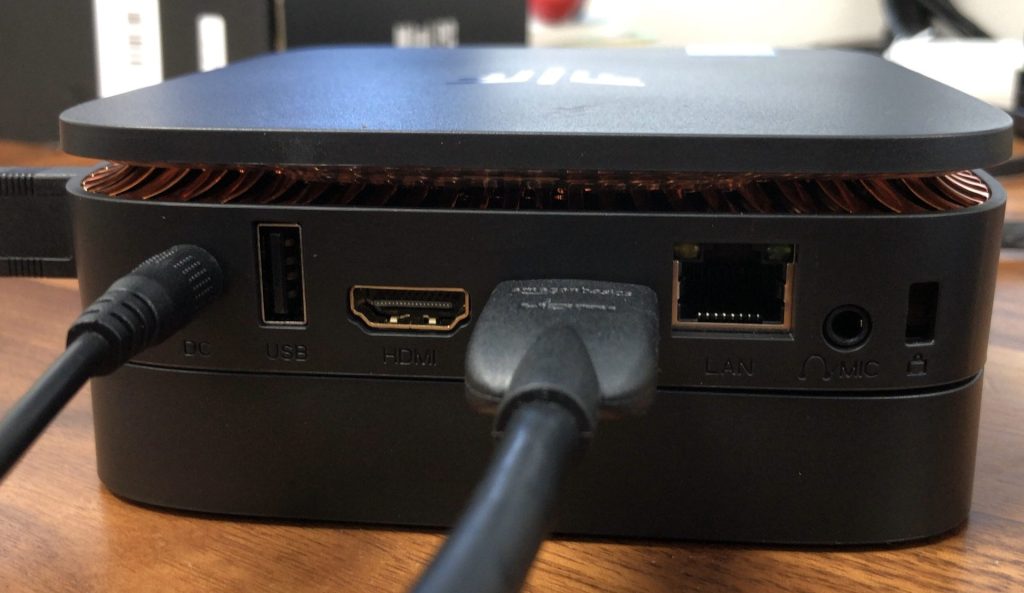
▼It booted up without any issues.
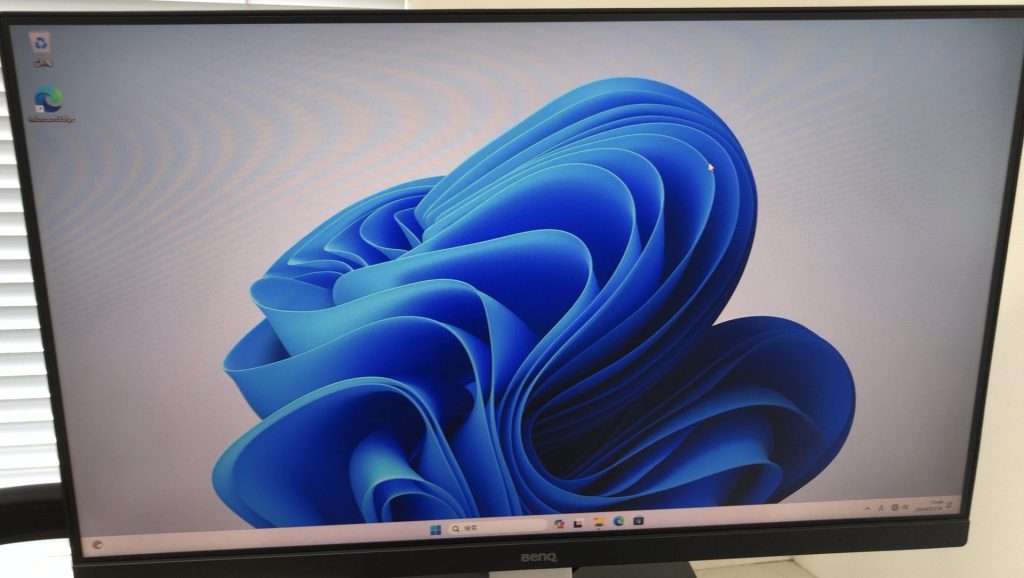
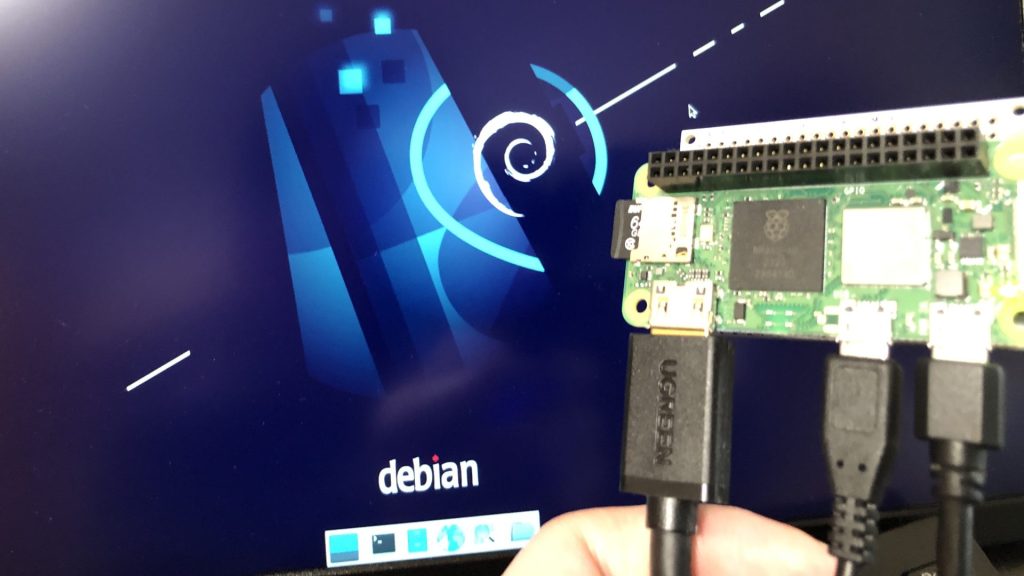
After this, when I tried installing Ubuntu using the Linux bootloader, the Windows environment was completely erased. Since then, I’ve been using it as an Ubuntu PC.
About PiSugar 3
Unboxing
▼PiSugar official page:
▼The exterior looks like this.
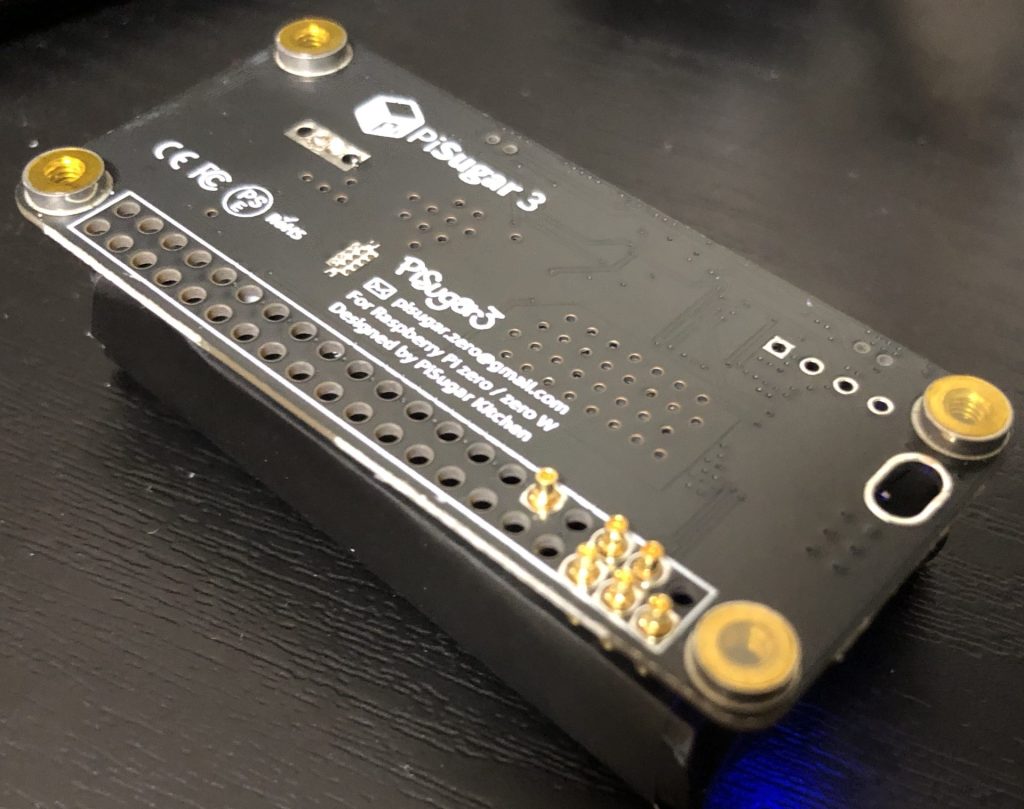
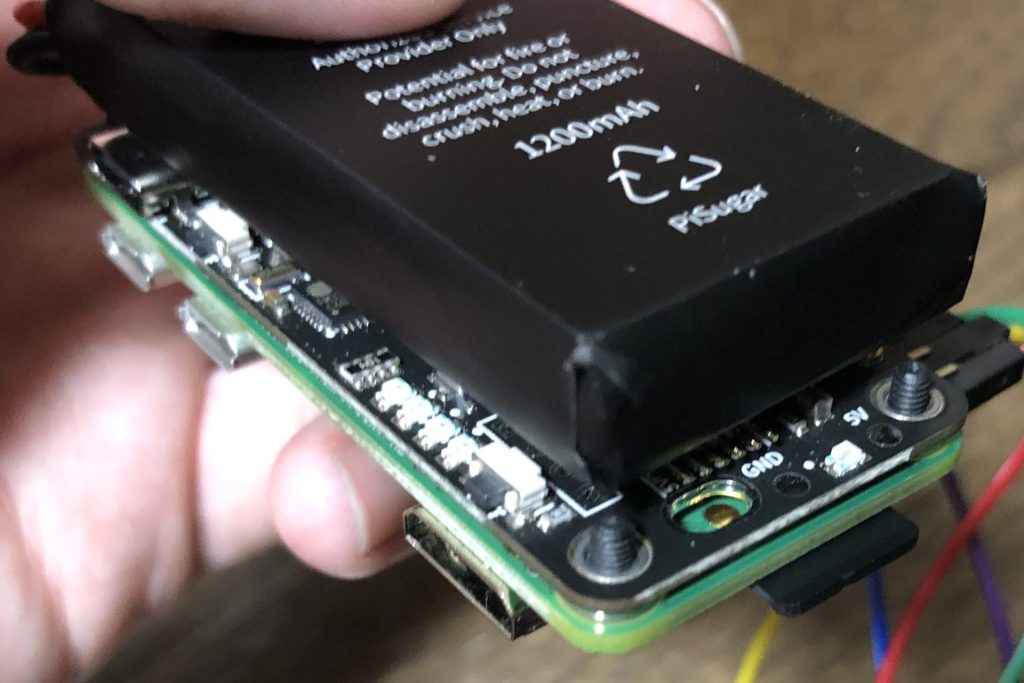
The connectors on the bottom were something I’d never seen before; they retract when pressed like a spring. They are designed to make contact with the soldered parts of the Raspberry Pi Zero.
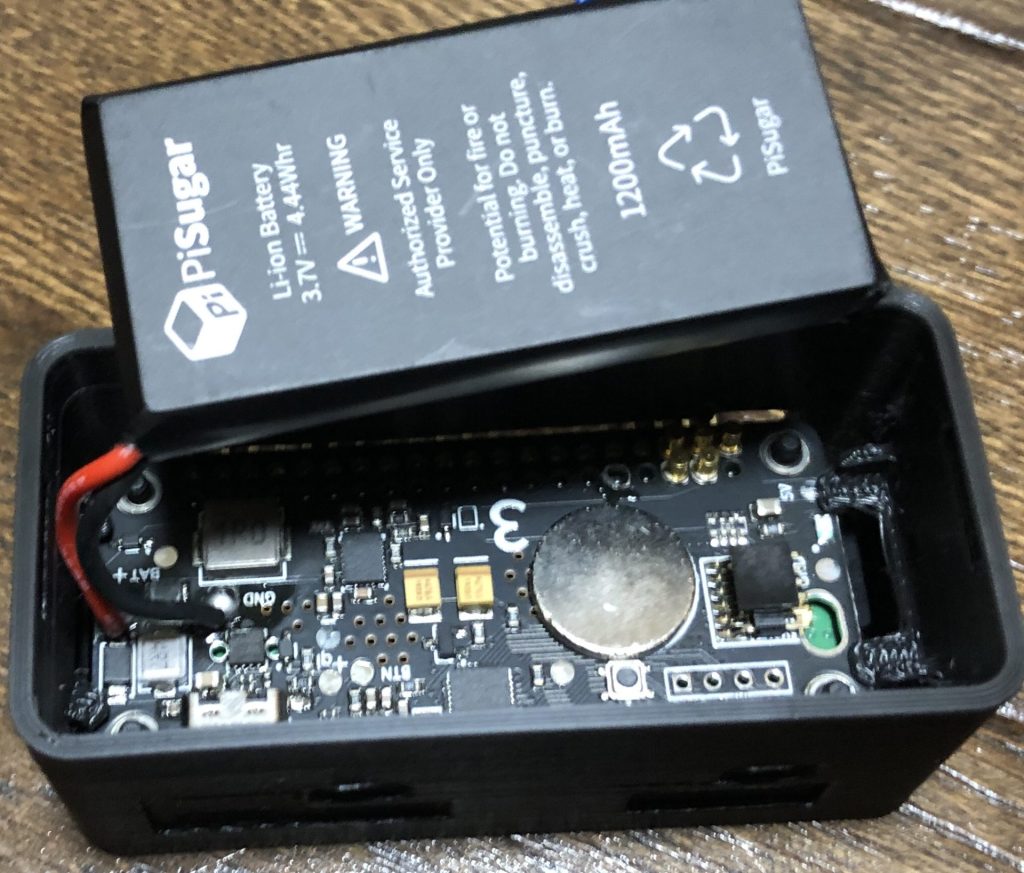
▼The battery and the board are held together by powerful magnets.
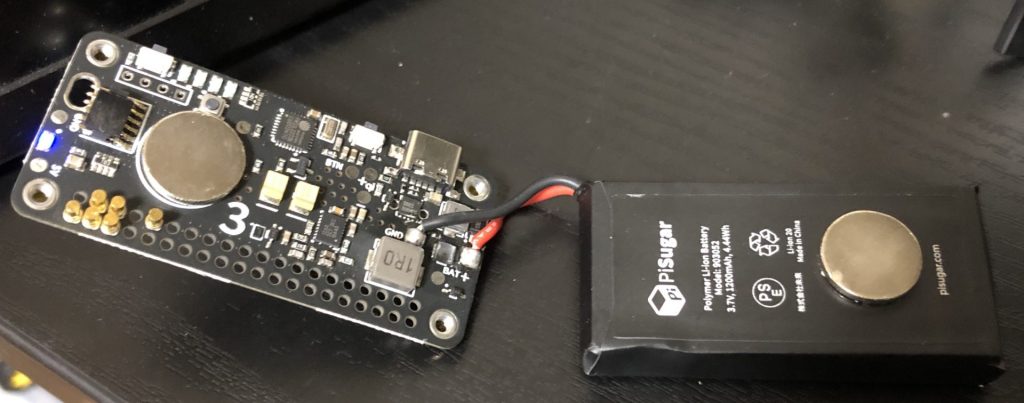
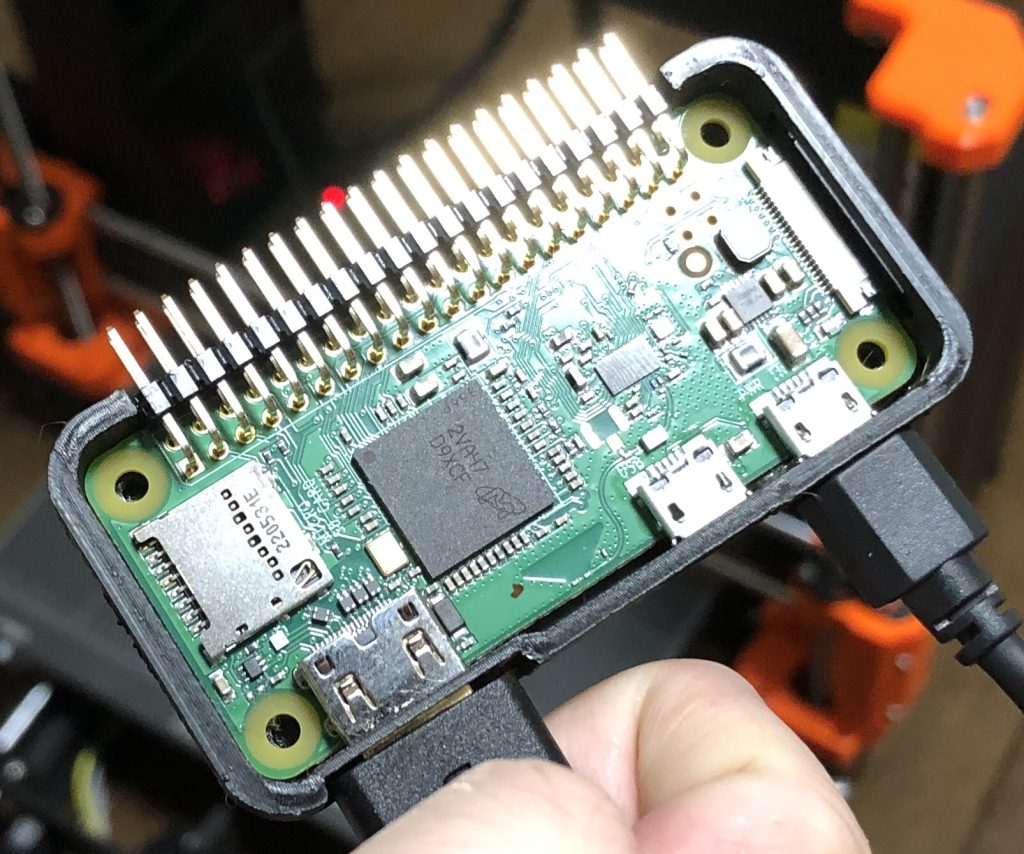
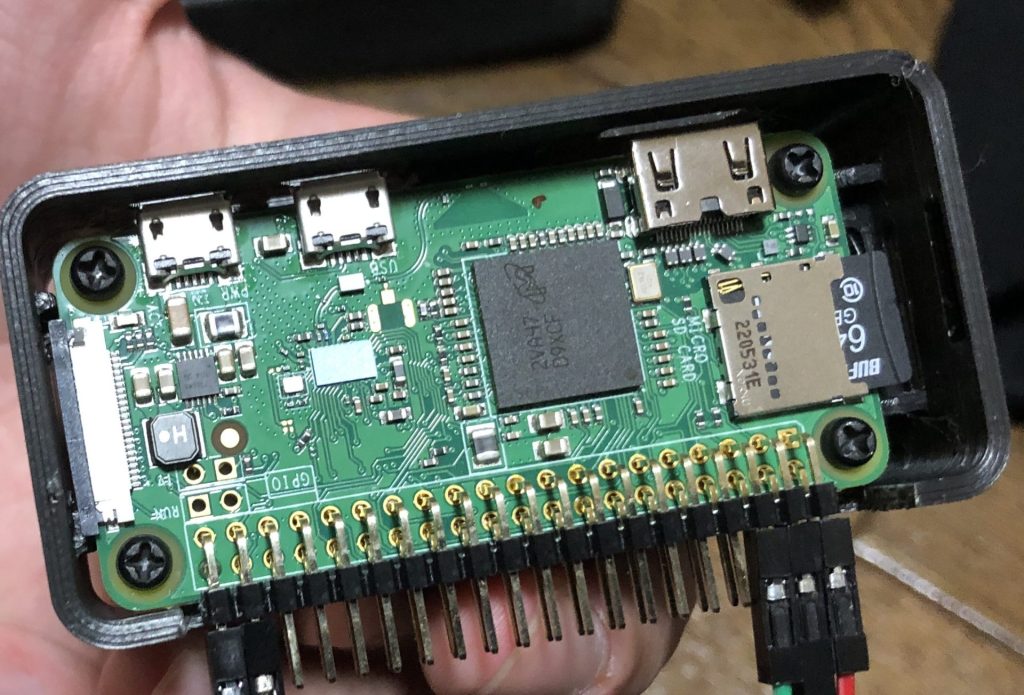
The Raspberry Pi Zero and PiSugar are secured with screws in the four corners, but it was a bit stressful to install because I was worried the bottom pins might shift or cause a short.
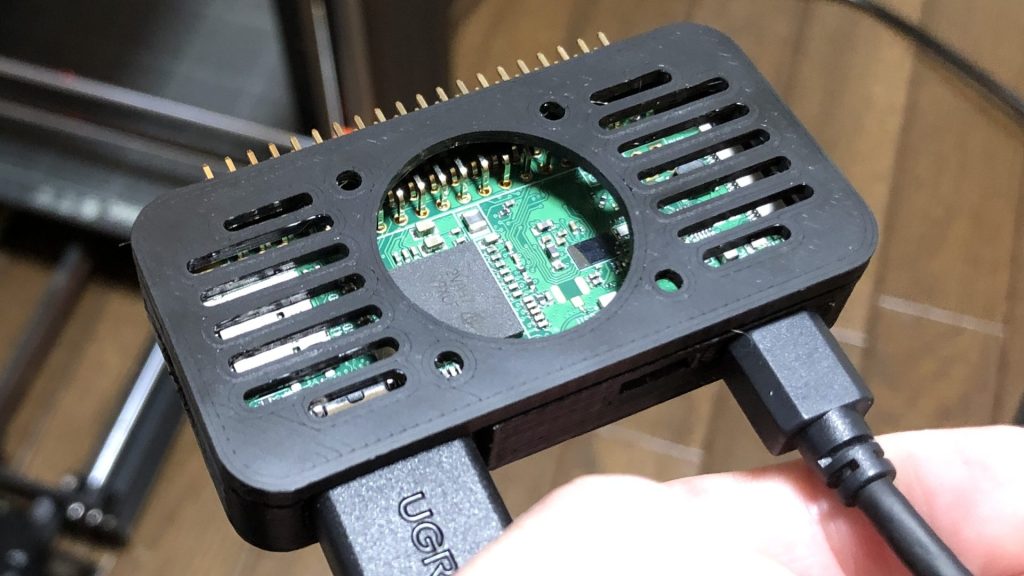
▼This is what it looks like after installation.

▼The holes in the four corners are screw holes.
▼Comparison with a small breadboard.
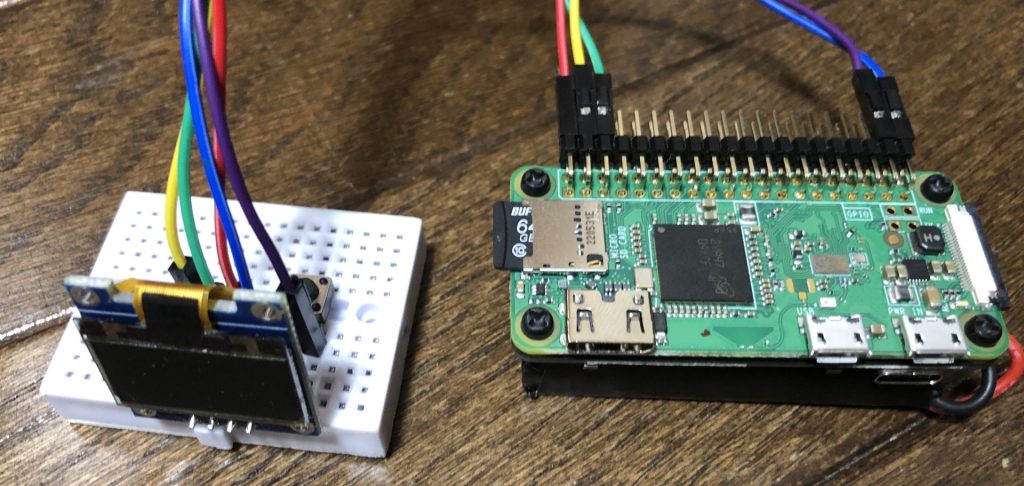
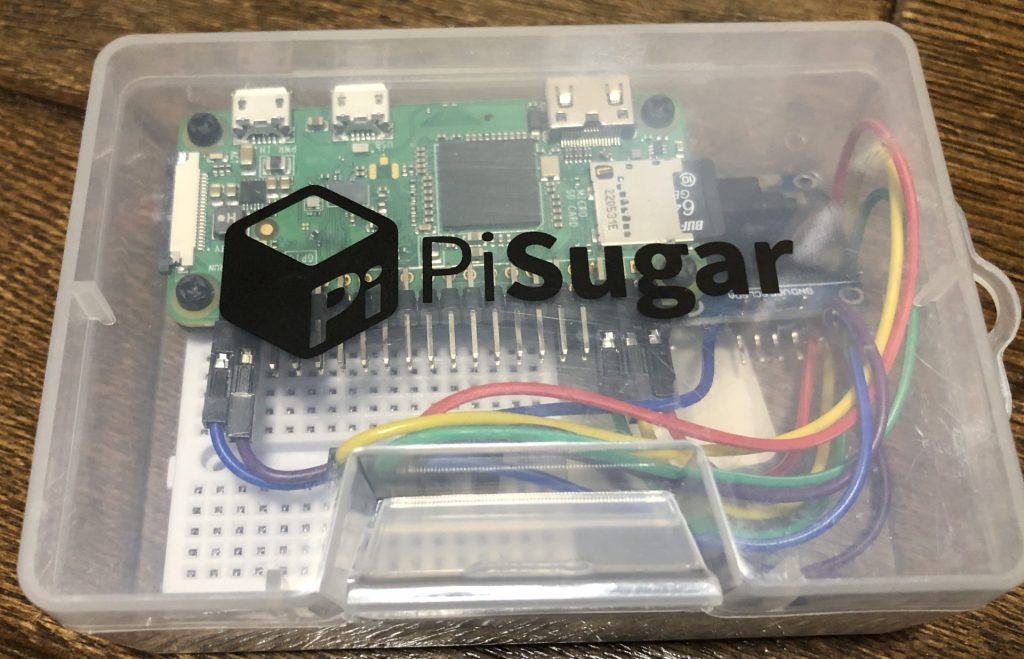
▼It fits perfectly in the box the PiSugar came in.
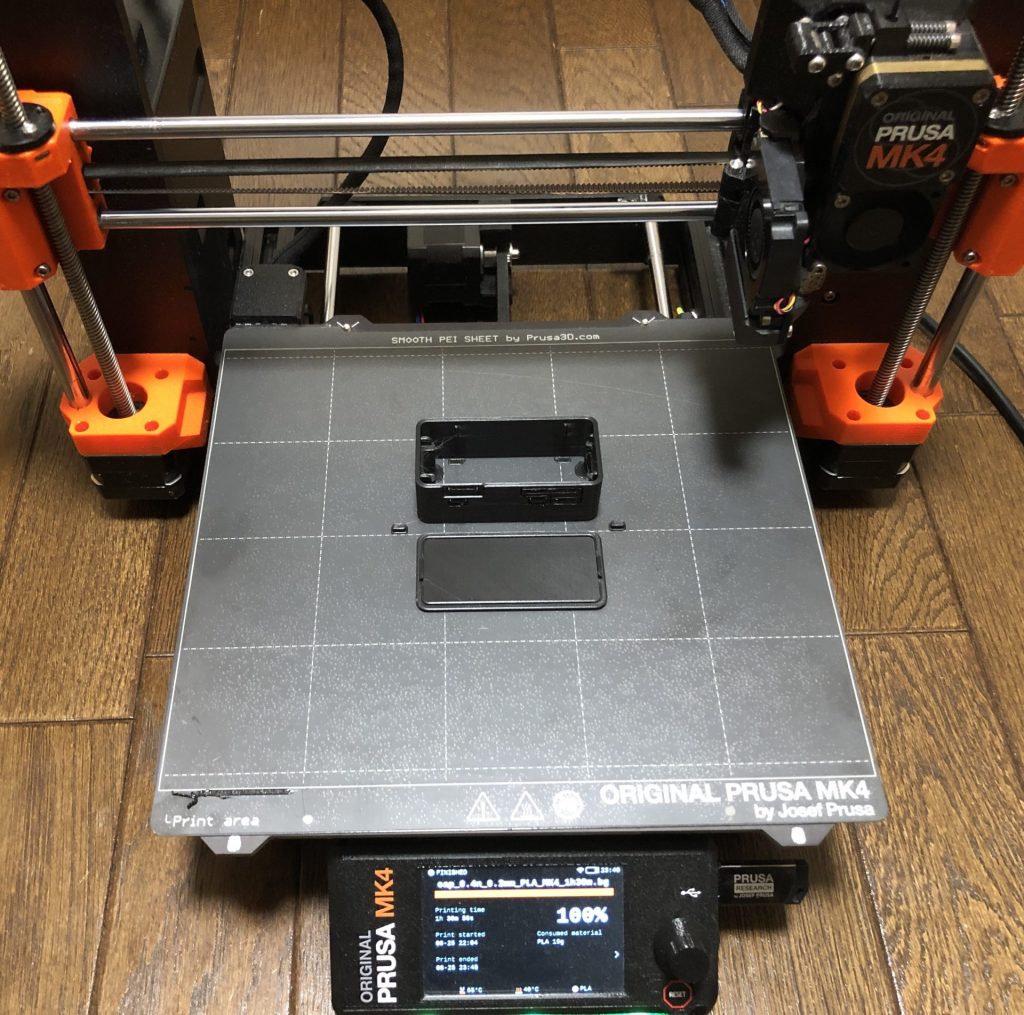
Printing a Case with a 3D Printer
Since the case data was public, I tried printing it.
▼GitHub repository: I printed the "model3" version.
https://github.com/PiSugar/PiSugar/tree/master?tab=readme-ov-file
▼I fired up my Prusa Mk4 for the first time in a while.
Trying Out the Prusa MK4 (3D Printer)
Info This article is translated from Japanese to English. Introduction I finally bought my long-awaited 3D printer! The Prusa MK4!I had heard about Prusa from …

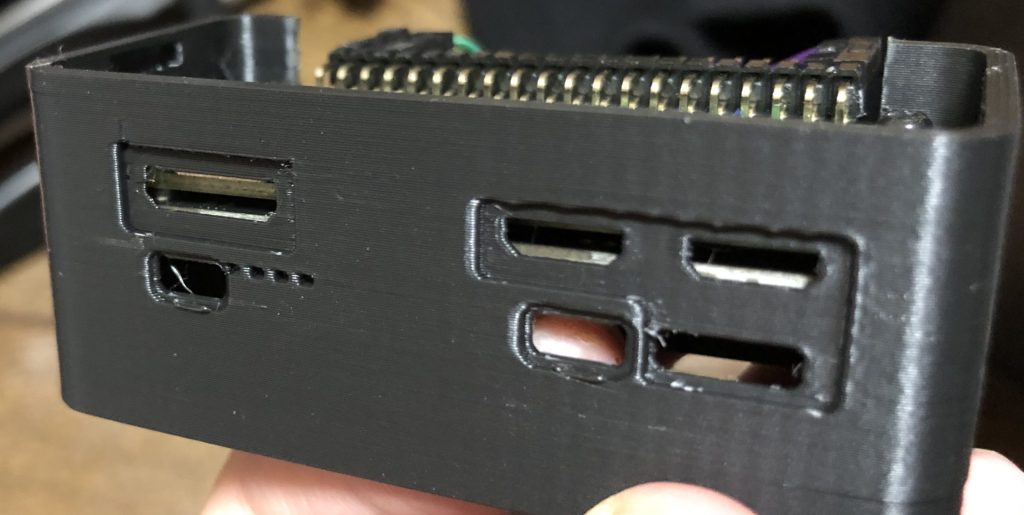
Although I finished the print, my Raspberry Pi Zero wouldn't fit because I had soldered an L-shaped pin header onto it.
▼Right, it was an L-shape…
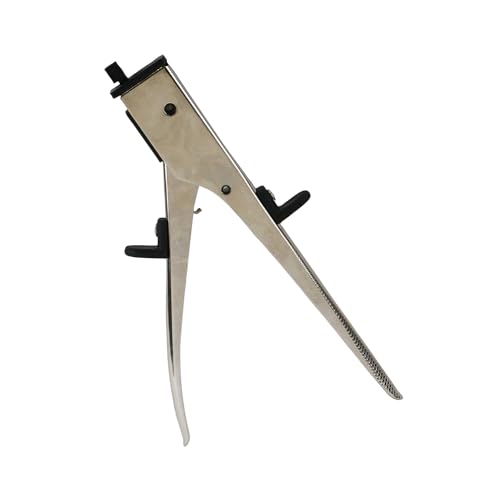
I happened to have a tool called a hand nibbler, so I used it to modify the case.
▼It's a tool that cuts when you grip it. It can even cut aluminum if it's not too thick.
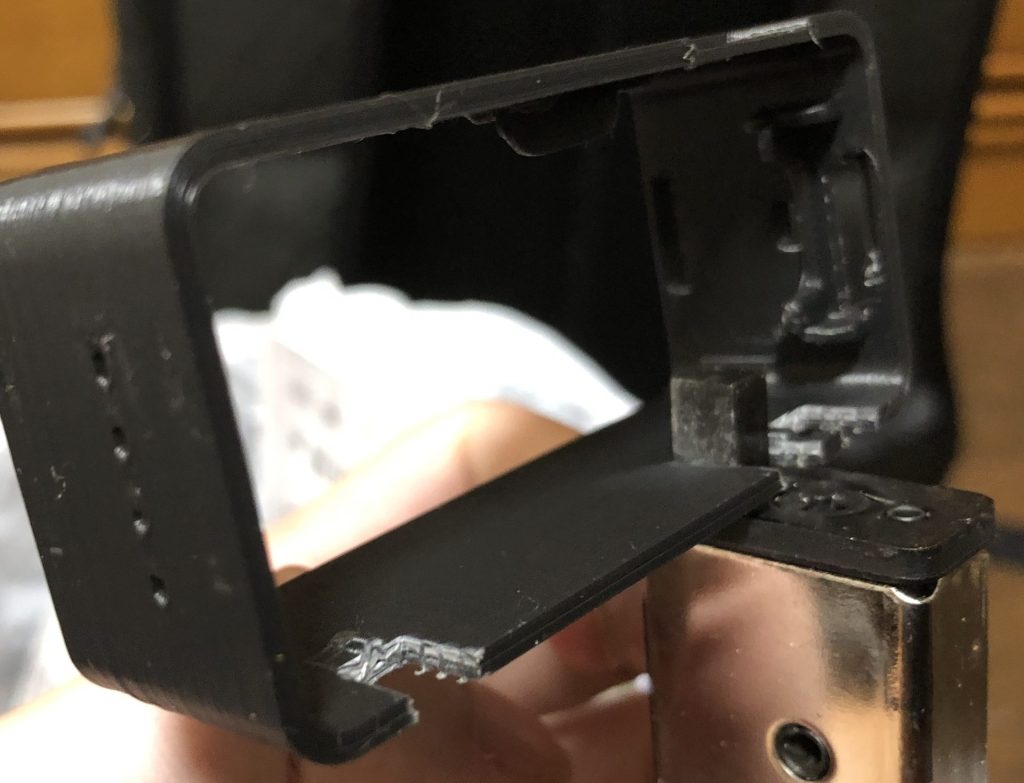
▼This is how it’s used.
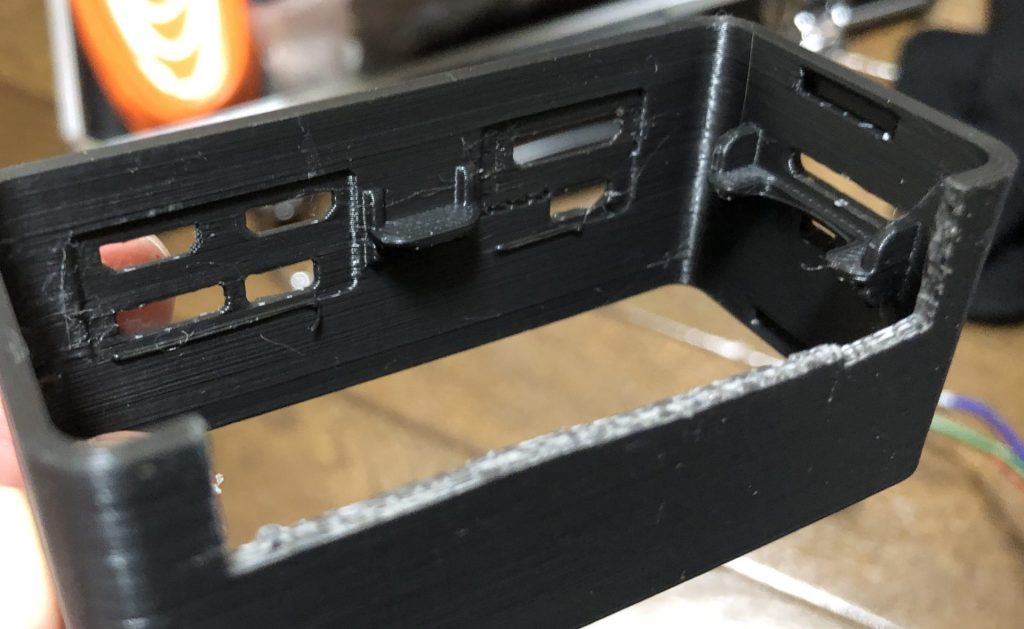
▼Now it fits properly.
Even though I modified it, the height didn't seem right. It turns out this was due to my mistake during assembly.
▼Even when I tried inserting the screwed-together PiSugar and Raspberry Pi Zero from the top, there were protrusions that prevented them from fitting.
I checked the CAD data.
▼This is what it looks like in Fusion 360.
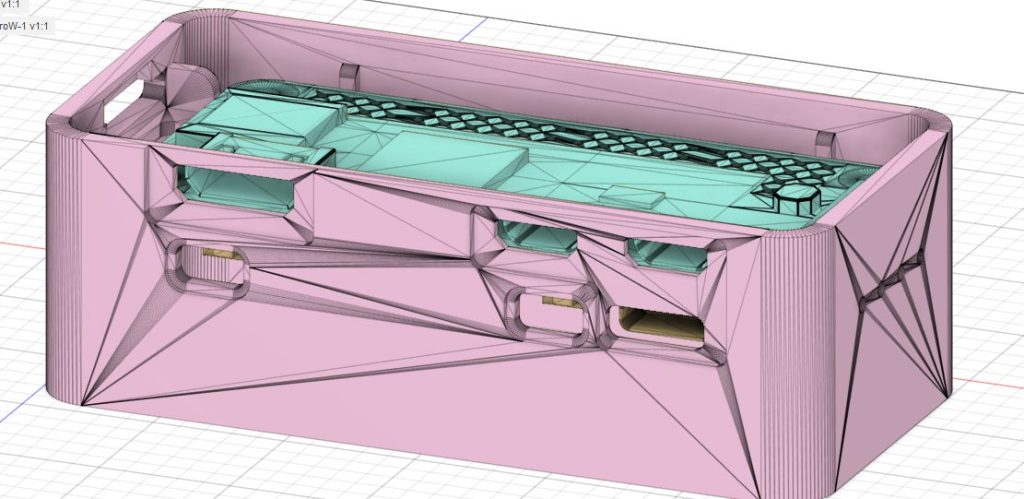
▼Here is the cross-section. It seems the internal protrusions are meant to be sandwiched between the PiSugar and the Raspberry Pi Zero.
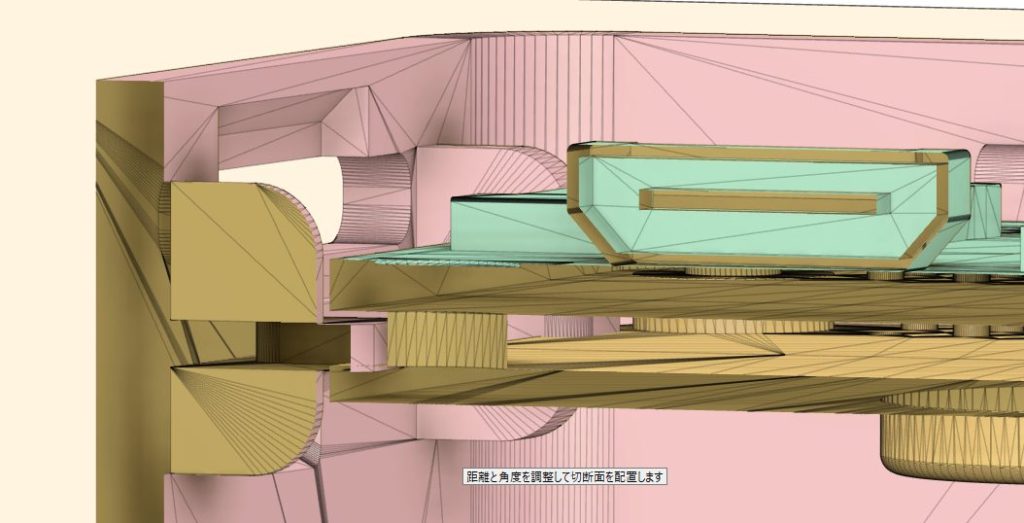
In other words, you have to insert the PiSugar and Raspberry Pi Zero from the top and bottom respectively before tightening the screws. Since alignment is already difficult, this is a bit inconvenient. In any case, the sideways pins still won't fit, so I intend to adjust the design again.
▼I have designed cases before:
Designing a Case for Raspberry Pi Zero (3D Printing)
Info This article is translated from Japanese to English. Introduction In this post, I tried creating a case for the Raspberry Pi Zero using a 3D printer.Perha…
Testing the Battery Management Features
I tried out the built-in battery management features.
▼PiSugar 3 software documentation:
https://github.com/PiSugar/PiSugar/wiki/PiSugar-3-Series
▼Installation command:
wget https://cdn.pisugar.com/release/pisugar-power-manager.sh
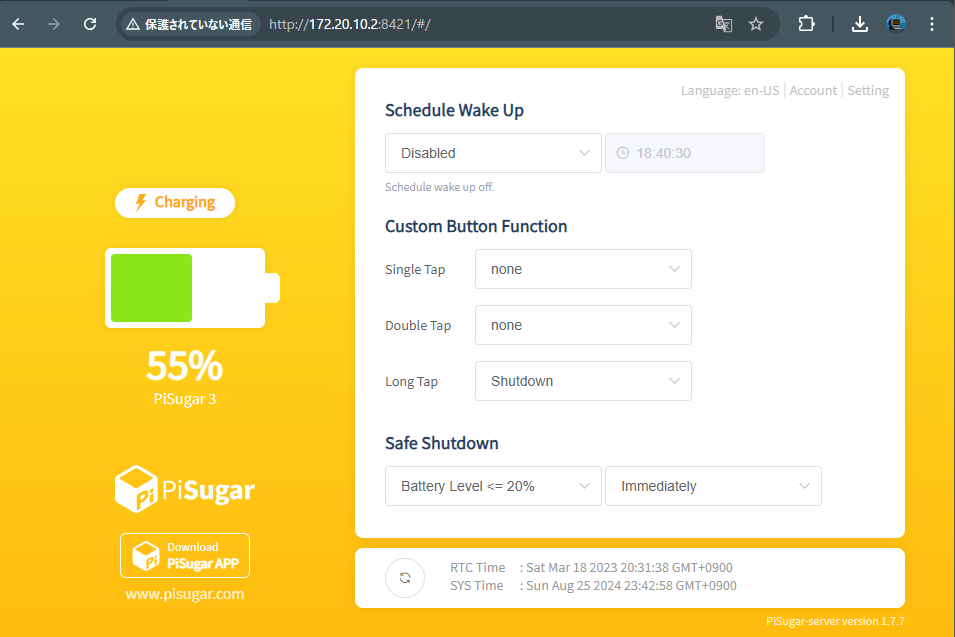
bash pisugar-power-manager.sh -c releaseAccessing port 8421 on the Raspberry Pi Zero opens the battery management dashboard.
▼The dashboard appeared.

Since it has a built-in RTC (Real-Time Clock), it seems you can set it to boot at a specific time.
▼I configured it to shut down on a long press of the button or when the battery level drops below 20%.
Finally
I’ve already started using the mini PC after installing Ubuntu. This was my first time trying to write an OS image, and it’s great to know that even if I accidentally erase everything, I can easily start over.
As for the PiSugar 3 and Raspberry Pi Zero, I was able to carry them around with Node-RED installed and an MQTT broker running. It seems like it will be very useful. I plan to design a new case for it soon.