Embedding Node-RED into Applications Part 2 (Installing per Folder)
Introduction
In this post, I experimented with installing and isolating Node-RED environments into separate folders. In a previous article, I tried combining Node-RED with Electron. Essentially, since it was just being launched via Express, it seemed possible to separate the environments by folder. As development progresses, flow scales tend to grow, so I wanted to make it possible to install Node-RED as a dedicated folder for each project.
▼Here is the article where I combined it with Electron. I am still using and improving it as a desktop-like application.
Trying Out Embedding Node-RED into Applications Part 1 (Electron, Express)
Info This article is translated from Japanese to English. Introduction In this post, I tried embedding Node-RED into an application I am creating with Electron…
▼Previous articles:
Using WSL2 Part 5 (Installing Multiple Instances of the Same Distribution, Ubuntu 22.04)
Info This article is translated from Japanese to English. Introduction In this post, I installed a second instance of the same Ubuntu version on WSL2.I didn't …

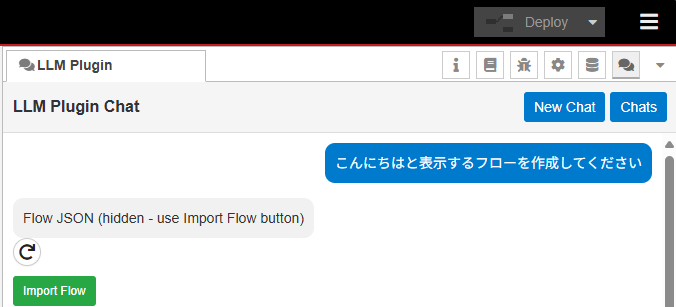
Node-REDのプラグインを開発してみる その1(LLM Plugin、Ollama、OpenAI)
はじめに 今回はNode-REDのプラグインを開発してみました。 Node-REDのプラグインに関する情報が少なすぎて、プラグインと言っていいのか分からないのですが、Node-RE…
Creating the GitHub Repository
When Node-RED is installed globally via npm as per the documentation, it can be launched from anywhere, but packages are added to a fixed location. In my case, I wanted to verify the operation of custom-developed nodes without breaking other environments, so I opted for a local installation instead of a global one. I’ve simplified this process. On a PC with Node.js installed, this allows for a fresh Node-RED installation in every folder. I have uploaded the minimum files required to start Node-RED to a GitHub repository, so it can be used immediately after cloning.
▼Here is the GitHub repository I created:
https://github.com/404background/Hive-RED
▼I included the following conceptual diagram in the README:
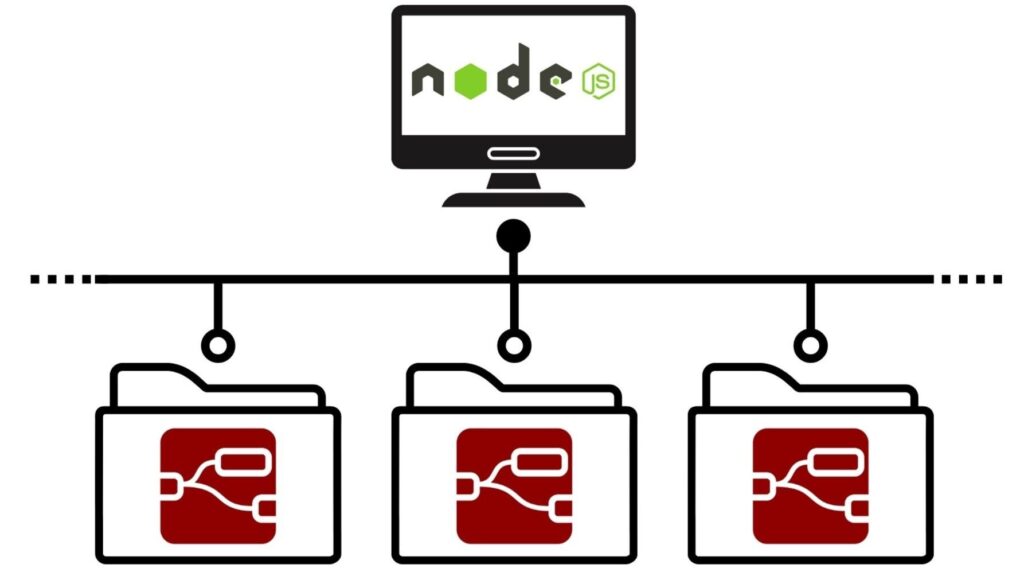
After cloning the repository, you install the necessary packages and start Node-RED. Since running multiple Node-RED instances can lead to port conflicts, I made the port configurable.
Starting Node-RED
I actually cloned the repository, installed the required packages, and started it up.
git clone https://github.com/404background/Hive-RED
cd Hive-RED
npm install
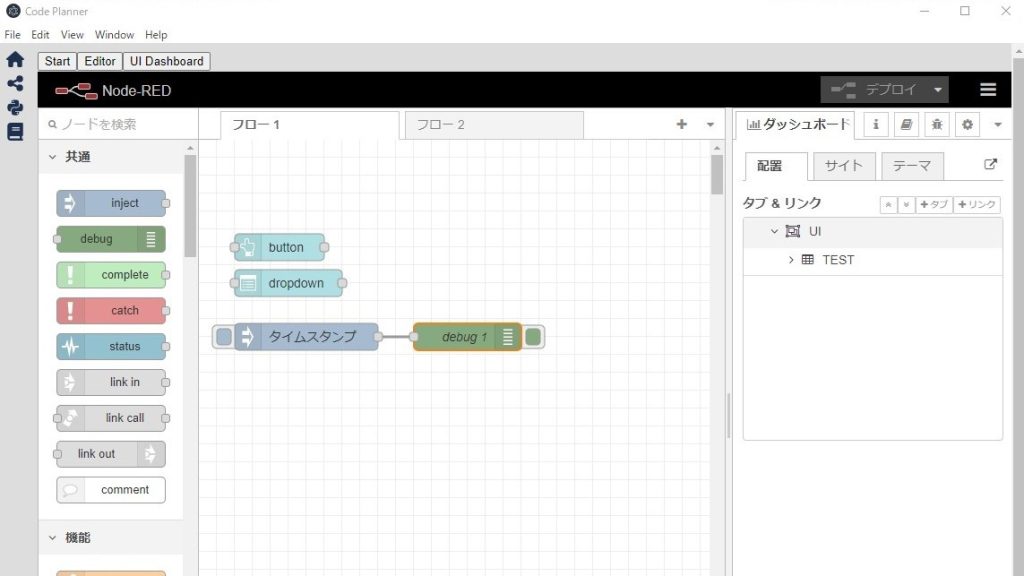
npm start▼It started without any issues.
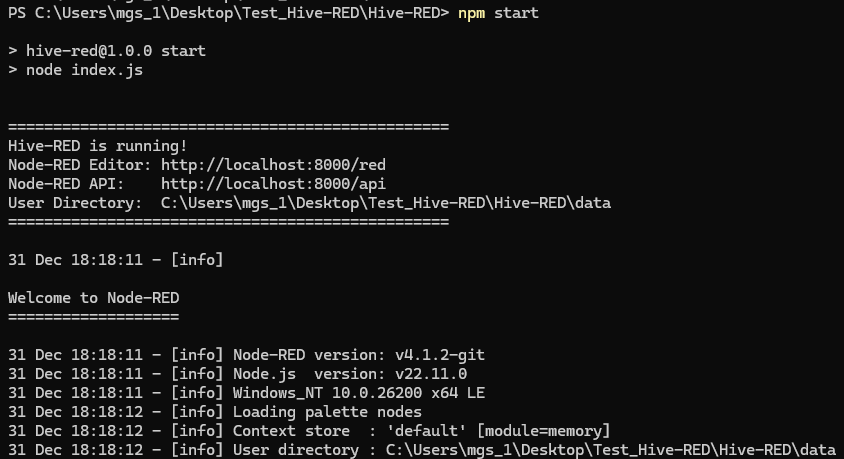
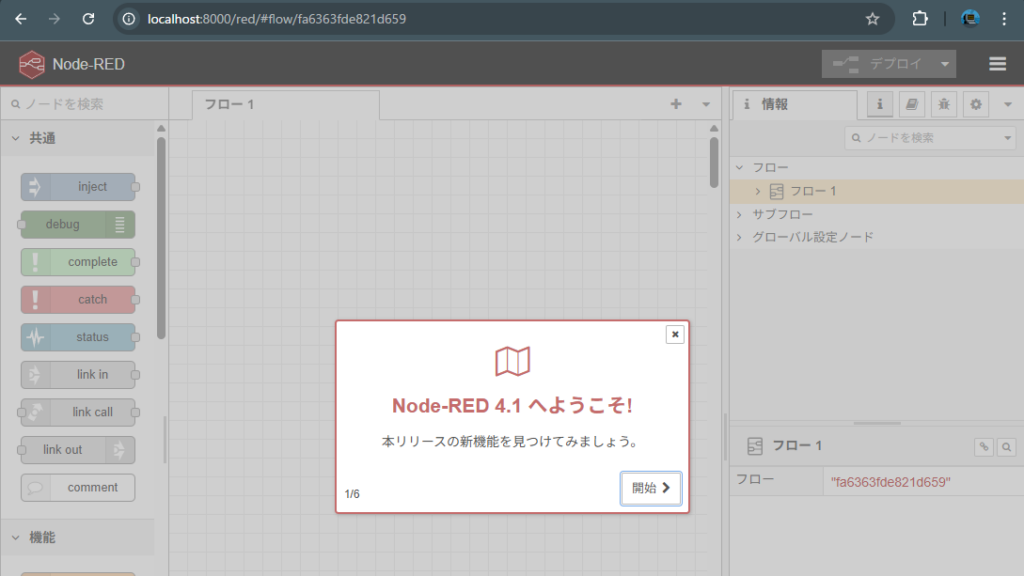
By accessing http://localhost:8000/red, you can reach the Node-RED editor screen.
▼Access confirmed!
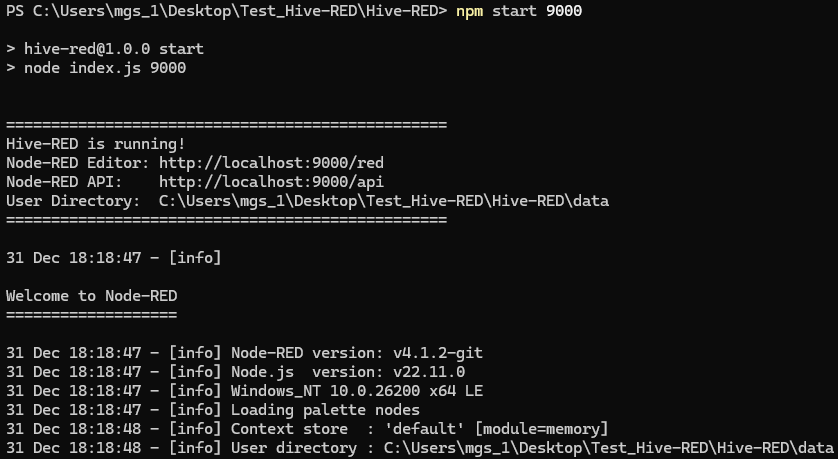
It is also possible to change the port number using an argument with the npm start command.
▼I successfully started it on port 9000 and accessed it.
Additionally, I prepared a function to reset the Node-RED environment for development purposes. Running the following command will perform the reset:
npm run resetWhen developing nodes or plugins, the environment can sometimes break and fail to start. I use this reset command for such occasions.
Finally
Using this repository, I have recently been managing and developing different Node-RED projects separately. I plan to continue improving this workflow as I use it.
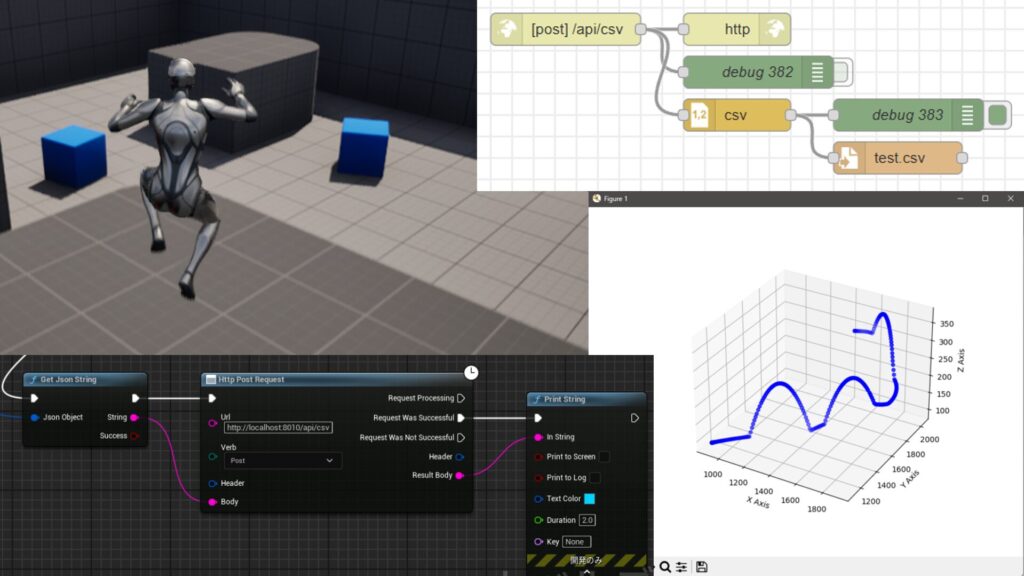
▼In my case, I use Node-RED in combination with Unreal Engine 5 (UE5). Since Node-RED cannot be directly embedded into UE5, I run it separately using Node.js.
Unreal Engine 5を使ってみる その14(CSVファイルへの保存、Node-RED)
はじめに 今回はUnreal Engine 5(UE5)をNode-REDと連携させて、UE5の情報をCSVファイルに保存してみました。 UE5をシミュレーション用途で使っていると、CSVファイル…
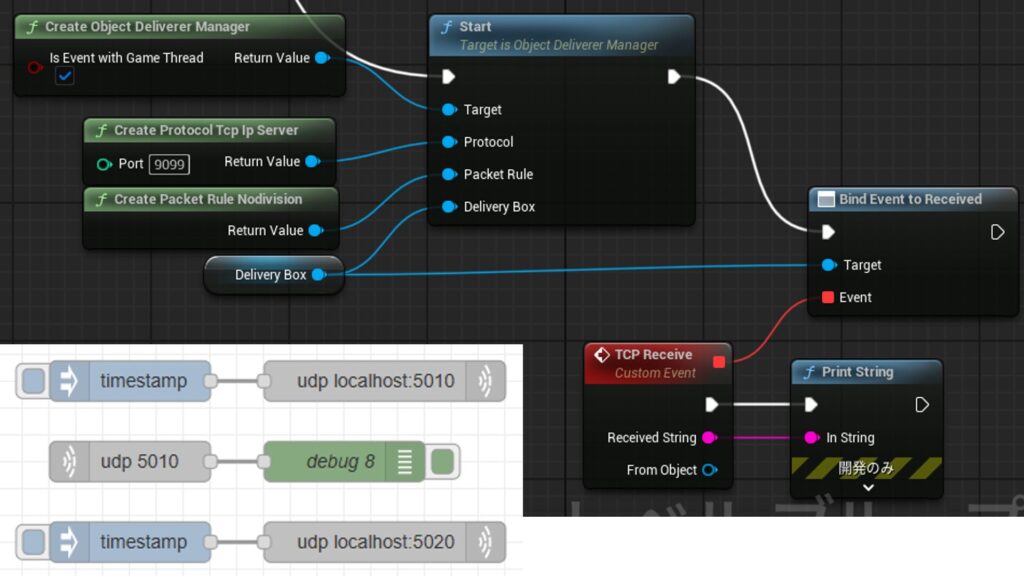
Unreal Engine 5を使ってみる その21(ObjectDeliverer、Node-RED、TCP/UDP通信)
はじめに 今回はUnreal EngineのプラグインであるObject Delivererを利用して、Node-REDとのTCP/UDP通信を試してみました。 HTTP通信については以前の記事で利用した…