Trying Out Jetson Xavier Part 5 (NoMachine and Remote Desktop Connection)
Introduction
In this post, I tried using NoMachine to establish a remote desktop connection from my PC to a Jetson Xavier. I have tried various remote desktop solutions in the past, but this time the challenge was connecting to a Jetson Xavier running in "headless" mode. Since no physical display is connected, there is normally no desktop output to capture. However, I decided to use NoMachine because it can generate a virtual display even in such states.
▼Previous articles are here:
Trying Out Google Chrome Remote Desktop
Info This article is translated from Japanese to English. Introduction In this post, I tried using Google Chrome Remote Desktop.I usually carry a laptop with m…
Trying Out Jetson Nano (Peripherals and Remote Desktop Connection)
Info This article is translated from Japanese to English. Introduction I got my hands on a Jetson Nano a while ago, so this time I’m preparing it for robot dev…
Installing NoMachine
Installation on the Windows Side
First, I installed NoMachine on my Windows PC.
▼I am using a gaming laptop purchased for around 100,000 yen, running Windows 11.
Shopping: New Laptop and SSD Expansion (ASUS TUF Gaming A15)
Info This article is translated from Japanese to English. Introduction In this post, I’ll be talking about replacing my PC after my previous one broke down. I …


▼I downloaded the NoMachine installer from the following page:
After running the installer, a system restart was required.
▼The following screen appeared upon first launch.

Installation on the Jetson Xavier
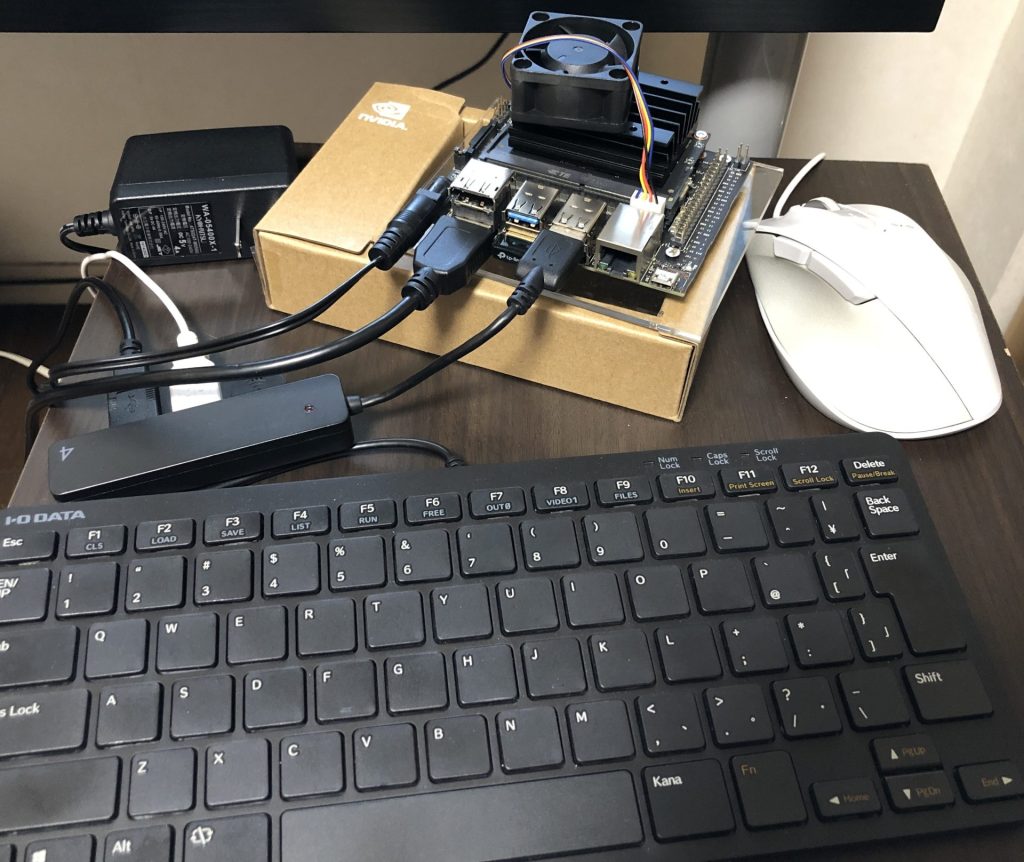
Next, I installed NoMachine on the Jetson Xavier side.
▼The list of NoMachine versions for ARM can be found here:
https://download.nomachine.com/download/?id=30&platform=linux&distro=arm
I wanted to install it via terminal only, without using a browser on the Jetson. I found the necessary commands on a forum.
▼This forum thread was very helpful:
I ran the following commands to install NoMachine:
curl -fSL "https://www.nomachine.com/free/arm/64/deb" -o nomachine_arm64.deb
sudo dpkg -i nomachine_arm64.deb
▼The latest version at the time, 9.3.7-1, was installed.
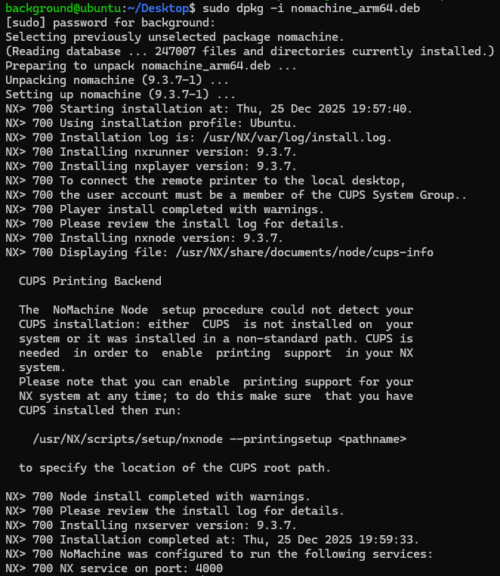
Looking at the final output in the terminal, you can see it is running on port 4000.
Testing the Remote Desktop Connection
I launched NoMachine on my Windows PC to start the connection process.
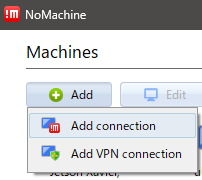
▼I added the connection destination via "Add" > "Add connection."
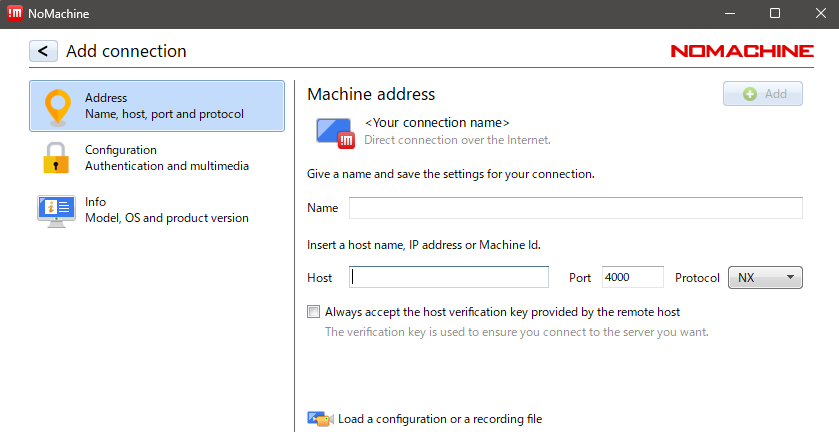
▼I entered the IP address in the "Host" field. The port is set to 4000, as seen in the previous terminal output.
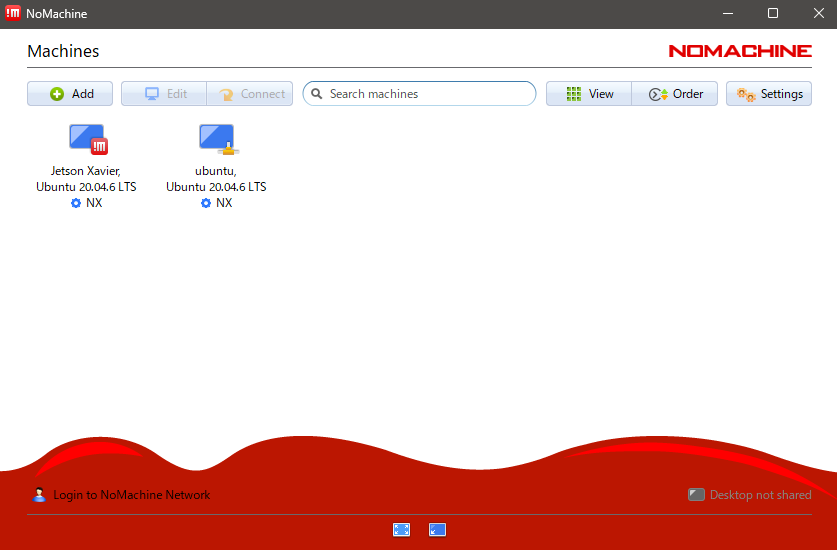
▼The connection destination was successfully added.
I double-clicked it to connect.
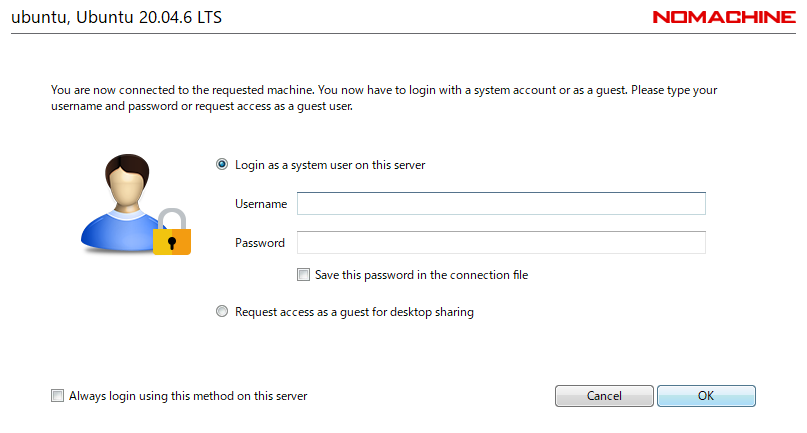
▼It asks for a username and password.
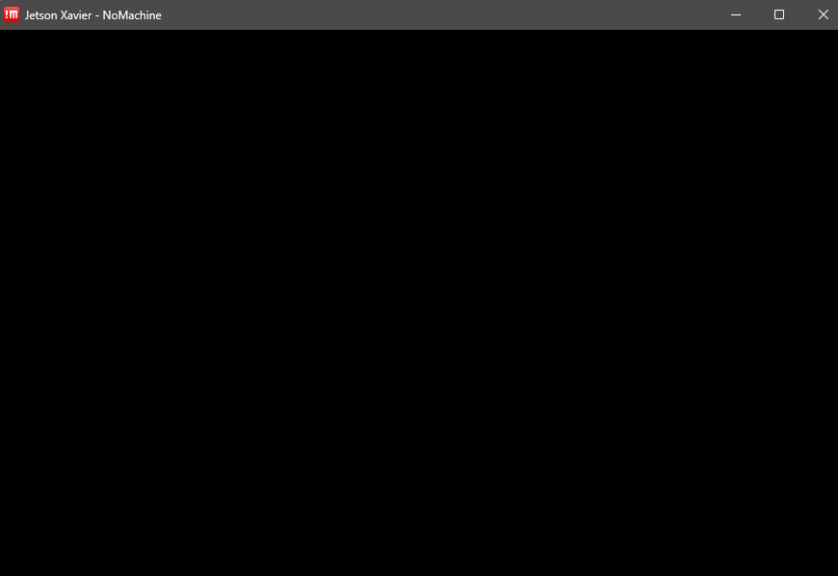
▼A screen appeared, but it remained black and did not display the desktop.

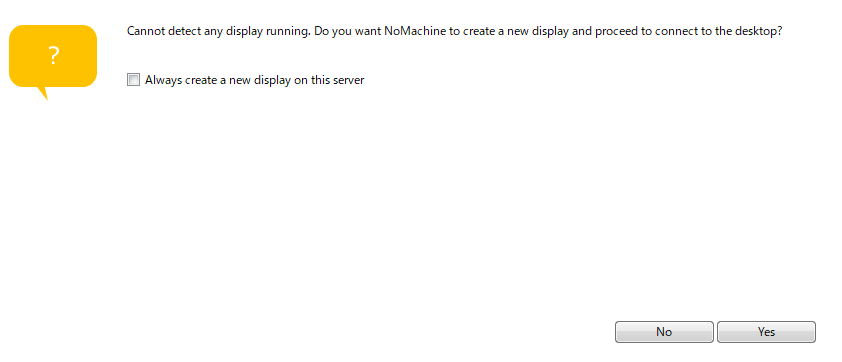
After rebooting the Jetson Xavier and trying again, it displayed correctly. A message appeared stating that no display was detected—which makes sense as I was running it headless without a monitor.
▼NoMachine asked whether to create a display and connect.
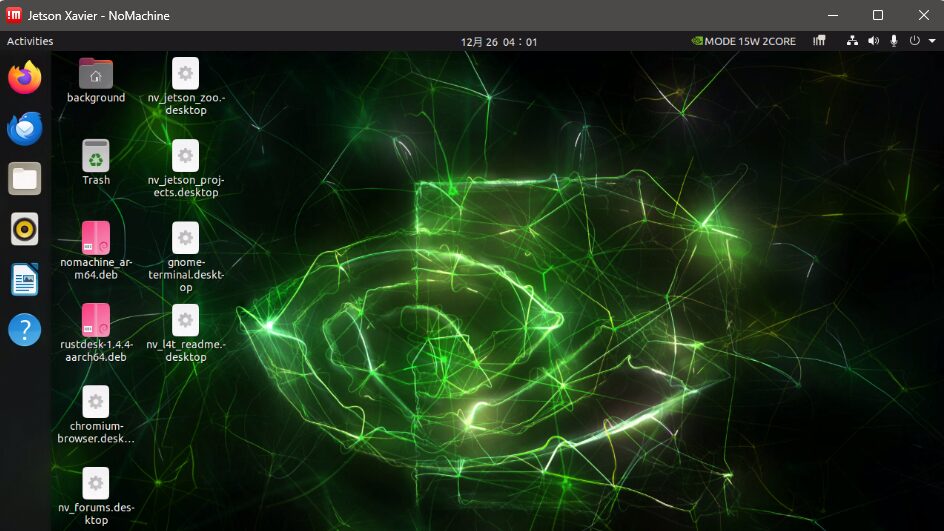
After selecting "Yes," the desktop appeared.
▼After a short pause, the desktop screen was displayed!
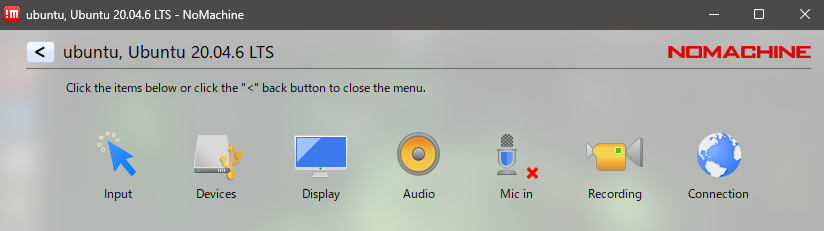
▼Moving the mouse to the top-right corner allows access to NoMachine settings.

▼The settings screen looks like this.
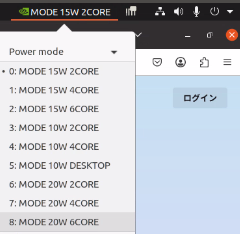
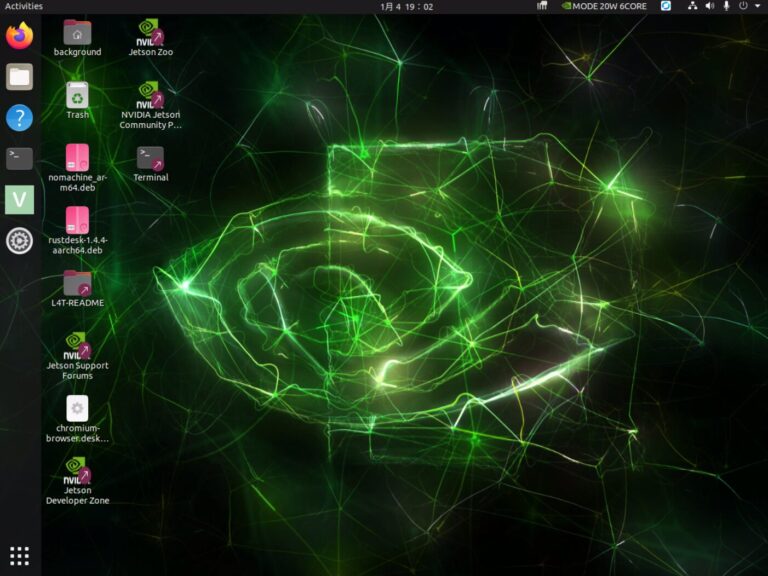
The performance was a bit slower compared to using Google Chrome Remote Desktop, which I suspect might be due to the hardware constraints of the Jetson Xavier. The status in the top right originally showed "15W 2CORE," which is not the maximum output for the Jetson Xavier.
▼When I switched the mode to "20W 6CORE," it felt slightly faster.
Update: Using a Dummy Plug
When I tried to reconnect after another reboot of the Jetson Xavier, I sometimes faced the black screen issue again.
▼It didn't even ask if I wanted to enable a virtual display.
To solve this, I purchased a dummy plug (EDID emulator).
▼I bought this dummy plug.

Immediately after connecting the dummy plug, the desktop screen appeared.
▼The resolution was high, making the text quite small.
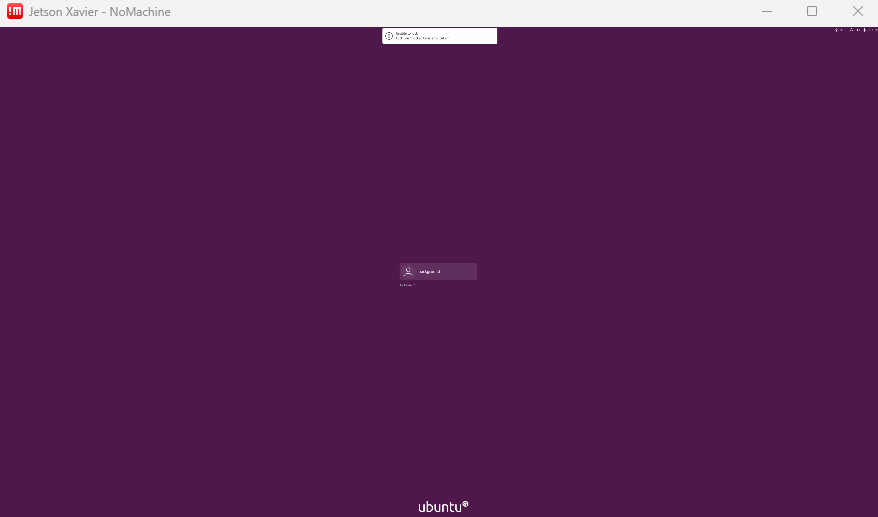
▼The screen displayed properly after logging in.

Since the text was too small to read, I changed the resolution in the Settings.
▼The "Resolution" under "Displays" was initially set to 3840×2160.
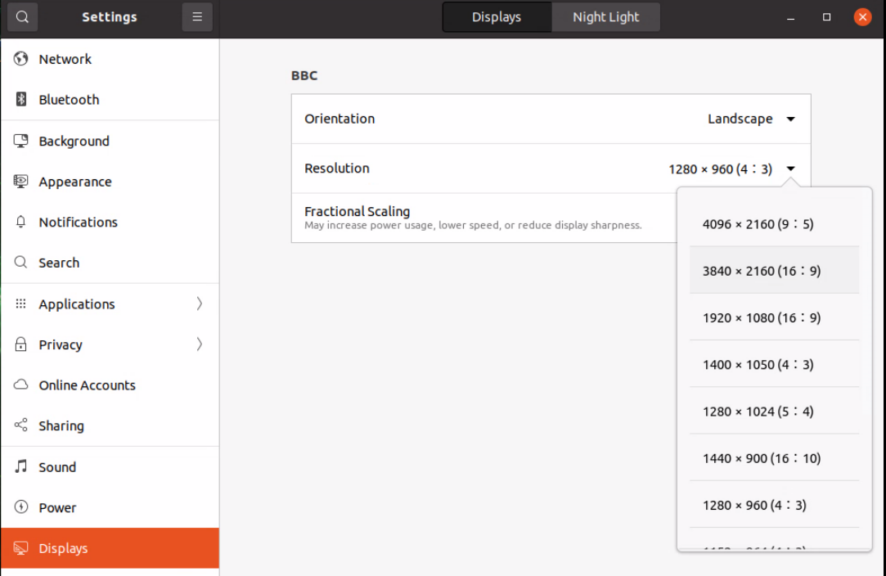
▼I changed it to 1280×960.
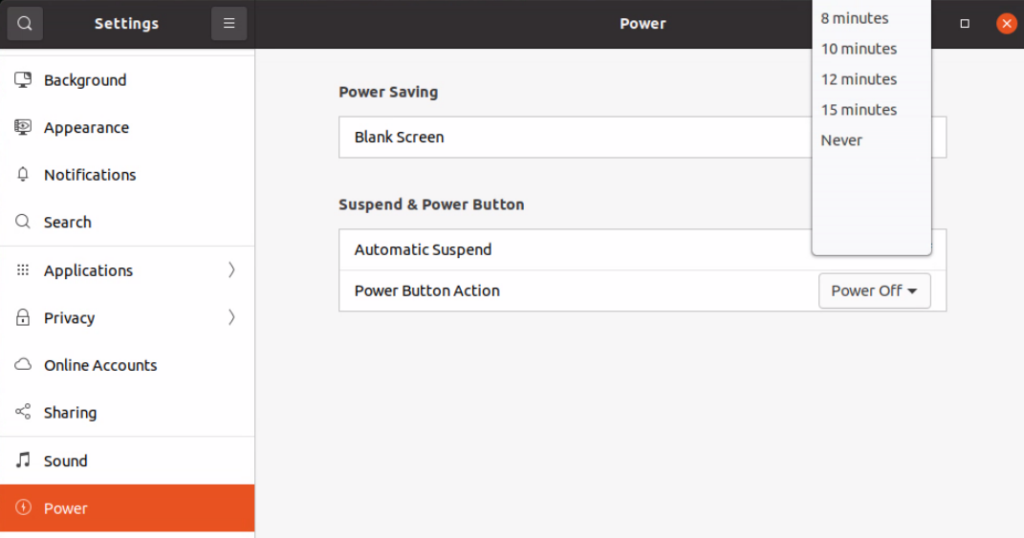
Additionally, I changed the settings to prevent the desktop from automatically locking.
▼I set "Blank Screen" under "Power" to "Never."
While there are software methods to set up virtual displays, using a dummy plug is cheap and works just by plugging it in, making remote desktop connections very easy.
Finally
Following this setup, I was able to use ROS to check USB camera video on the desktop screen. It seems to work without any issues.
Since there are many situations where I need to access a browser or perform GUI configurations, this setup makes the Jetson much more convenient to use.
▼By the way, I was also able to connect using the IP address provided by Tailscale, which I use as my VPN.
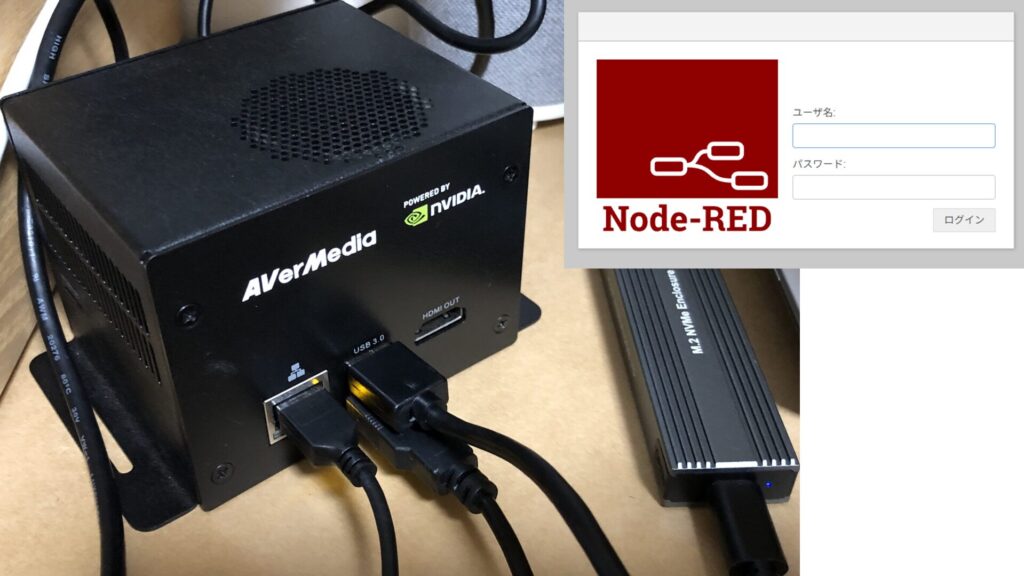
Trying Out Jetson Xavier Part 2 (Communication Settings, Node-RED, and Tailscale)
Info This article is translated from Japanese to English. Introduction In this post, I configured the communication settings for the Jetson Xavier, following t…