Trying Out NVIDIA Isaac Lab Part 1 (Environment Setup, Windows 11)
Introduction
In this post, I tried setting up the environment and launching NVIDIA Isaac Lab.
I had heard about Isaac Lab through digital twin research and corporate exhibitions, but I hadn't touched it because of the high GPU requirements. While I can't do anything large-scale with my resources, I want to explore it as much as possible.
▼The NVIDIA Isaac Lab page is here:
https://developer.nvidia.com/isaac/lab
▼Previous articles are here:
Unityを使ってみる その2(ROS#、カメラ映像のSubscribe)
はじめに 今回はUnityにROS#をインストールし、ROSでPublishされているカメラ映像をSubscribeできるようにしてみました。 ロボットの遠隔操作をするときに用いようと…
ROS2を使ってみる その3(環境構築、WSL2 Ubuntu 22.04)
はじめに 最近WSL2でUbuntu環境を複数インストールできるようになったので、ROS2の環境を改めて構築してみました。 大学の研究でロボットの遠隔操作にも取り組み始め…
Setting Up the Environment
▼System requirements and other details are described on the following page:
https://isaac-sim.github.io/IsaacLab/main/source/setup/installation/index.html#local-installation
It states that VRAM 16GB or more and RAM 32GB or more are required. Since my laptop has VRAM 4GB and RAM 64GB, my environment is lacking in VRAM.
▼I am using a gaming laptop purchased for around 100,000 yen, running Windows 11.
Shopping: New Laptop and SSD Expansion (ASUS TUF Gaming A15)
Info This article is translated from Japanese to English. Introduction In this post, I’ll be talking about replacing my PC after my previous one broke down. I …


First, I will install Isaac Sim. There seem to be various installation methods, but this time I will perform the installation using Pip.
▼I followed the installation steps on this page:
https://isaac-sim.github.io/IsaacLab/main/source/setup/installation/pip_installation.html
I use venv for the Python virtual environment.
▼I use venv on a regular basis.
Create Python Virtual Environments (venv, Windows)
Info This article is translated from Japanese to English. Introduction In this post, I have summarized how to create a Python virtual environment.I was researc…
I created and activated the virtual environment with the following commands:
py -3.11 -m venv env_isaaclab
env_isaaclab\Scripts\activate
I also ran a pip upgrade.
python -m pip install --upgrade pipI need to install PyTorch-related packages, but the ones in the documentation were for CUDA 12.8. I checked my system's CUDA version.
▼Running nvidia-smi showed it was CUDA 12.8.
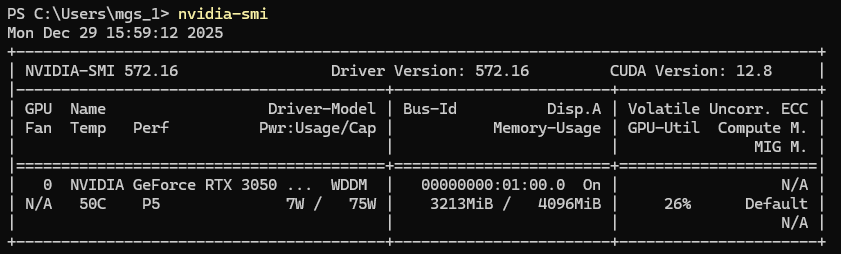
Since the versions matched, I installed the packages with the following commands:
pip install "isaacsim[all,extscache]==5.1.0" --extra-index-url https://pypi.nvidia.com
pip install -U torch==2.7.0 torchvision==0.22.0 --index-url https://download.pytorch.org/whl/cu128
I launched Isaac Sim with the following command:
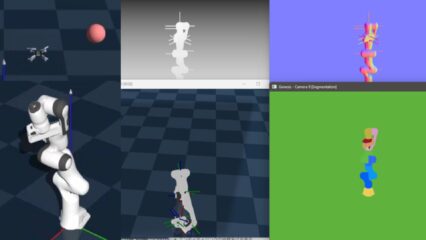
isaacsim▼It launched without any problems.
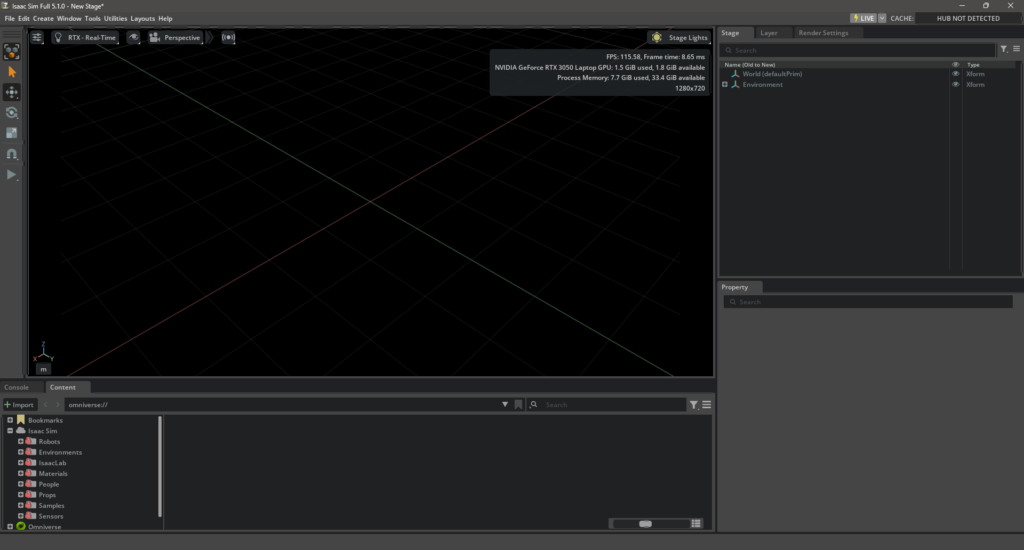
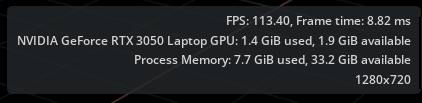
▼GPU and memory consumption were displayed.
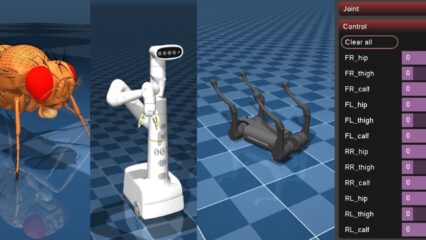
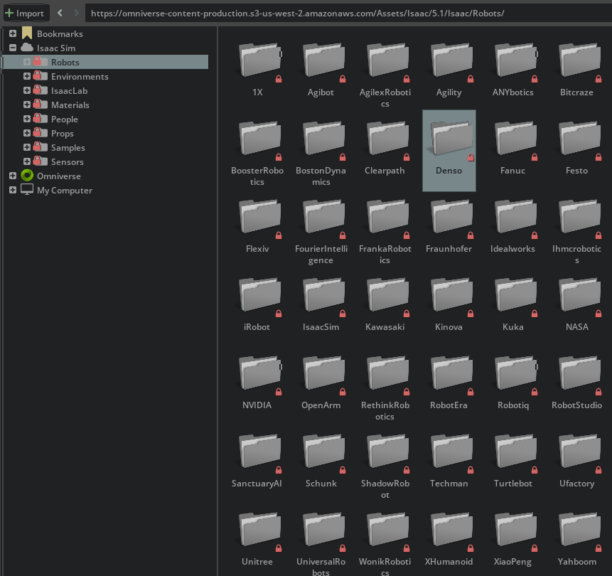
Robot models were provided in the bottom section.
▼Names of famous robot-related companies are listed. There are Japanese companies as well.
I was able to place a model on the Stage.
▼This is the DENSO Cobotta Pro 1300.
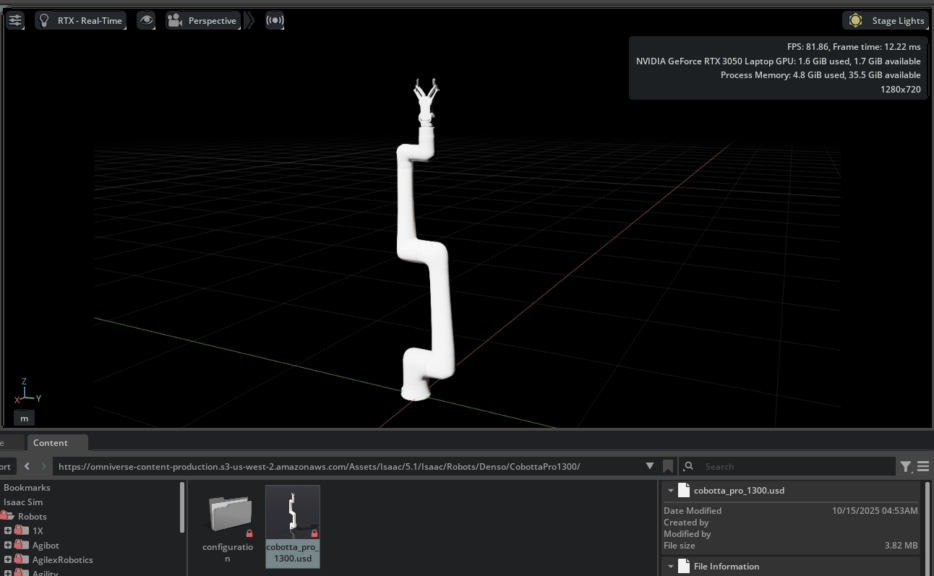
It's a robot arm I've touched during my research, but I don't think the gripper was standard equipment. It is included in the model.
Next, I will install Isaac Lab. Download the GitHub repository.
git clone https://github.com/isaac-sim/IsaacLab
cd IsaacLab
./isaaclab.sh --help
▼The help was displayed without any issues.
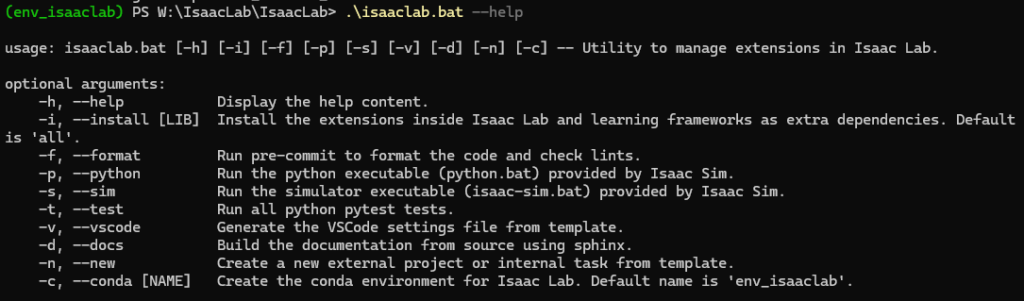
I'll install it using the bat file and try launching it.
.\isaaclab.bat --install
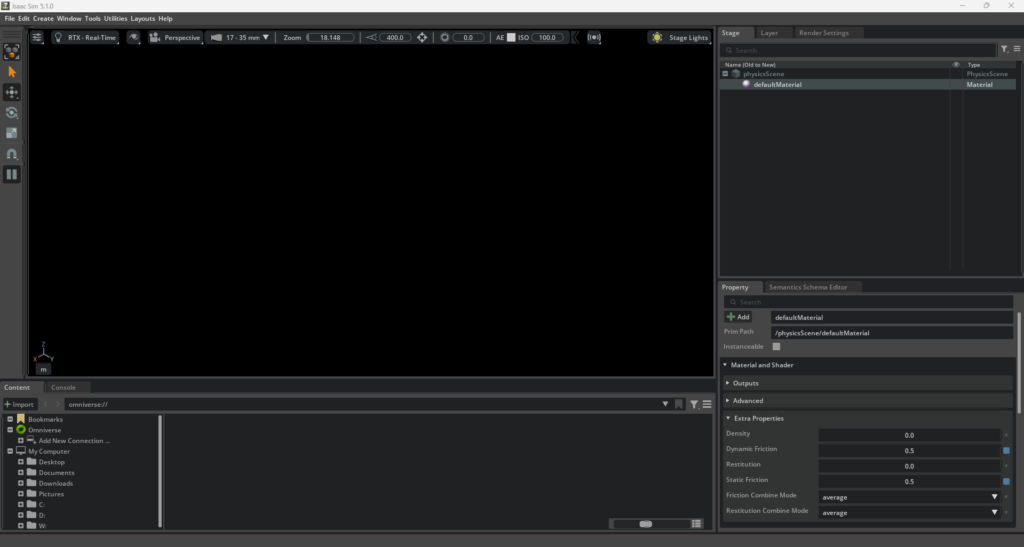
python scripts\tutorials\00_sim\create_empty.py▼It launched successfully.
Running a Sample
I executed a reinforcement learning sample with the following command:
.\isaaclab.bat -p scripts/reinforcement_learning/rsl_rl/train.py --task=Isaac-Ant-v0 --headless▼The training progressed.
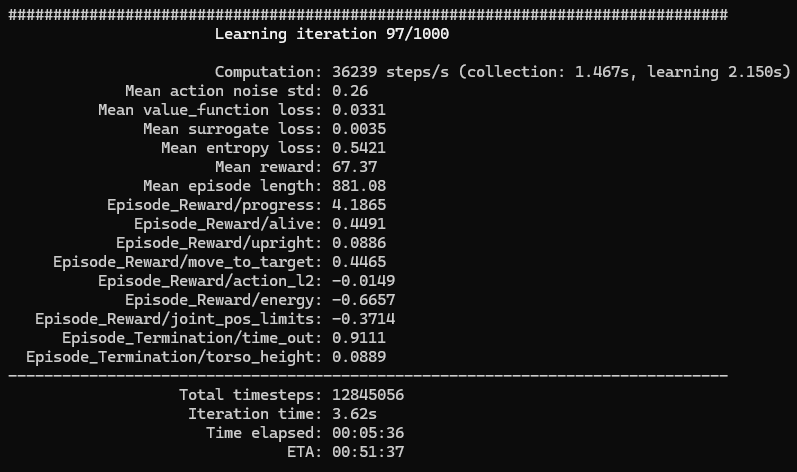
▼It took some time, but it finished successfully.
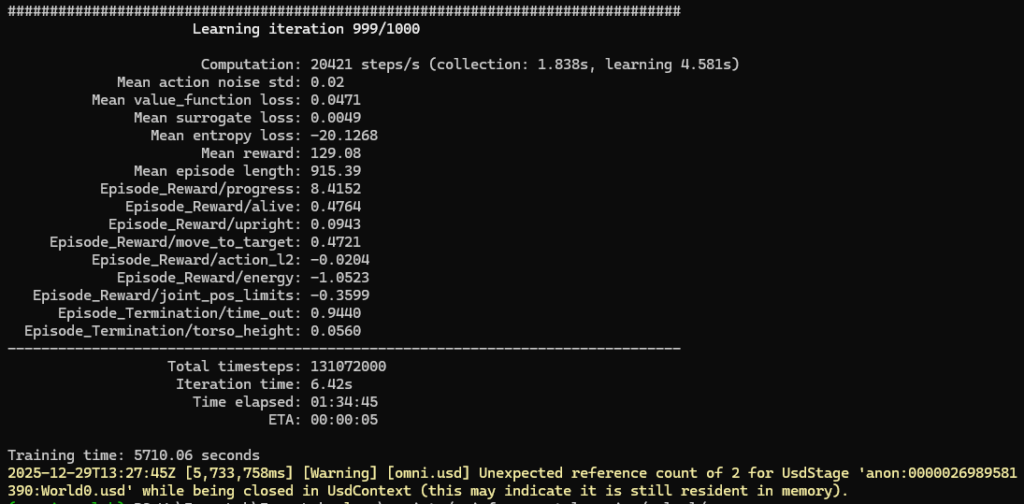
When I was running 3D Gaussian Splatting, it sometimes force-closed due to insufficient memory, but this seems to have run fine.
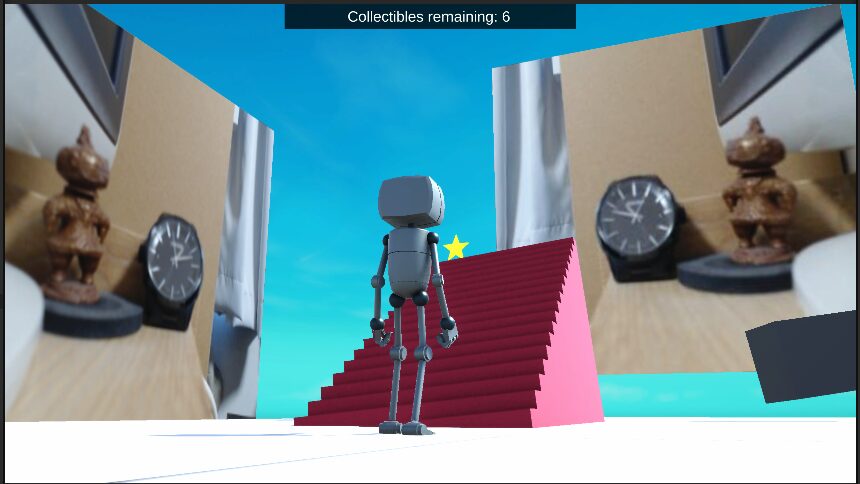
The previous command had the headless option, so it only output to the terminal, but when I removed the option, the GUI also launched.
.\isaaclab.bat -p scripts/reinforcement_learning/rsl_rl/train.py --task=Isaac-Ant-v0▼As shown below, a massive number of models were lined up.
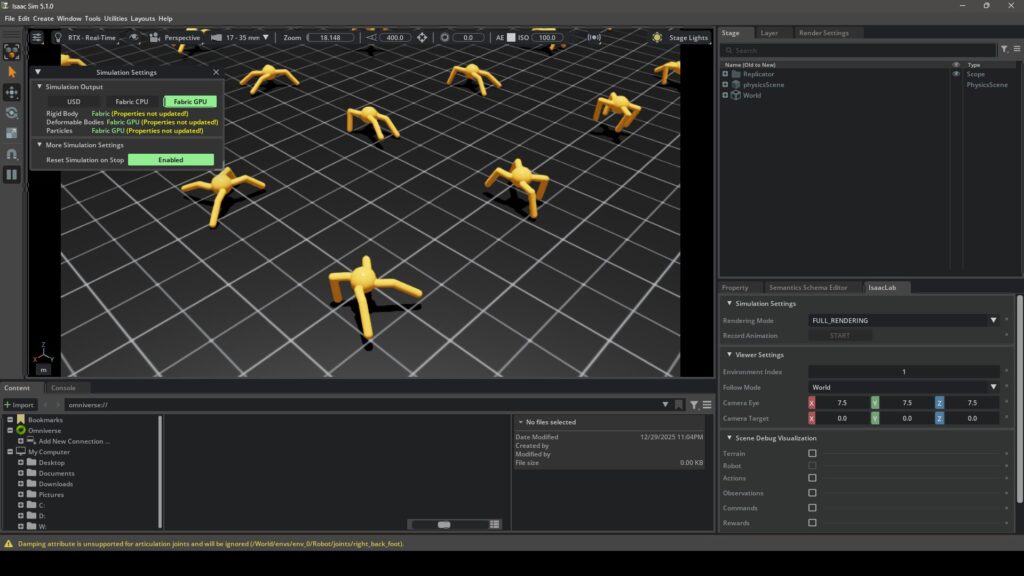
▼The actual movement looks like this:
The processing was heavy and the movement was slow on my PC, but I confirmed that it can be launched.
Finally
I managed to get it working, but I definitely feel the lack of PC specs. When I develop with Unreal Engine, I set all performance-related parameters to the lowest level, so I'm curious if I can also lower the rendering performance in Isaac Lab.
Since it launches for now, I plan to try various things.